My first field allocation for level 5 is sustainable artisan. As this is a module where we select the options, I chose this one as I thought it would be a great opportunity to go further into the furniture design experience whilst also working towards a wider skill set. The sustainable artisan project is all about steam bending. Steam bending is a low carbon process that has a variety of applications.
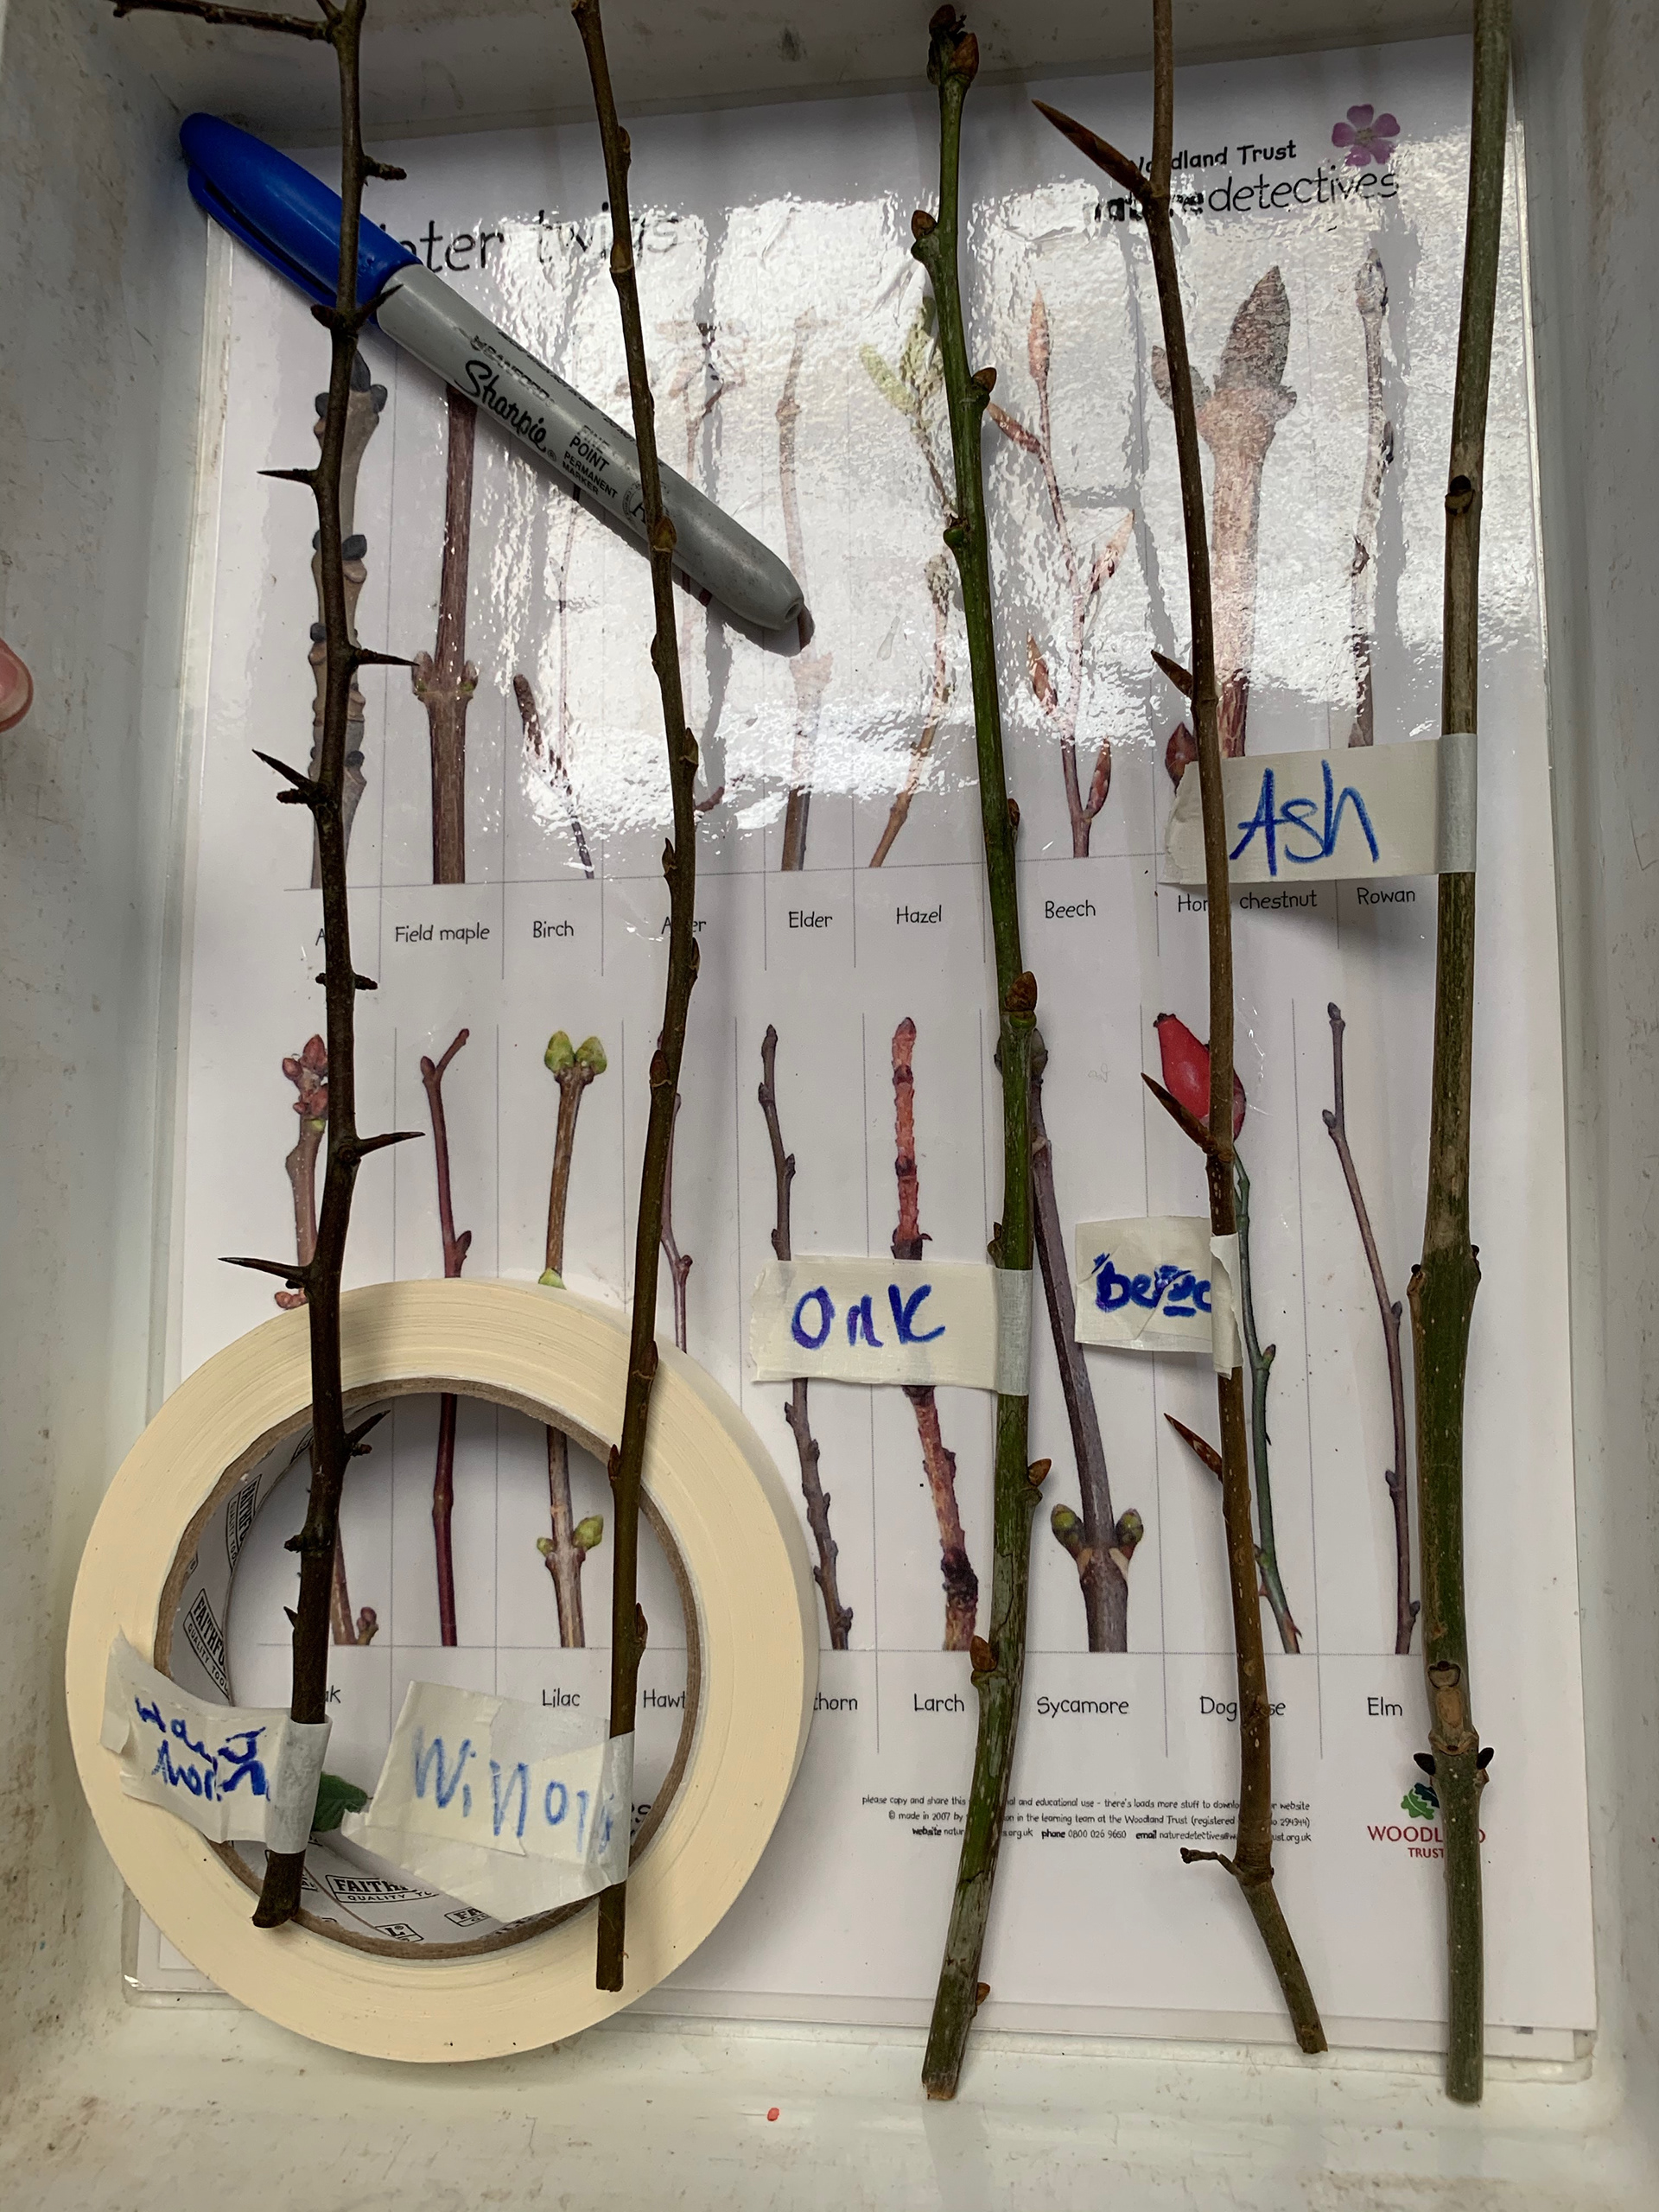
So, what is steam bending all about?? Steam bending uses the natural properties of wood to create simple moulded shapes. Wood consists of fibres that are all held together by this glue-like stuff called lignum. The fibres are layered on top of each other with the lignum between. Ash is a commonly used wood for this process due to its strength to weight ratio. Ash is a remarkably strong would that doesn’t carry a lot of weight. It is also grown rather quickly which means that it is a more continuous supply. Until recently steam bent ash was used in a lot of sports equipment such as skis and tennis racquets due to this quality.
The lignum in the wood softens at 100°C, the temperature of steam. Once softened the fibres can move over each other. This lengthens/ shortens areas of the timber which allows for the curve to be added. As the wood cools the lignum hardens holding the wood in its new shape.

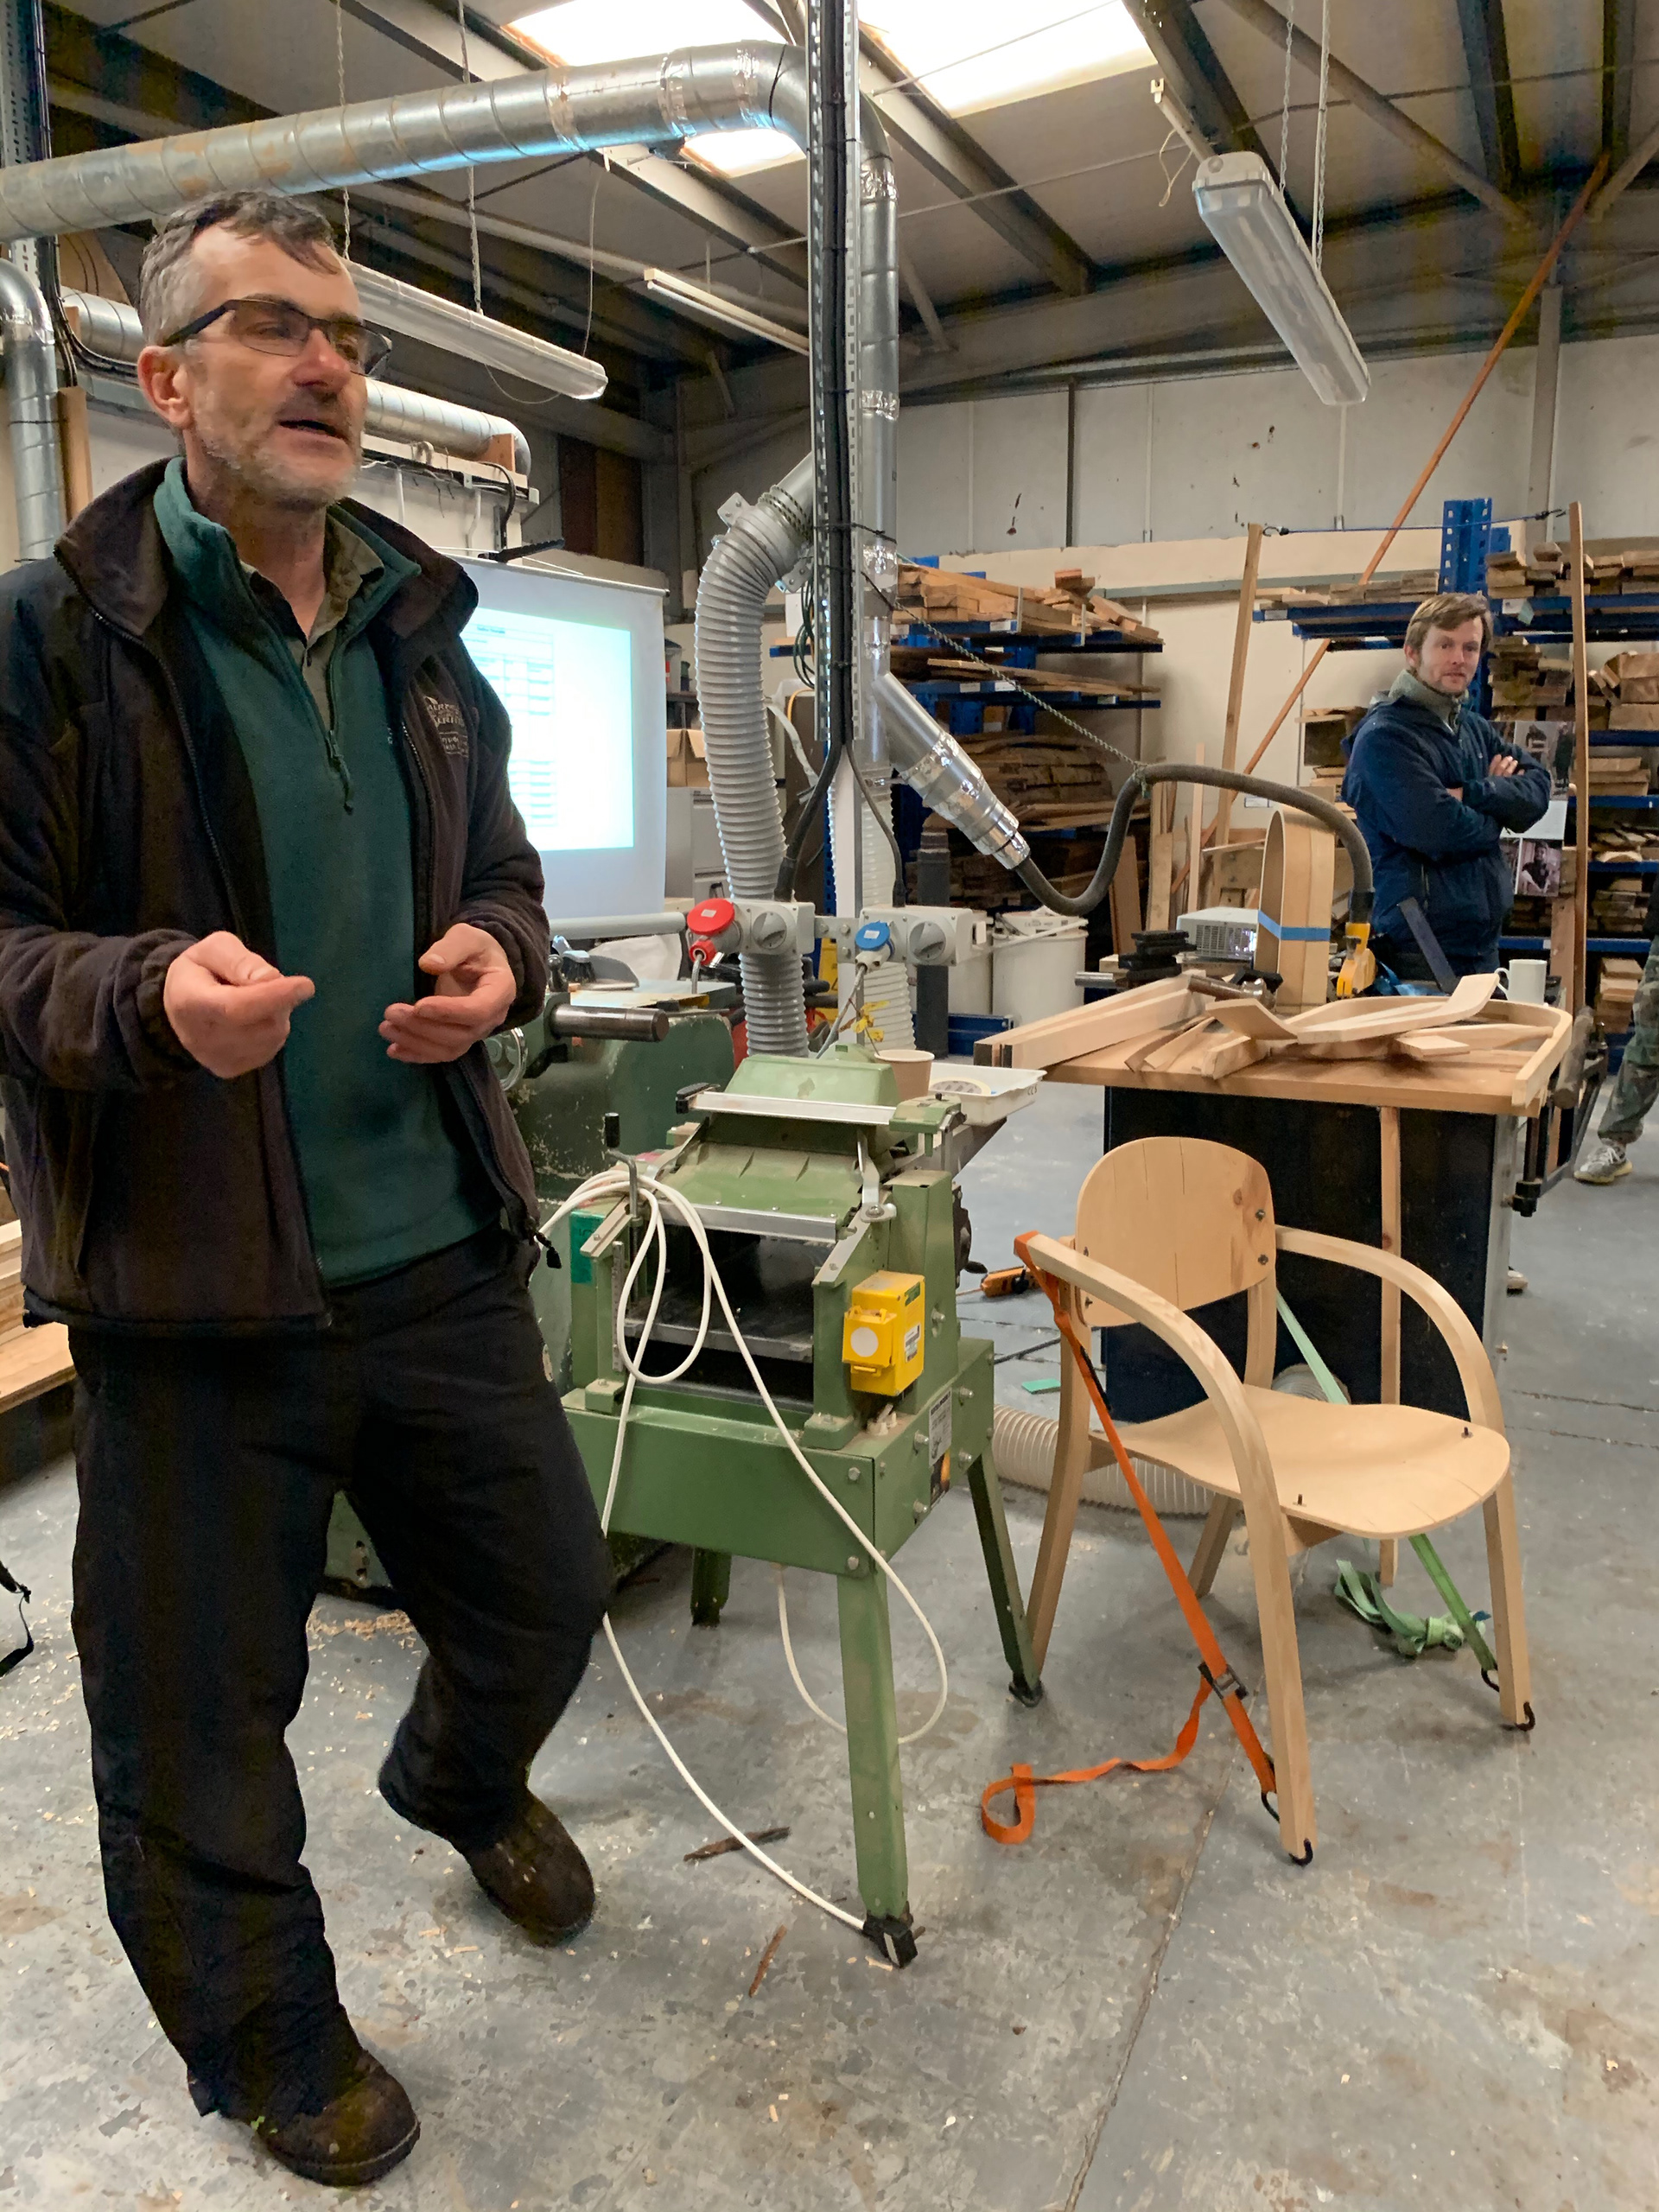
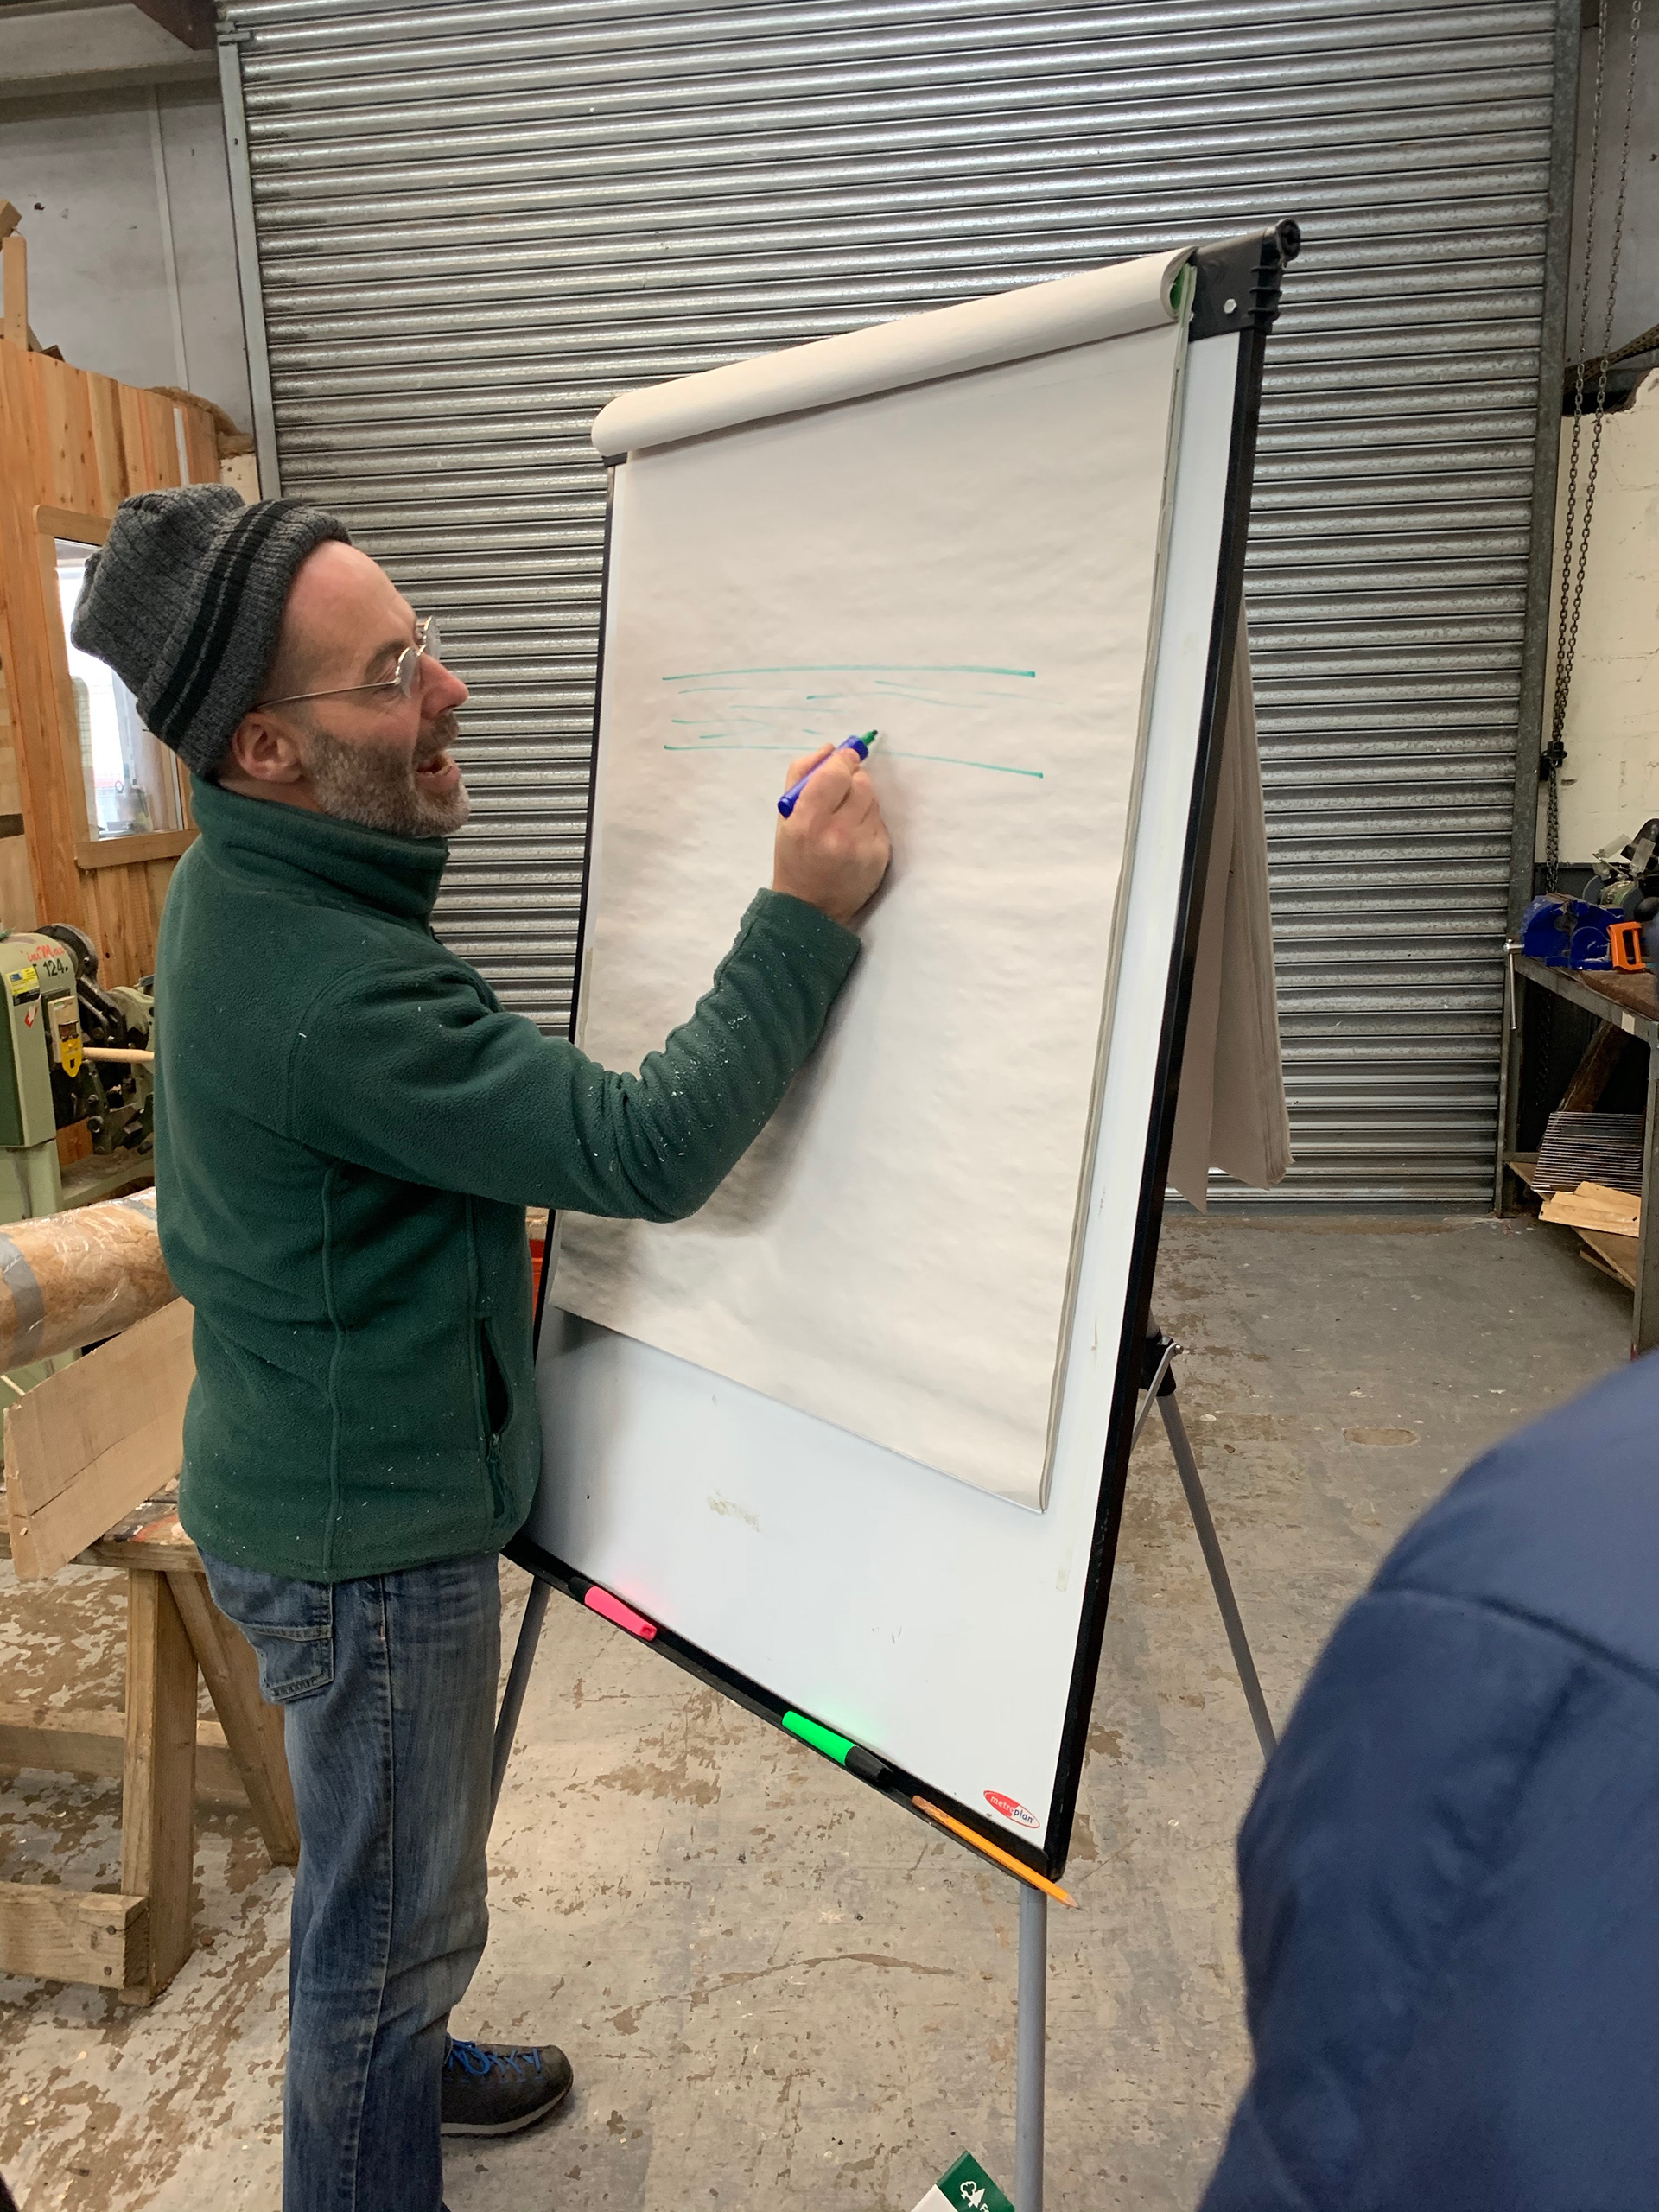
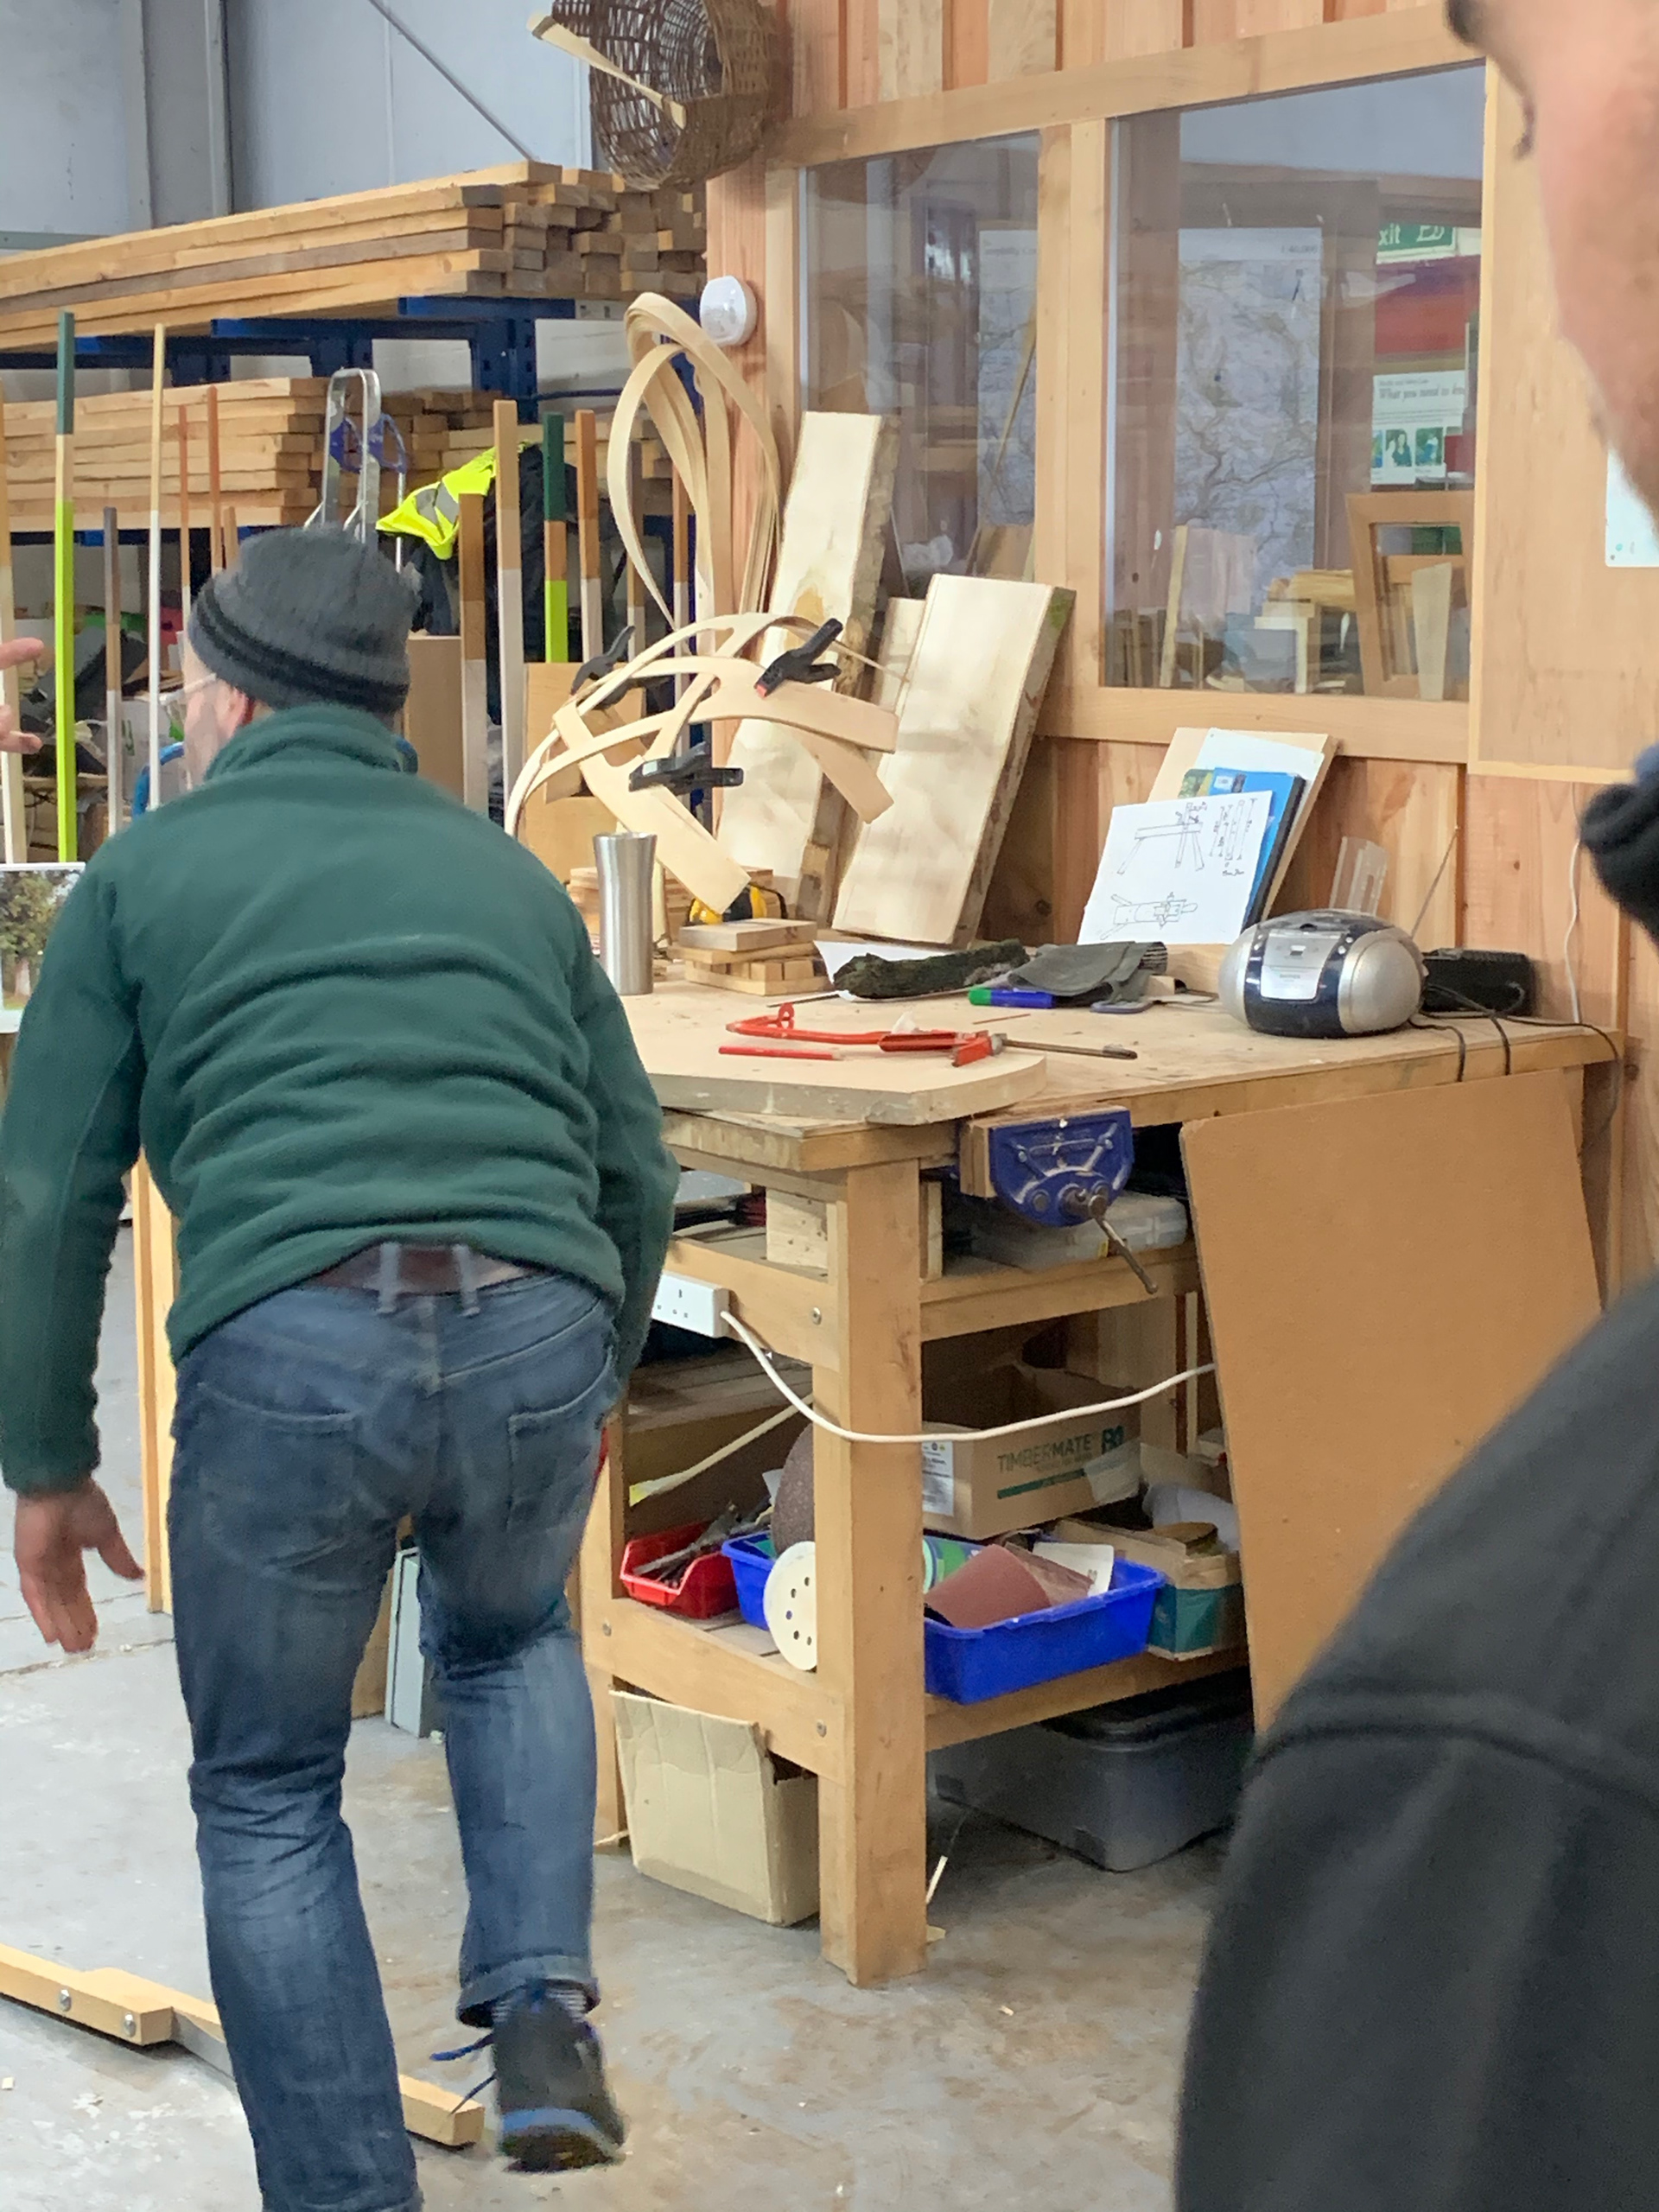
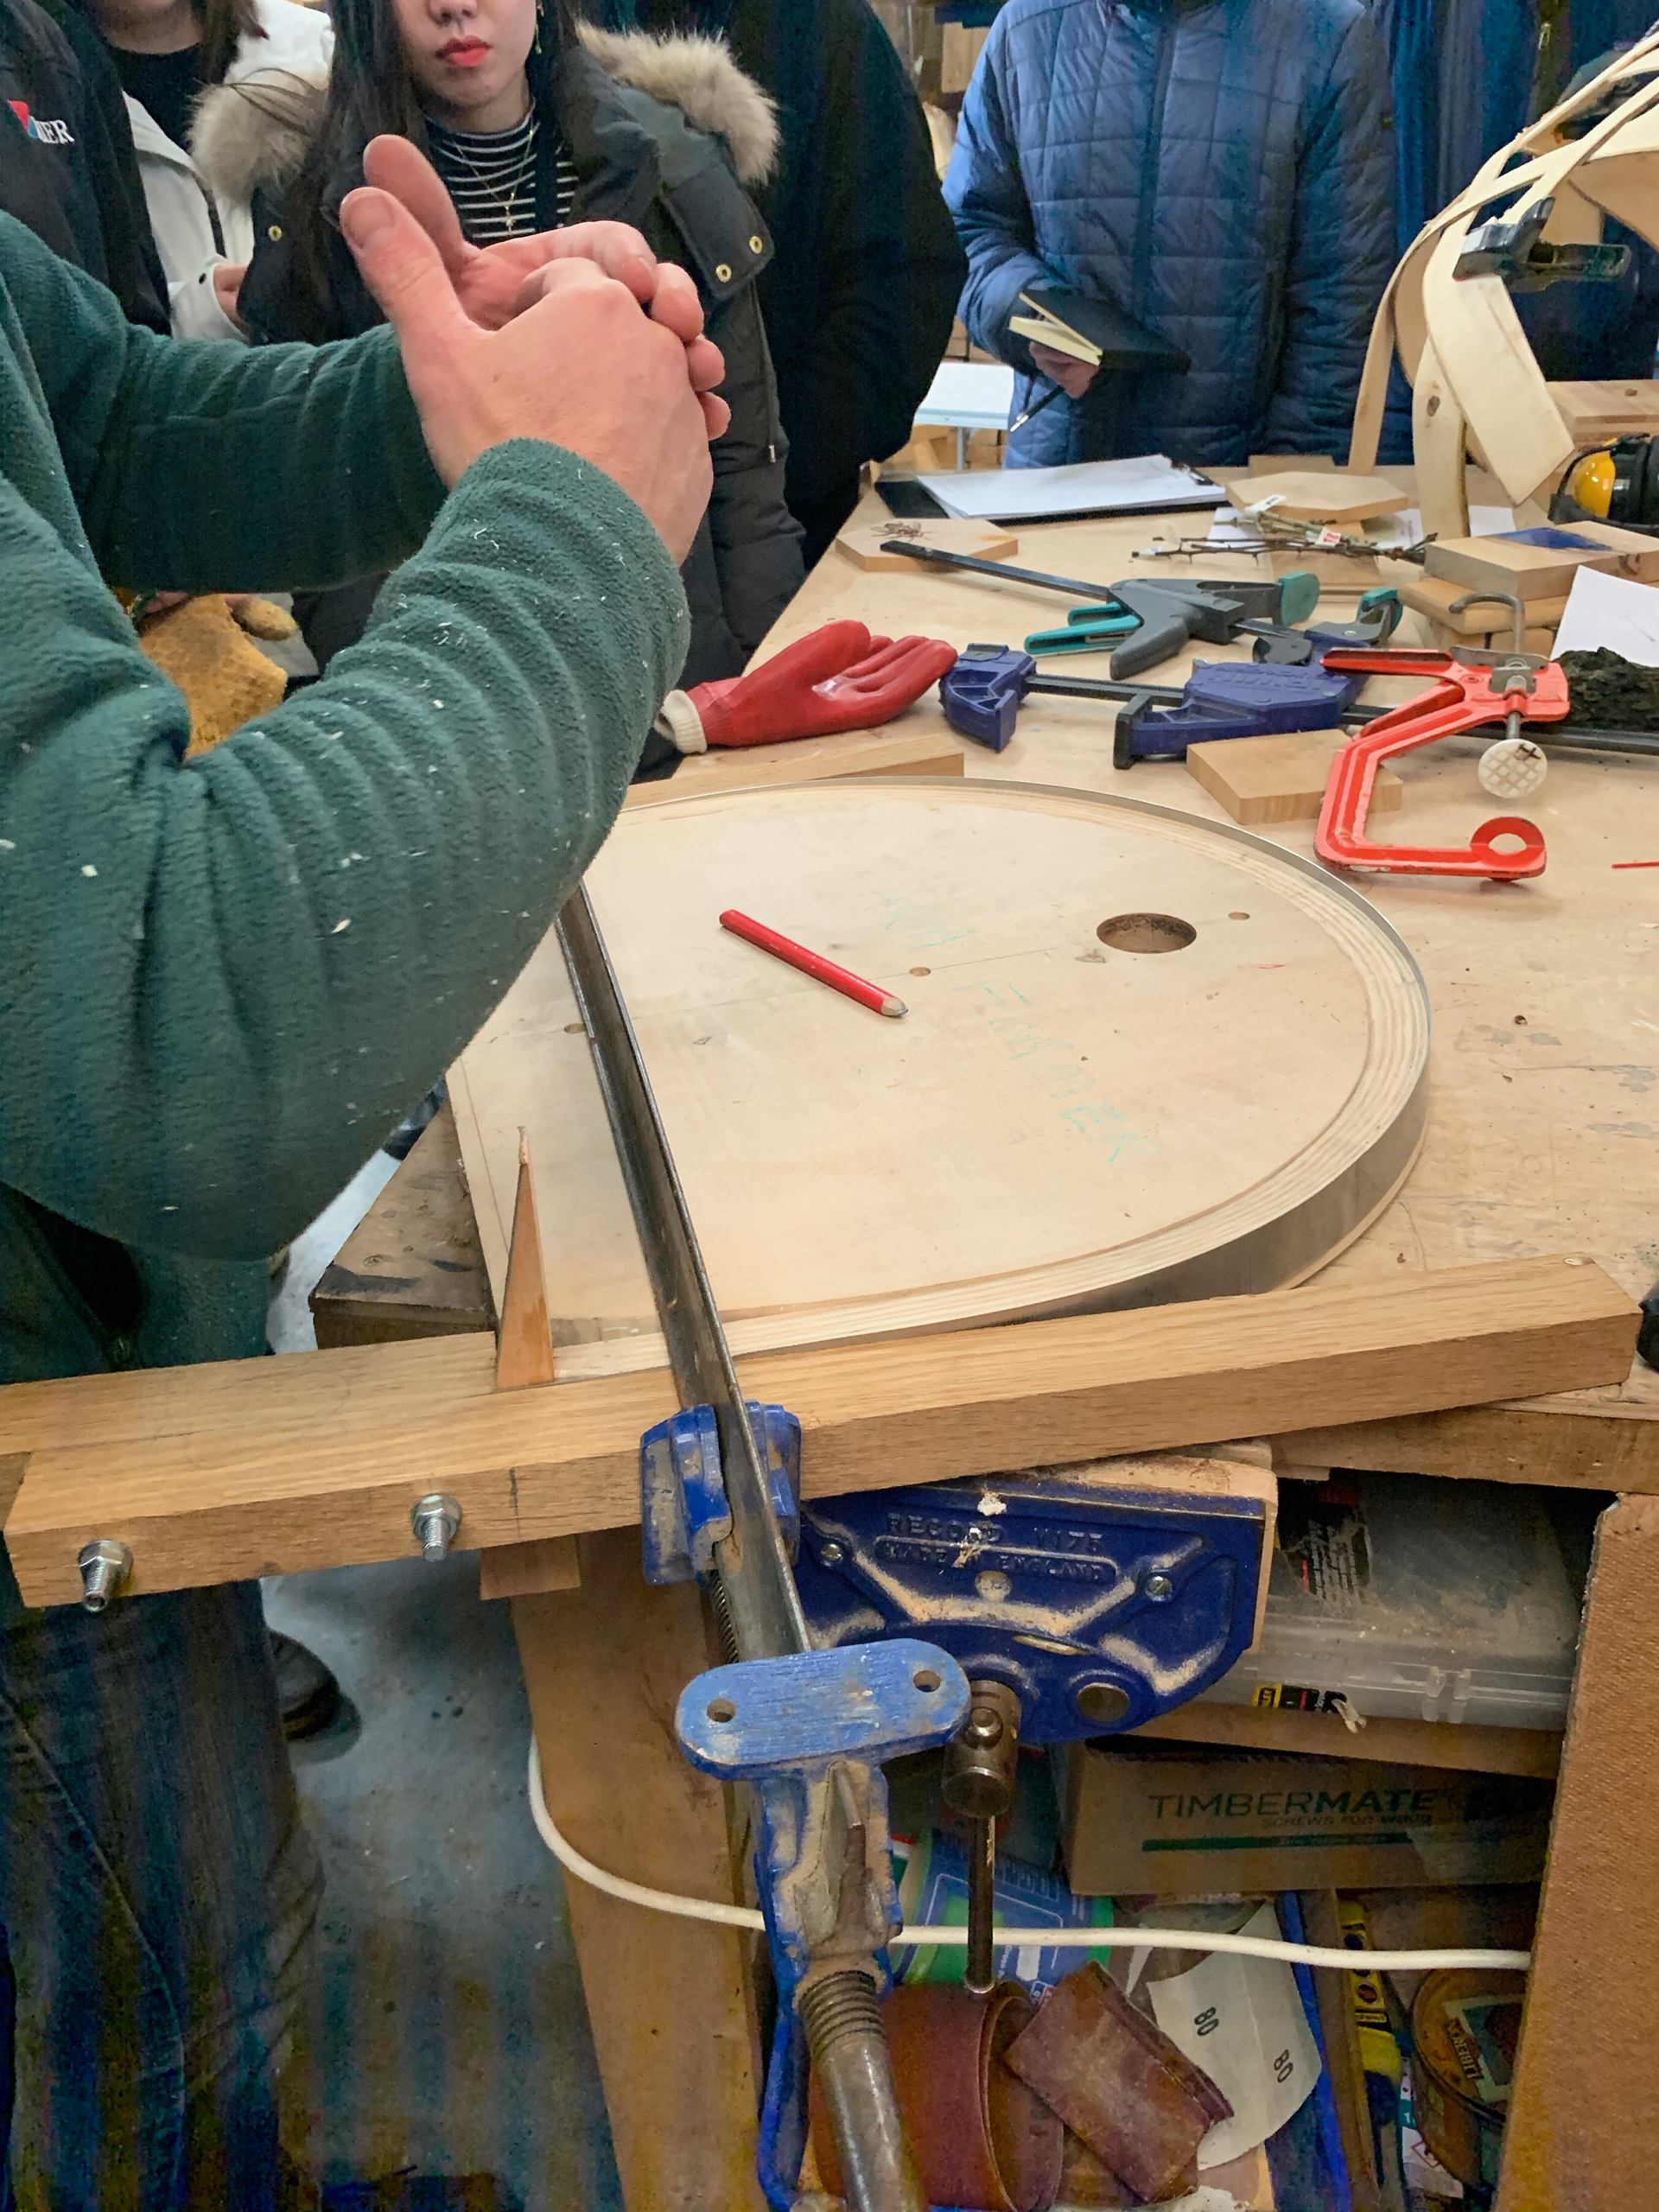
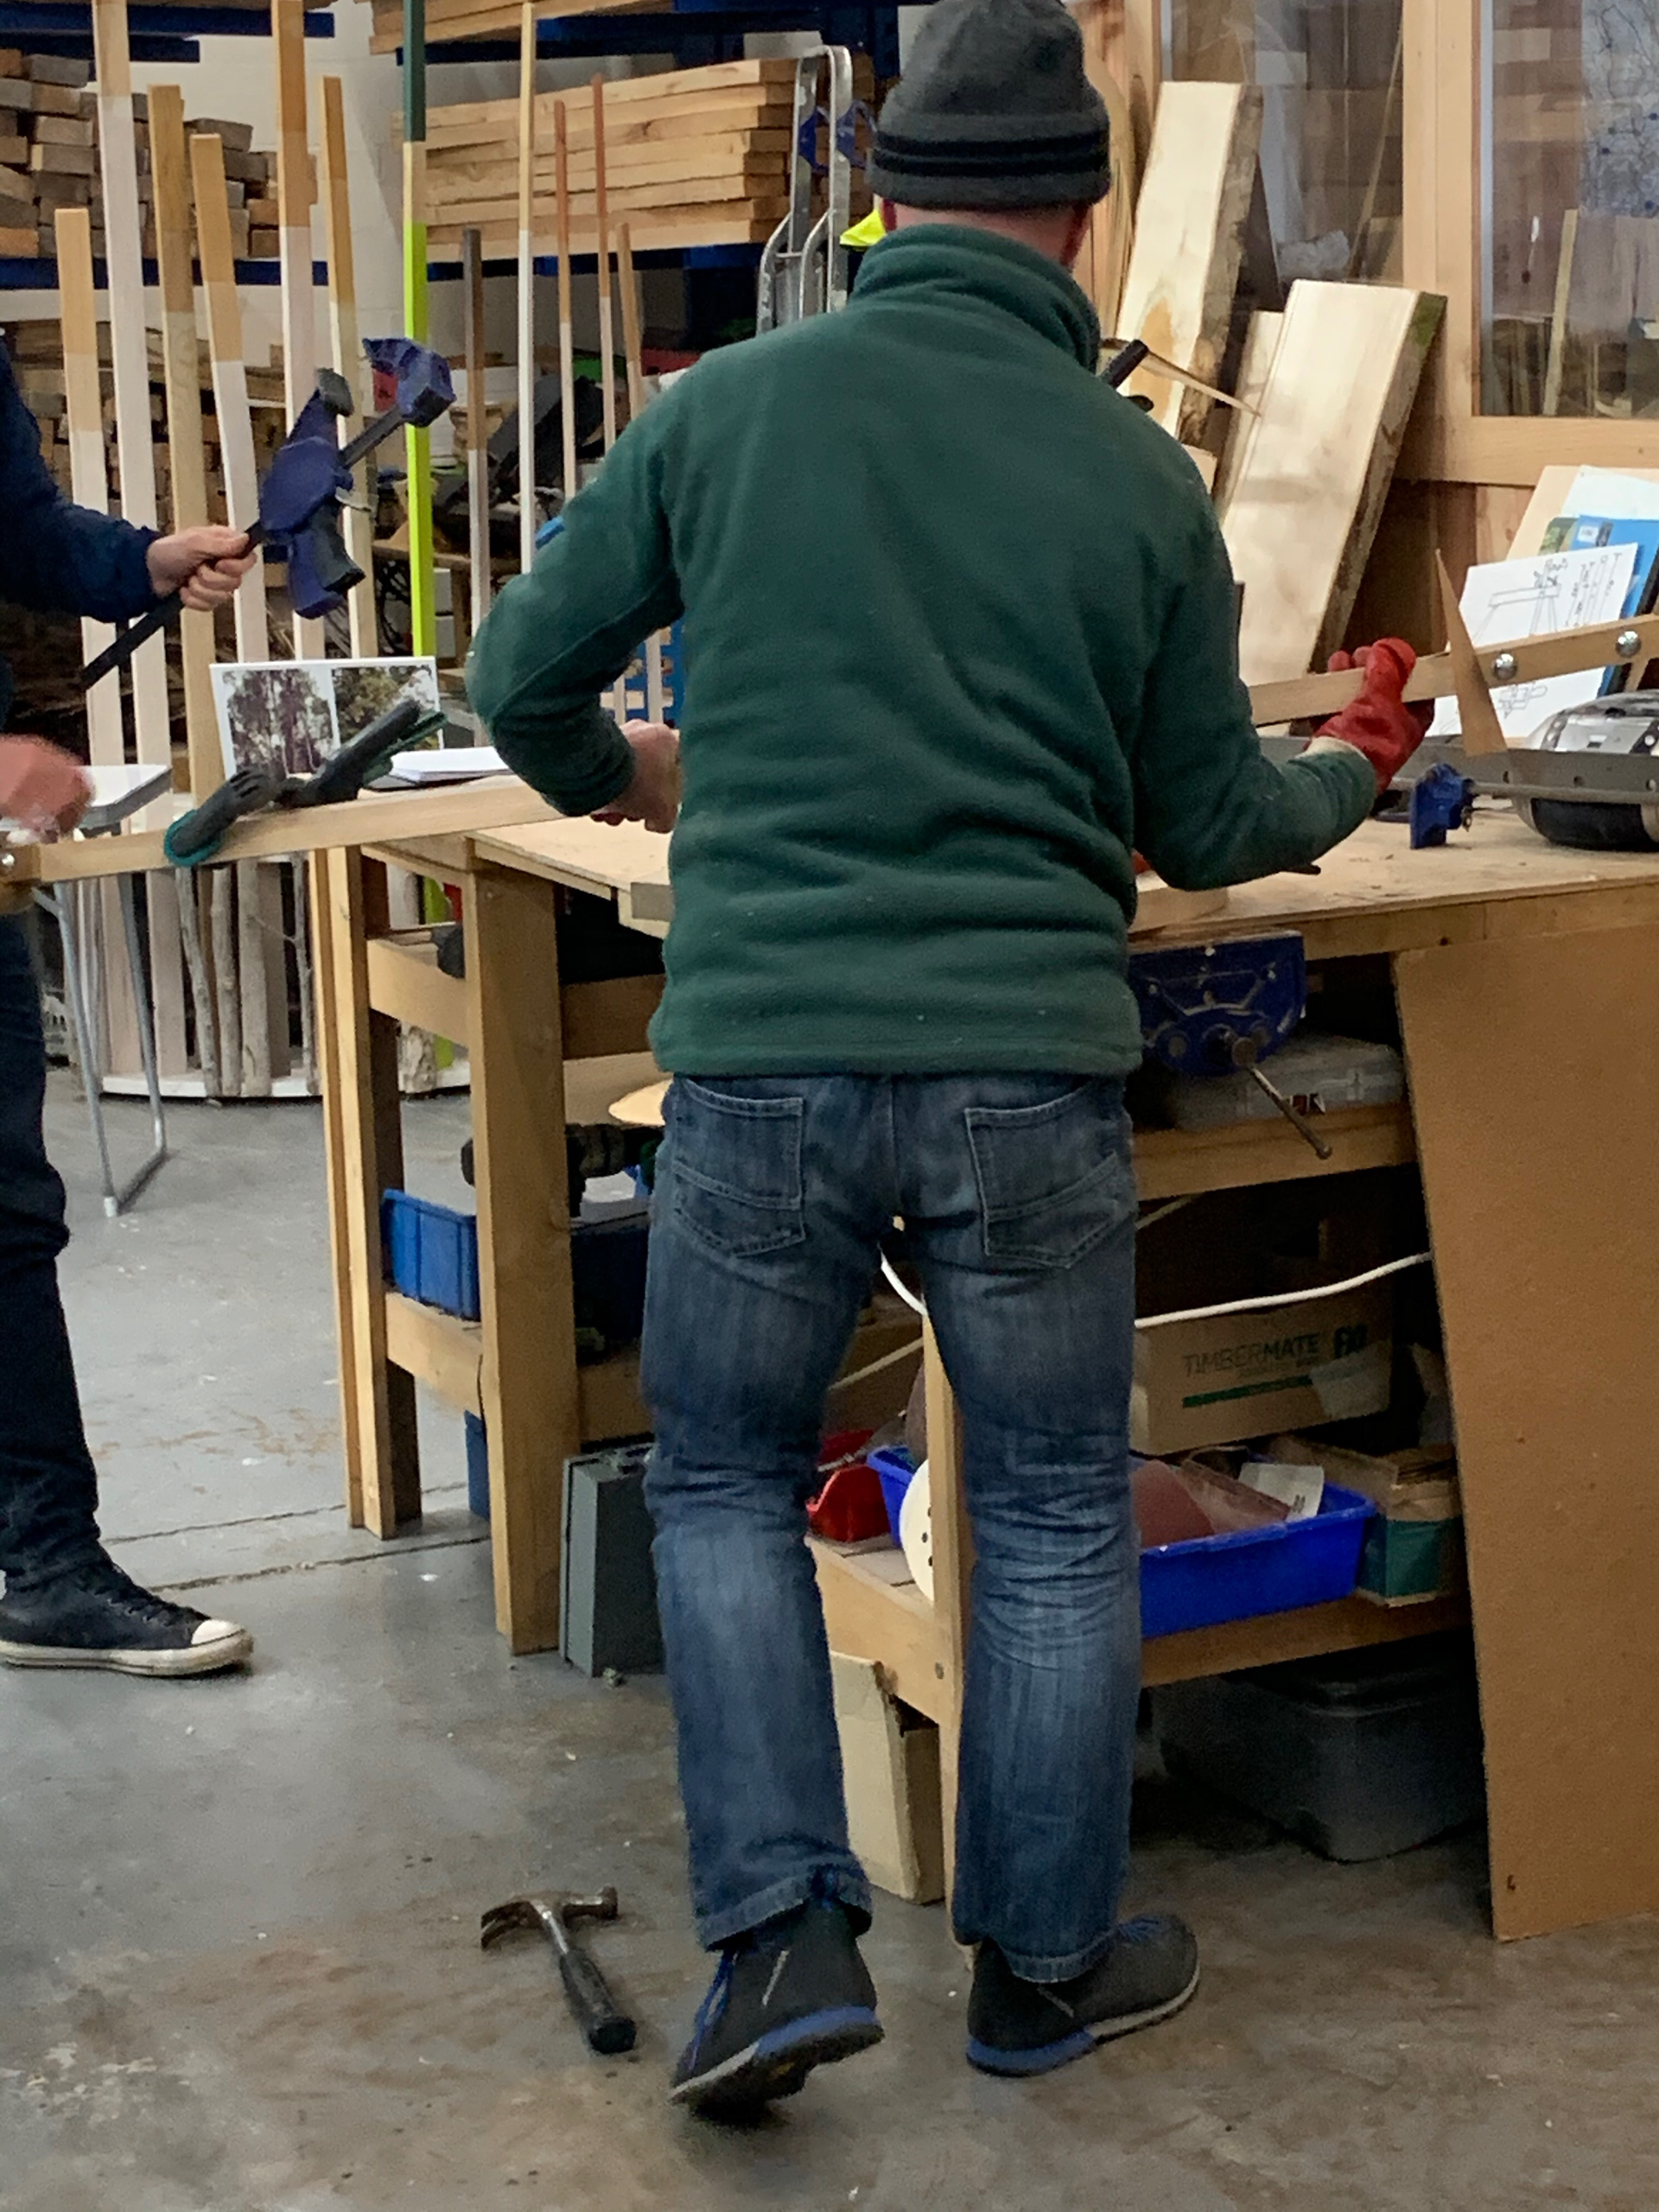
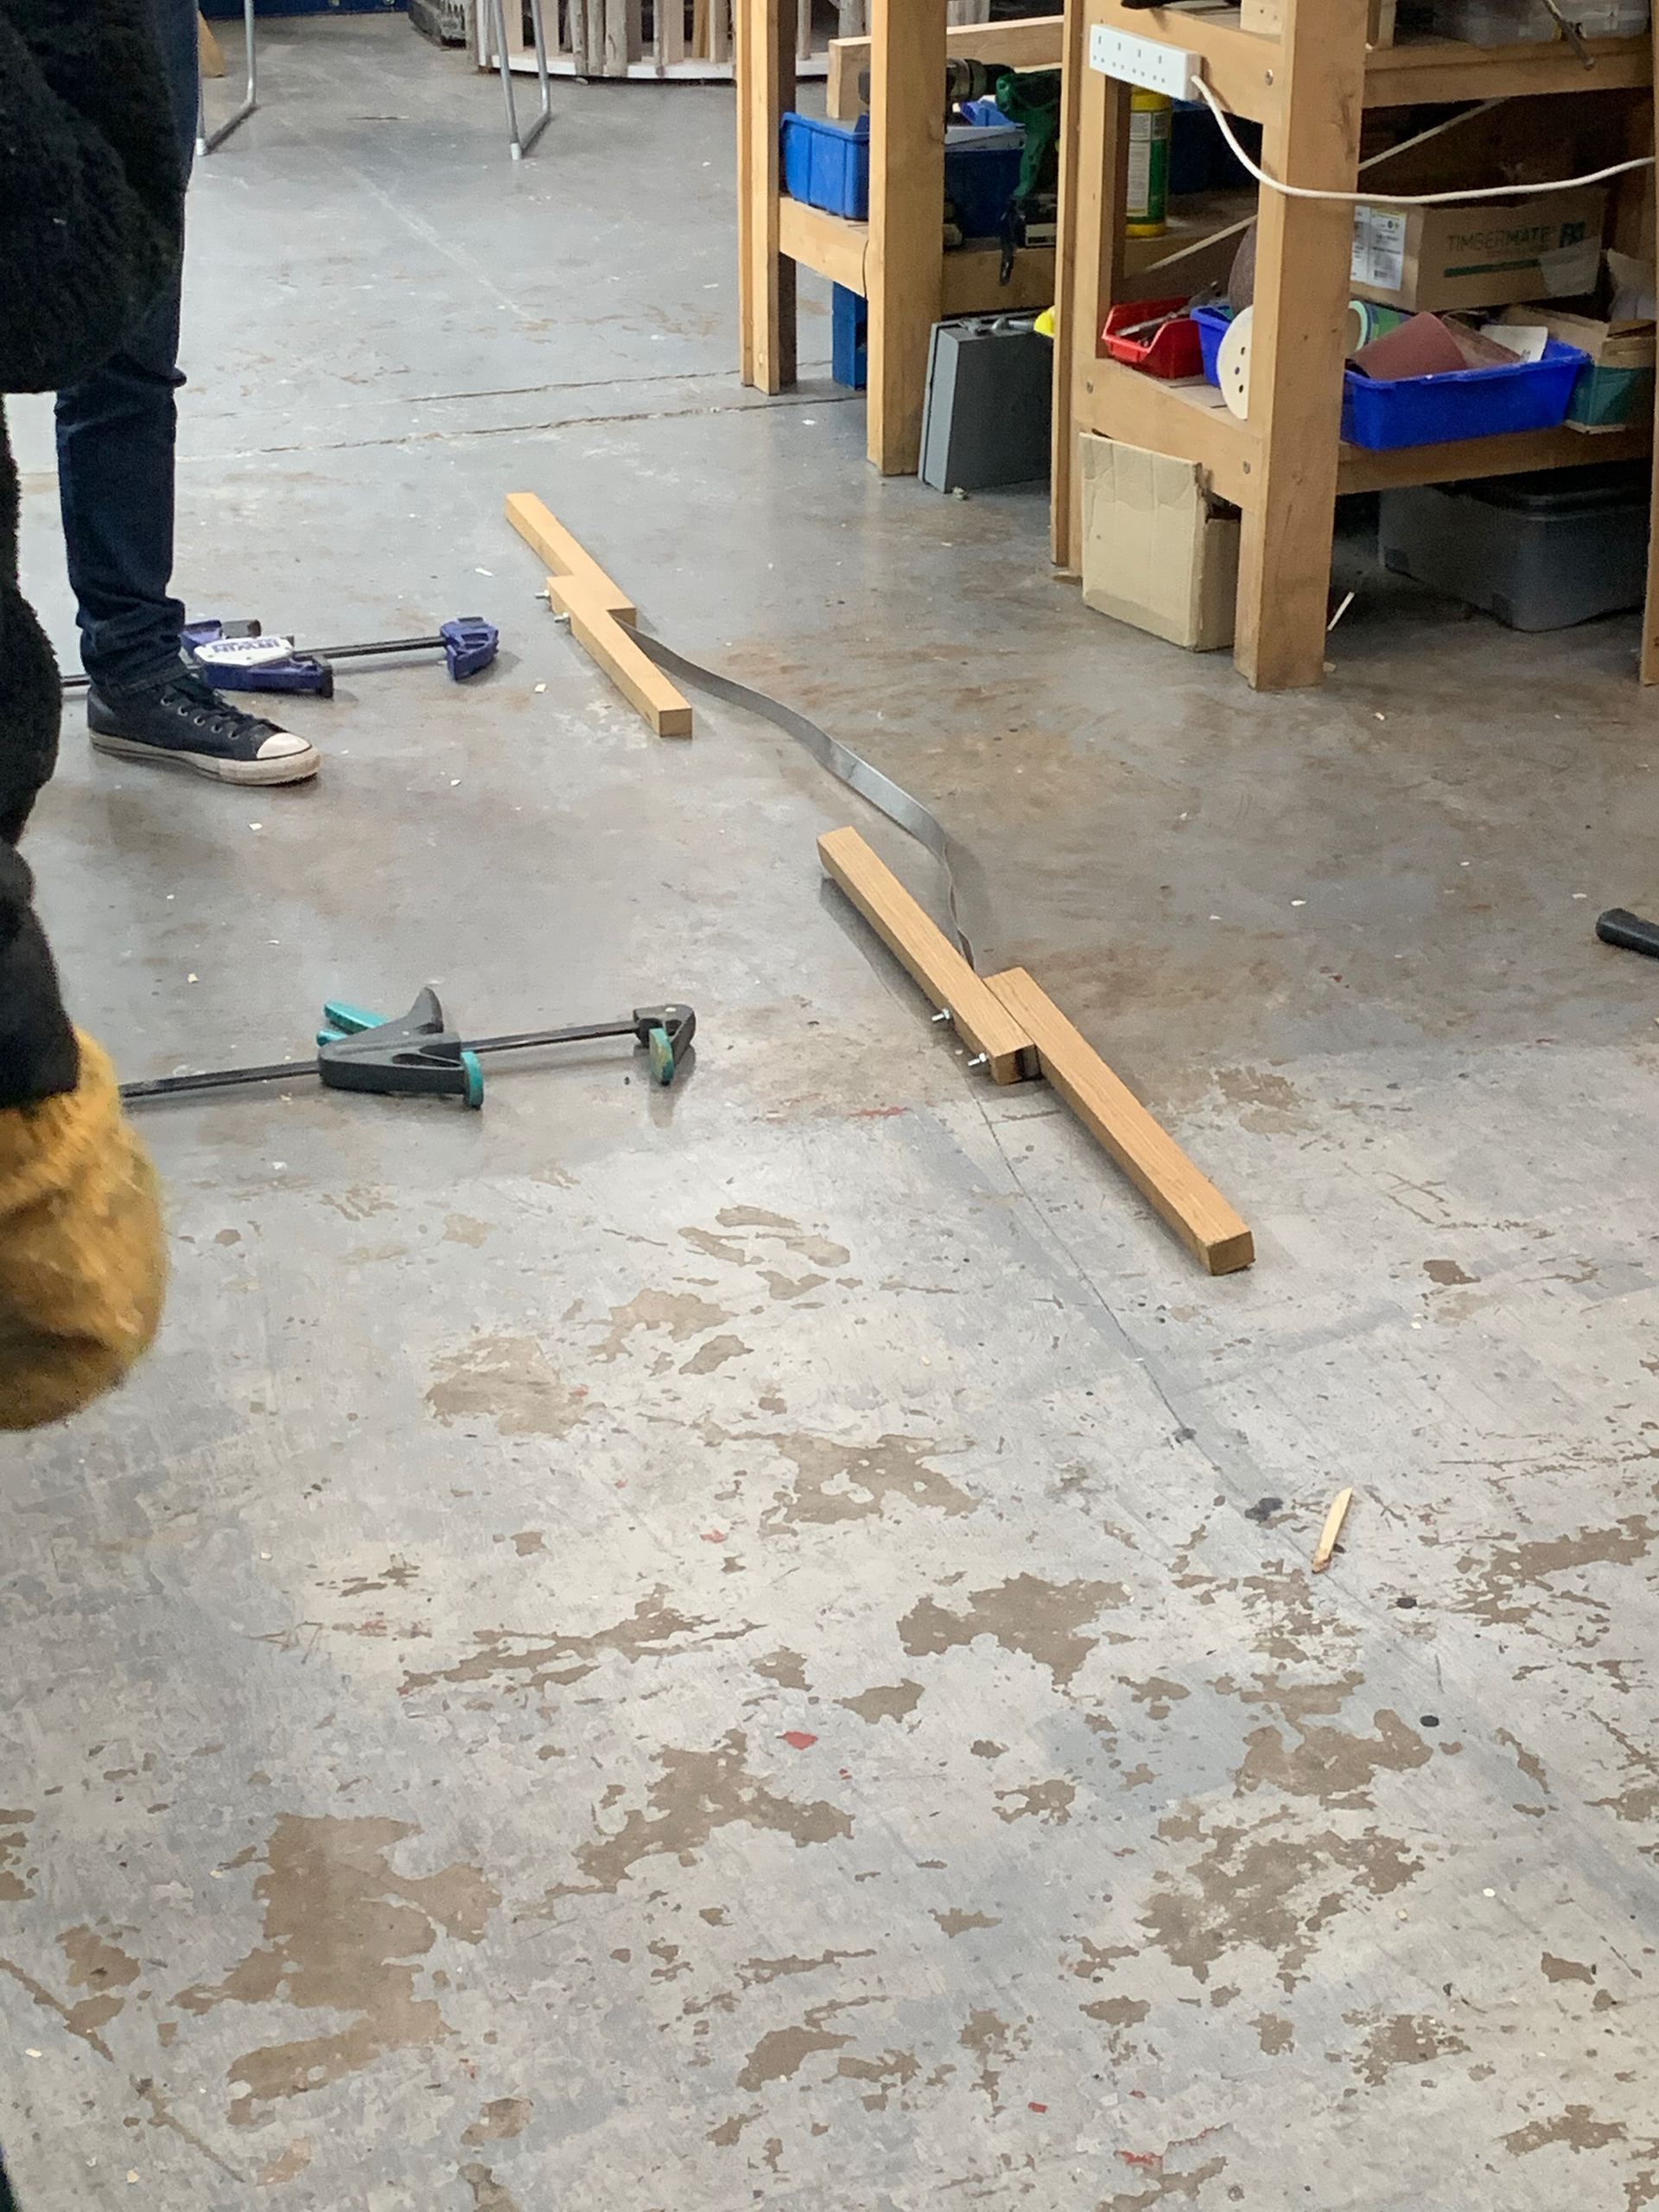
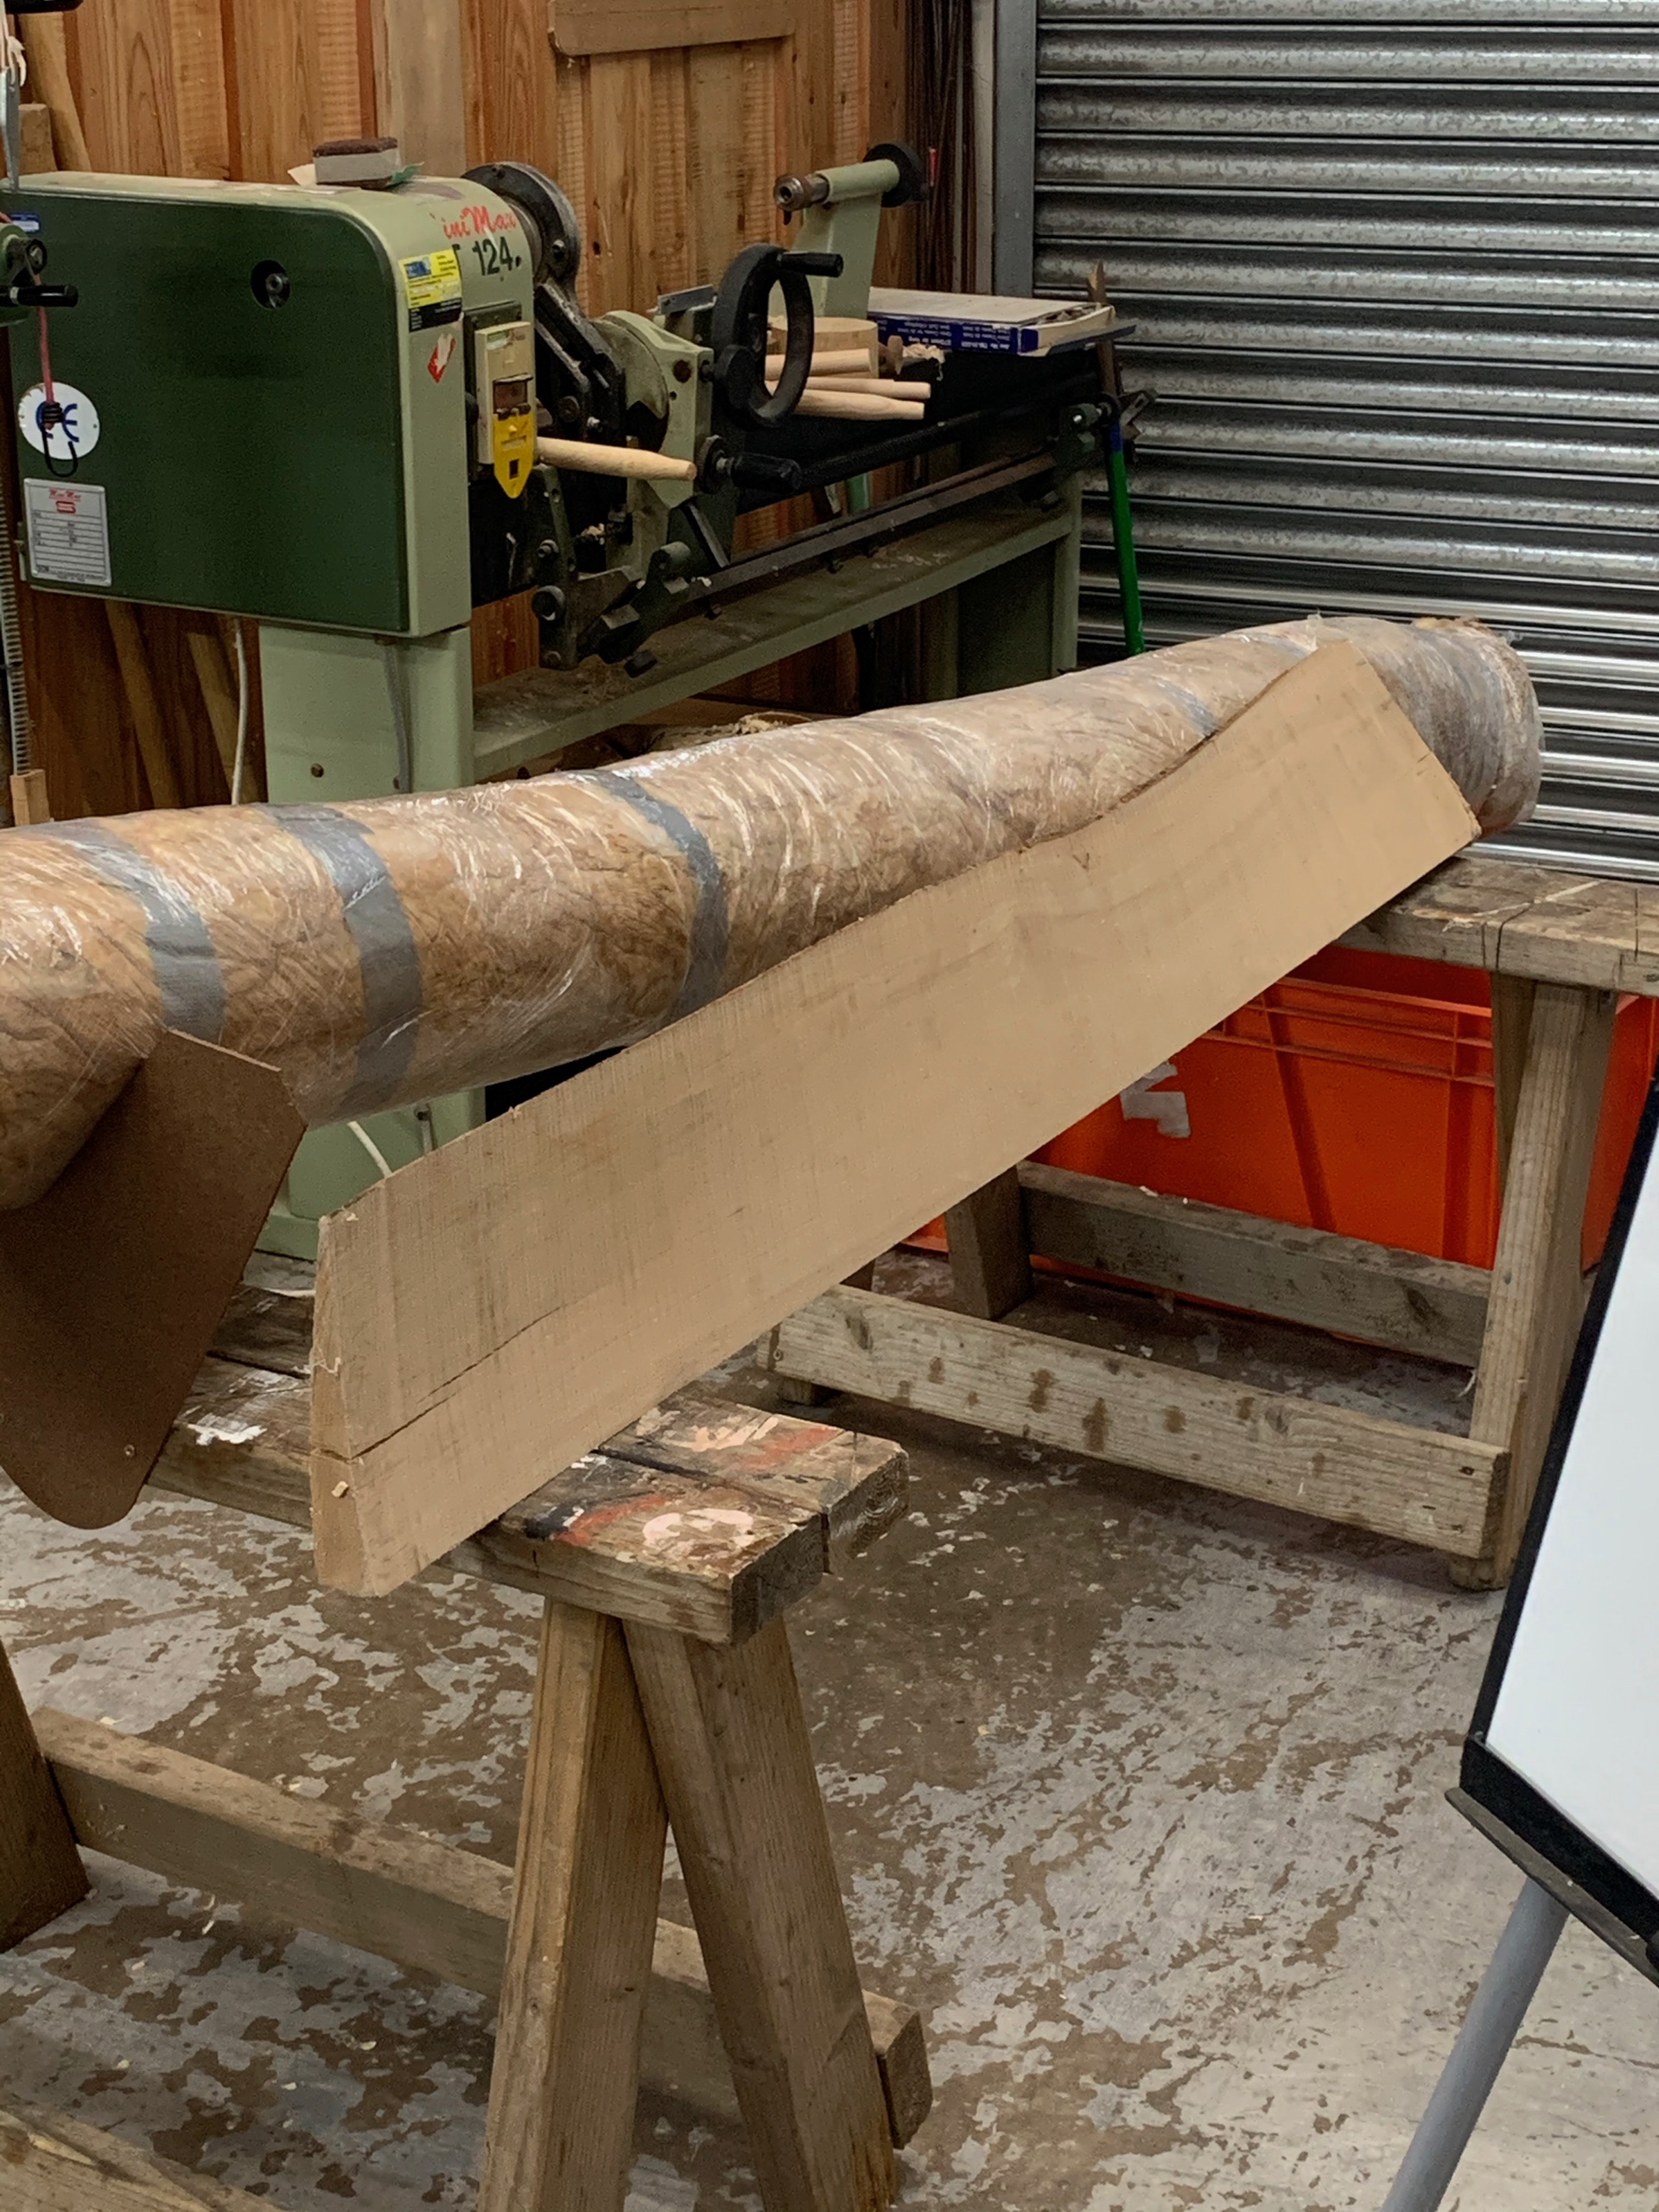
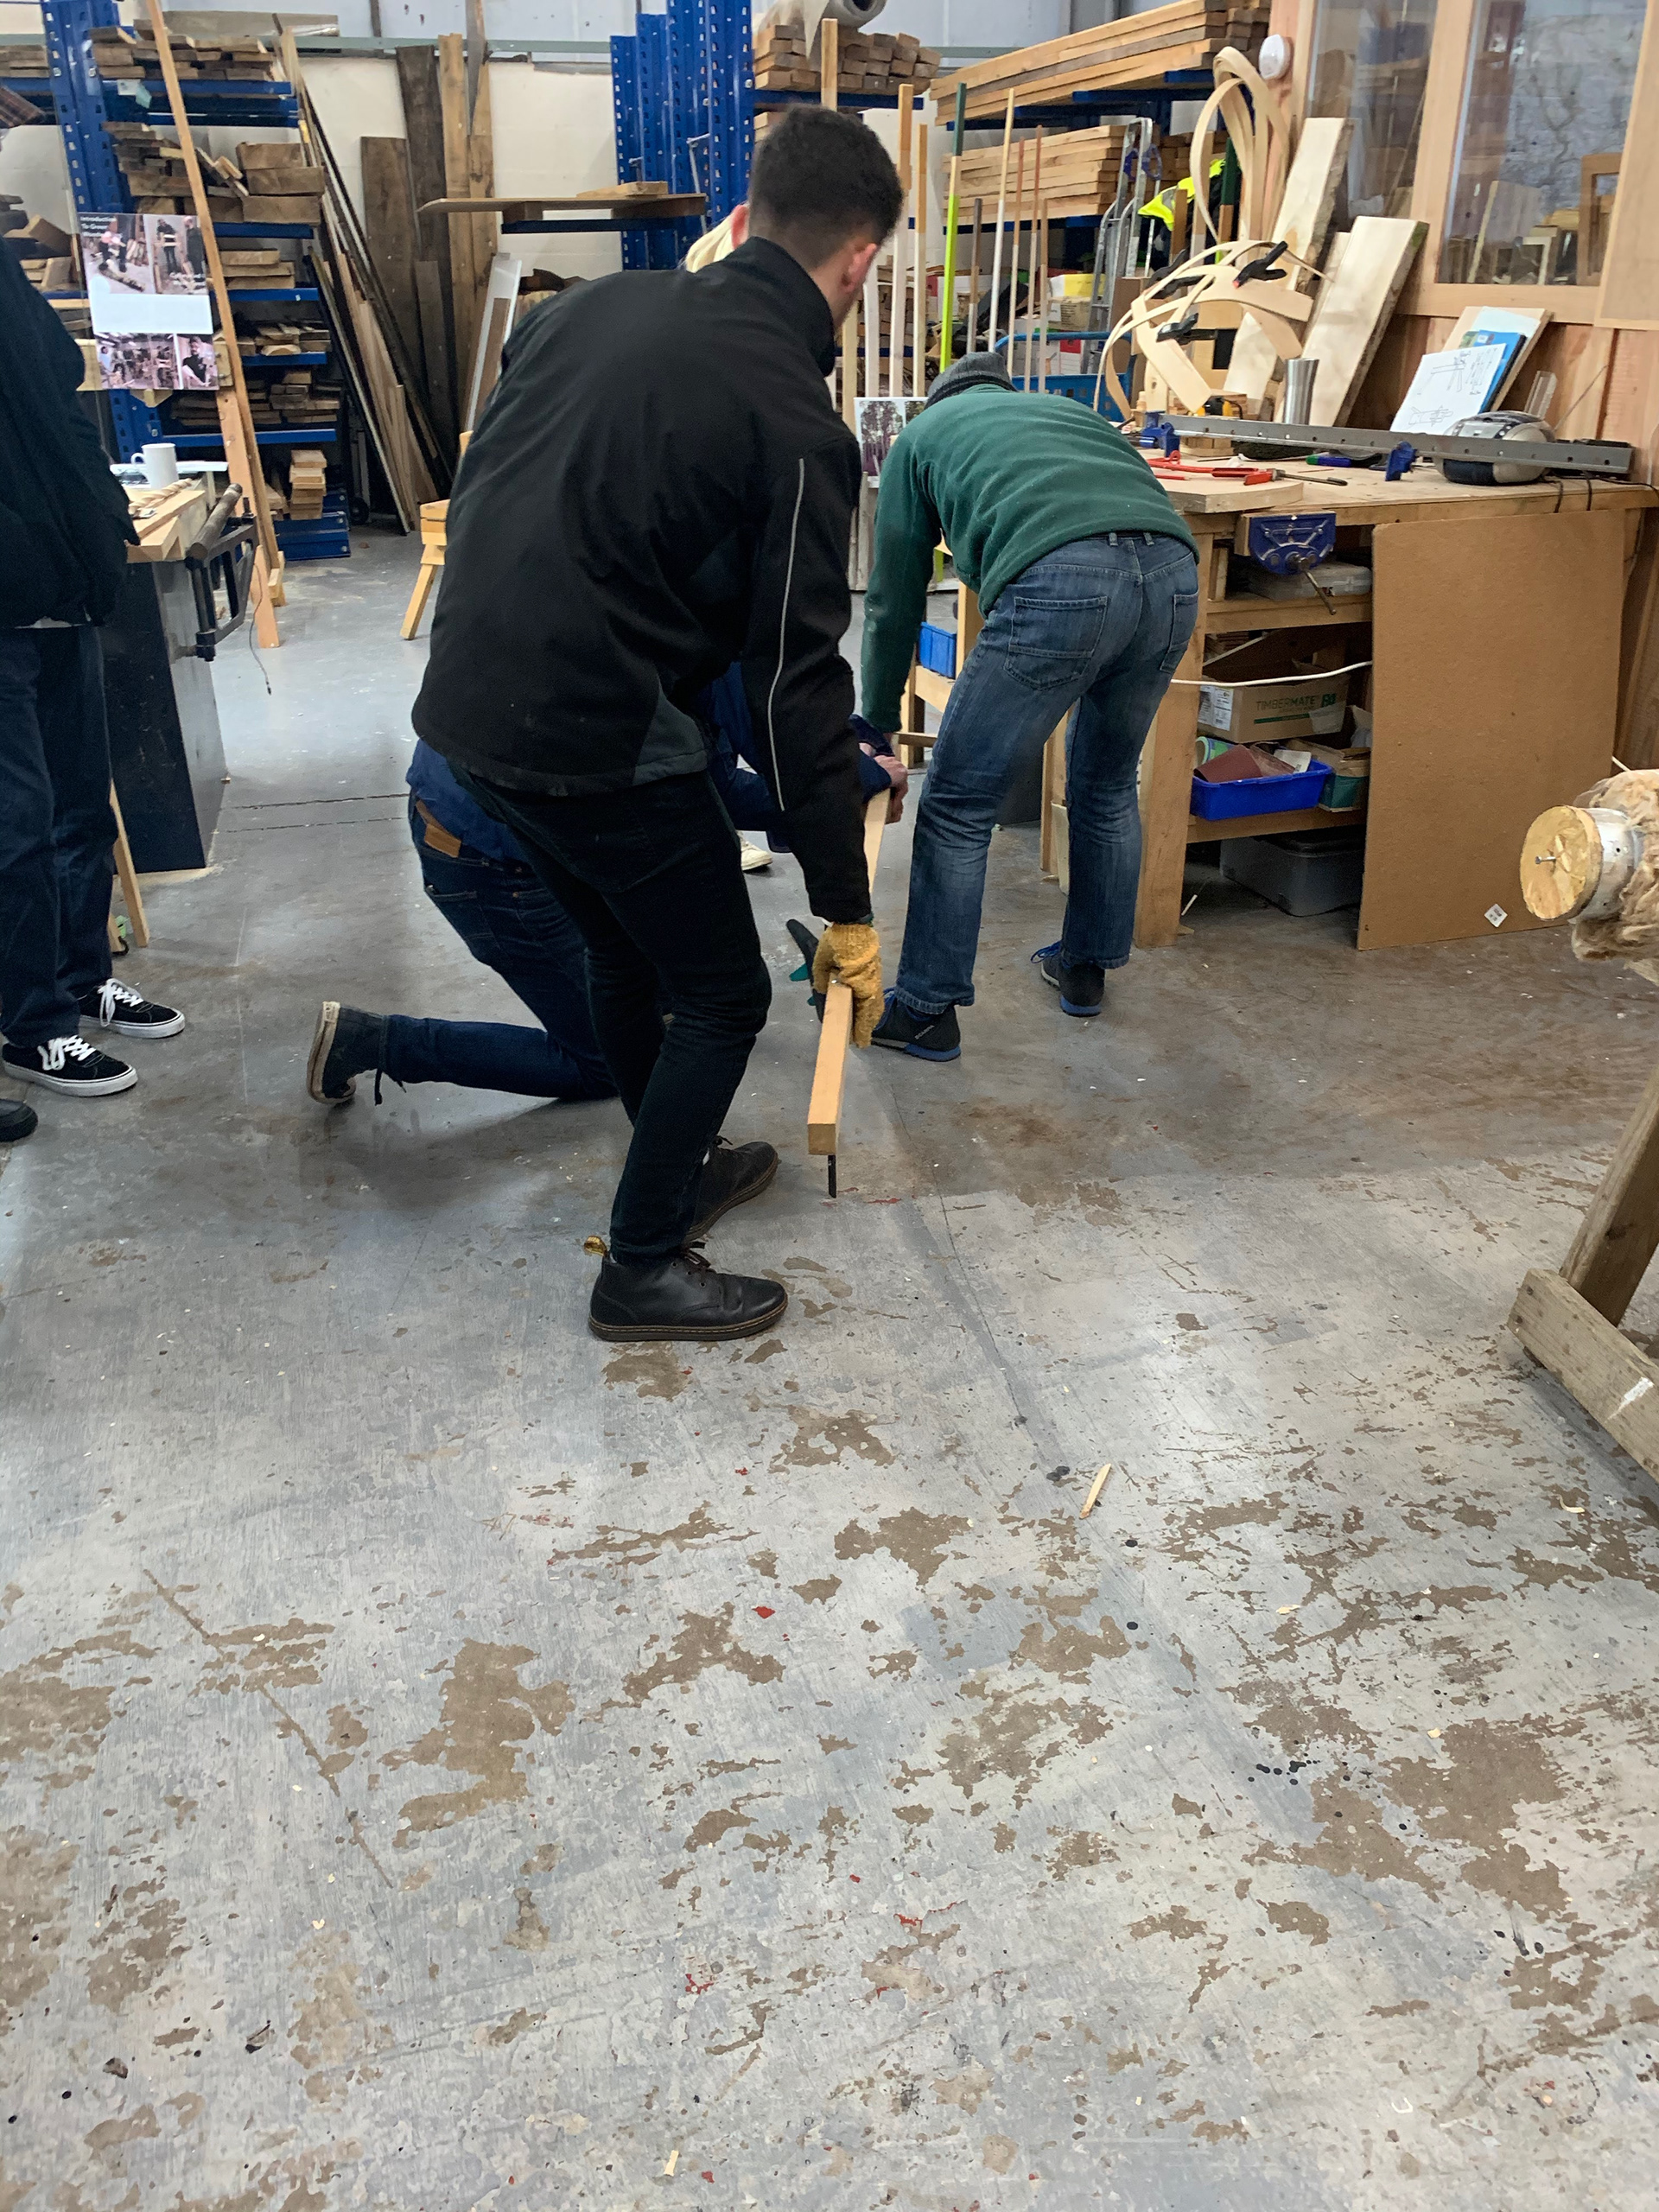
As an introduction to the process we did a trip to a workshop in Aberbargoed. Here we met an expert in steam bending that gave a demonstration as well as more tips into the process. He will also be helping understand the potential limits of any designs we come up with.

After the trip it was time to start thinking about our designs. Personally, when it comes to starting a design or designs, I go online to places such as Instagram and Pinterest to see what it is that people like and to see what is already being done. This gives me a good understanding for what would do well if it went to a commercial sale. However, I do still consider what I would be able to achieve with the skills that I have and the amount of time, whilst still trying to challenge and develop myself. When it comes to steam bending, I haven’t done anything to do with the process before. So whatever I try to achieve it will be a challenge, it just depends how big a step I want to take.
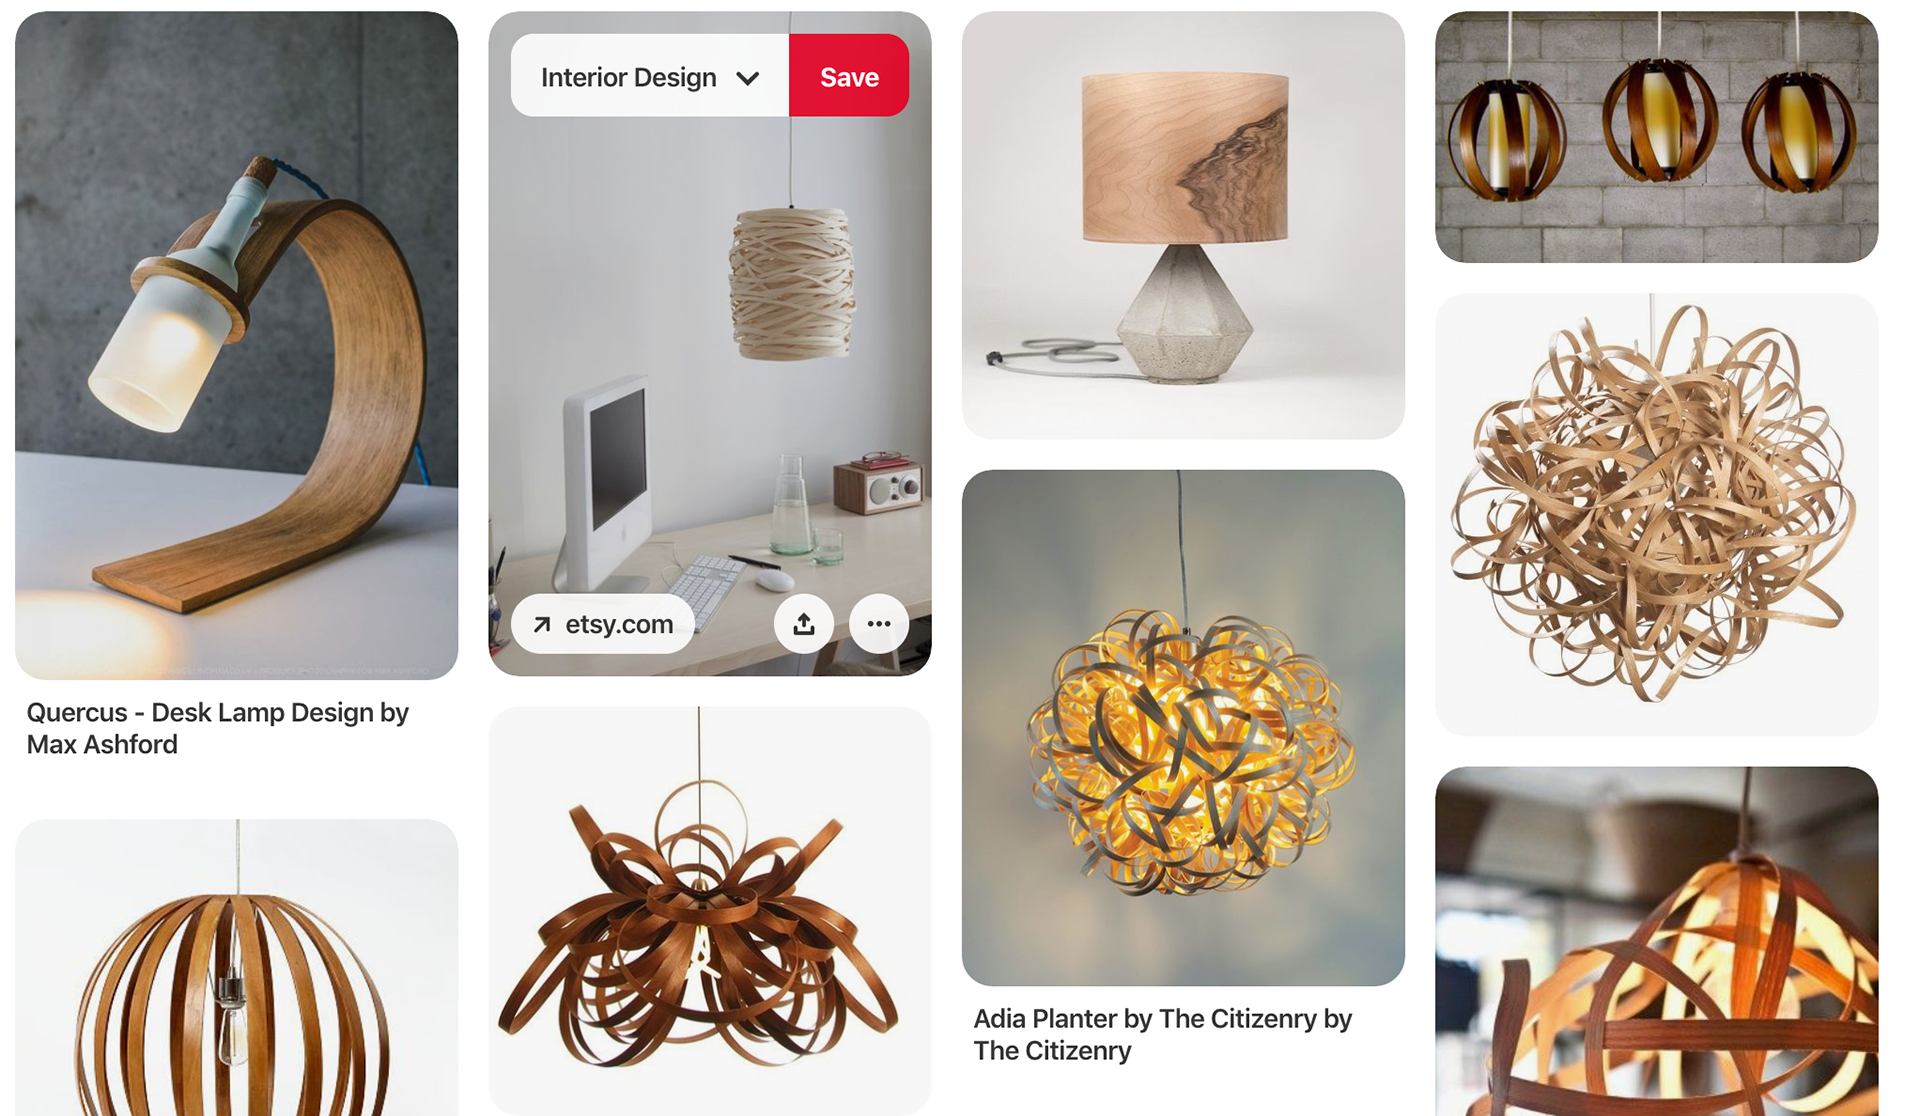

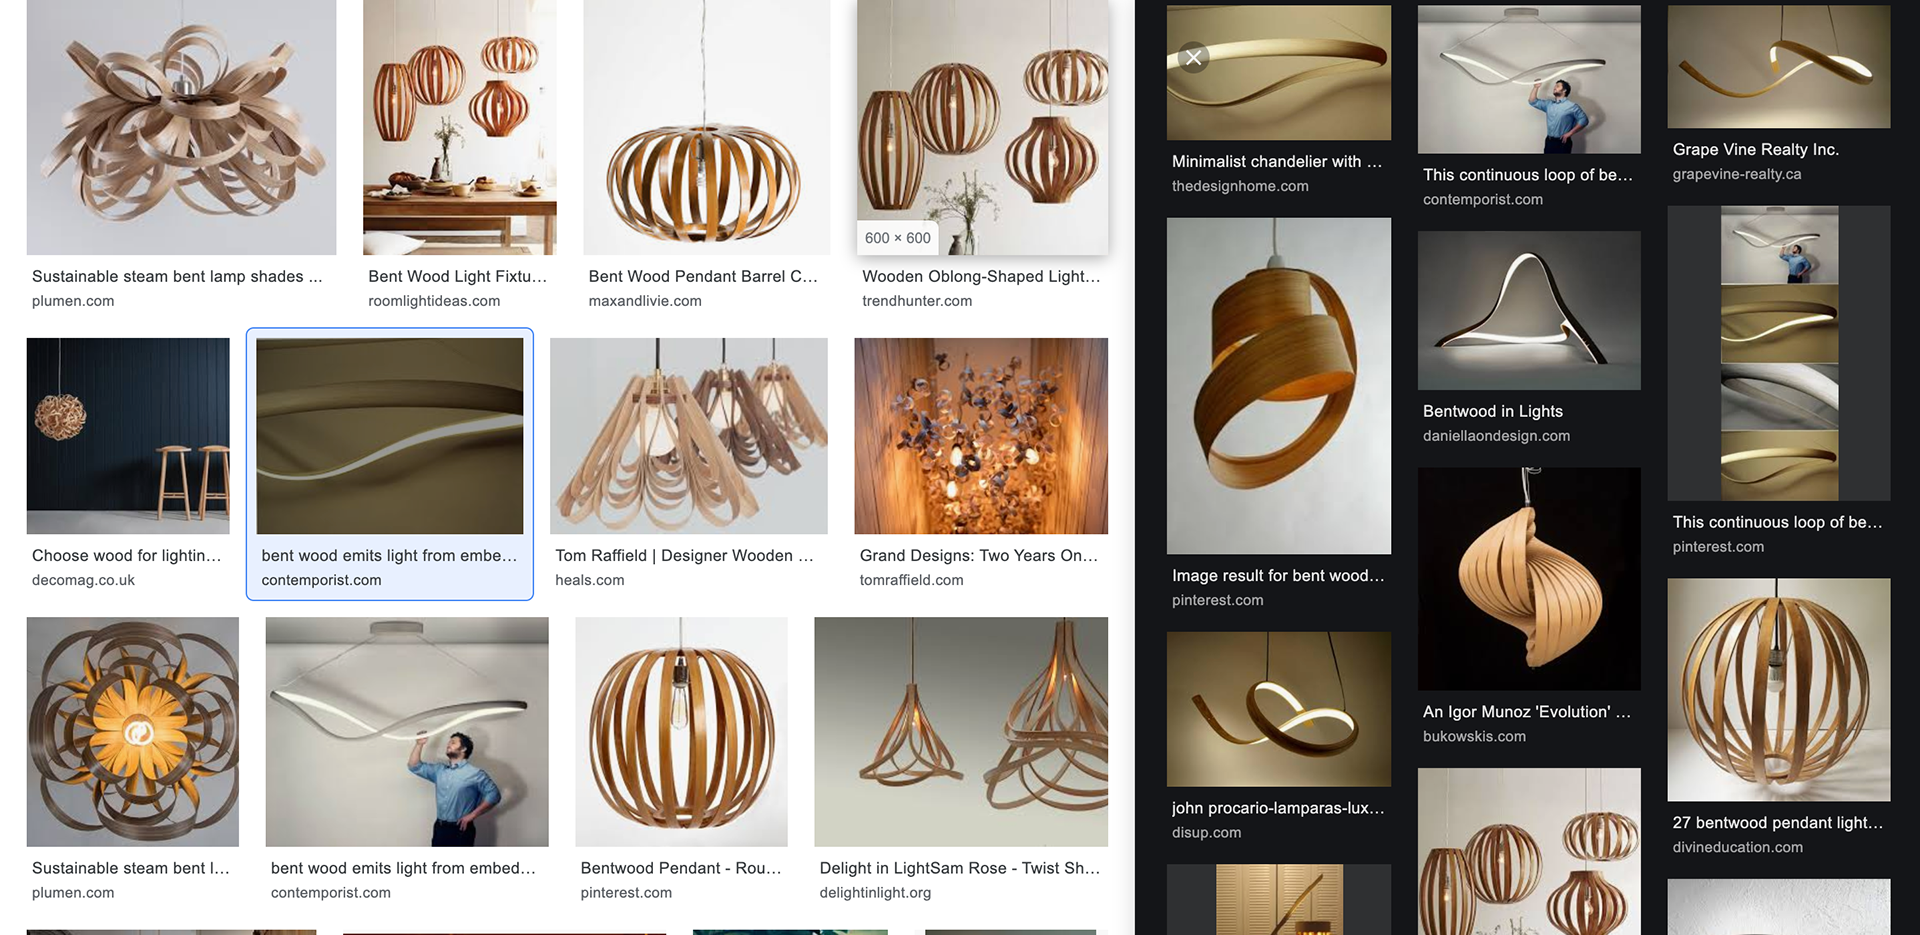
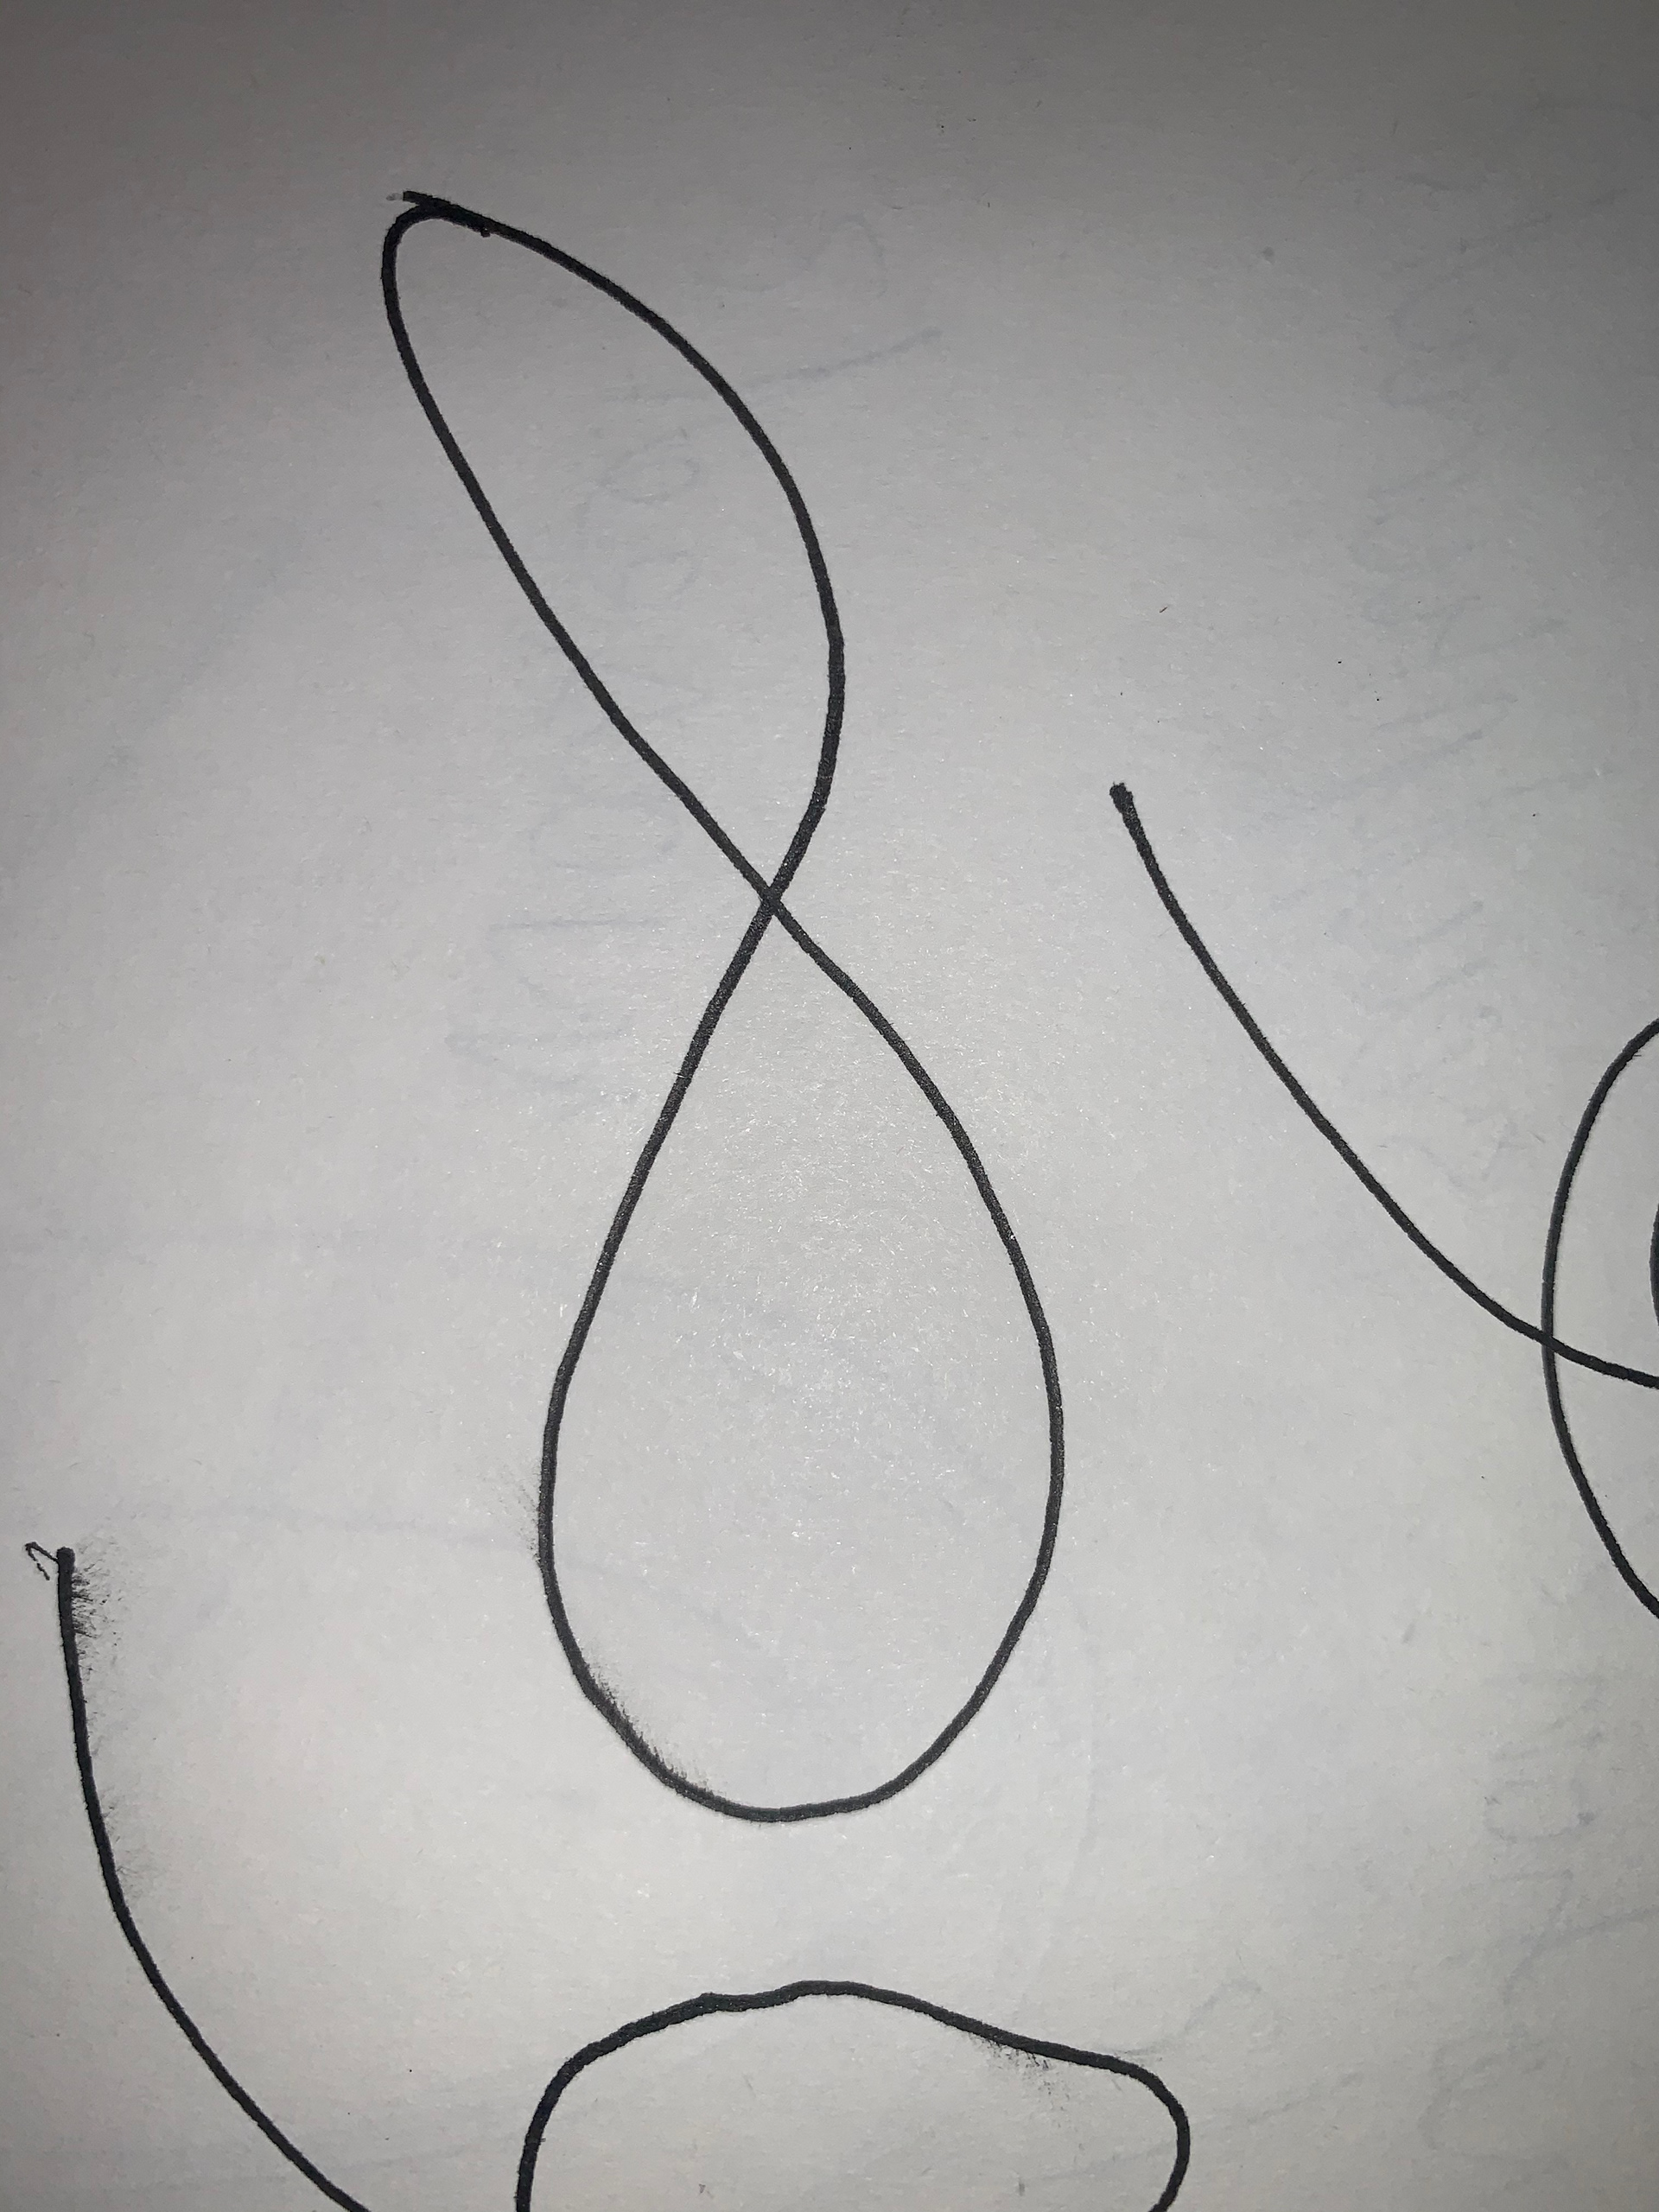
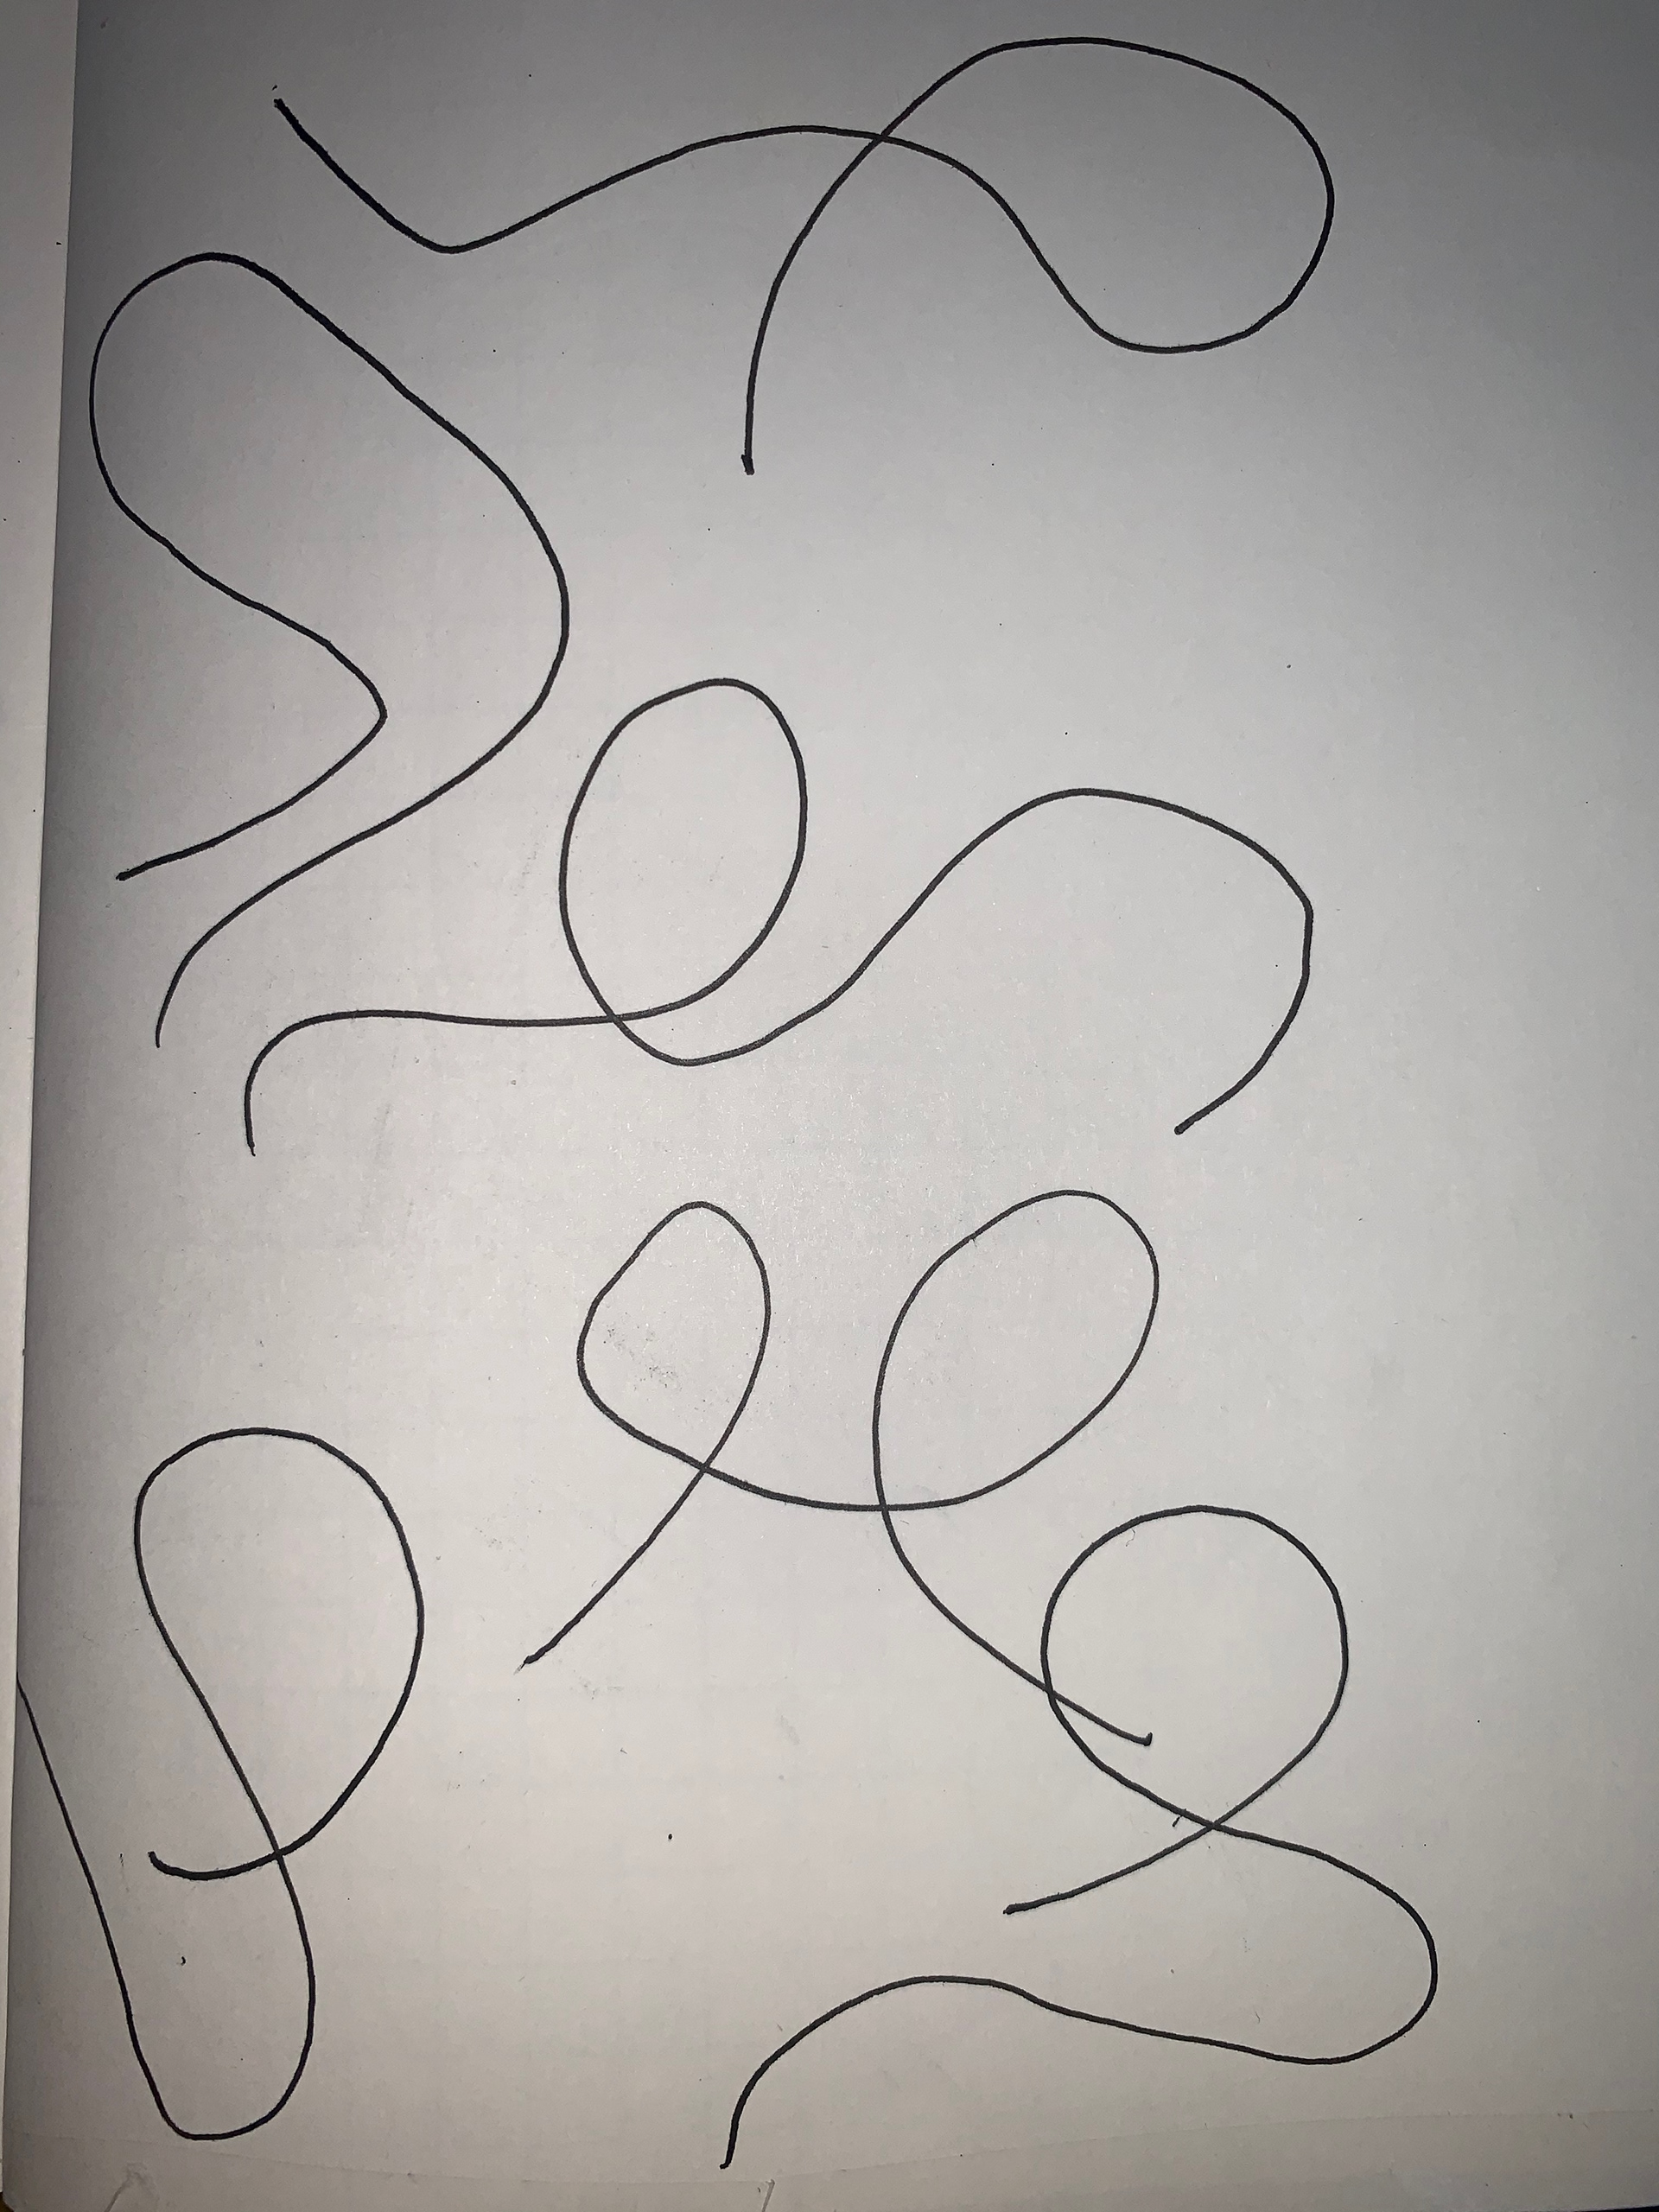
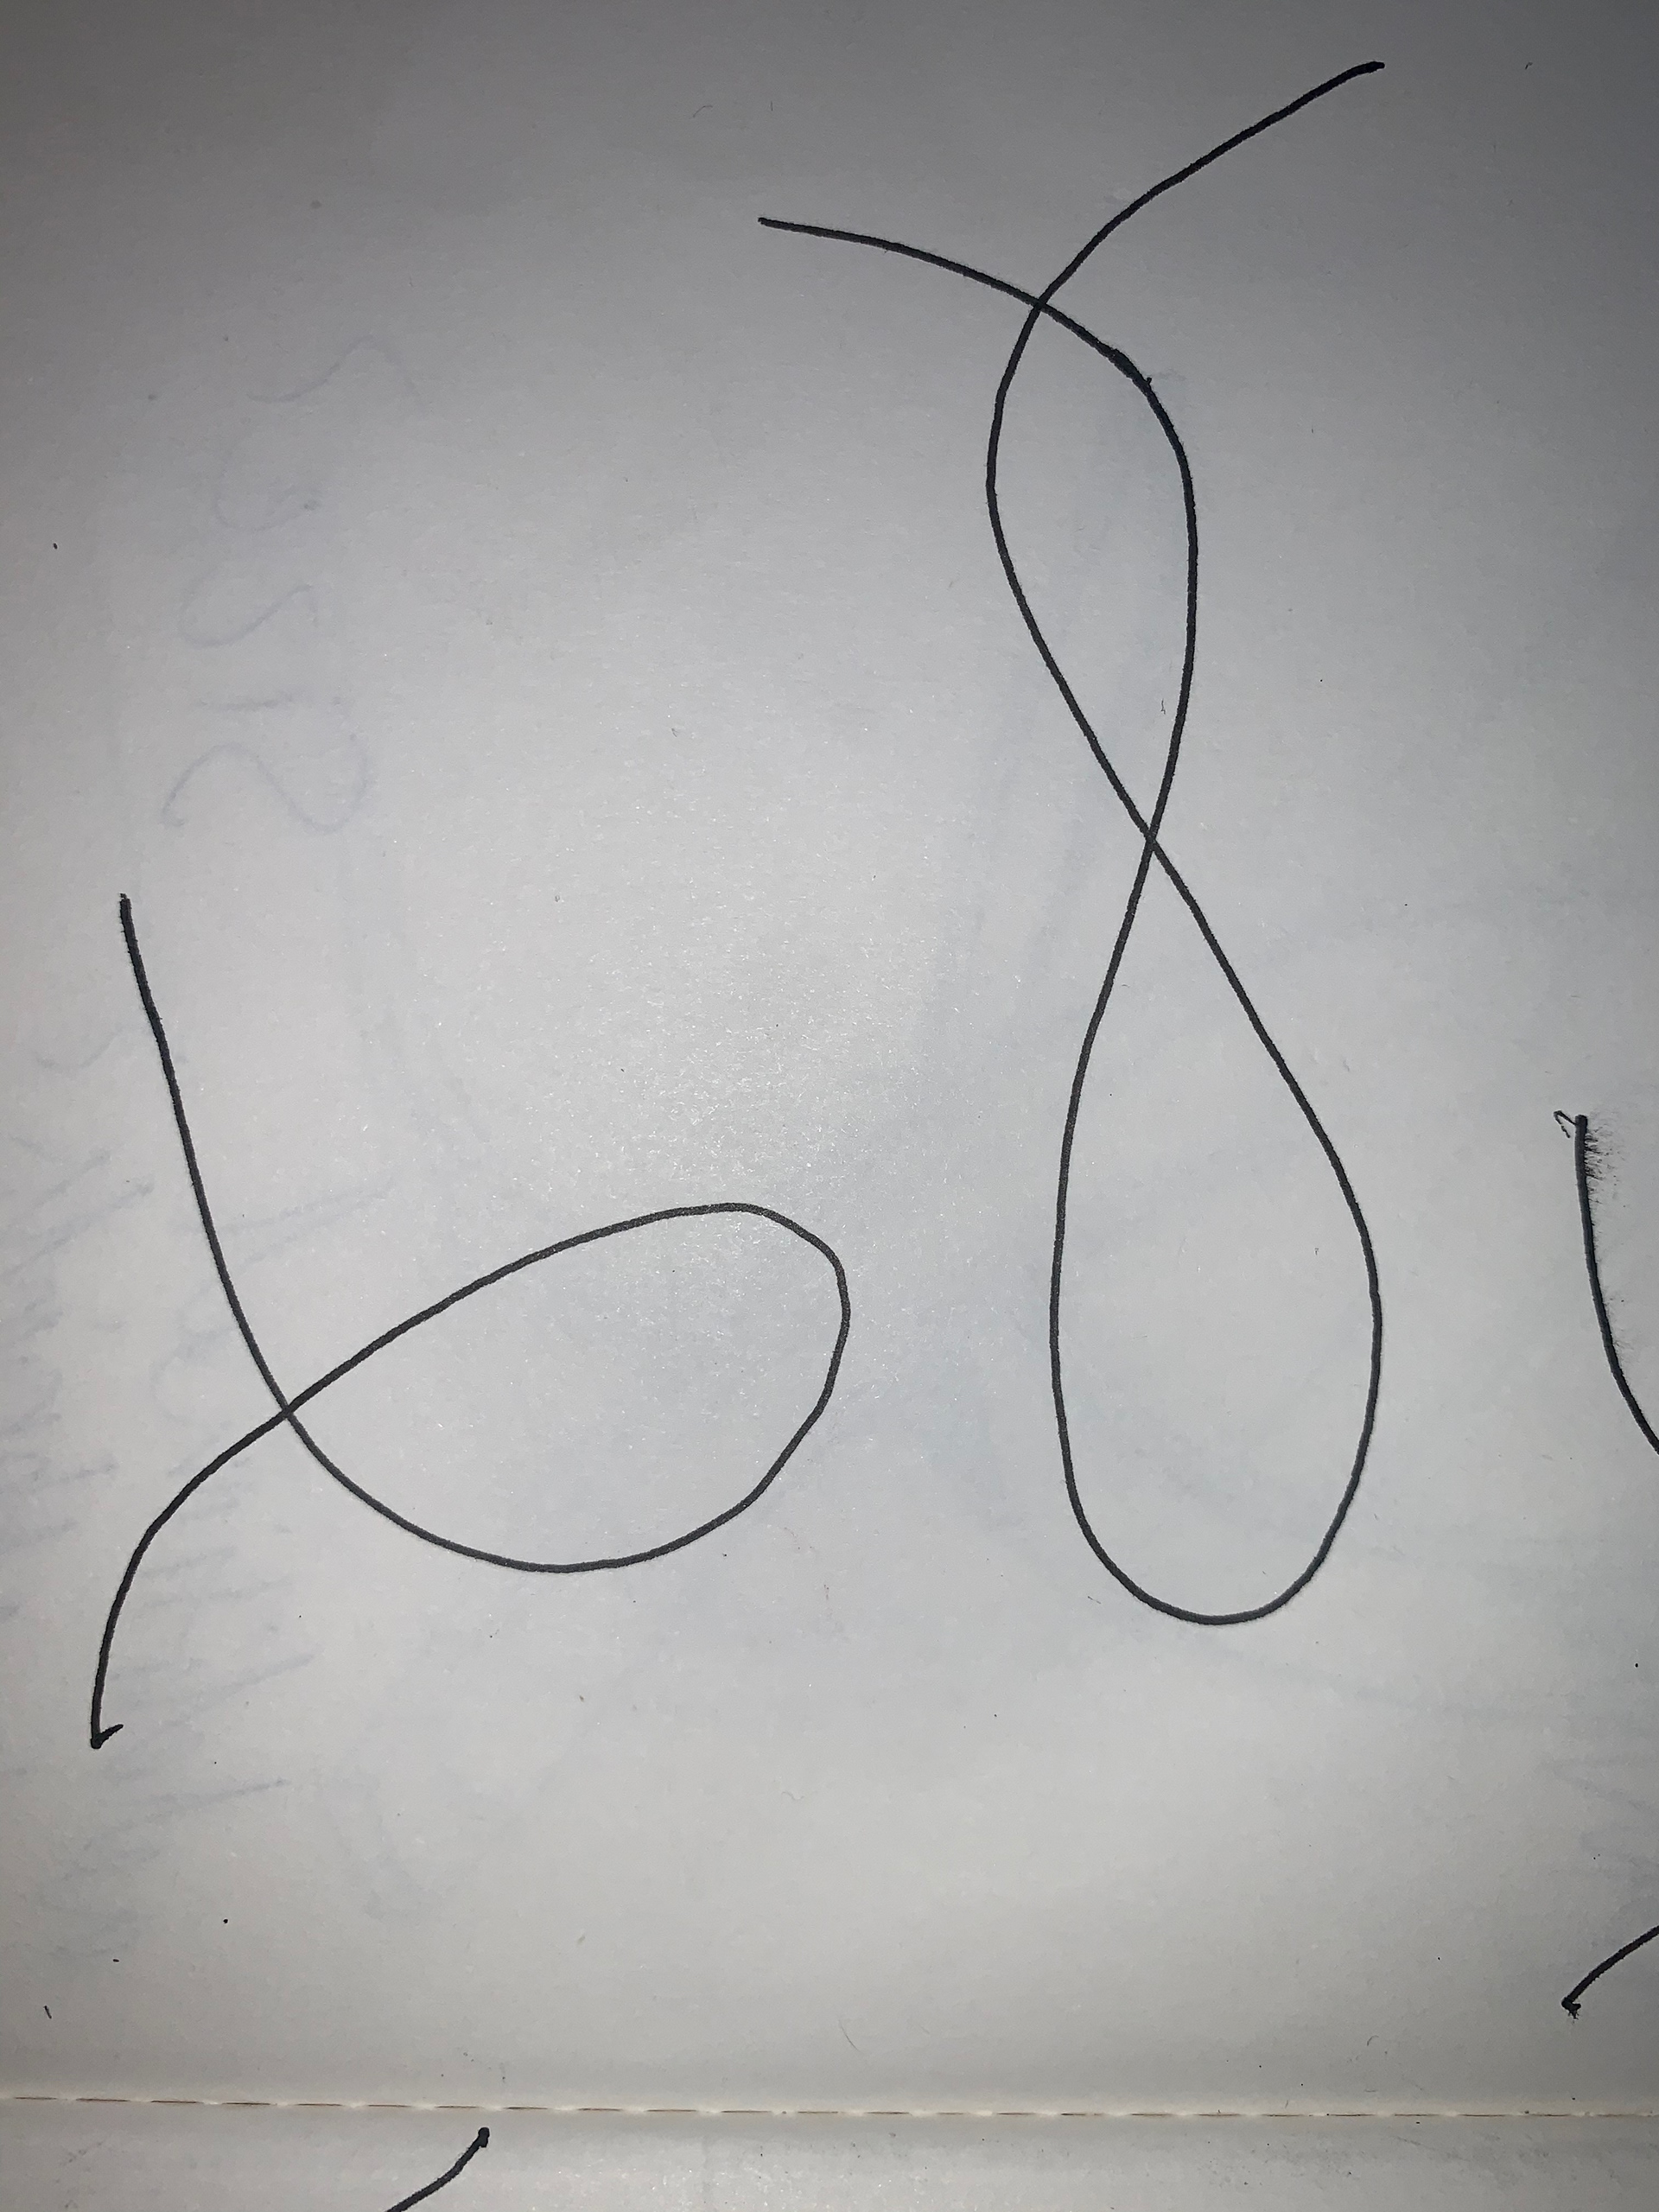
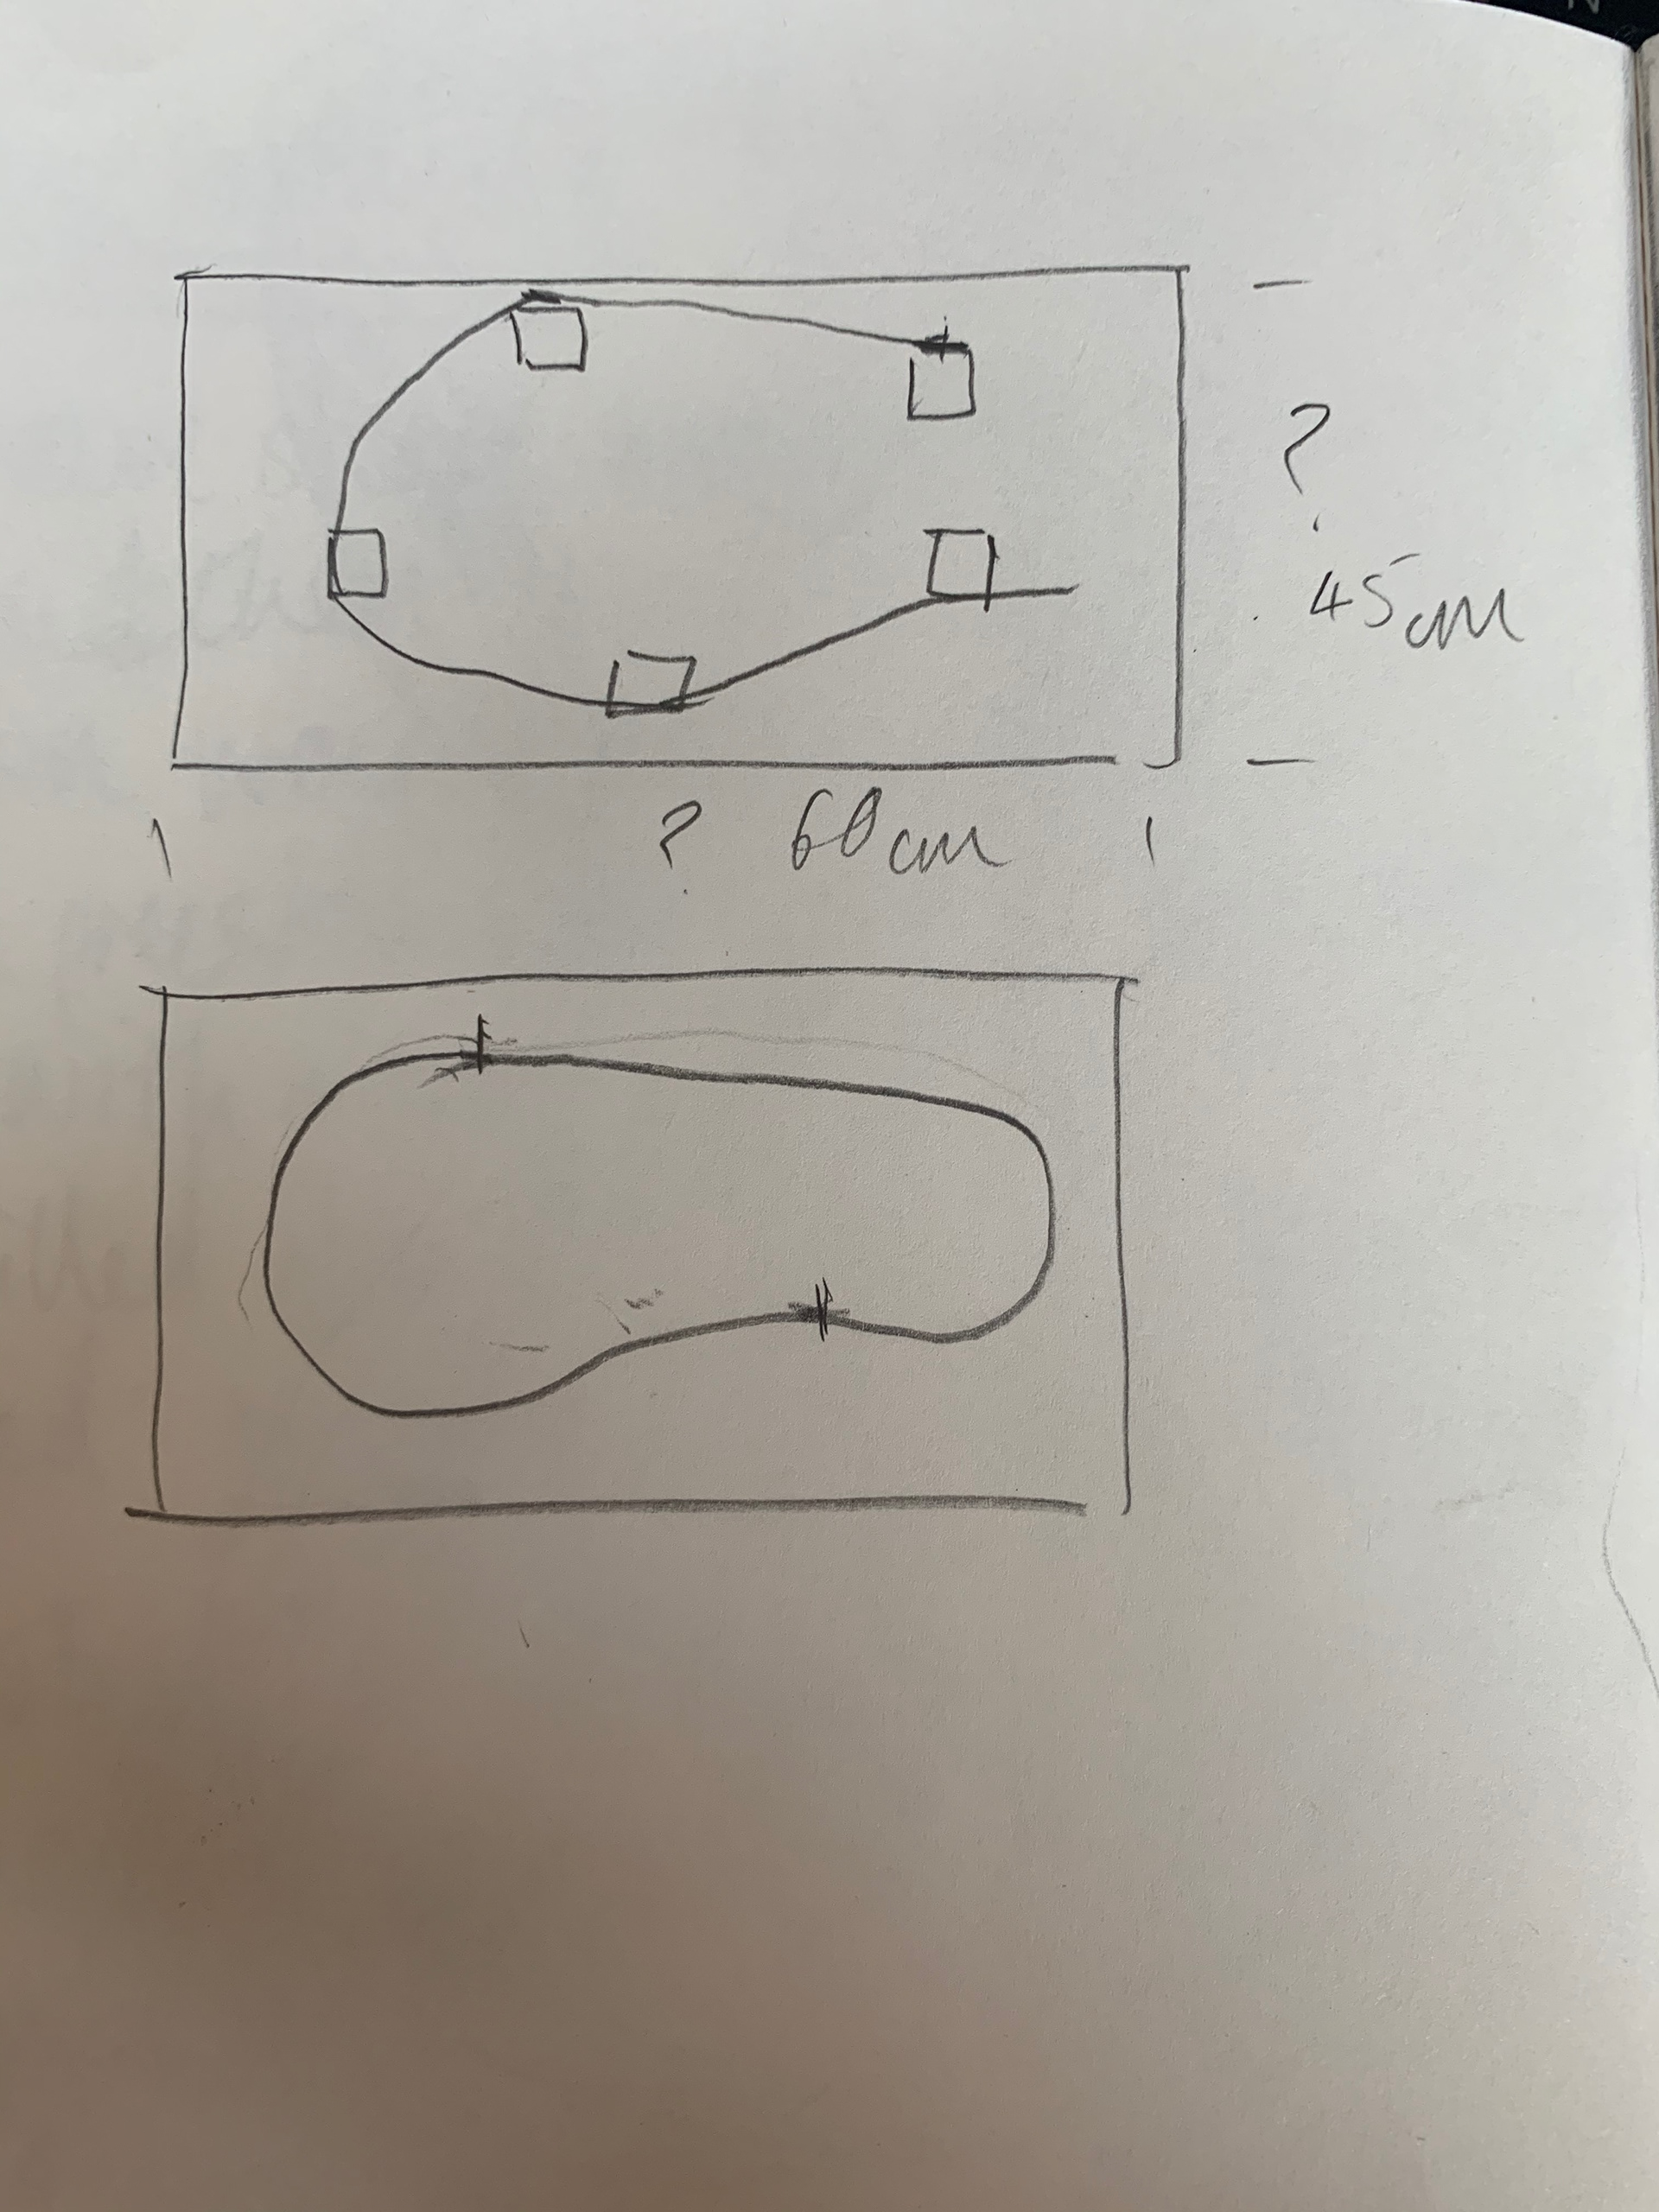
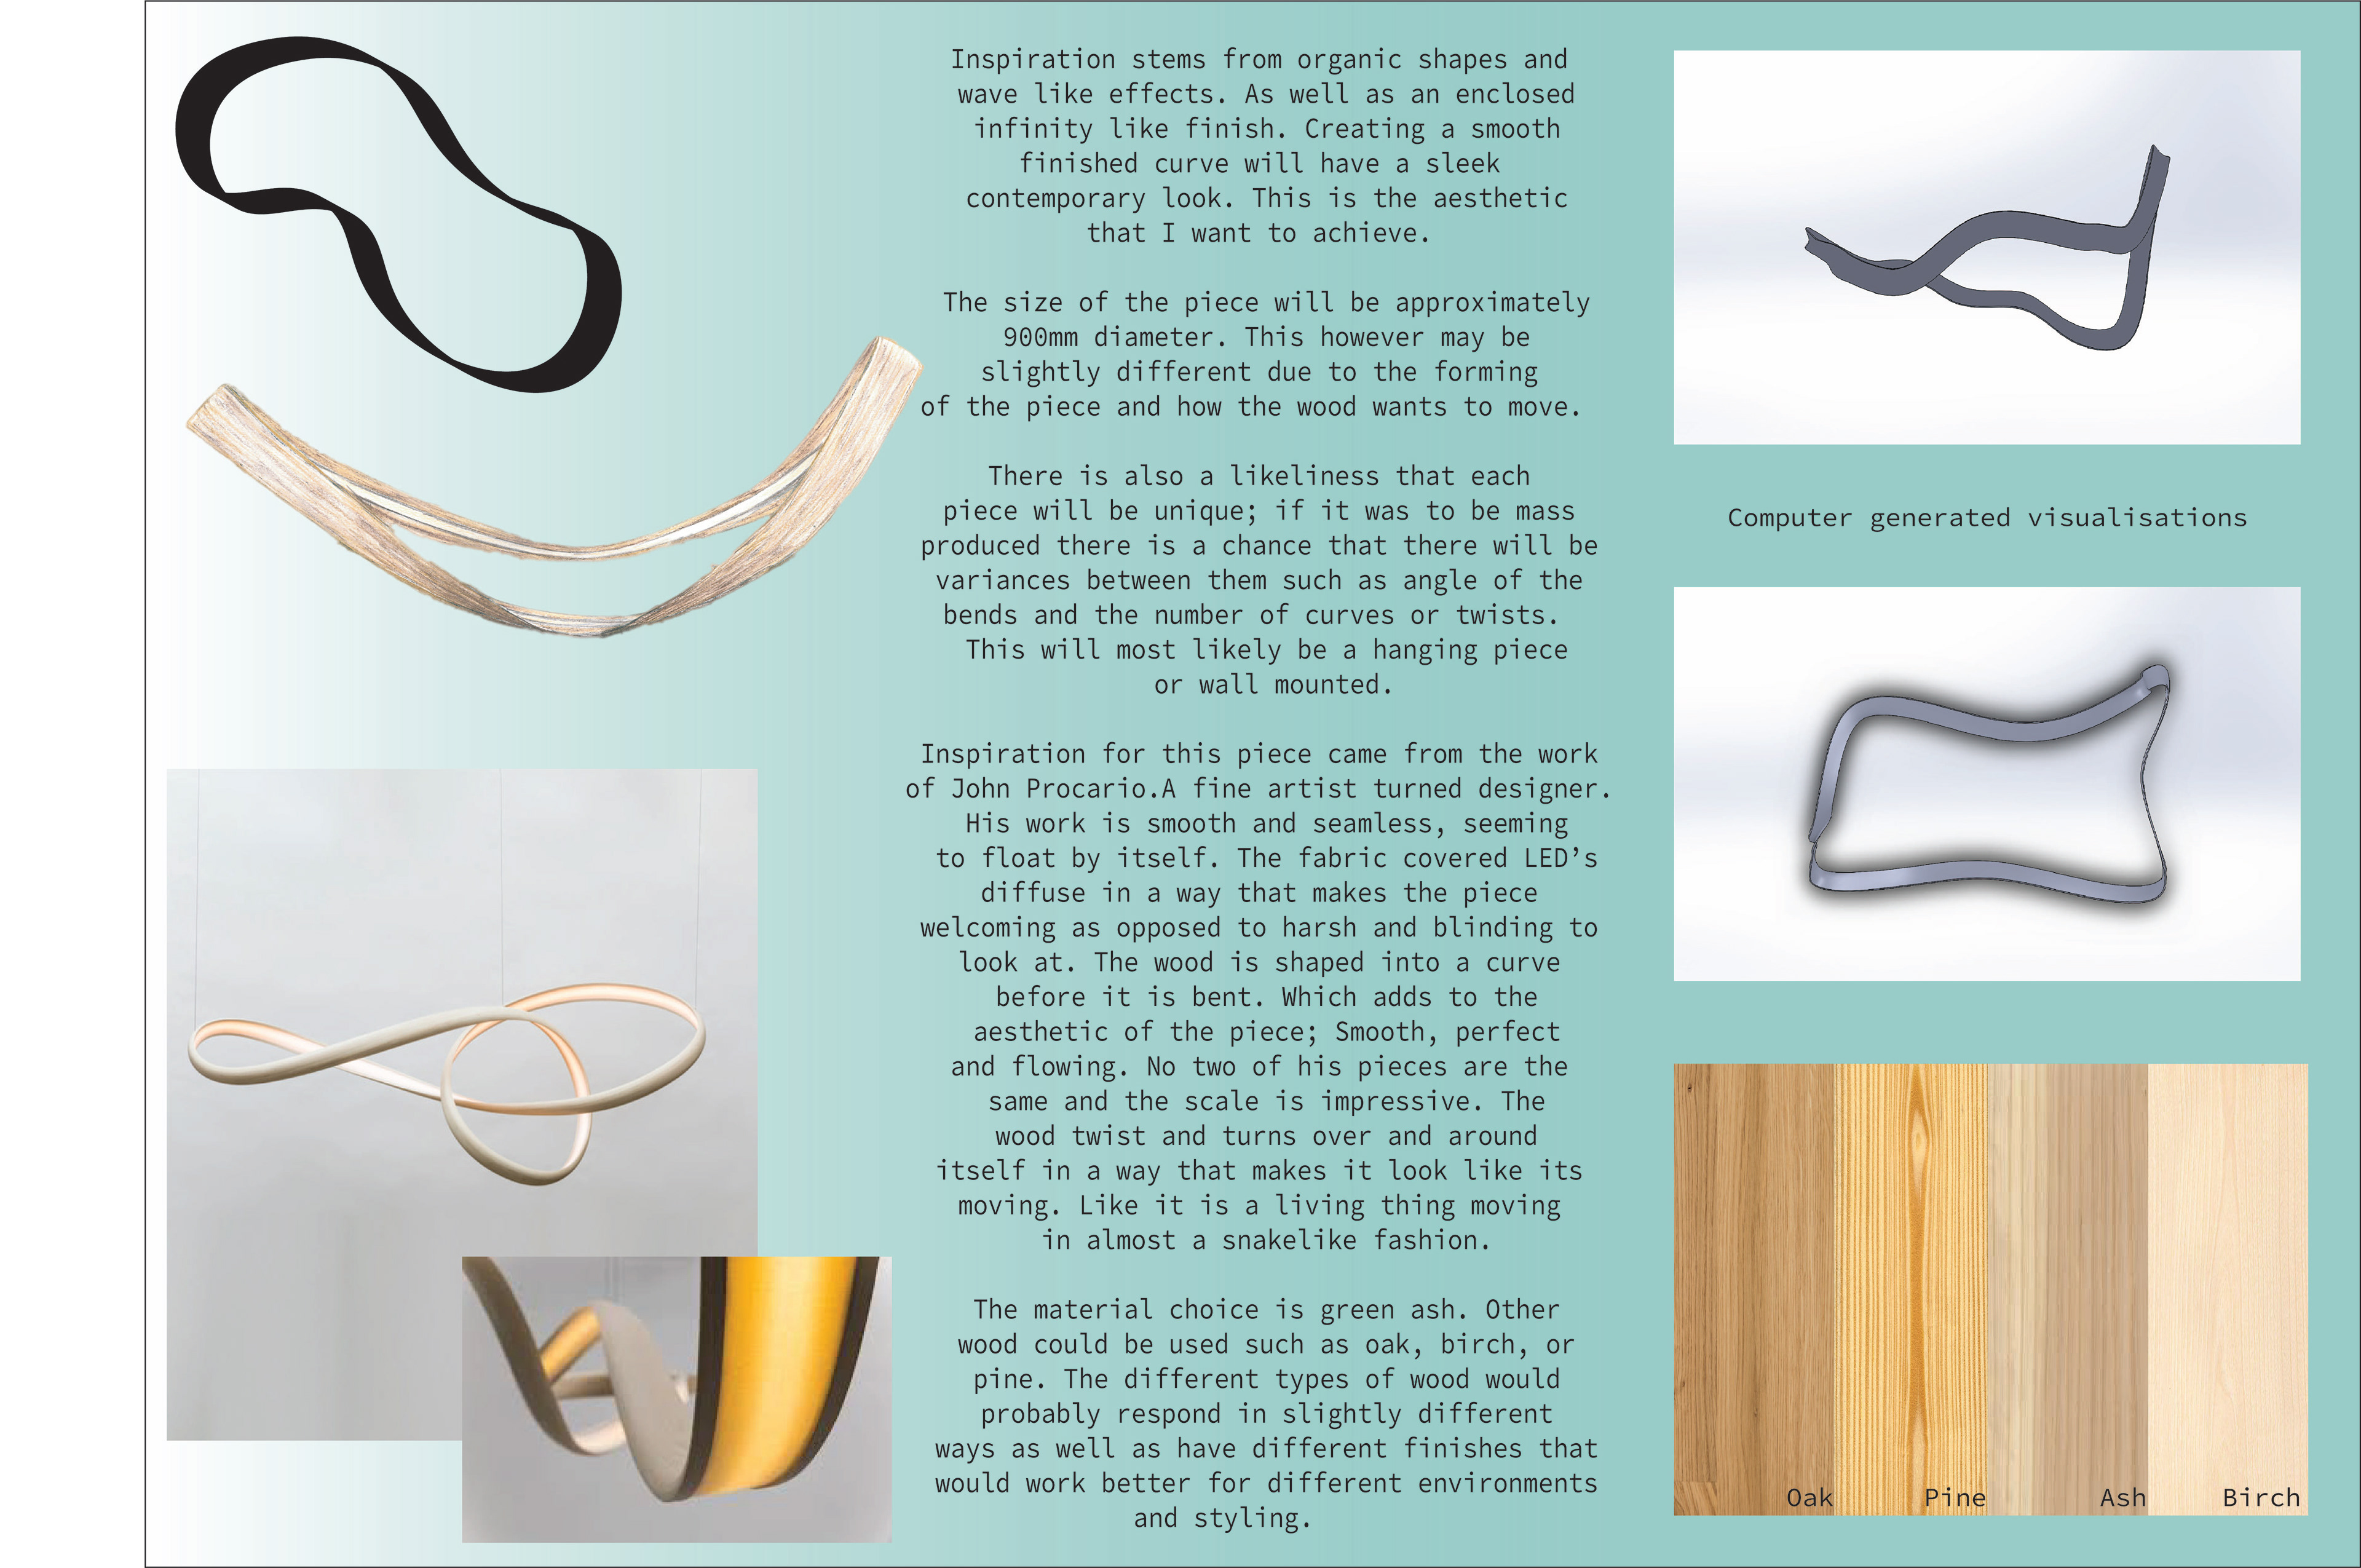
After looking at the various sites I had the idea of doing a more organic shape, almost wave like. I wanted to do a closed shape, where the lights would be hidden on the inner curve. However the closed shape may change after some experimentation.
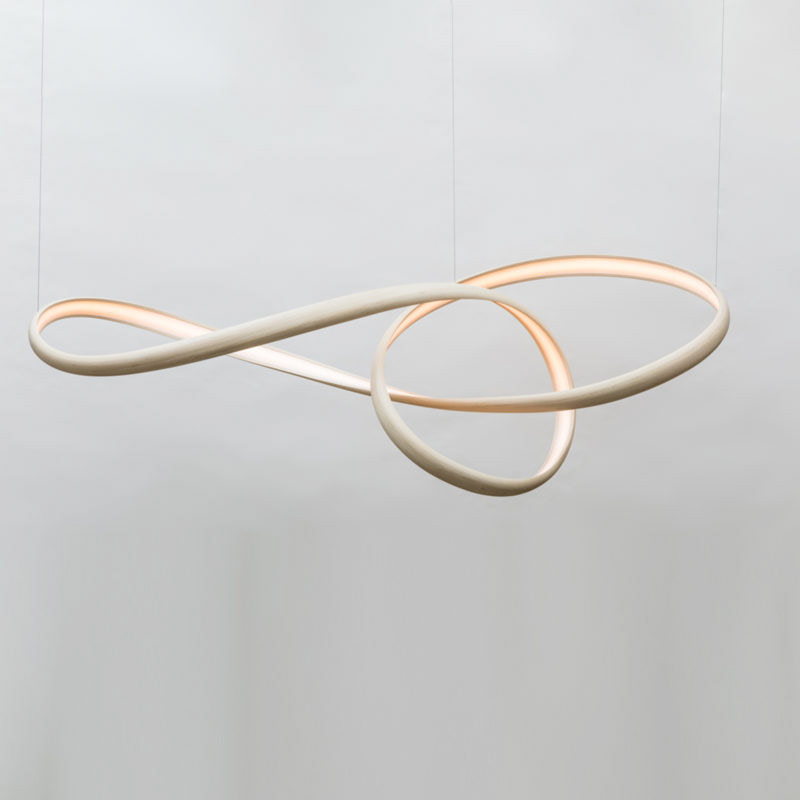
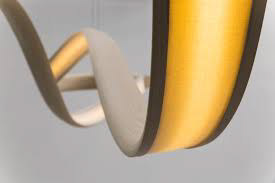
Inspiration for this came from the work of John Procario. A fine artist turned designer. His work is smooth and seamless, seeming to float by itself. The fabric covered LED’s diffuse in a way that makes the piece welcoming as opposed to harsh and blinding to look at. The wood is shaped into a curve before it is bent. Which adds to the aesthetic of the piece; Smooth, perfect and flowing. No two of his pieces are the same and the scale is impressive. The wood twist and turns over and around itself in a way that makes it look like it's moving. Like it is a living thing moving in almost a snakelike fashion.
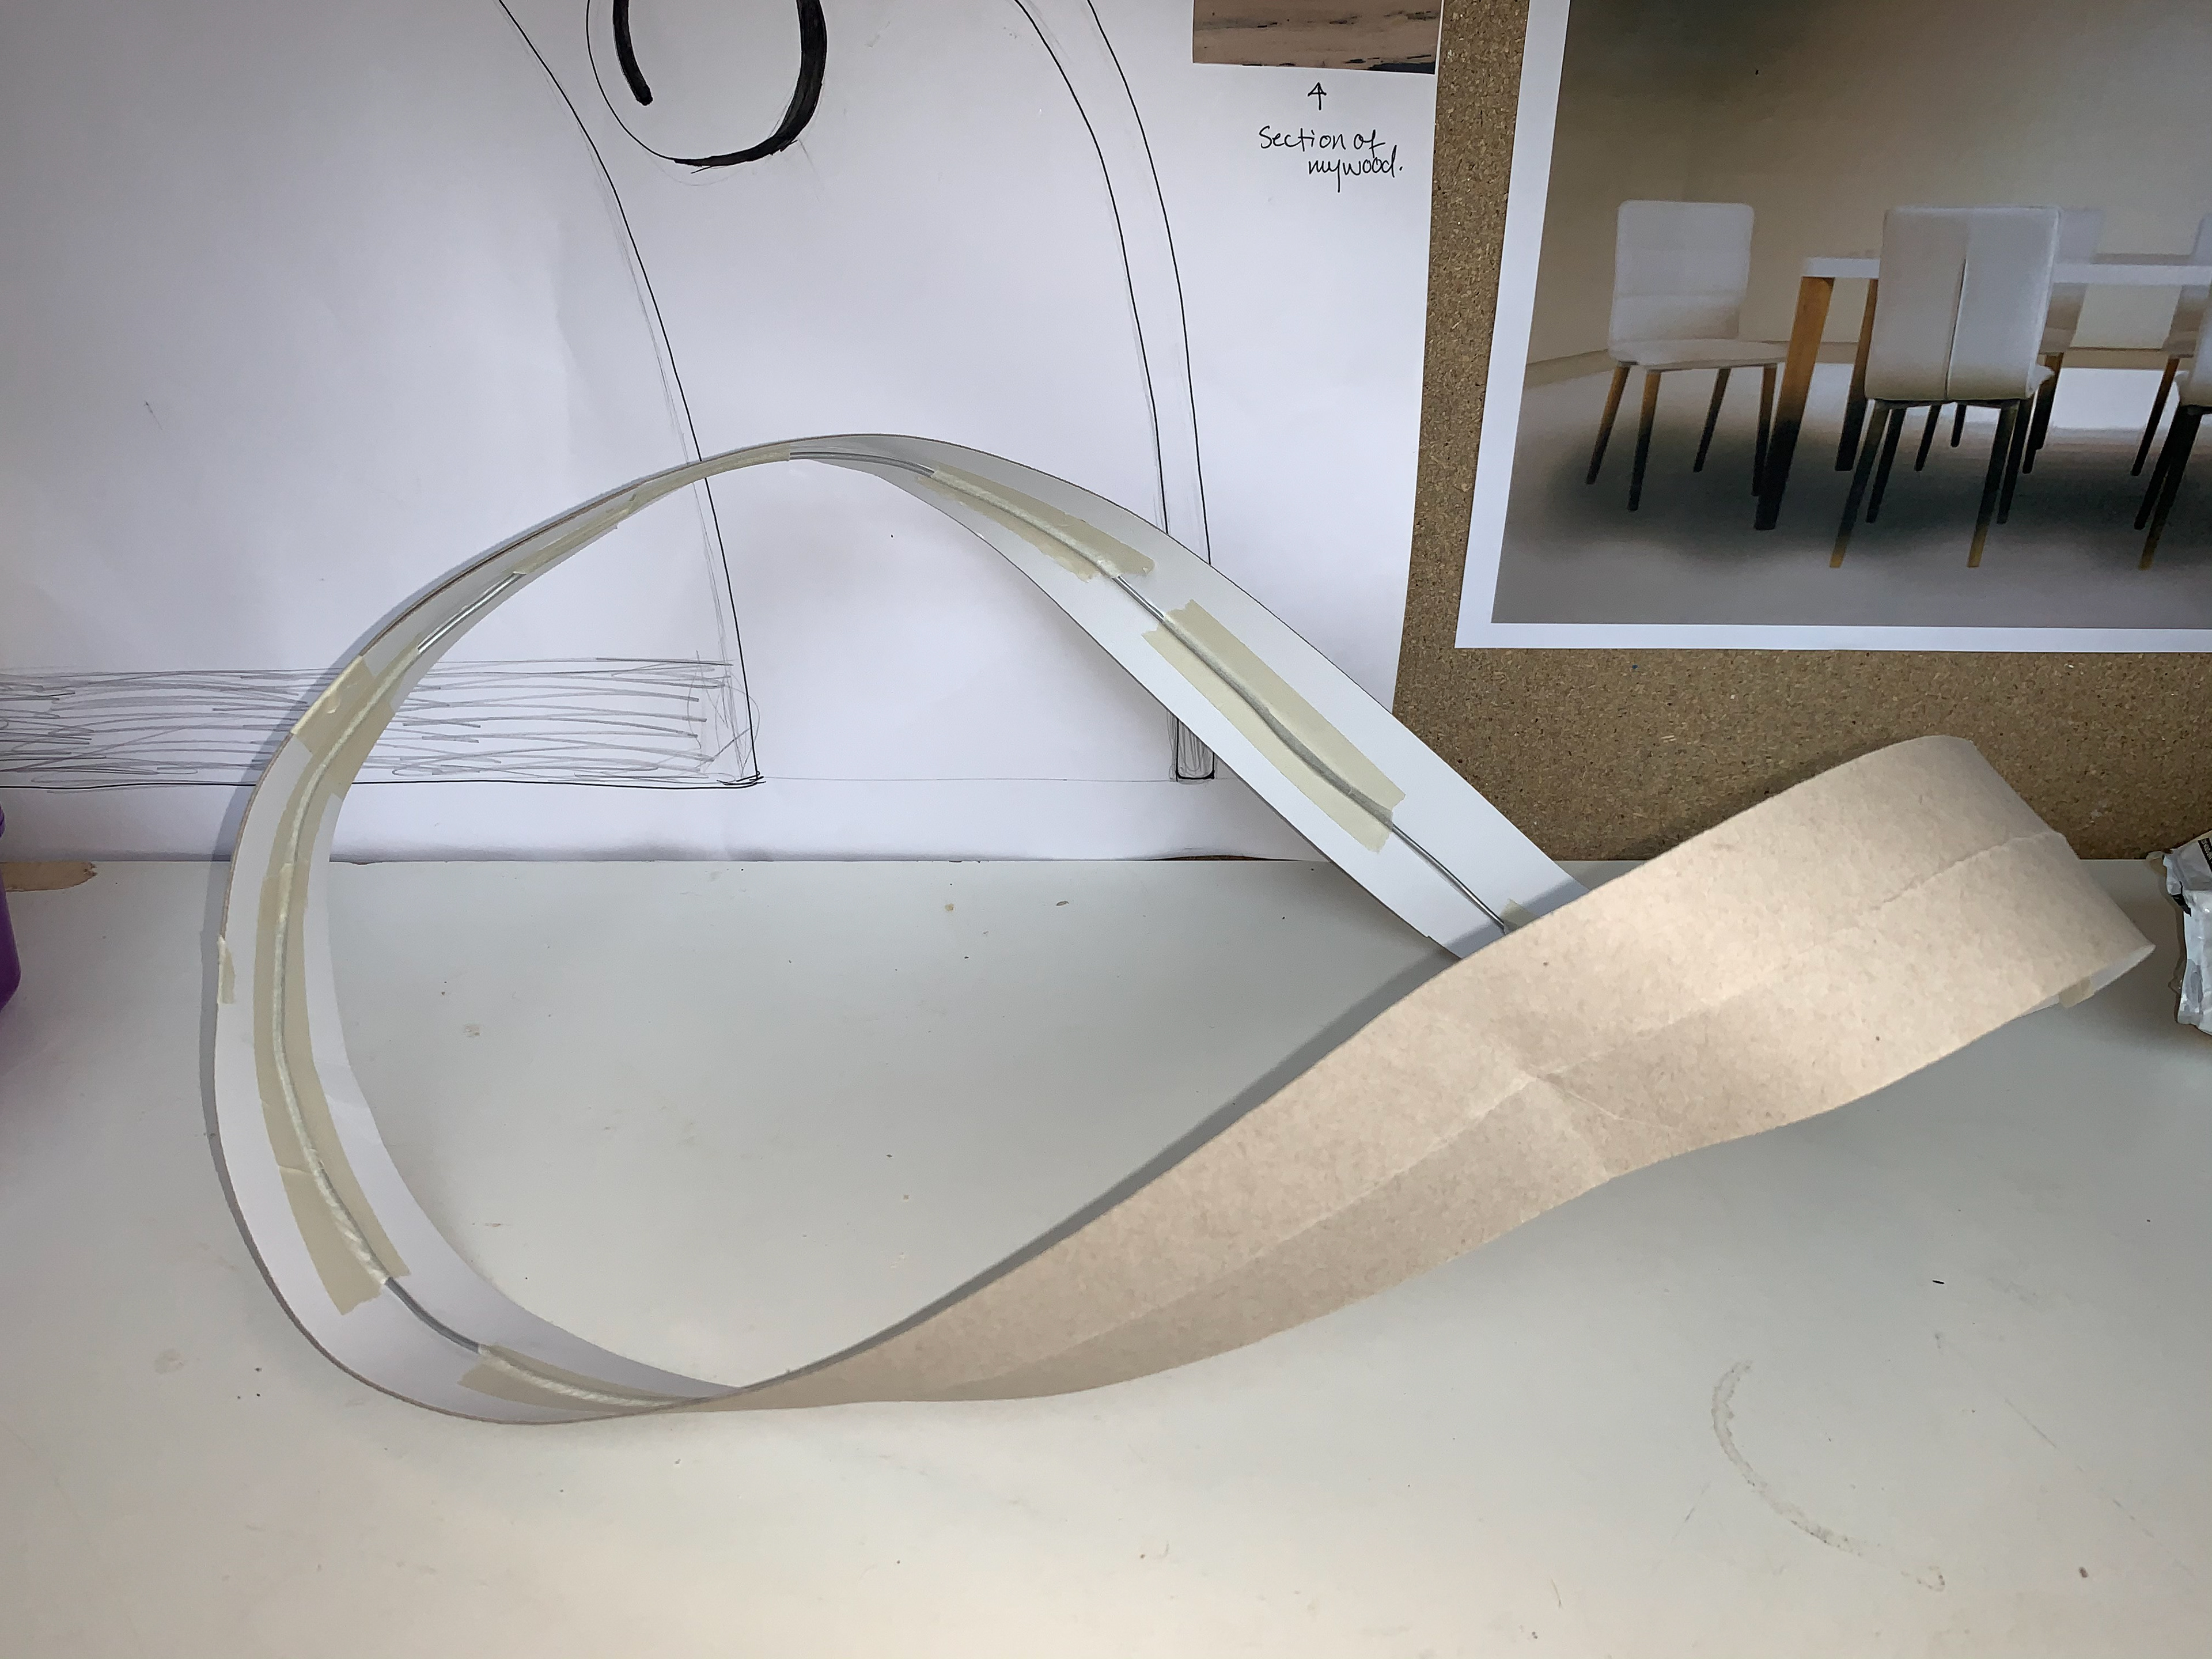
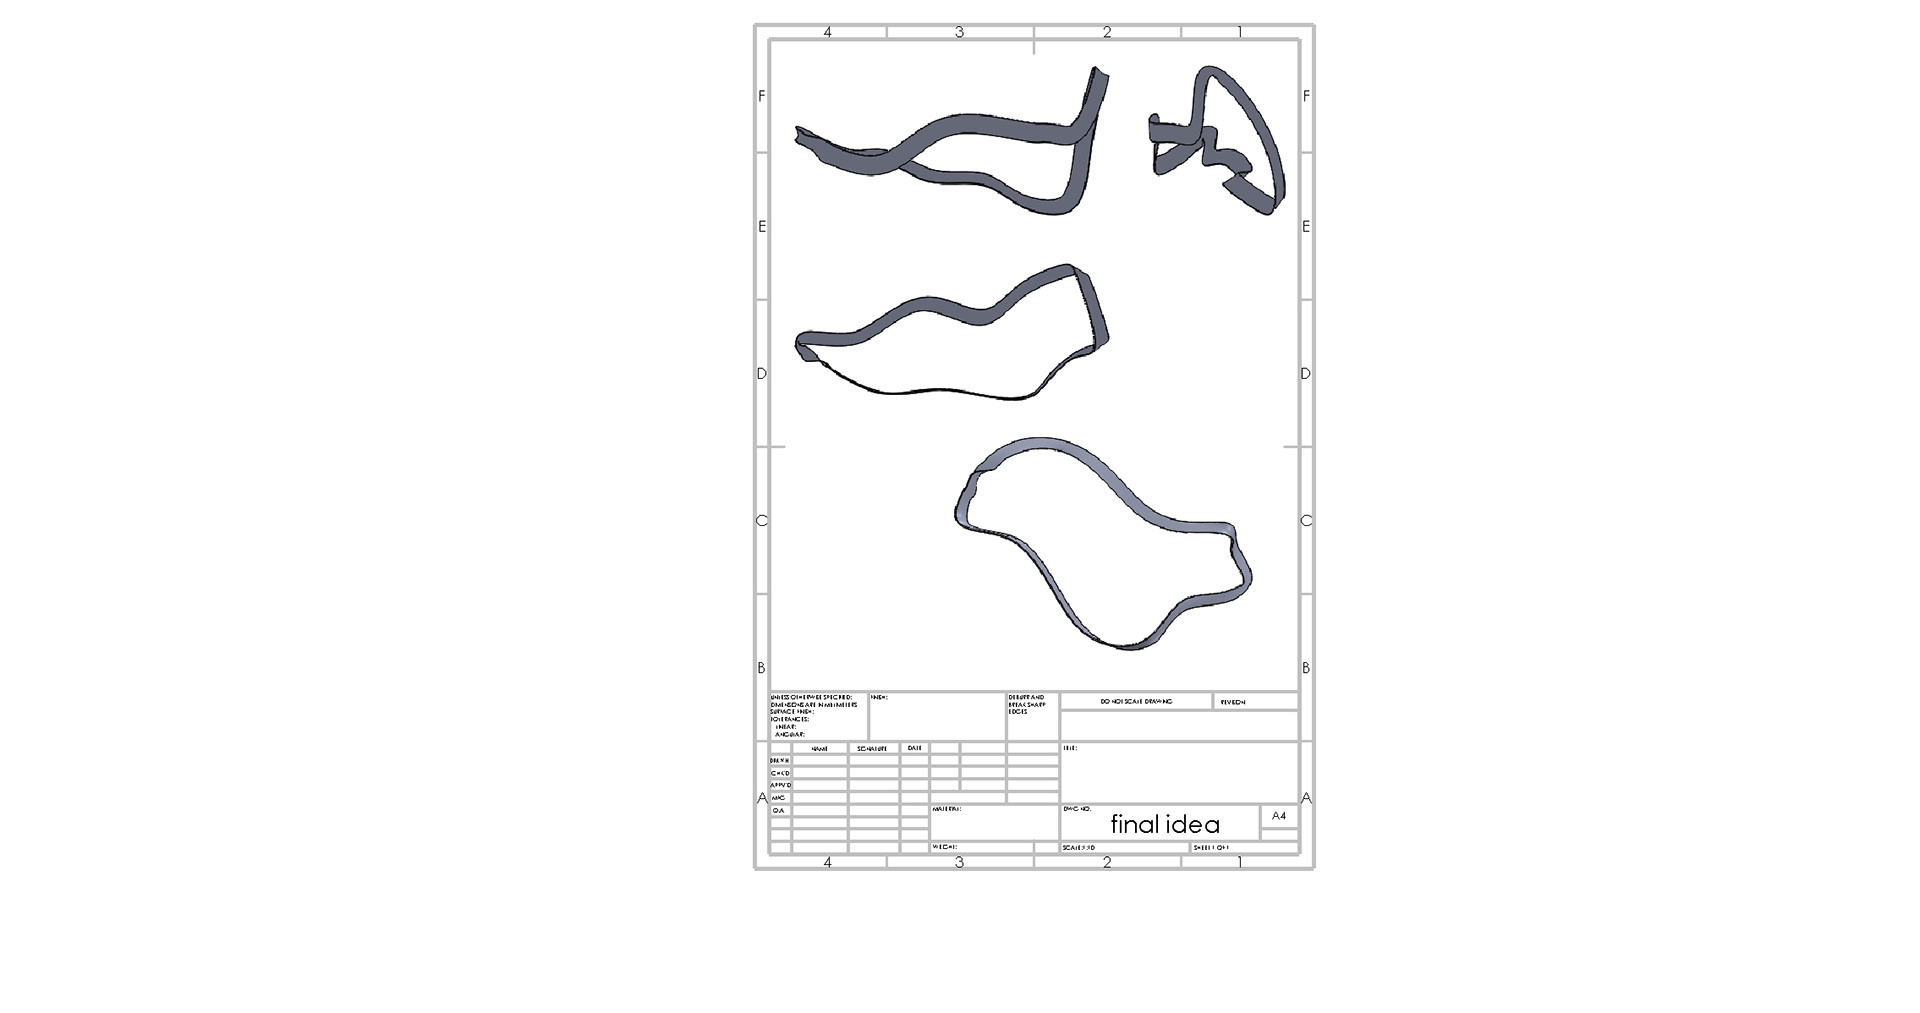
Before I can start bending the wood I have to try and model my ideas from a selection of low-tech materials. As well as produce an orthographic drawing.


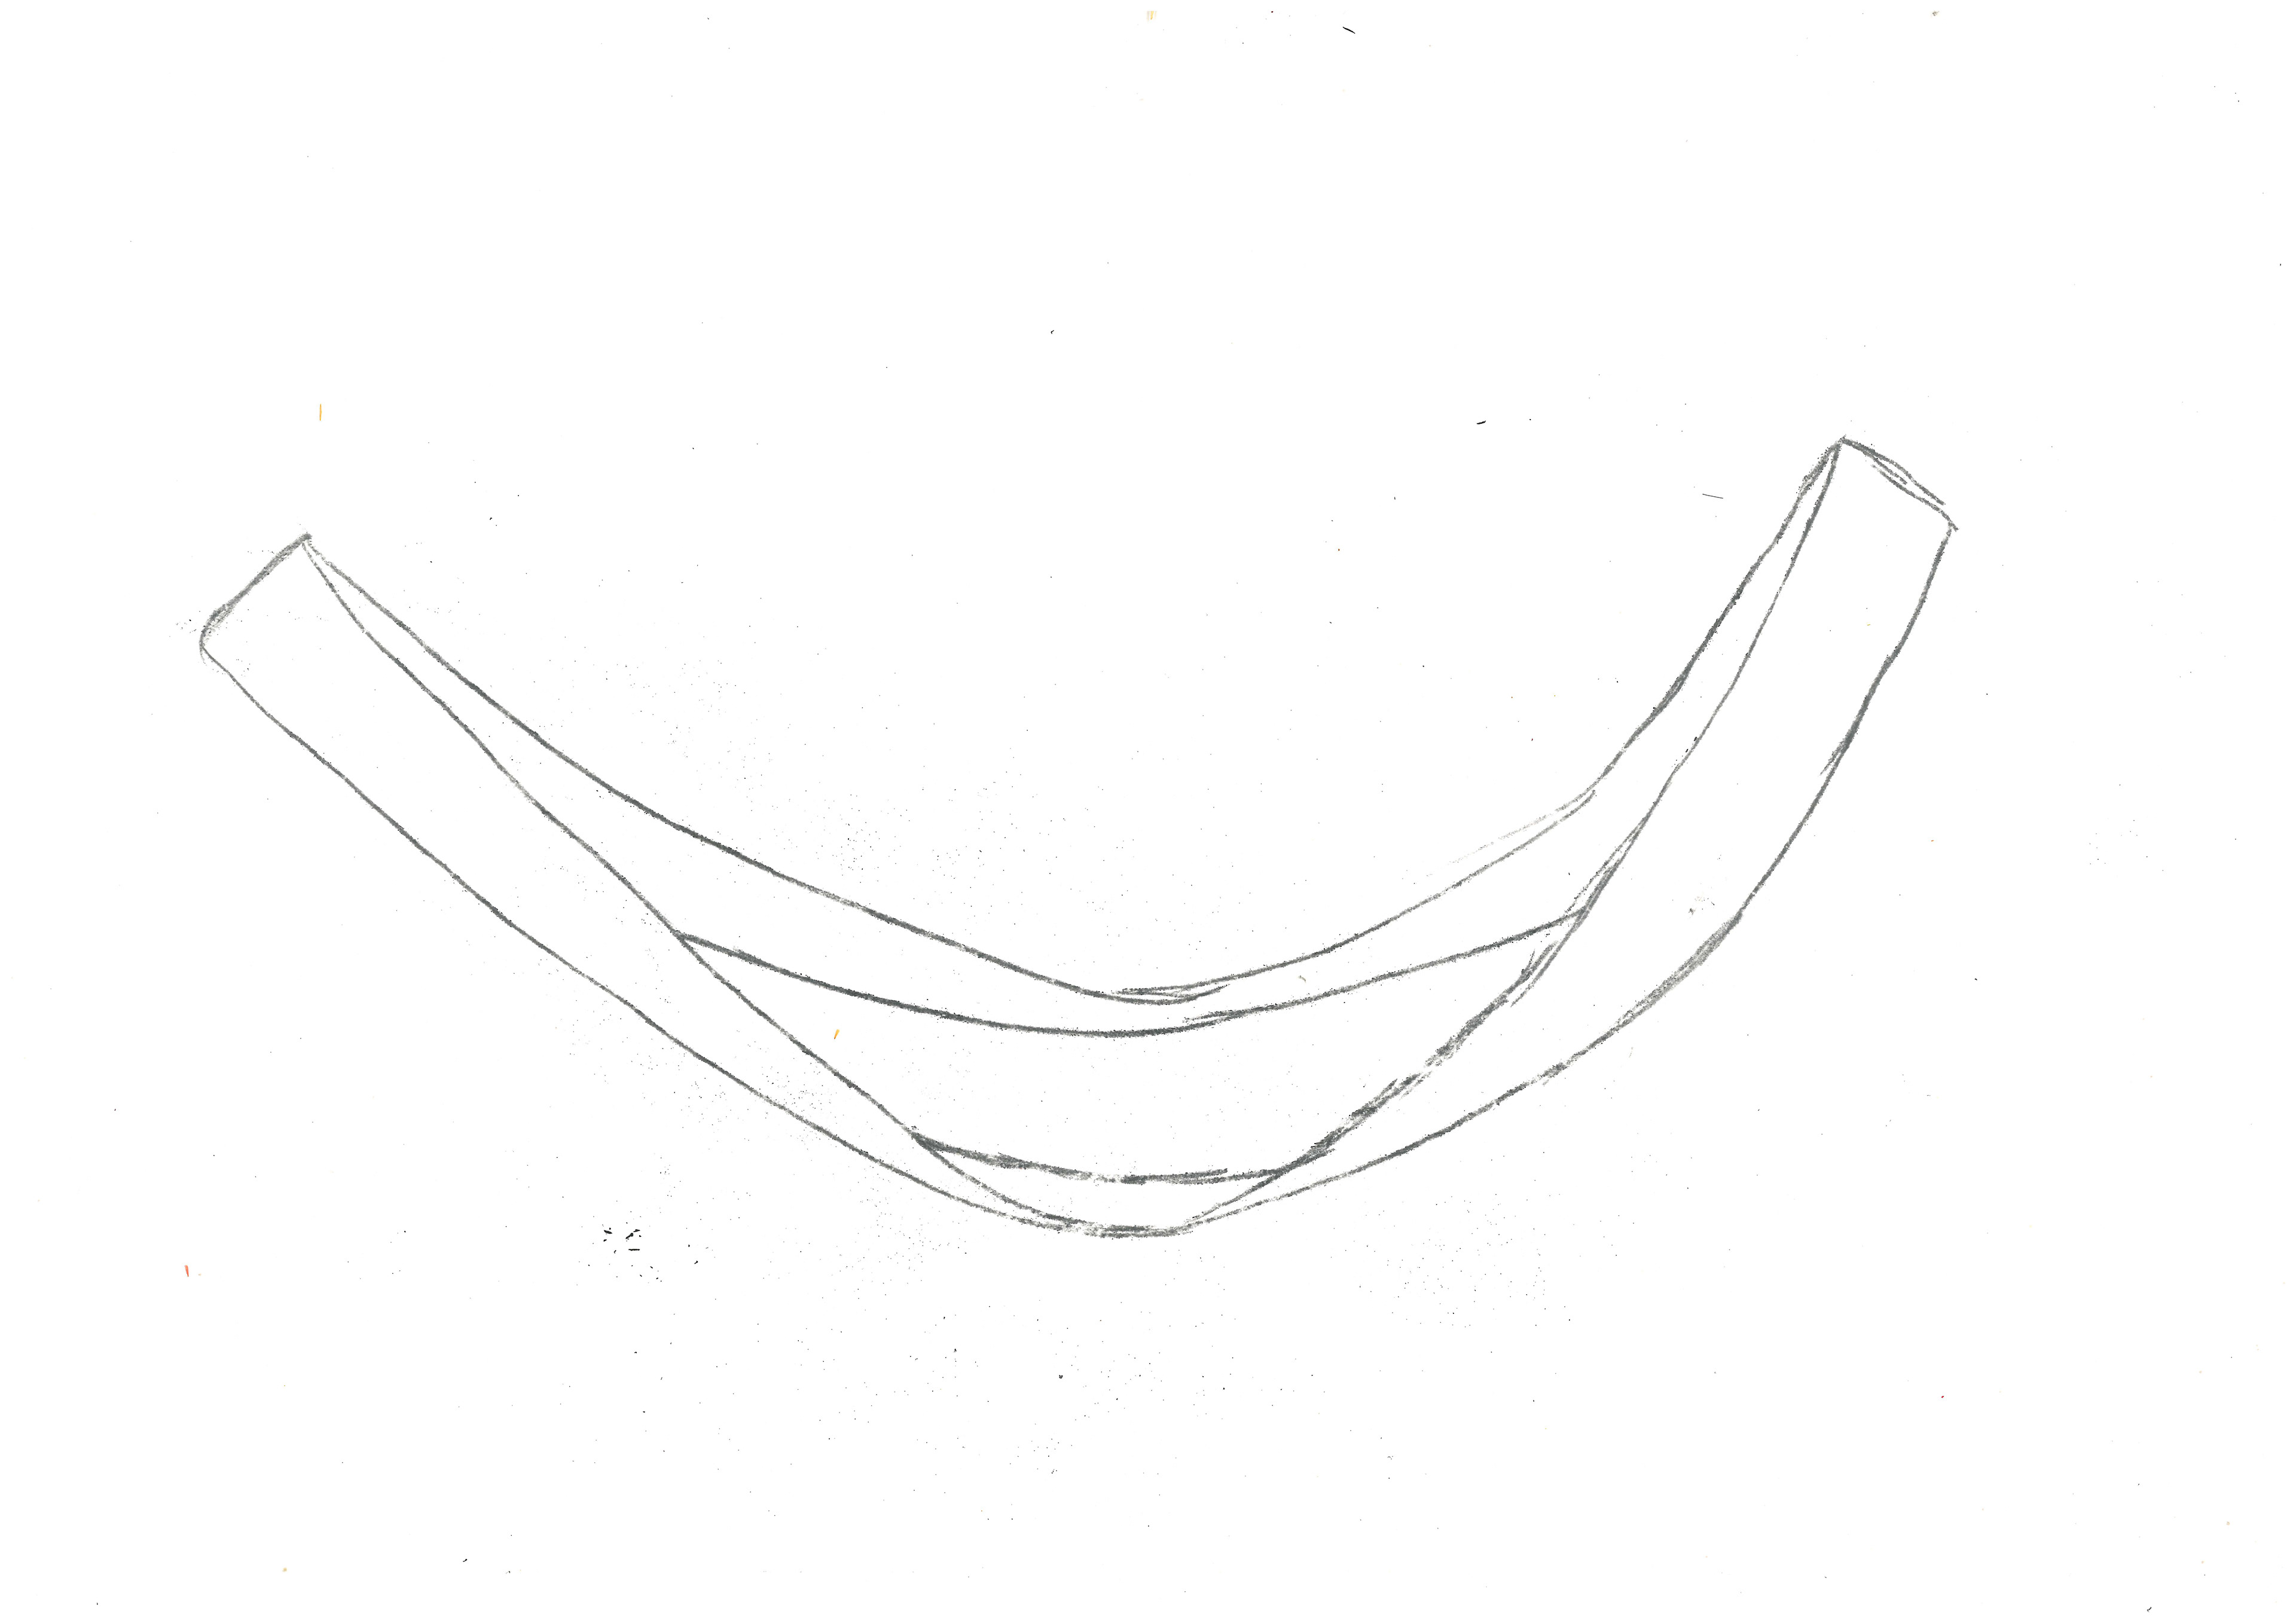
Sketch of what the piece will look like.
Sketch of what the piece will look like.
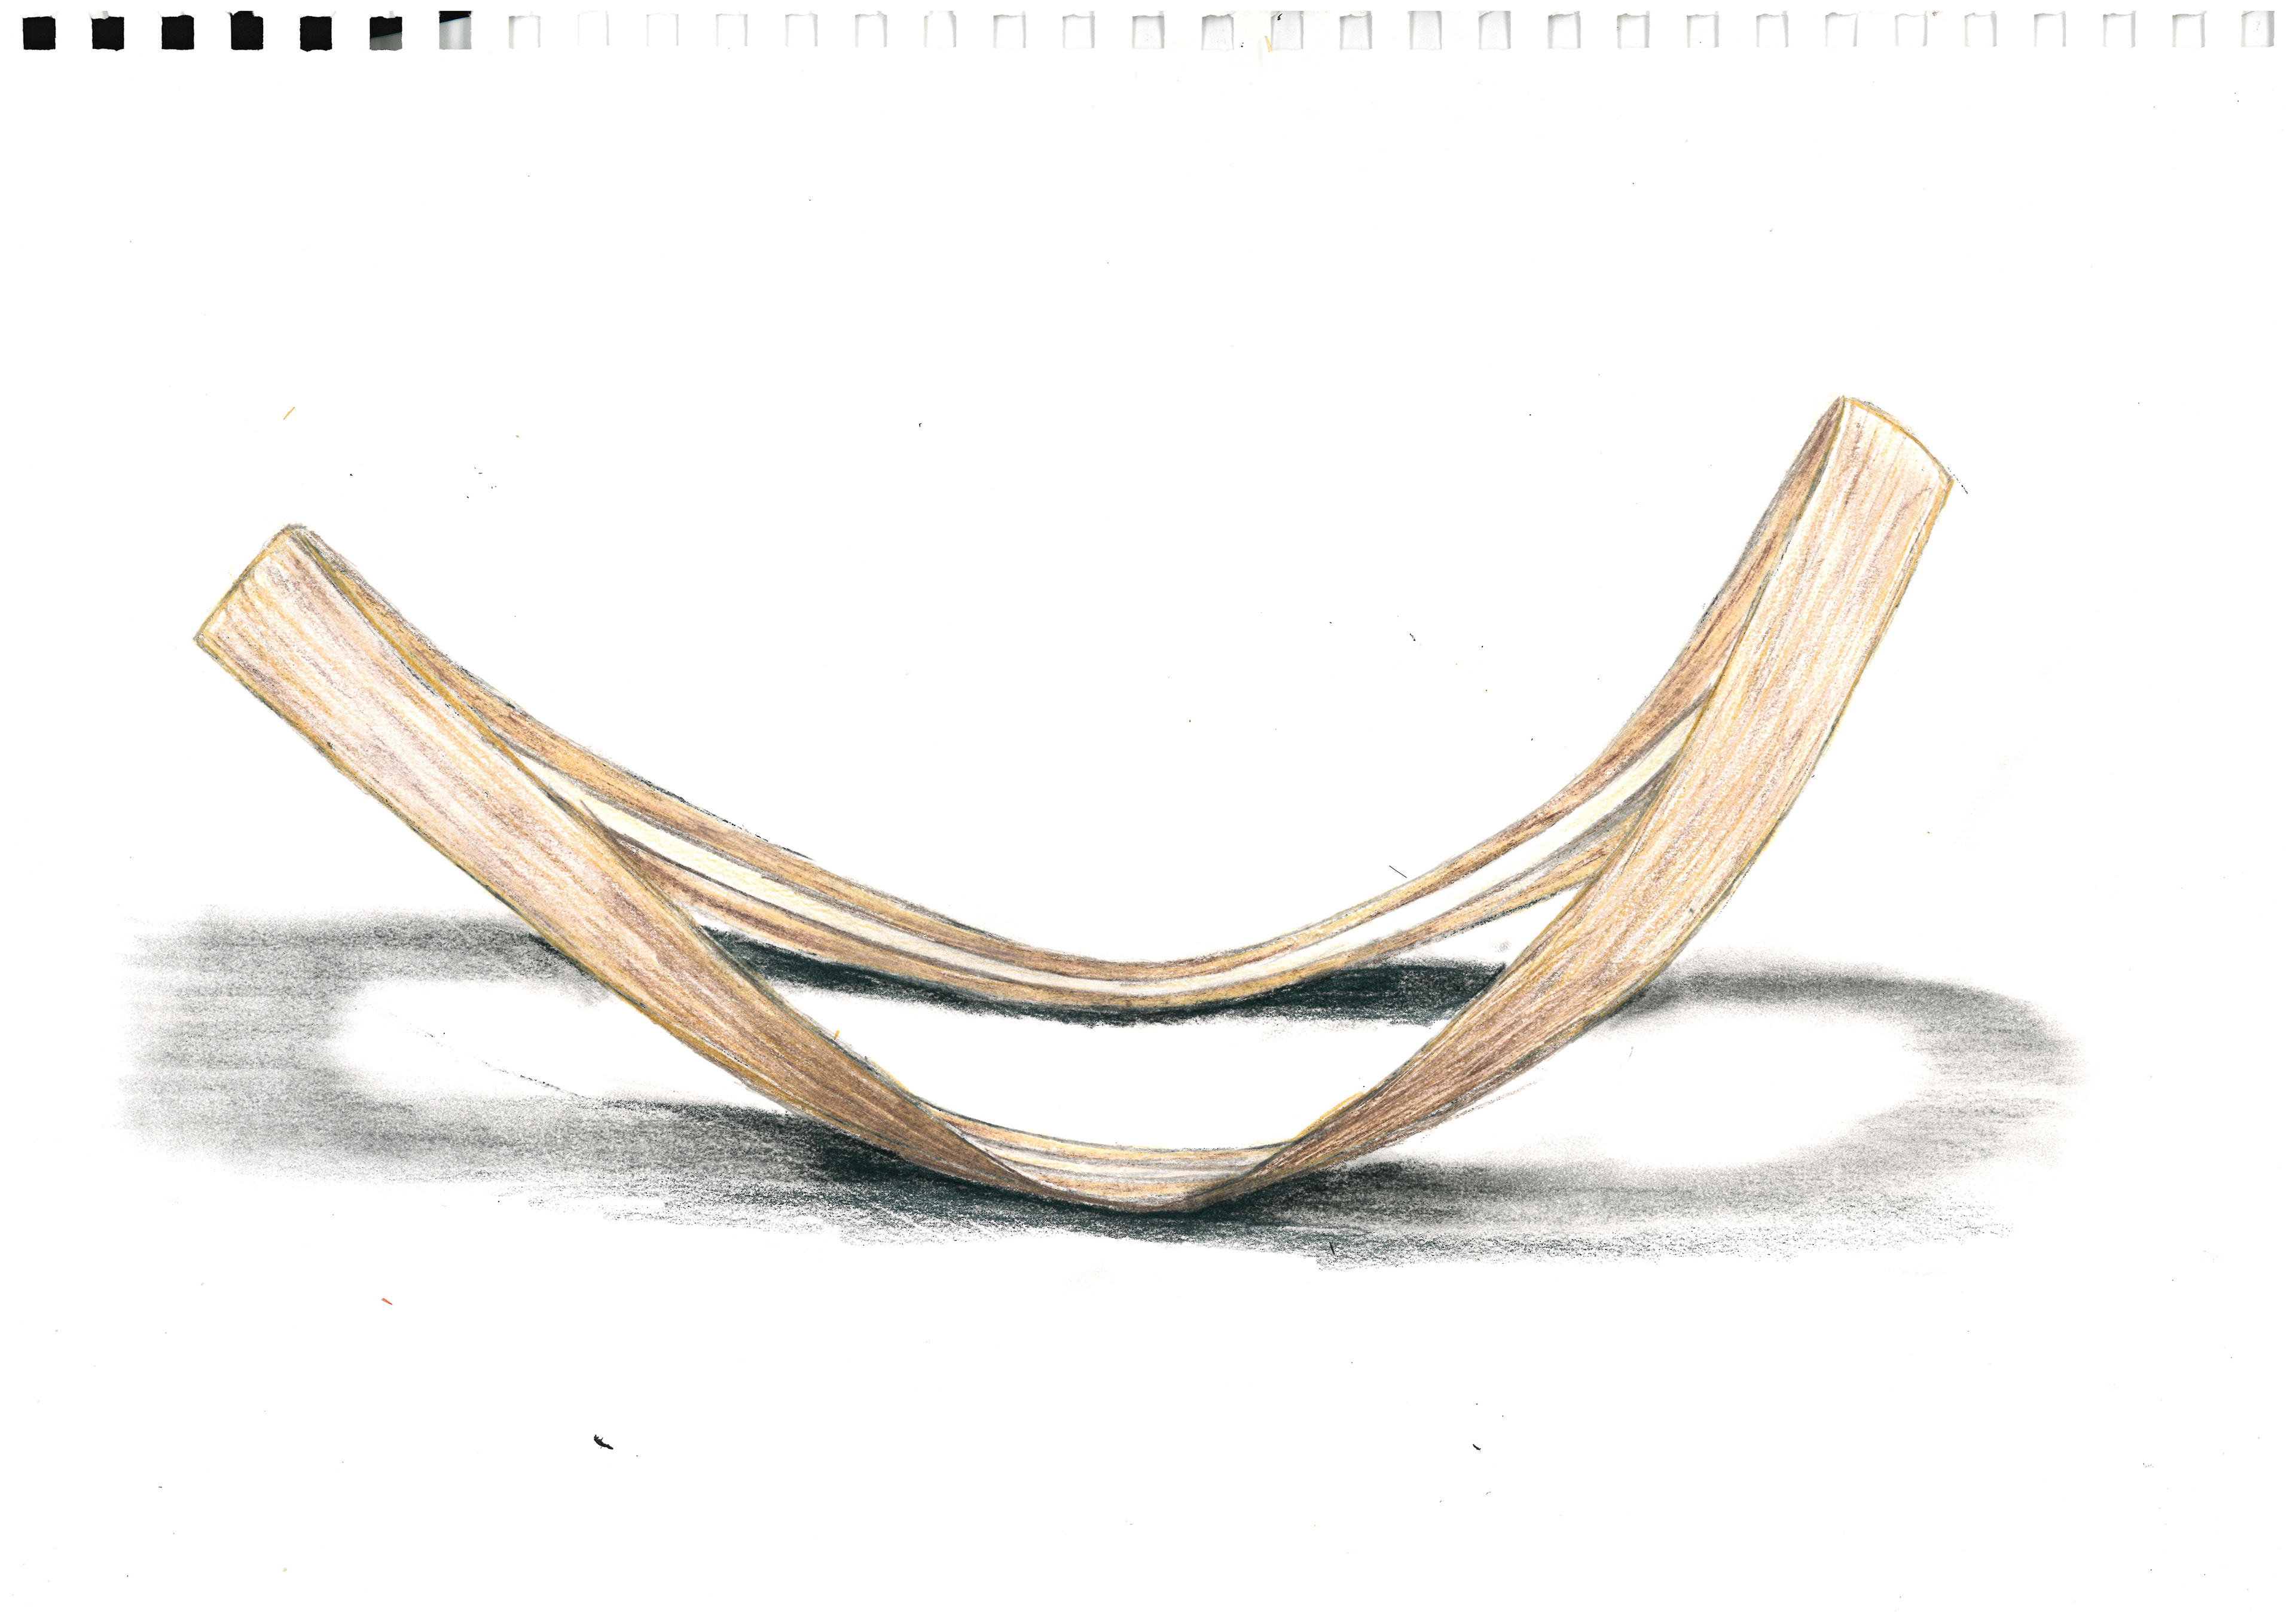
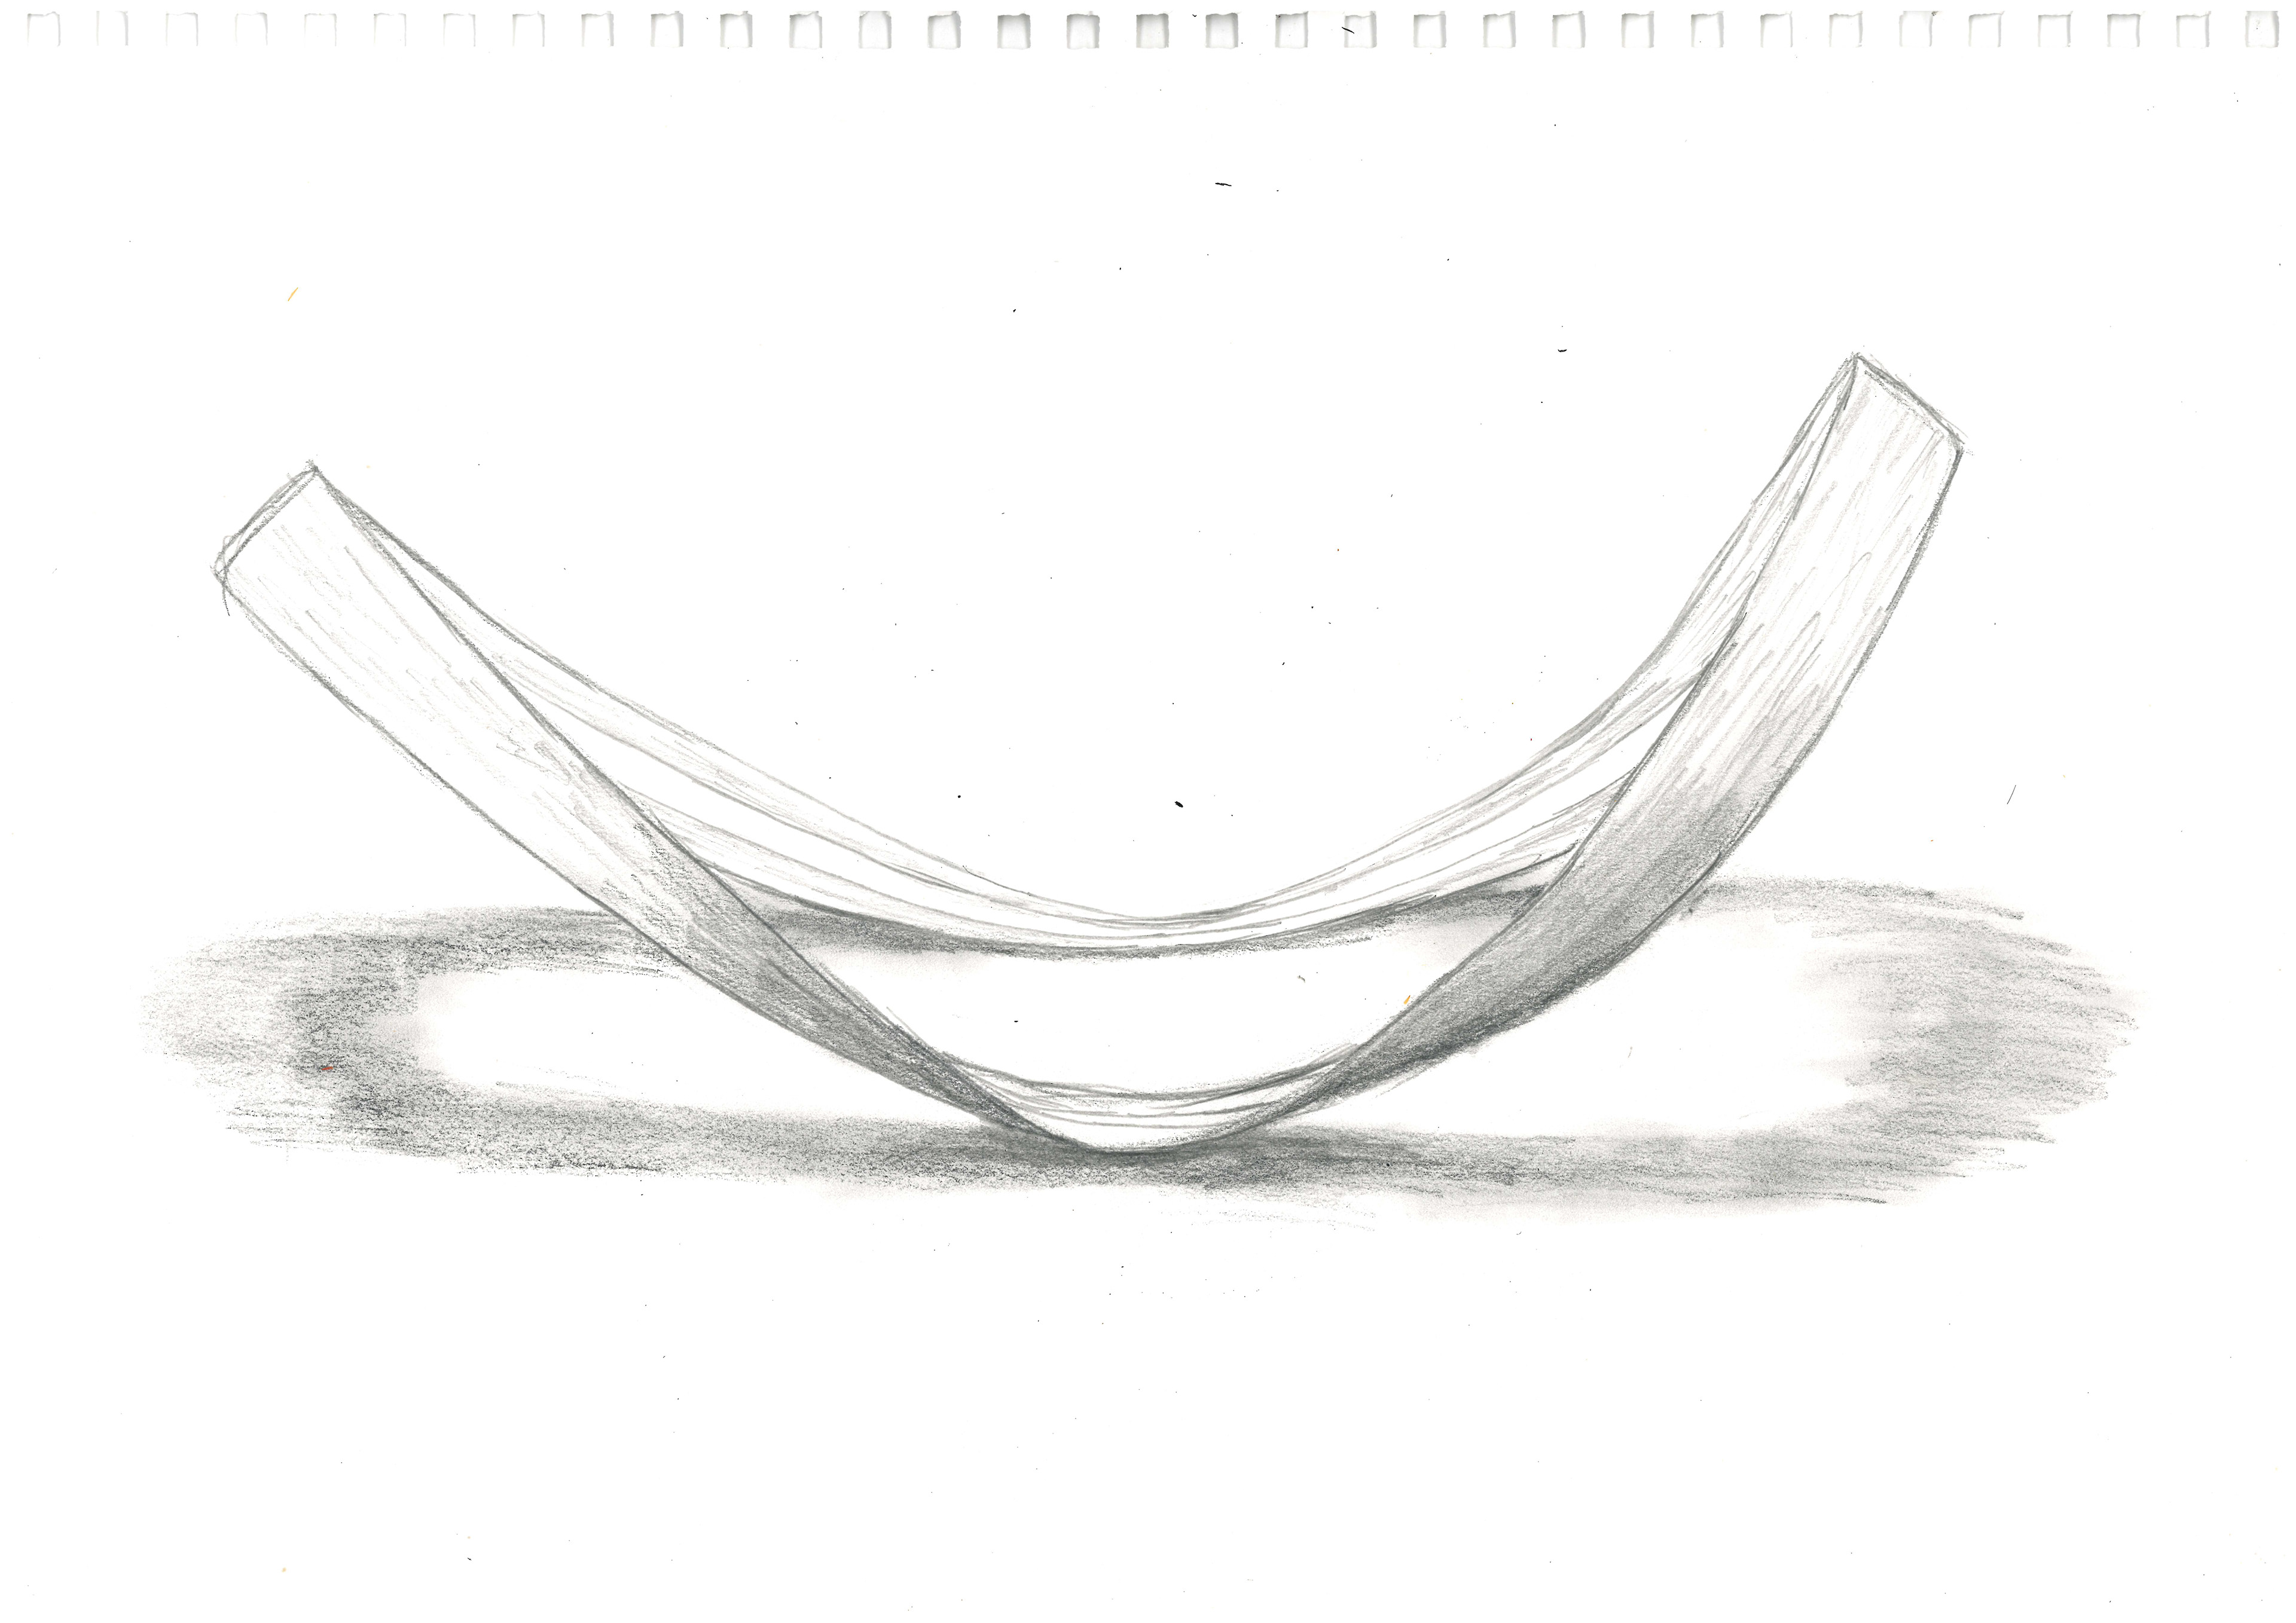
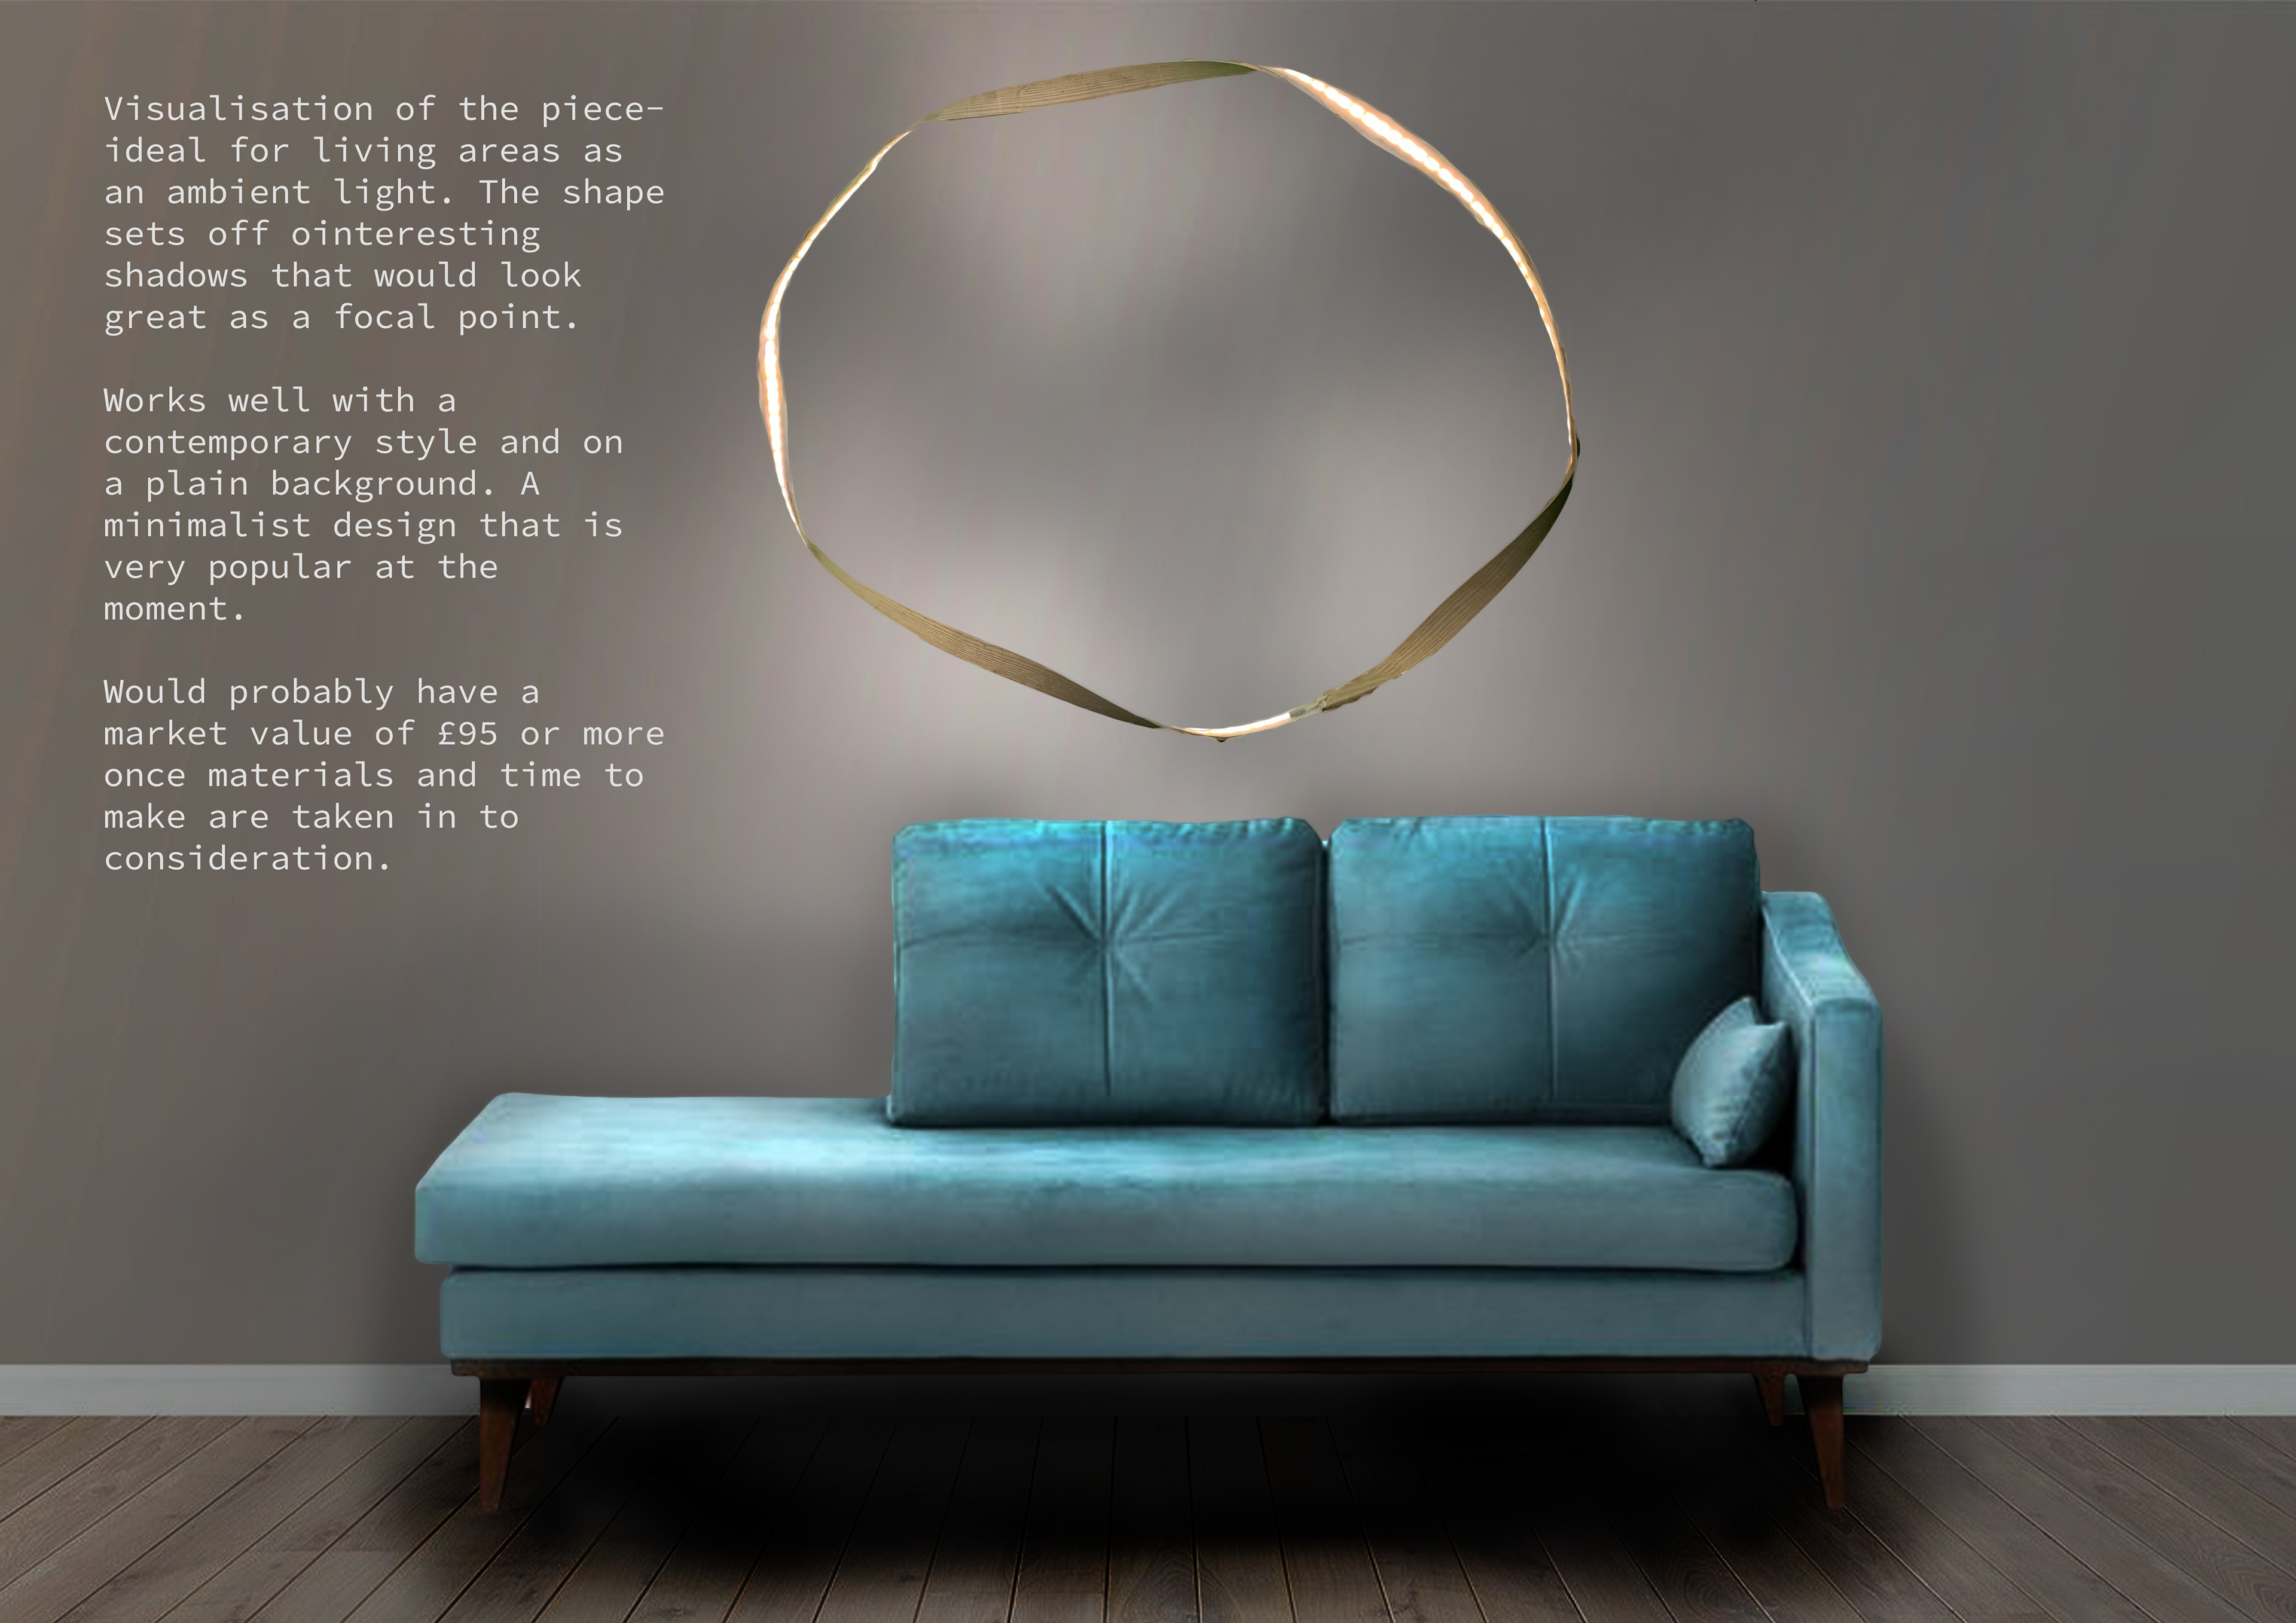
Visualisation of what it will look like.
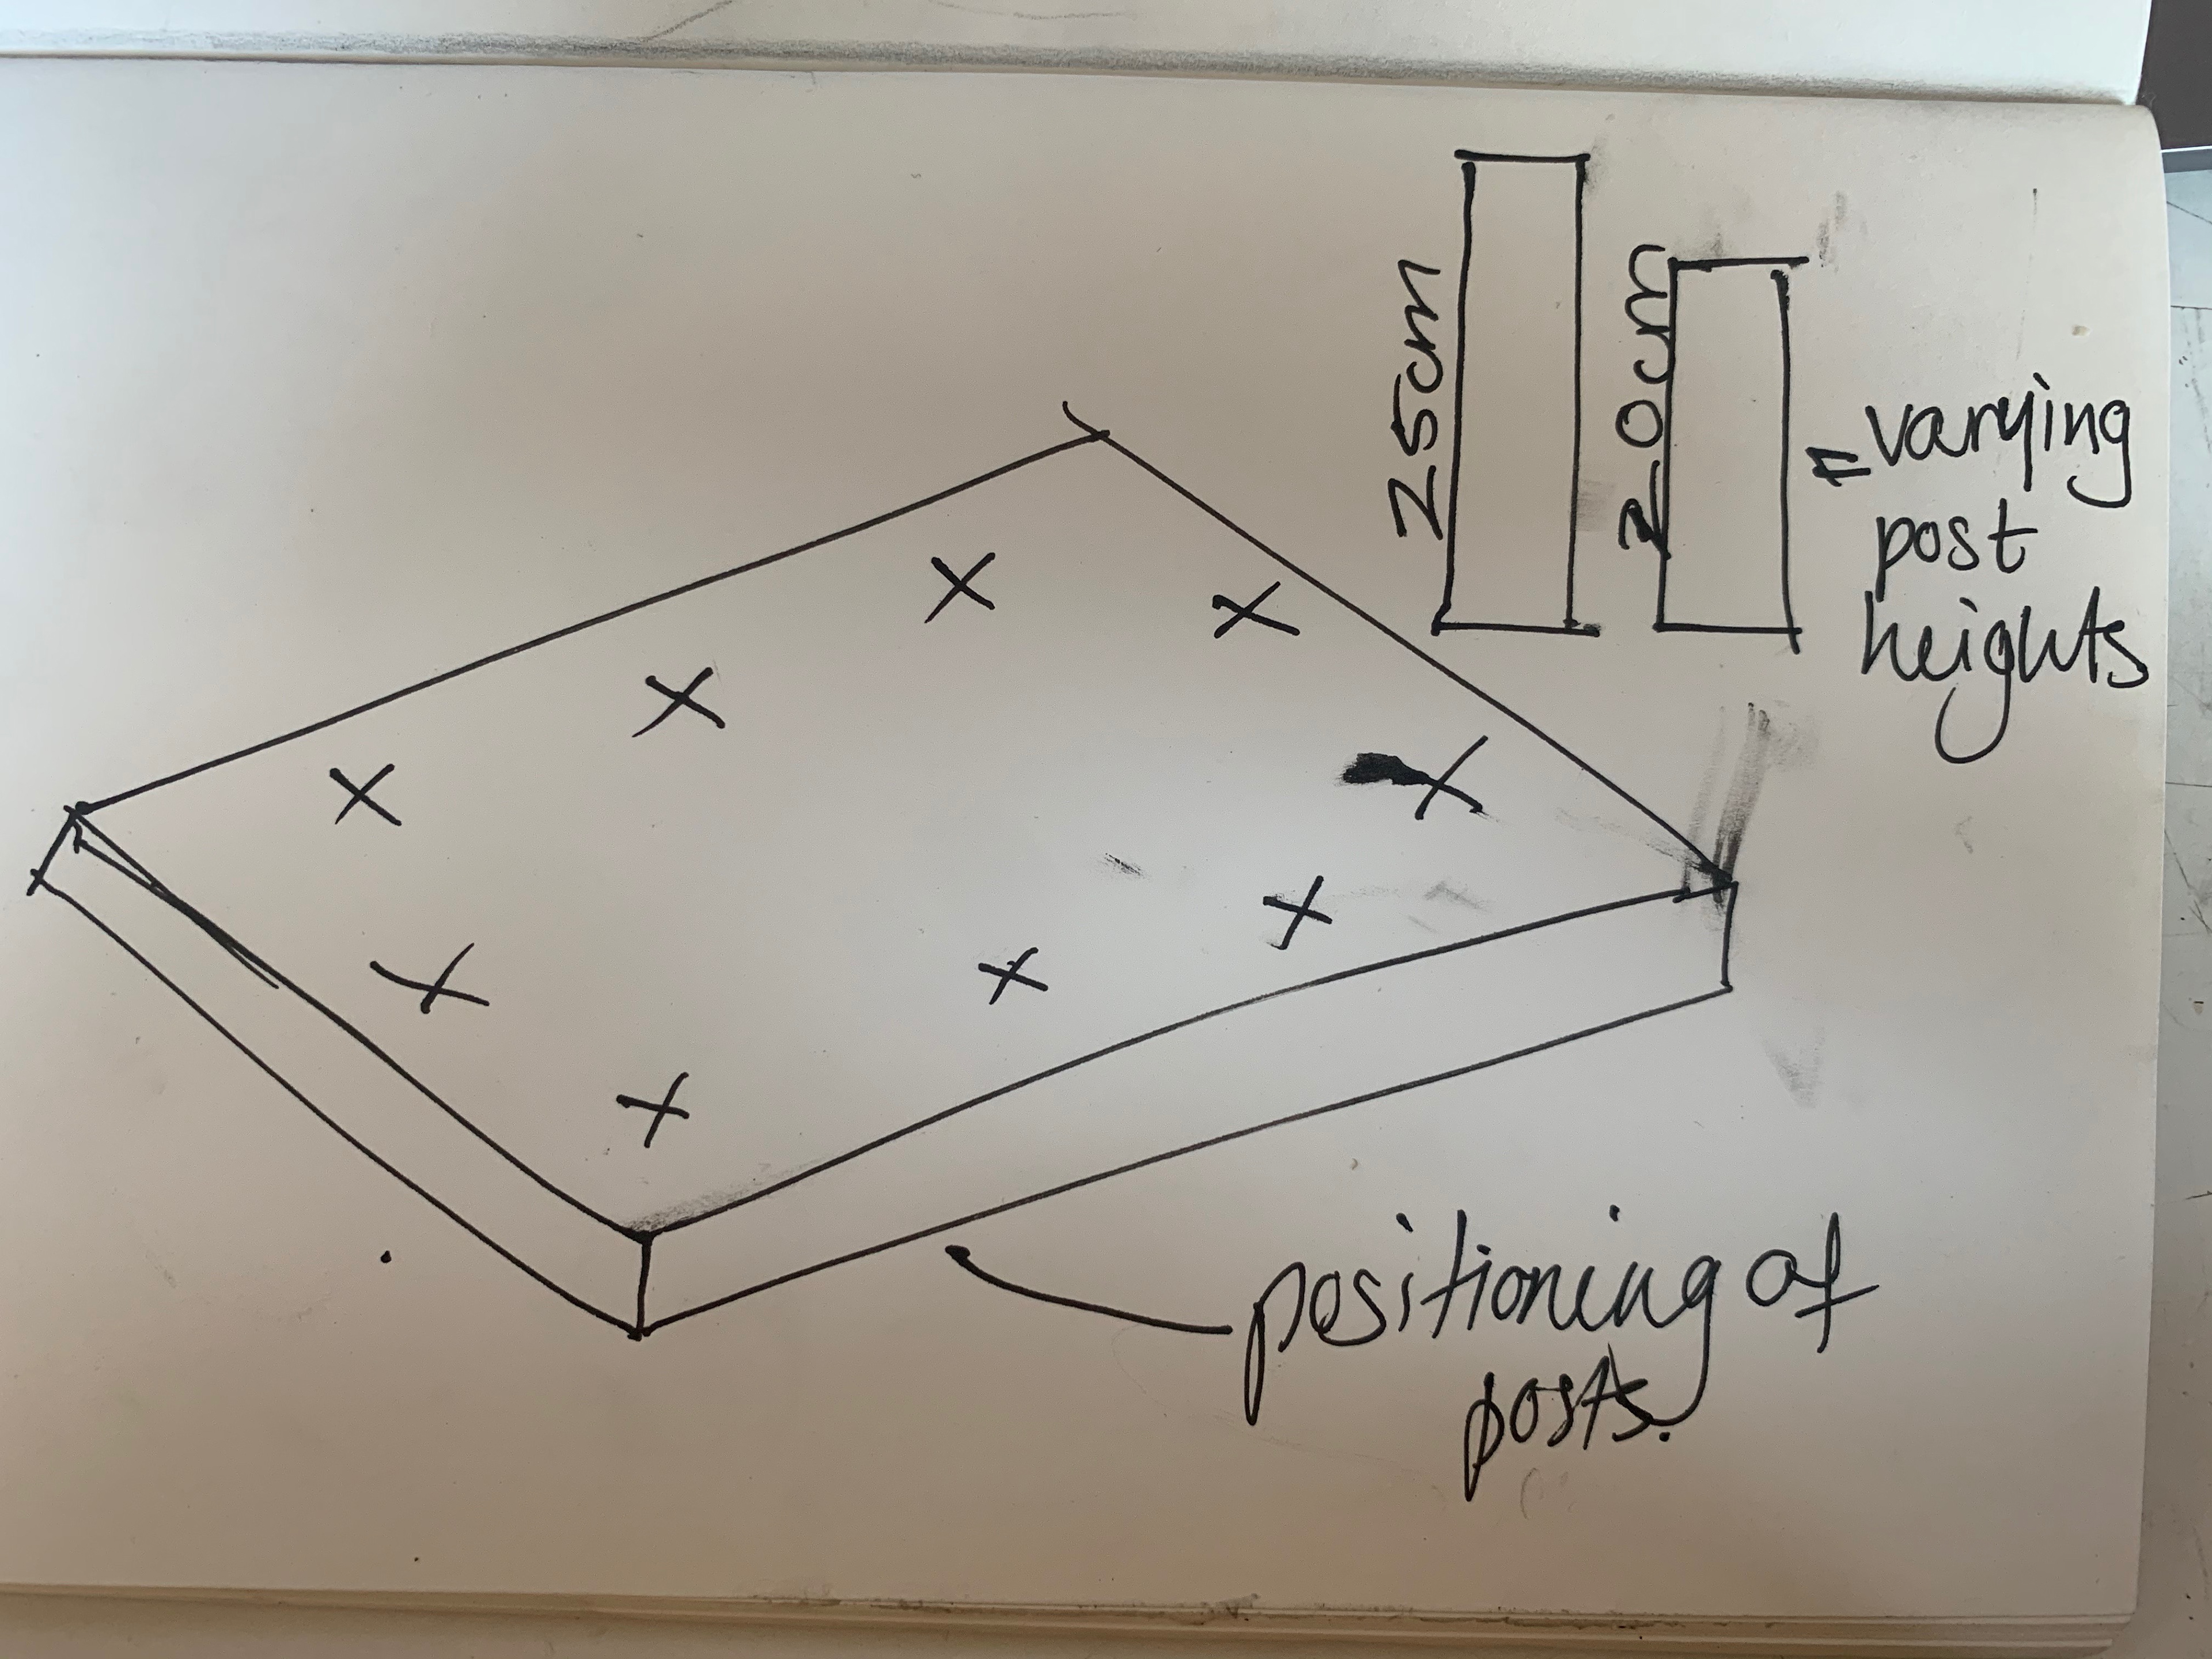
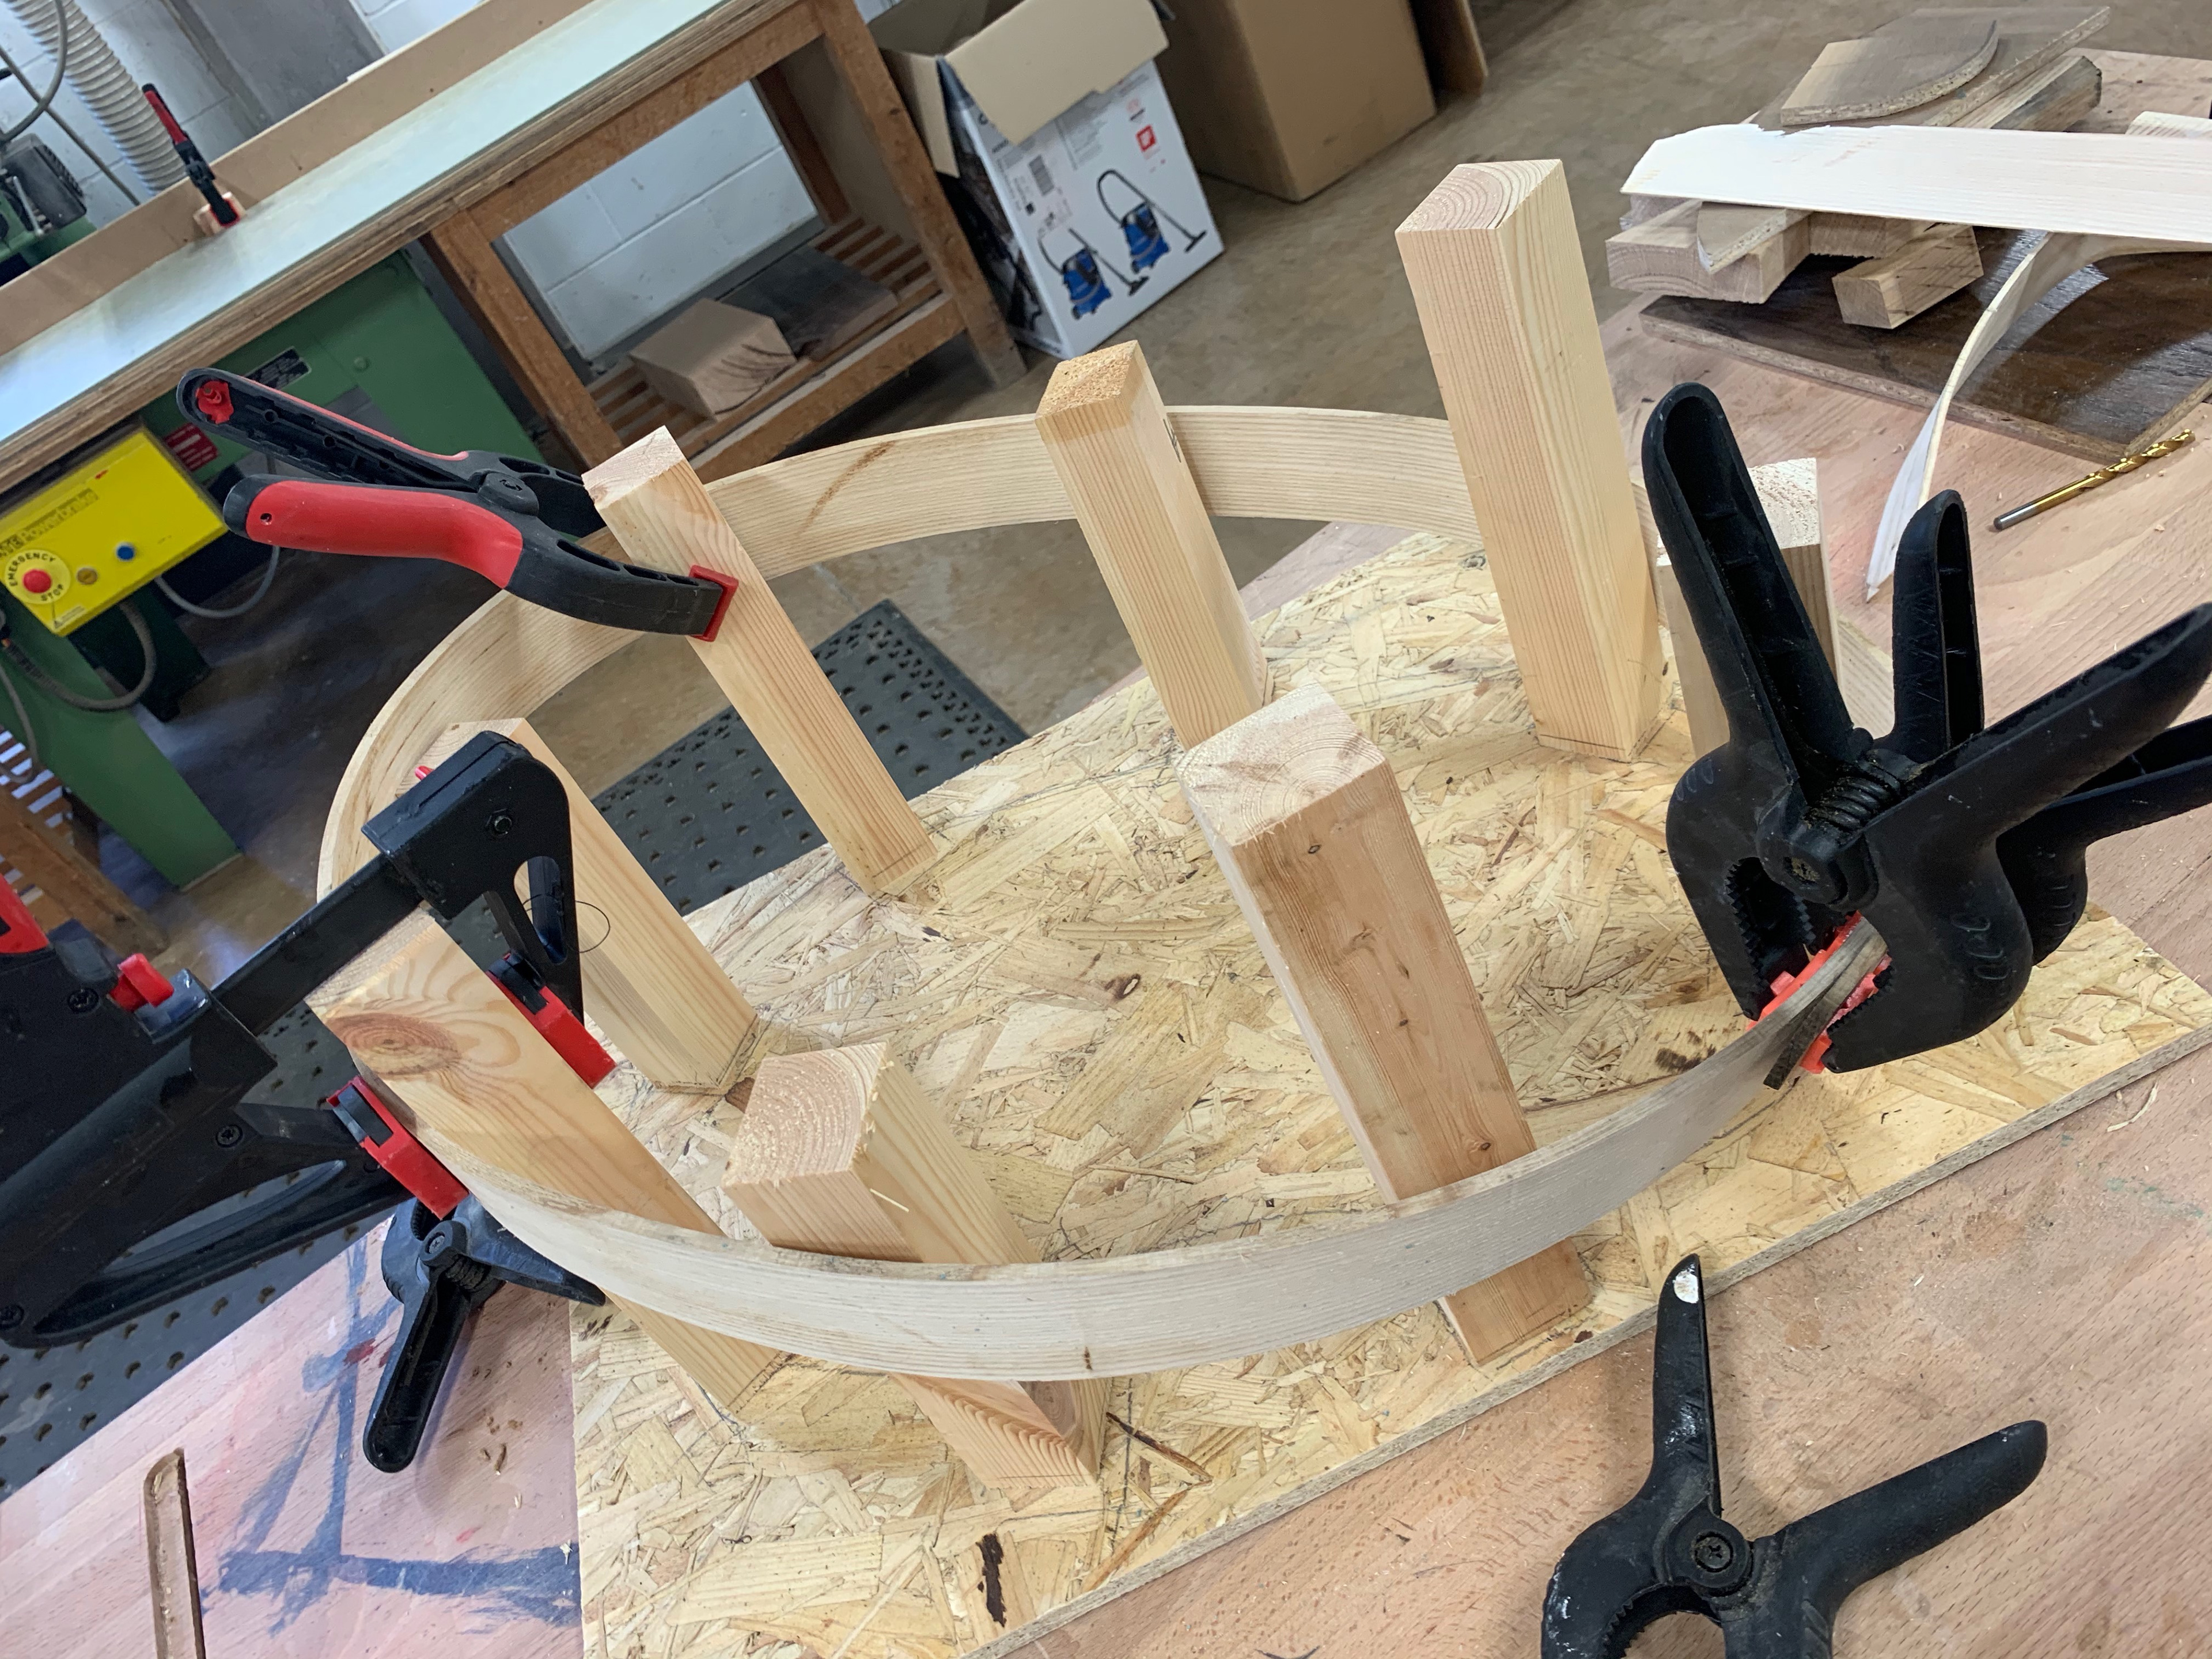
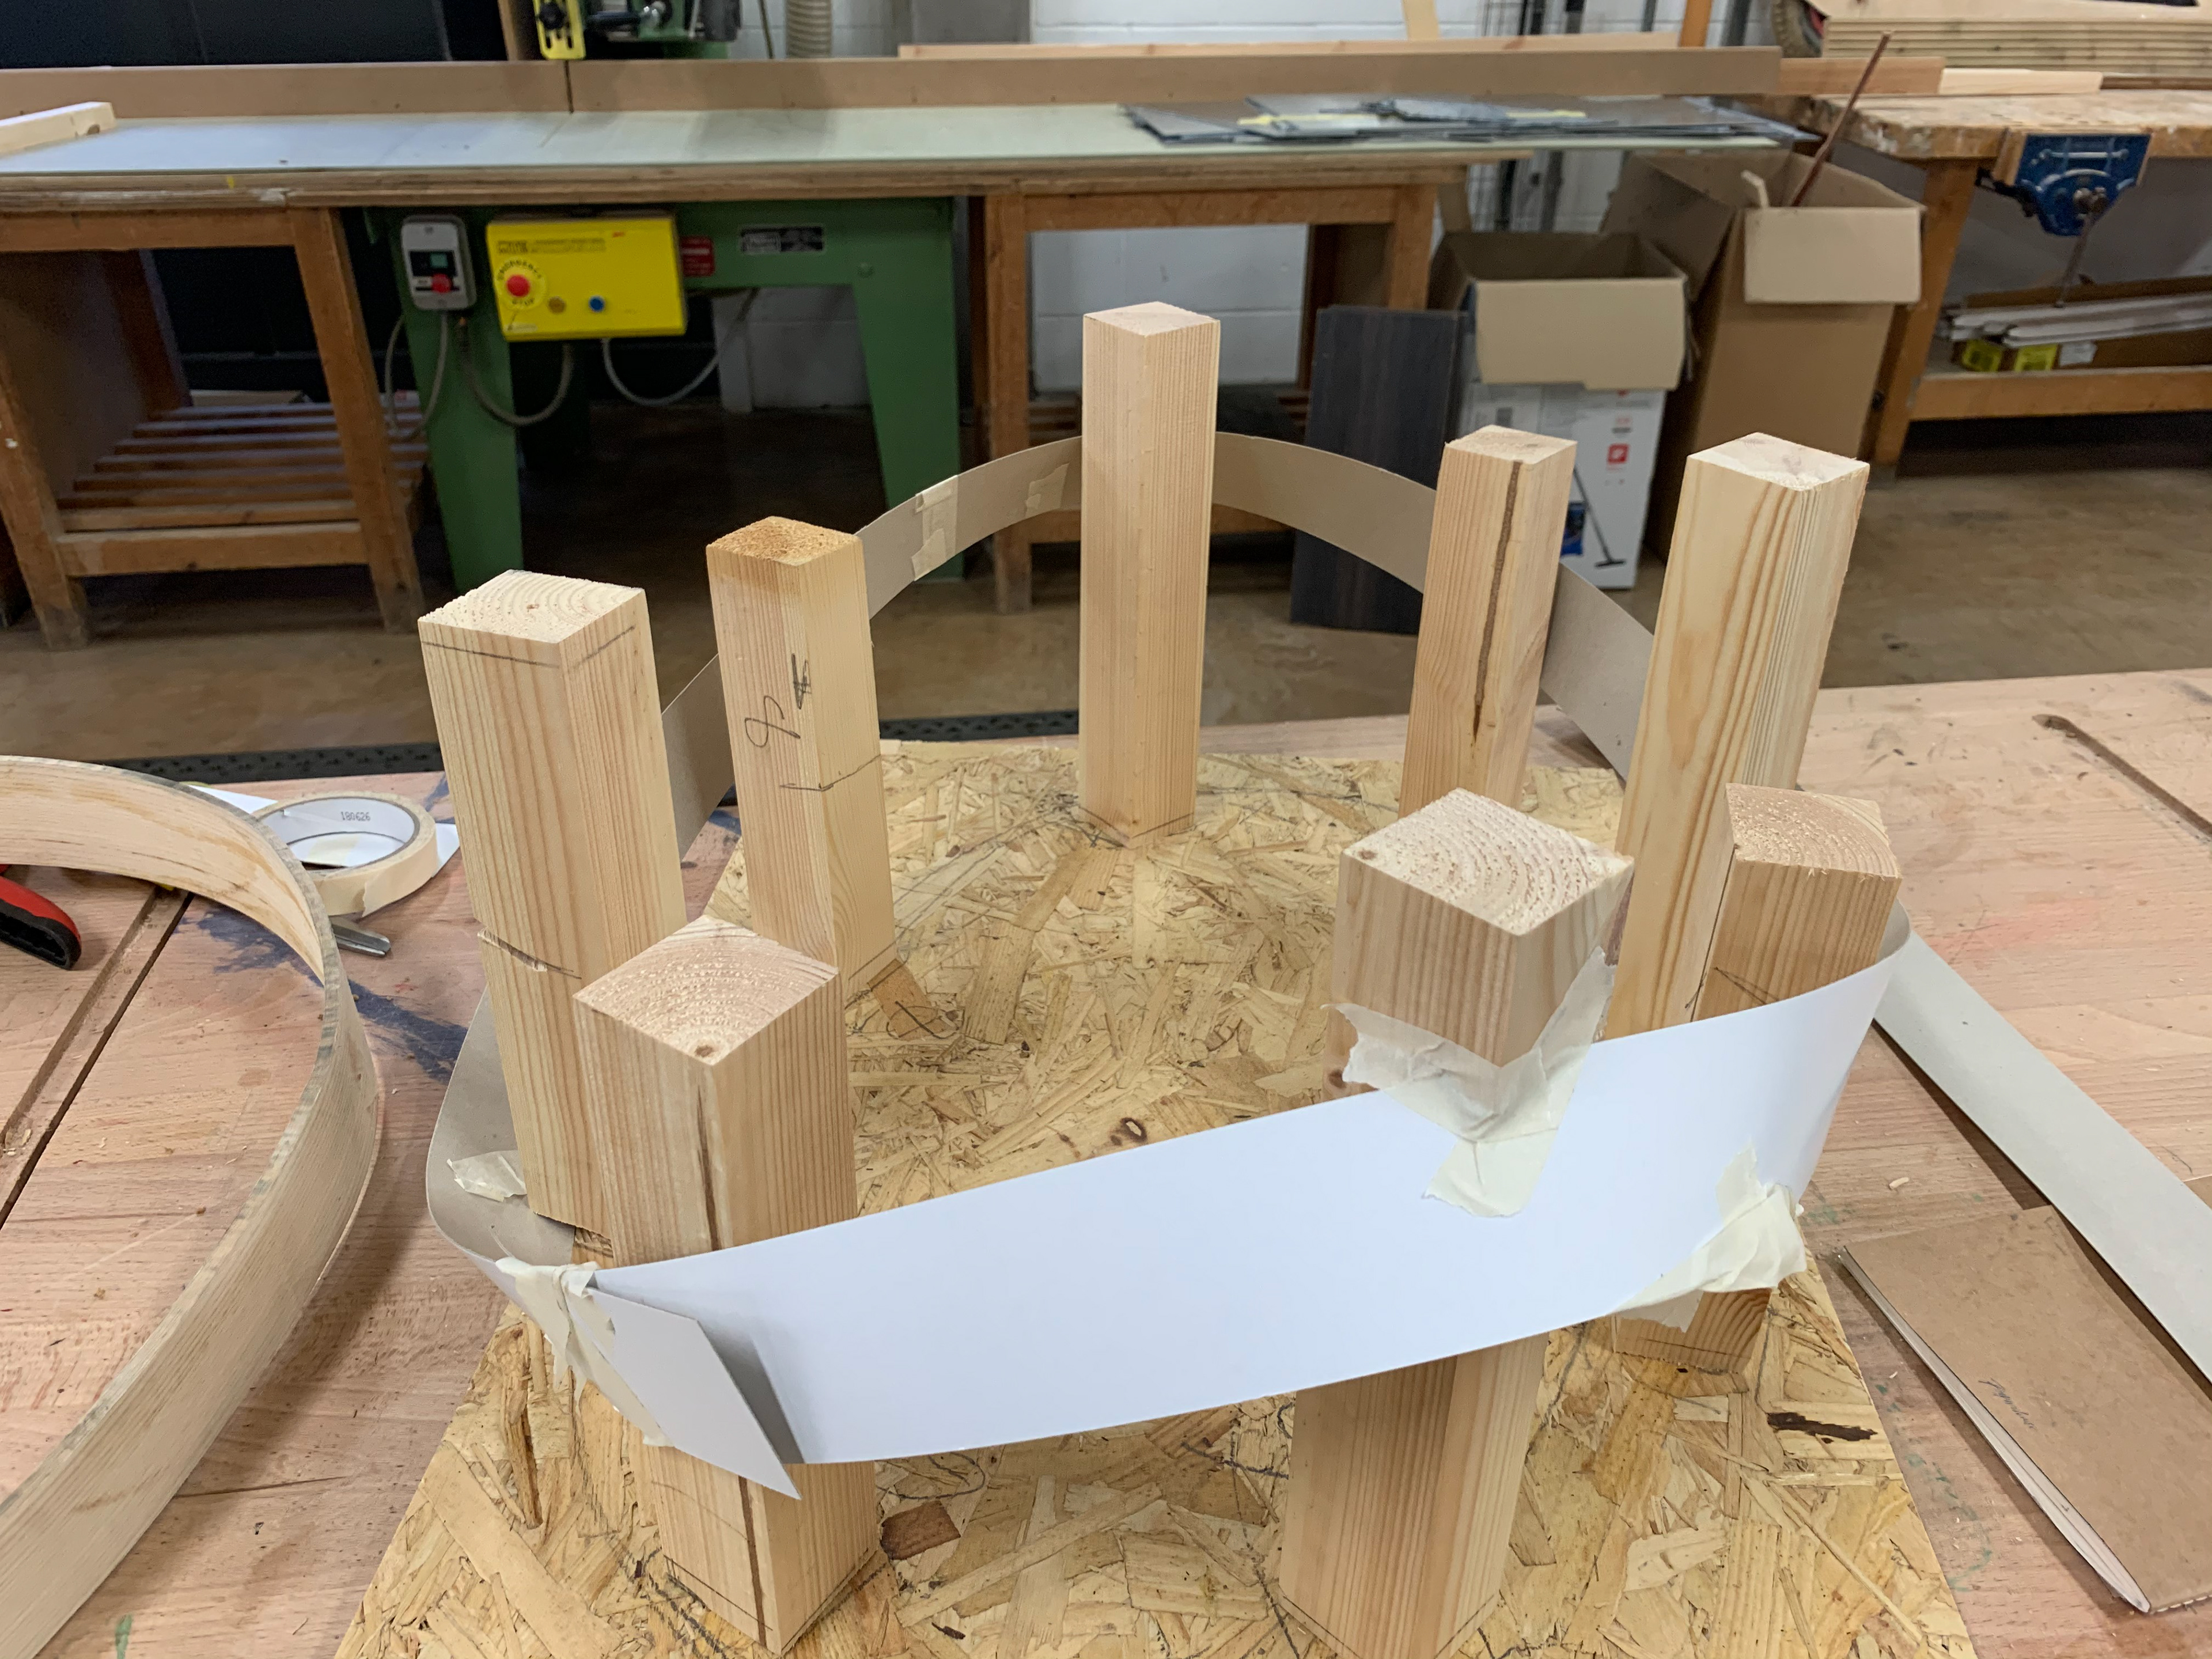
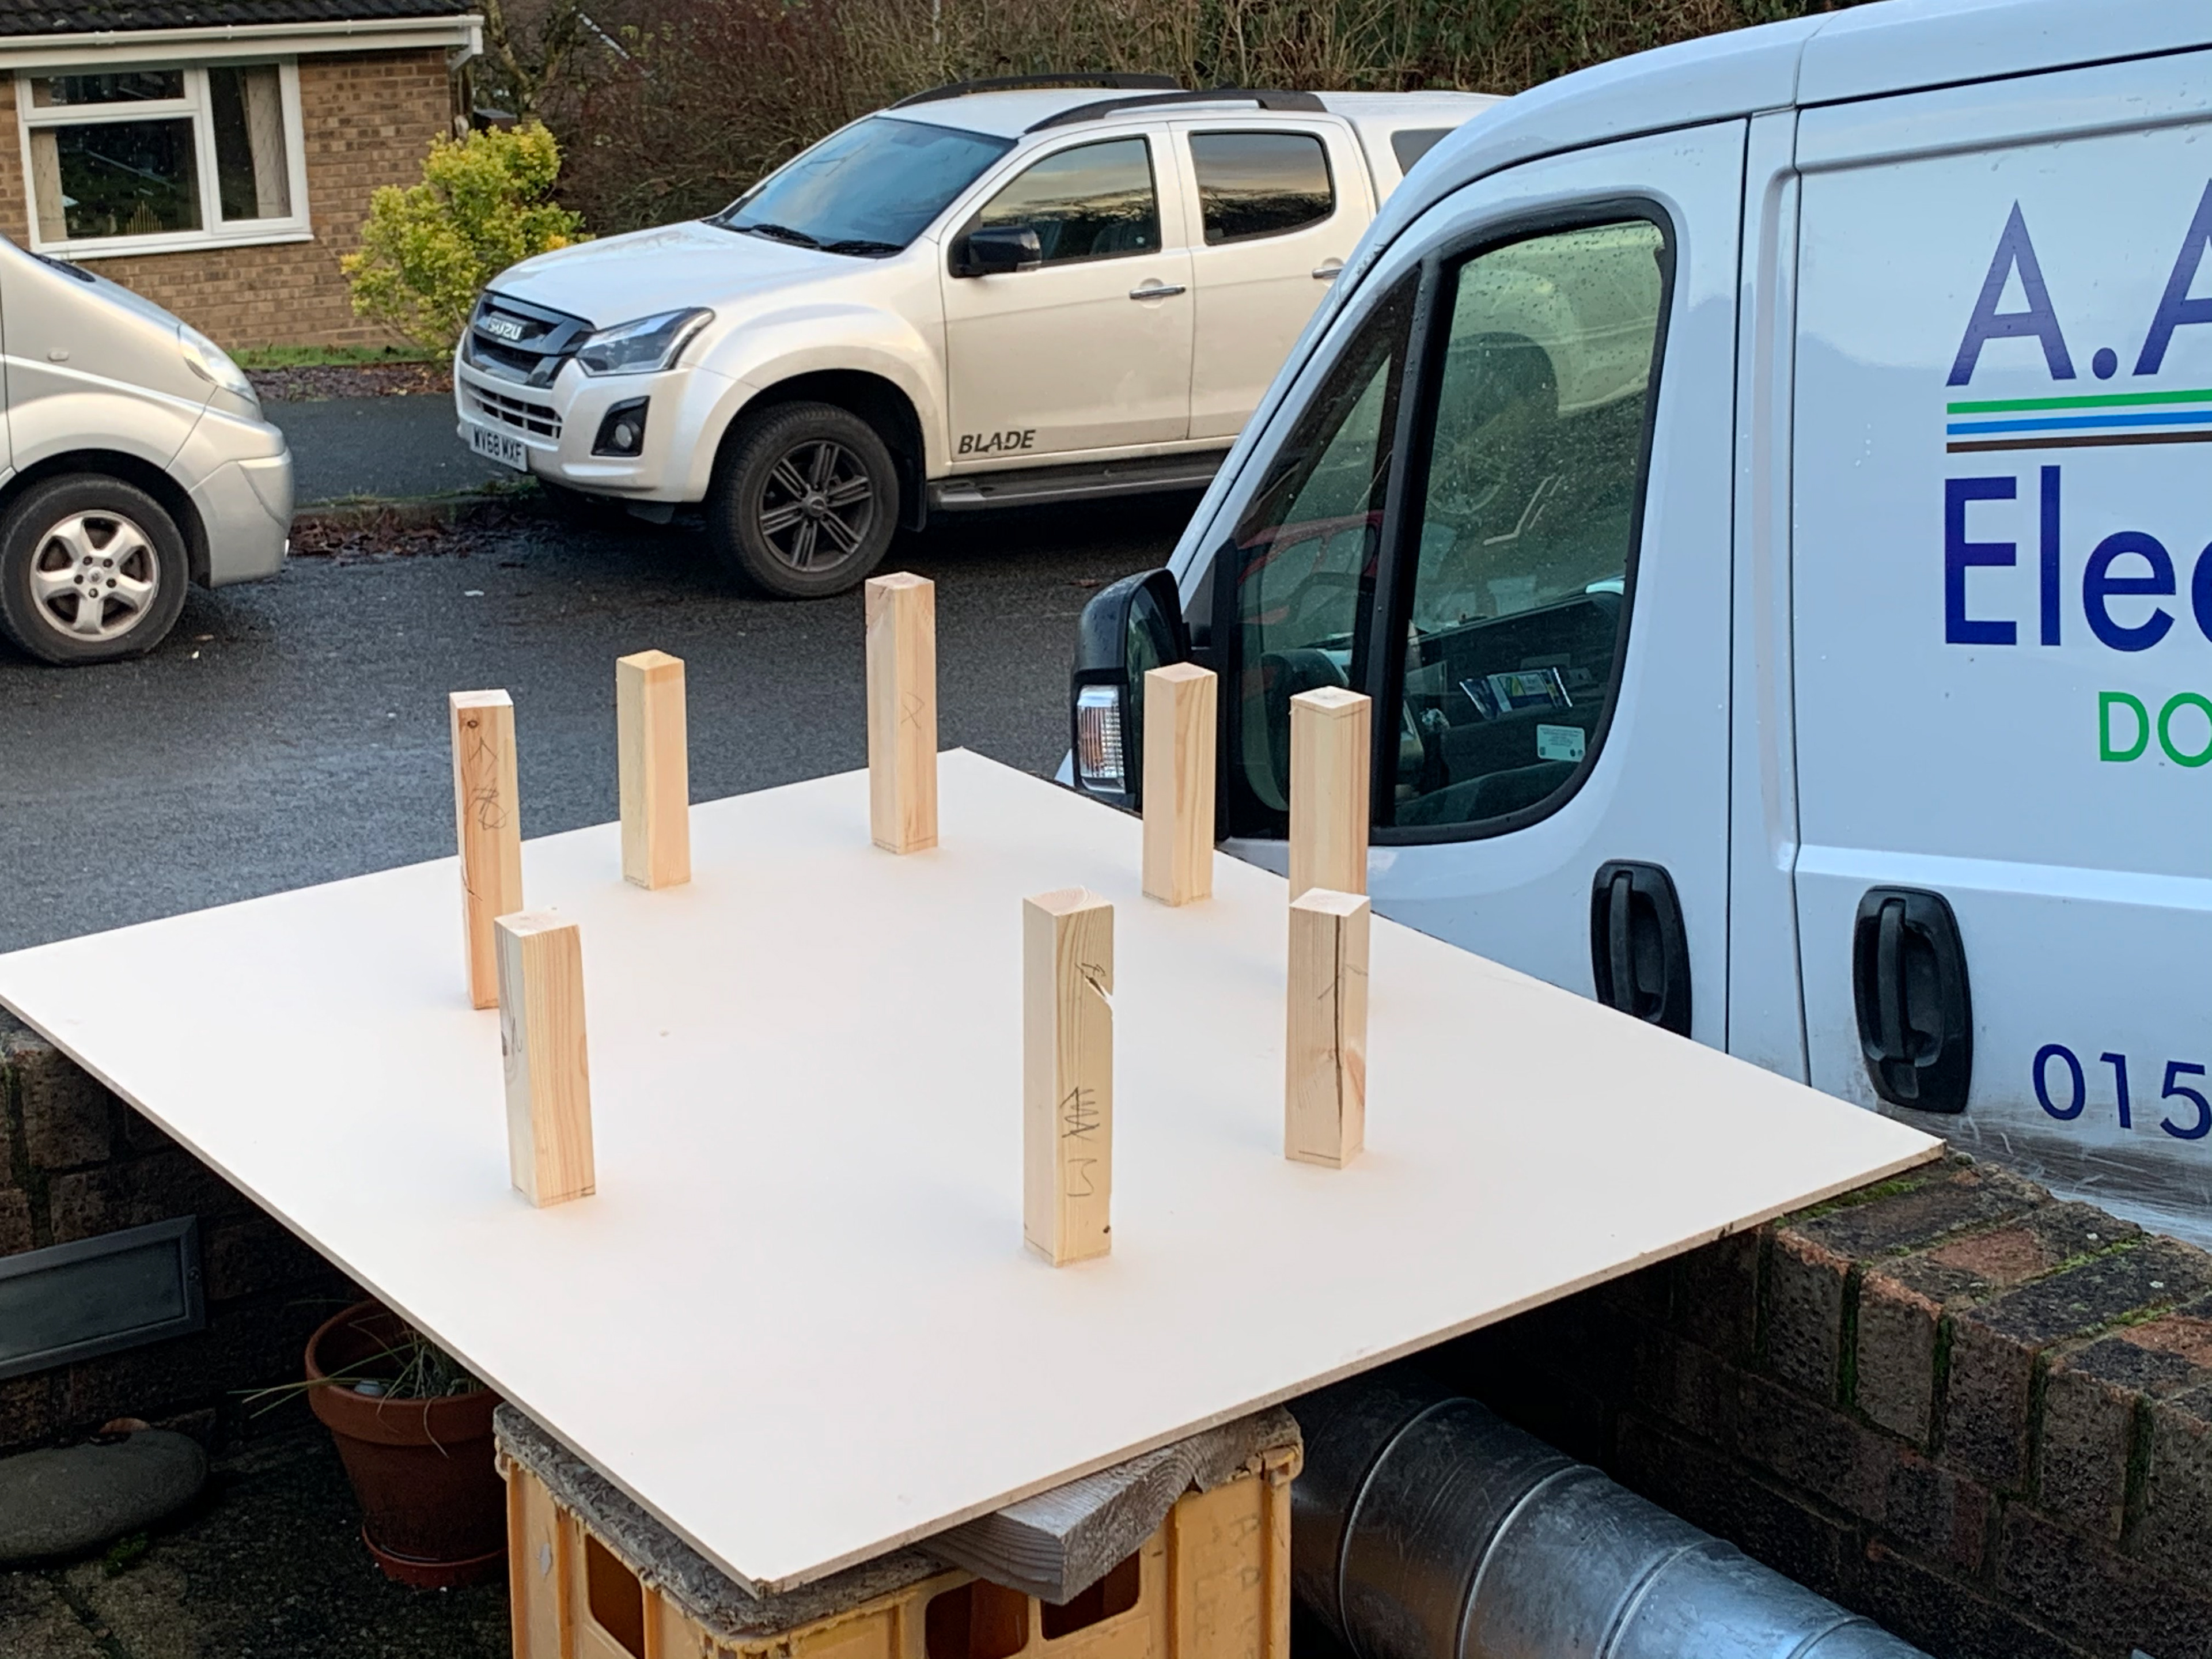
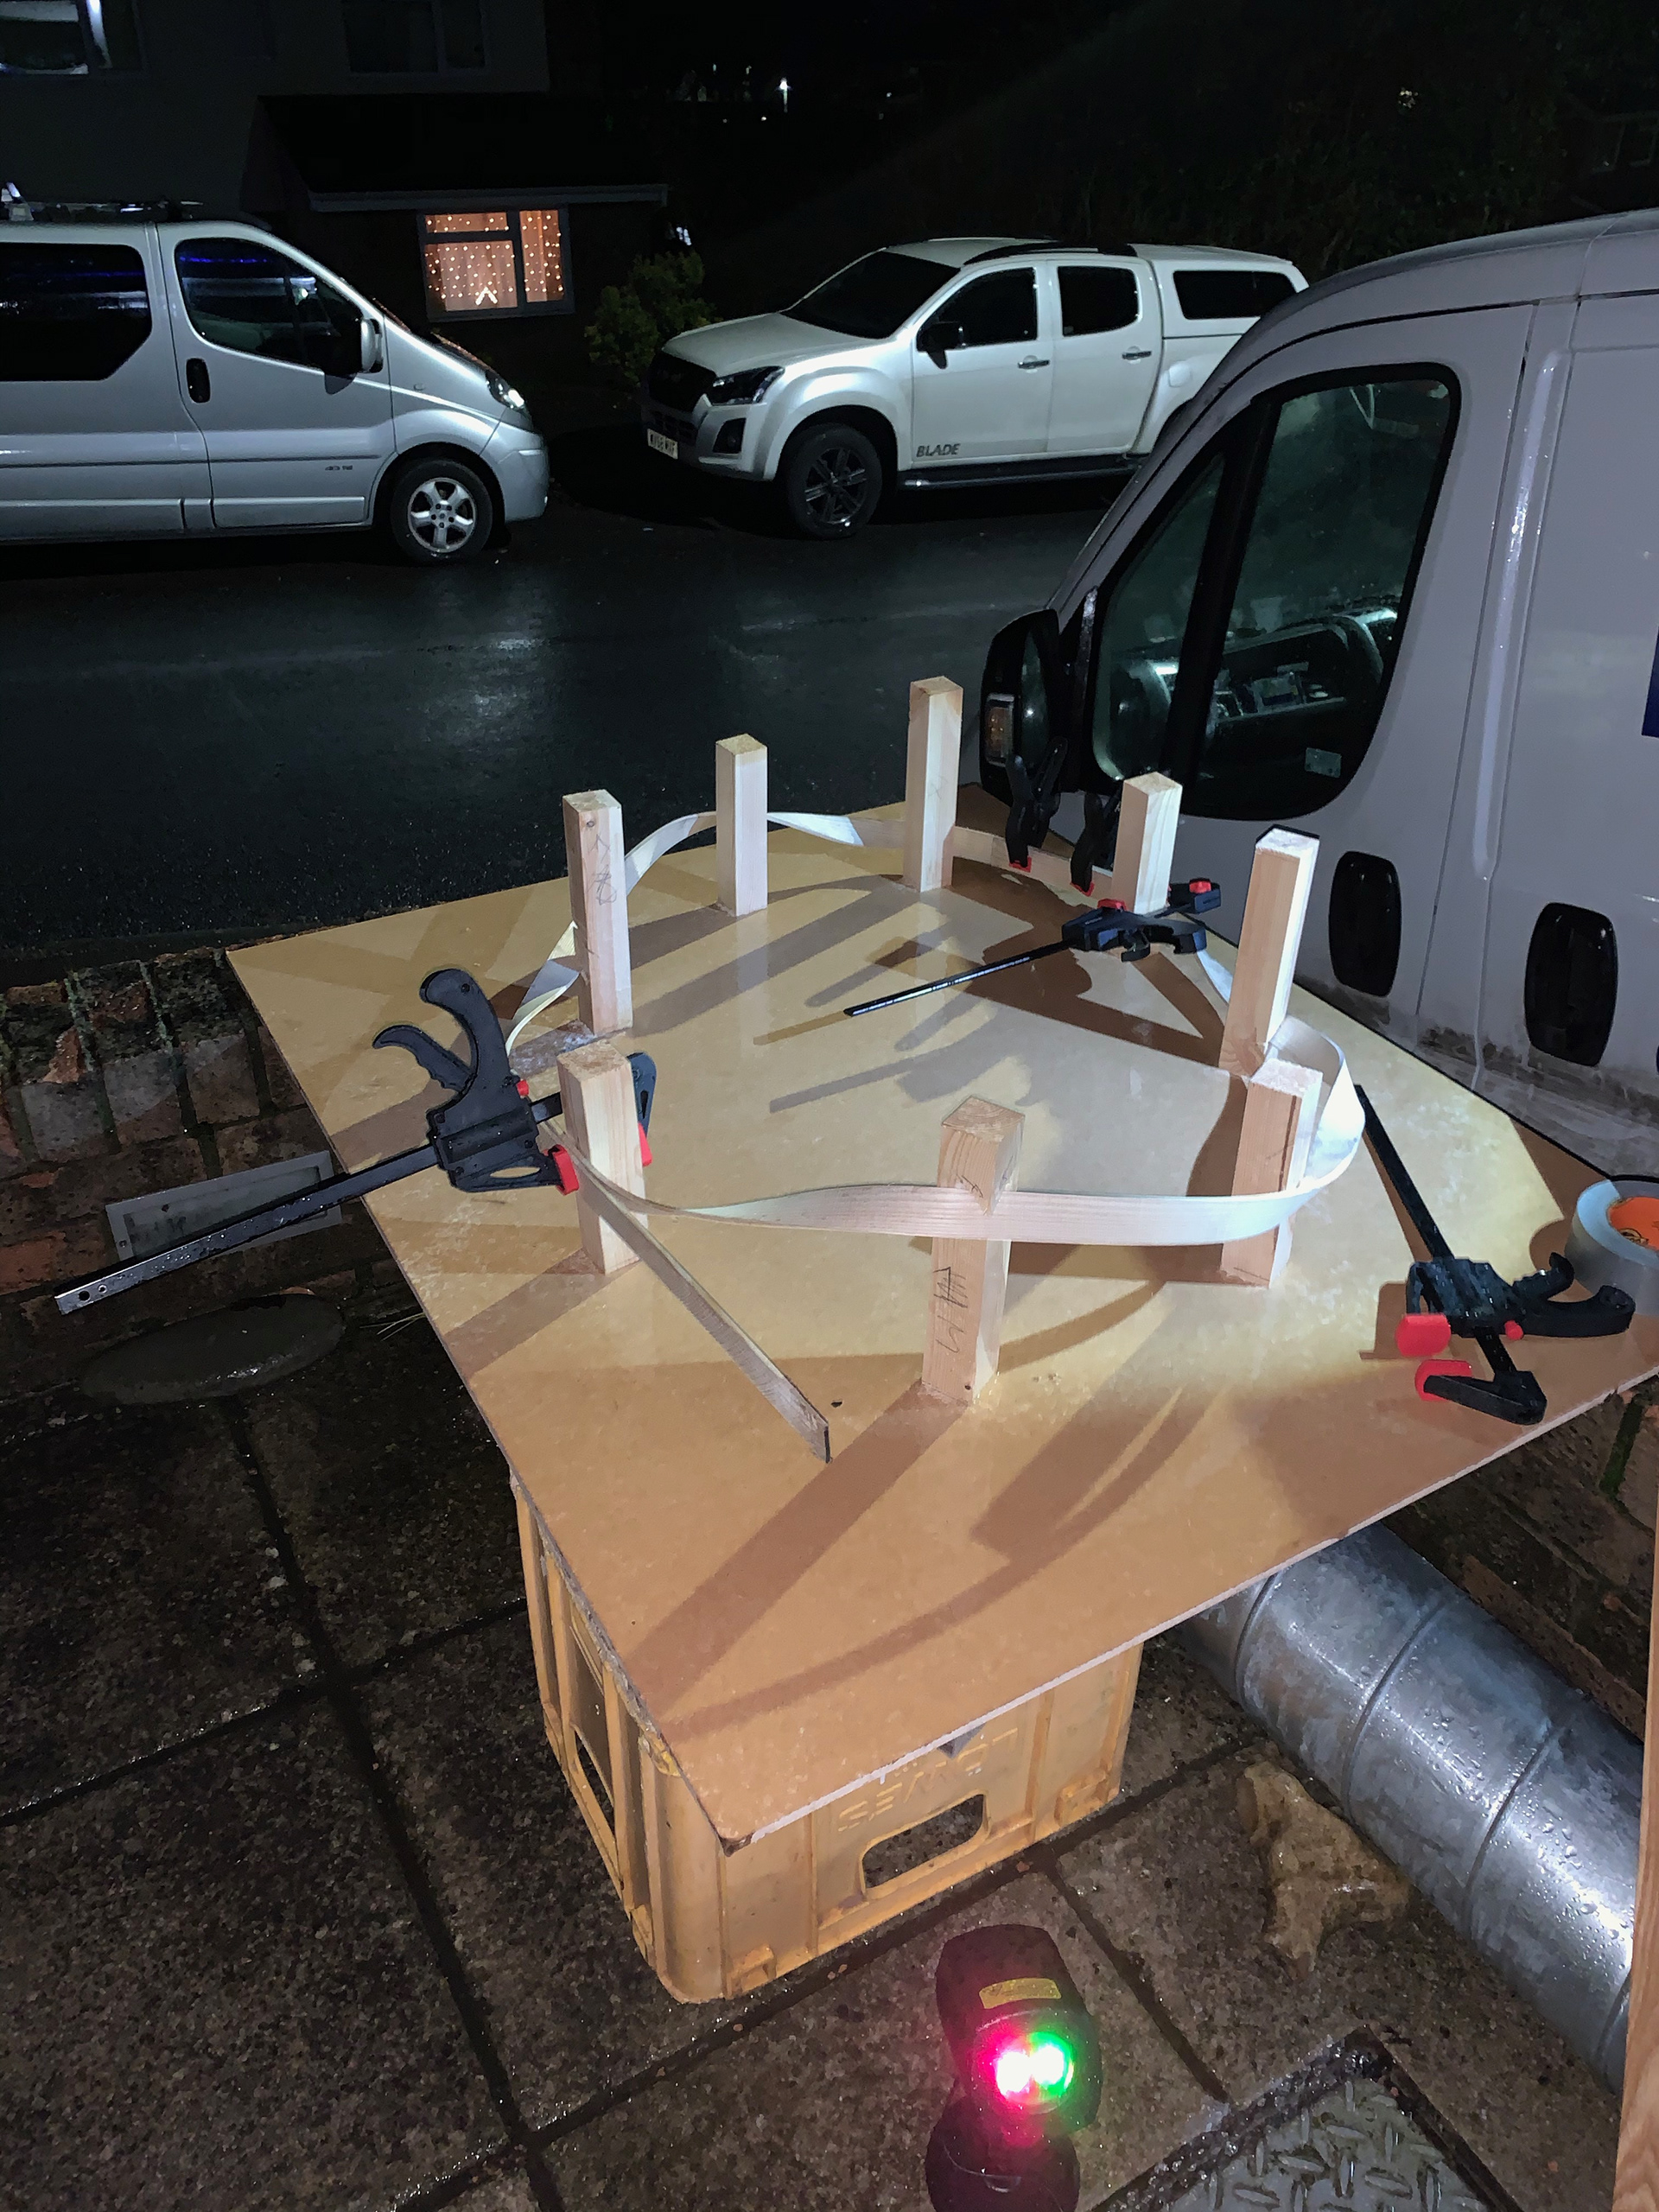
My original idea was to freeform the shape however after talking to various people it was decided that if I wanted to get the closed shape I would have to use so sort of former so that the two ends would meet; and that it may also have to be two strips of wood. The former would be a board with several blocks of various sizes arranged in a circular shape. The aim of this would be to attach the wood at different heights to get the wave effect.
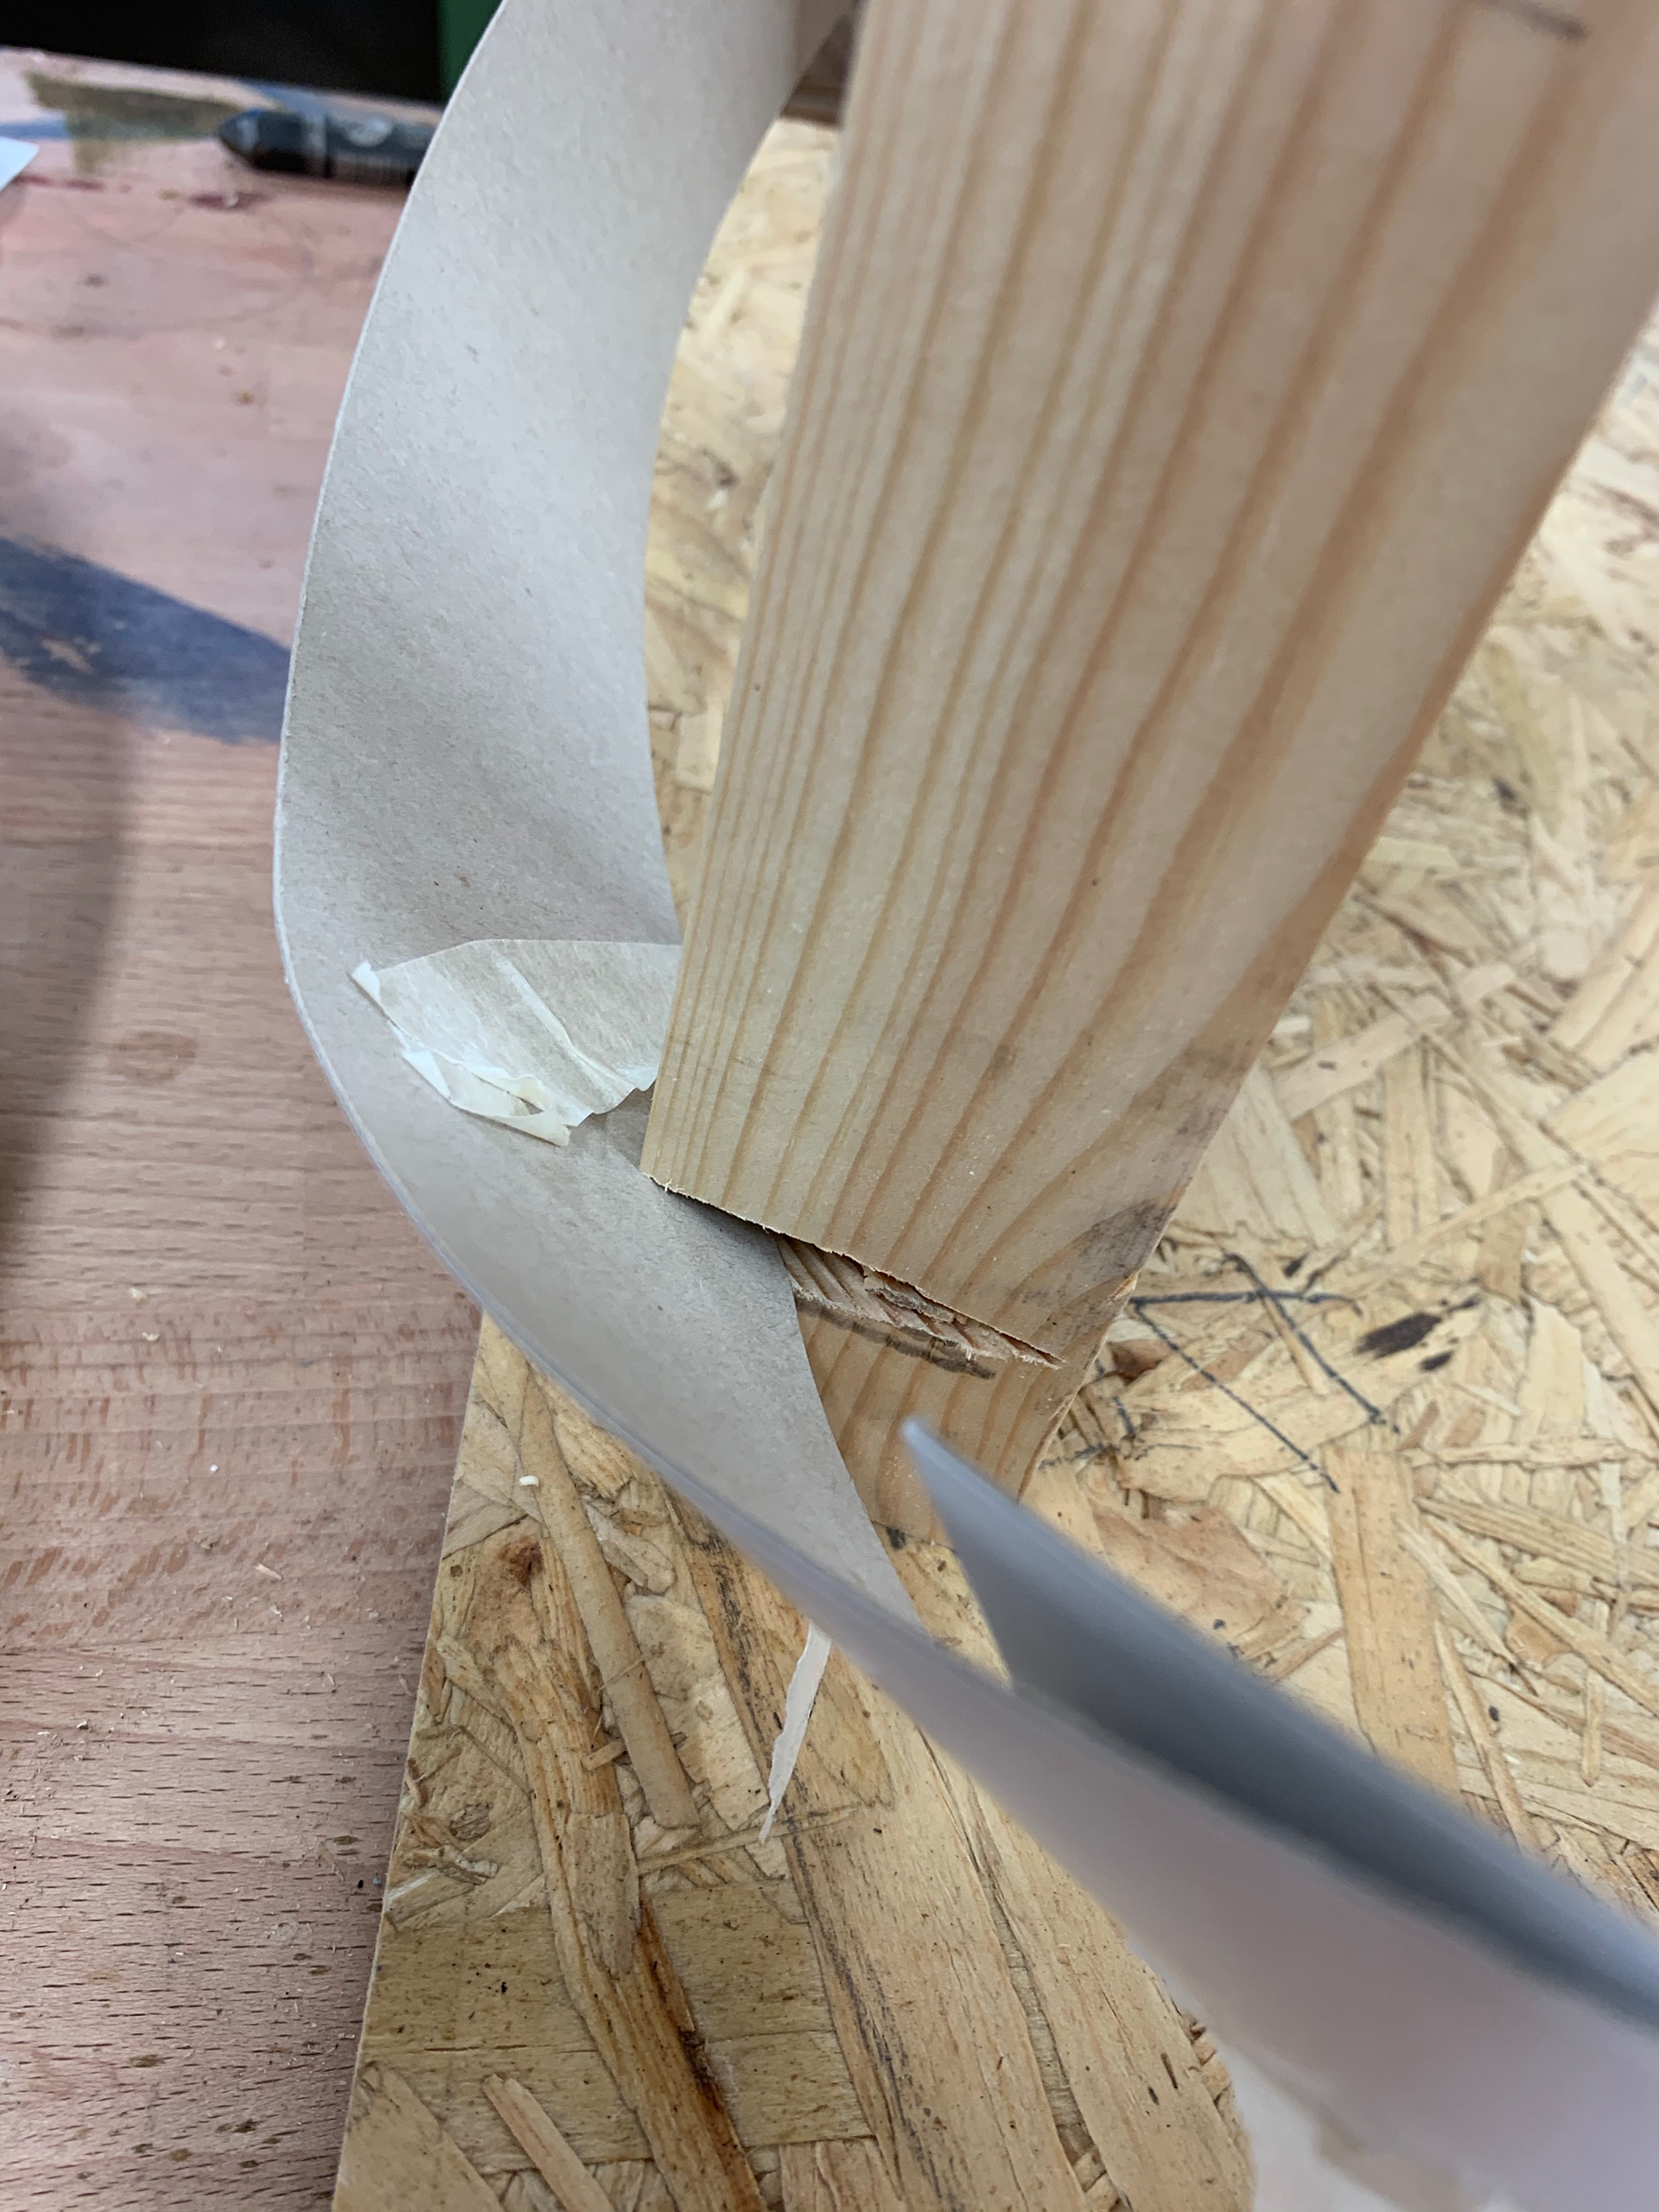
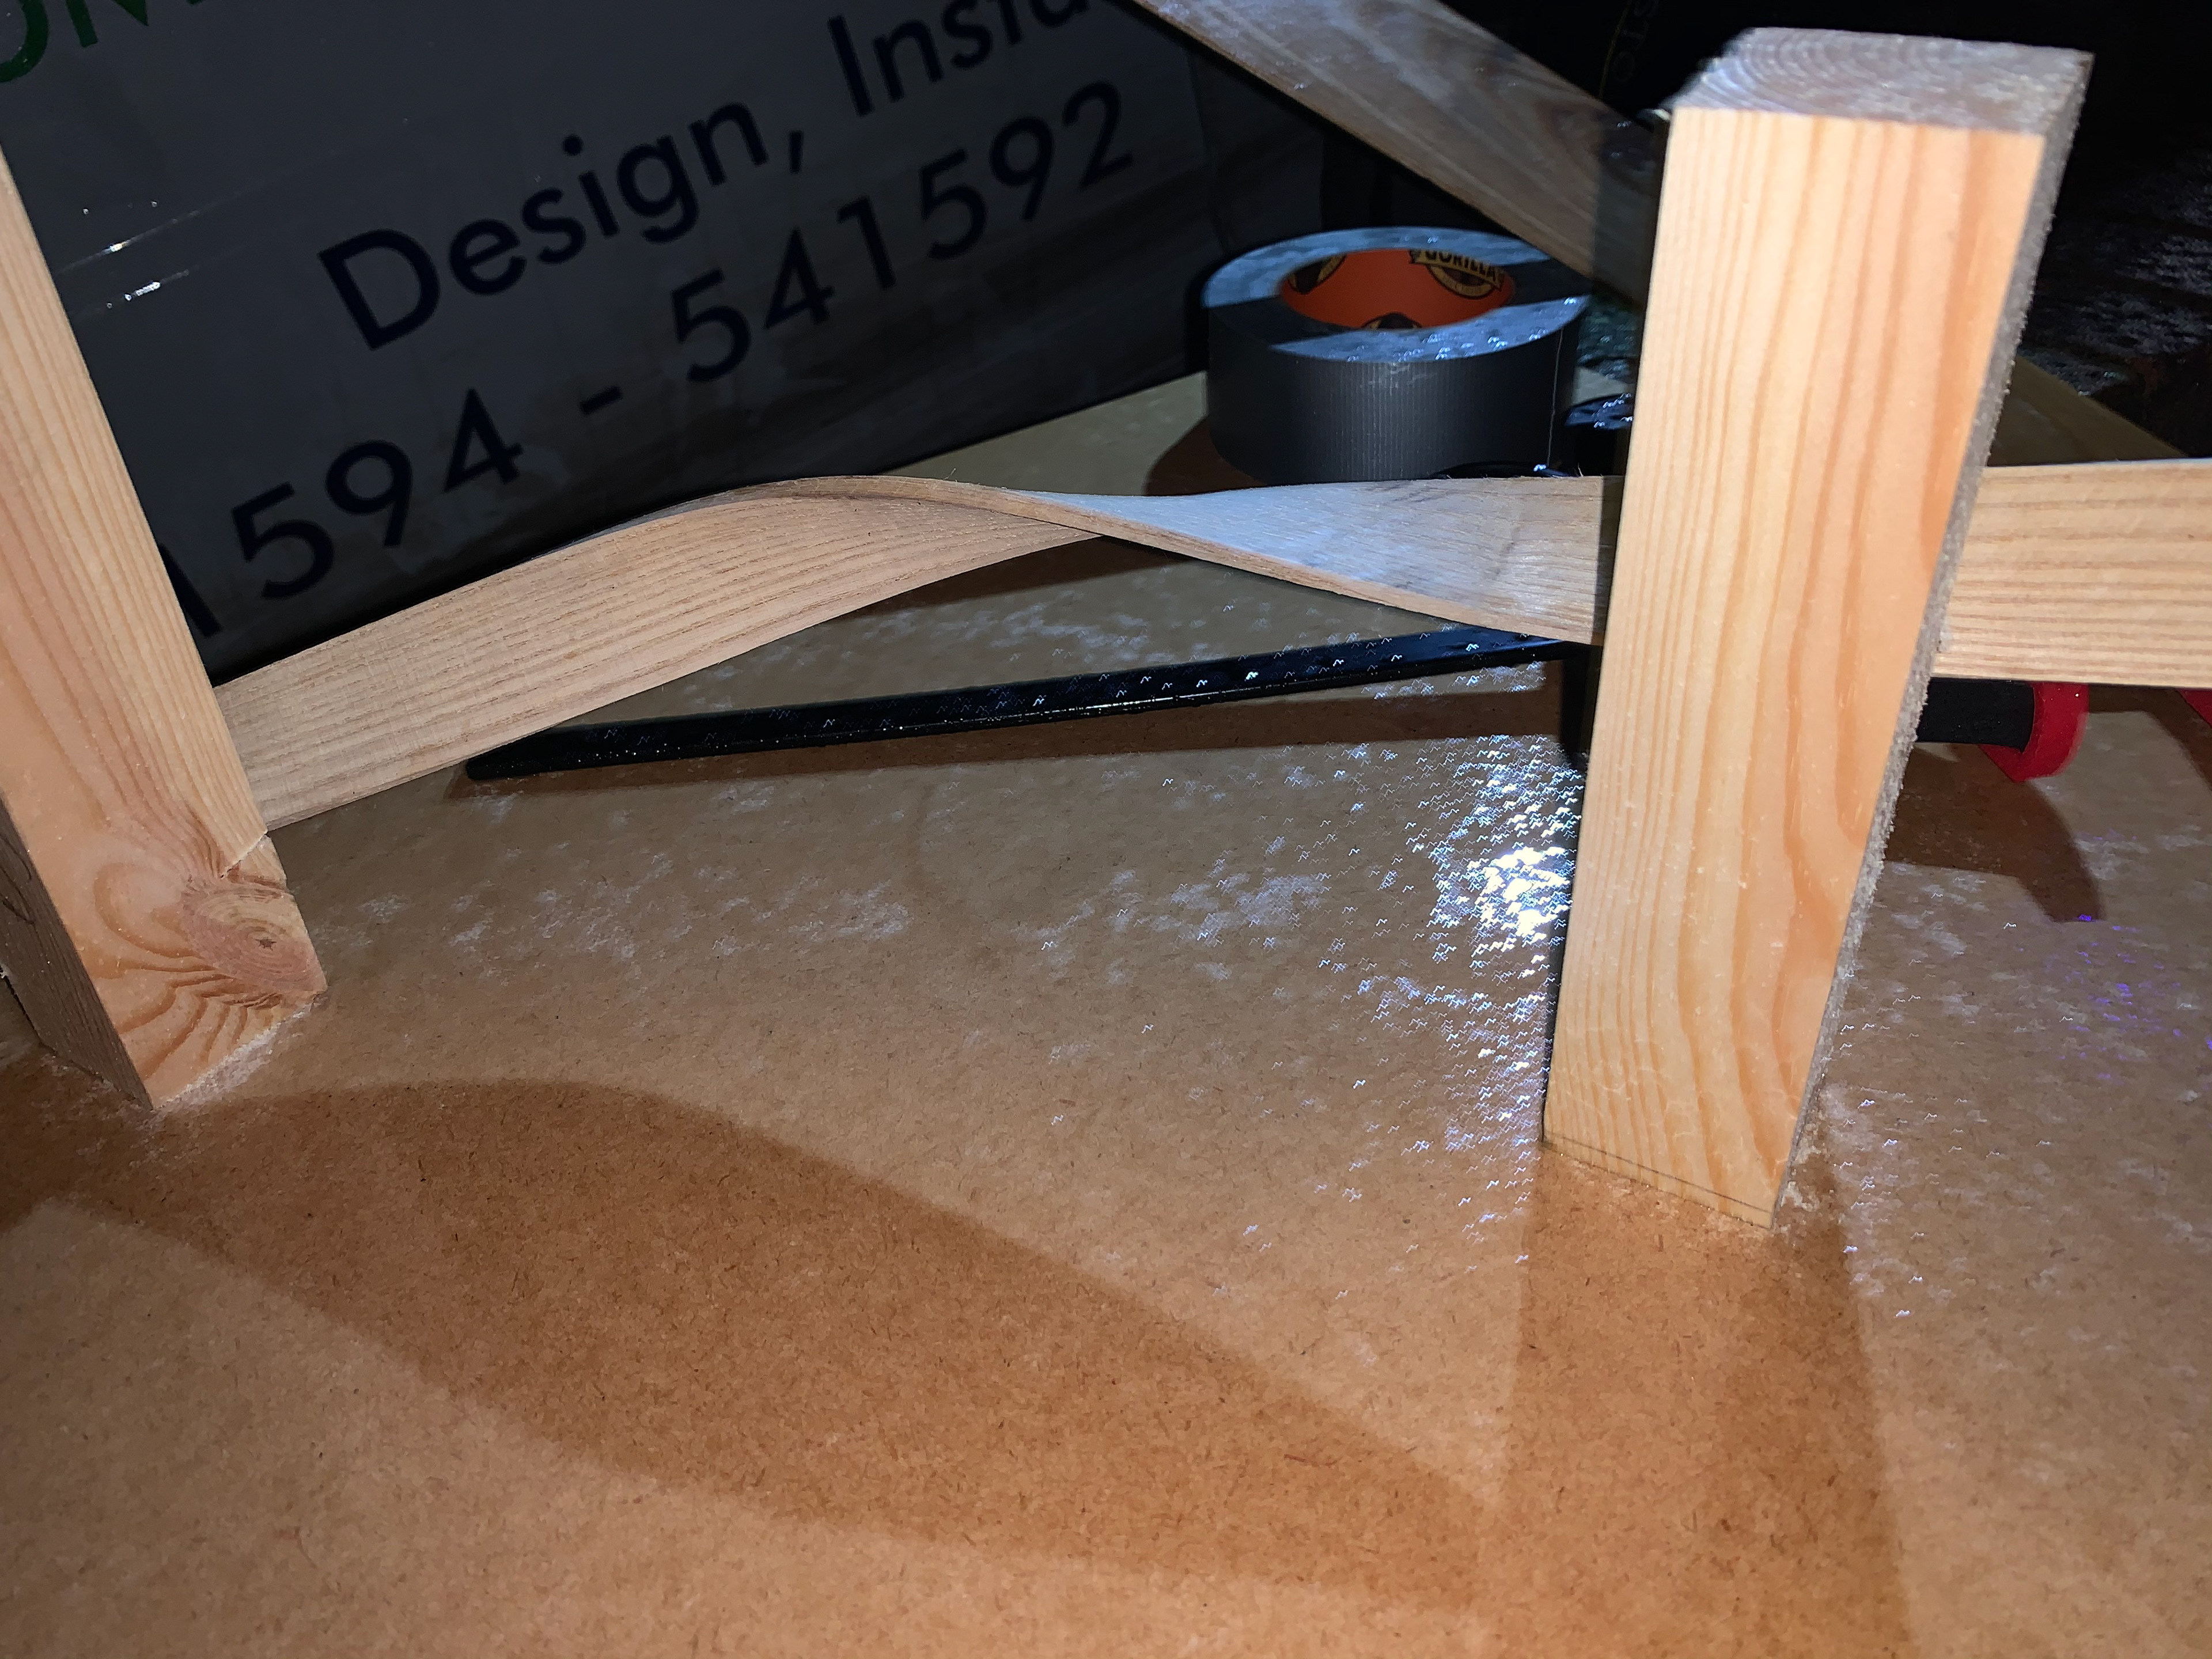
My first attempt at bending the wood didn’t exactly give me the effect that I wanted. I was unable to angle the wood the way I wanted; I ended up with a circular shape that didn’t have much of a warped wave effect. I then came up with the idea to add grooves into the wood that would guide the wood around the mould and get the angles that I want. They would be at different heights in the wood and at different directions.

Showing the grooves that would be cut.
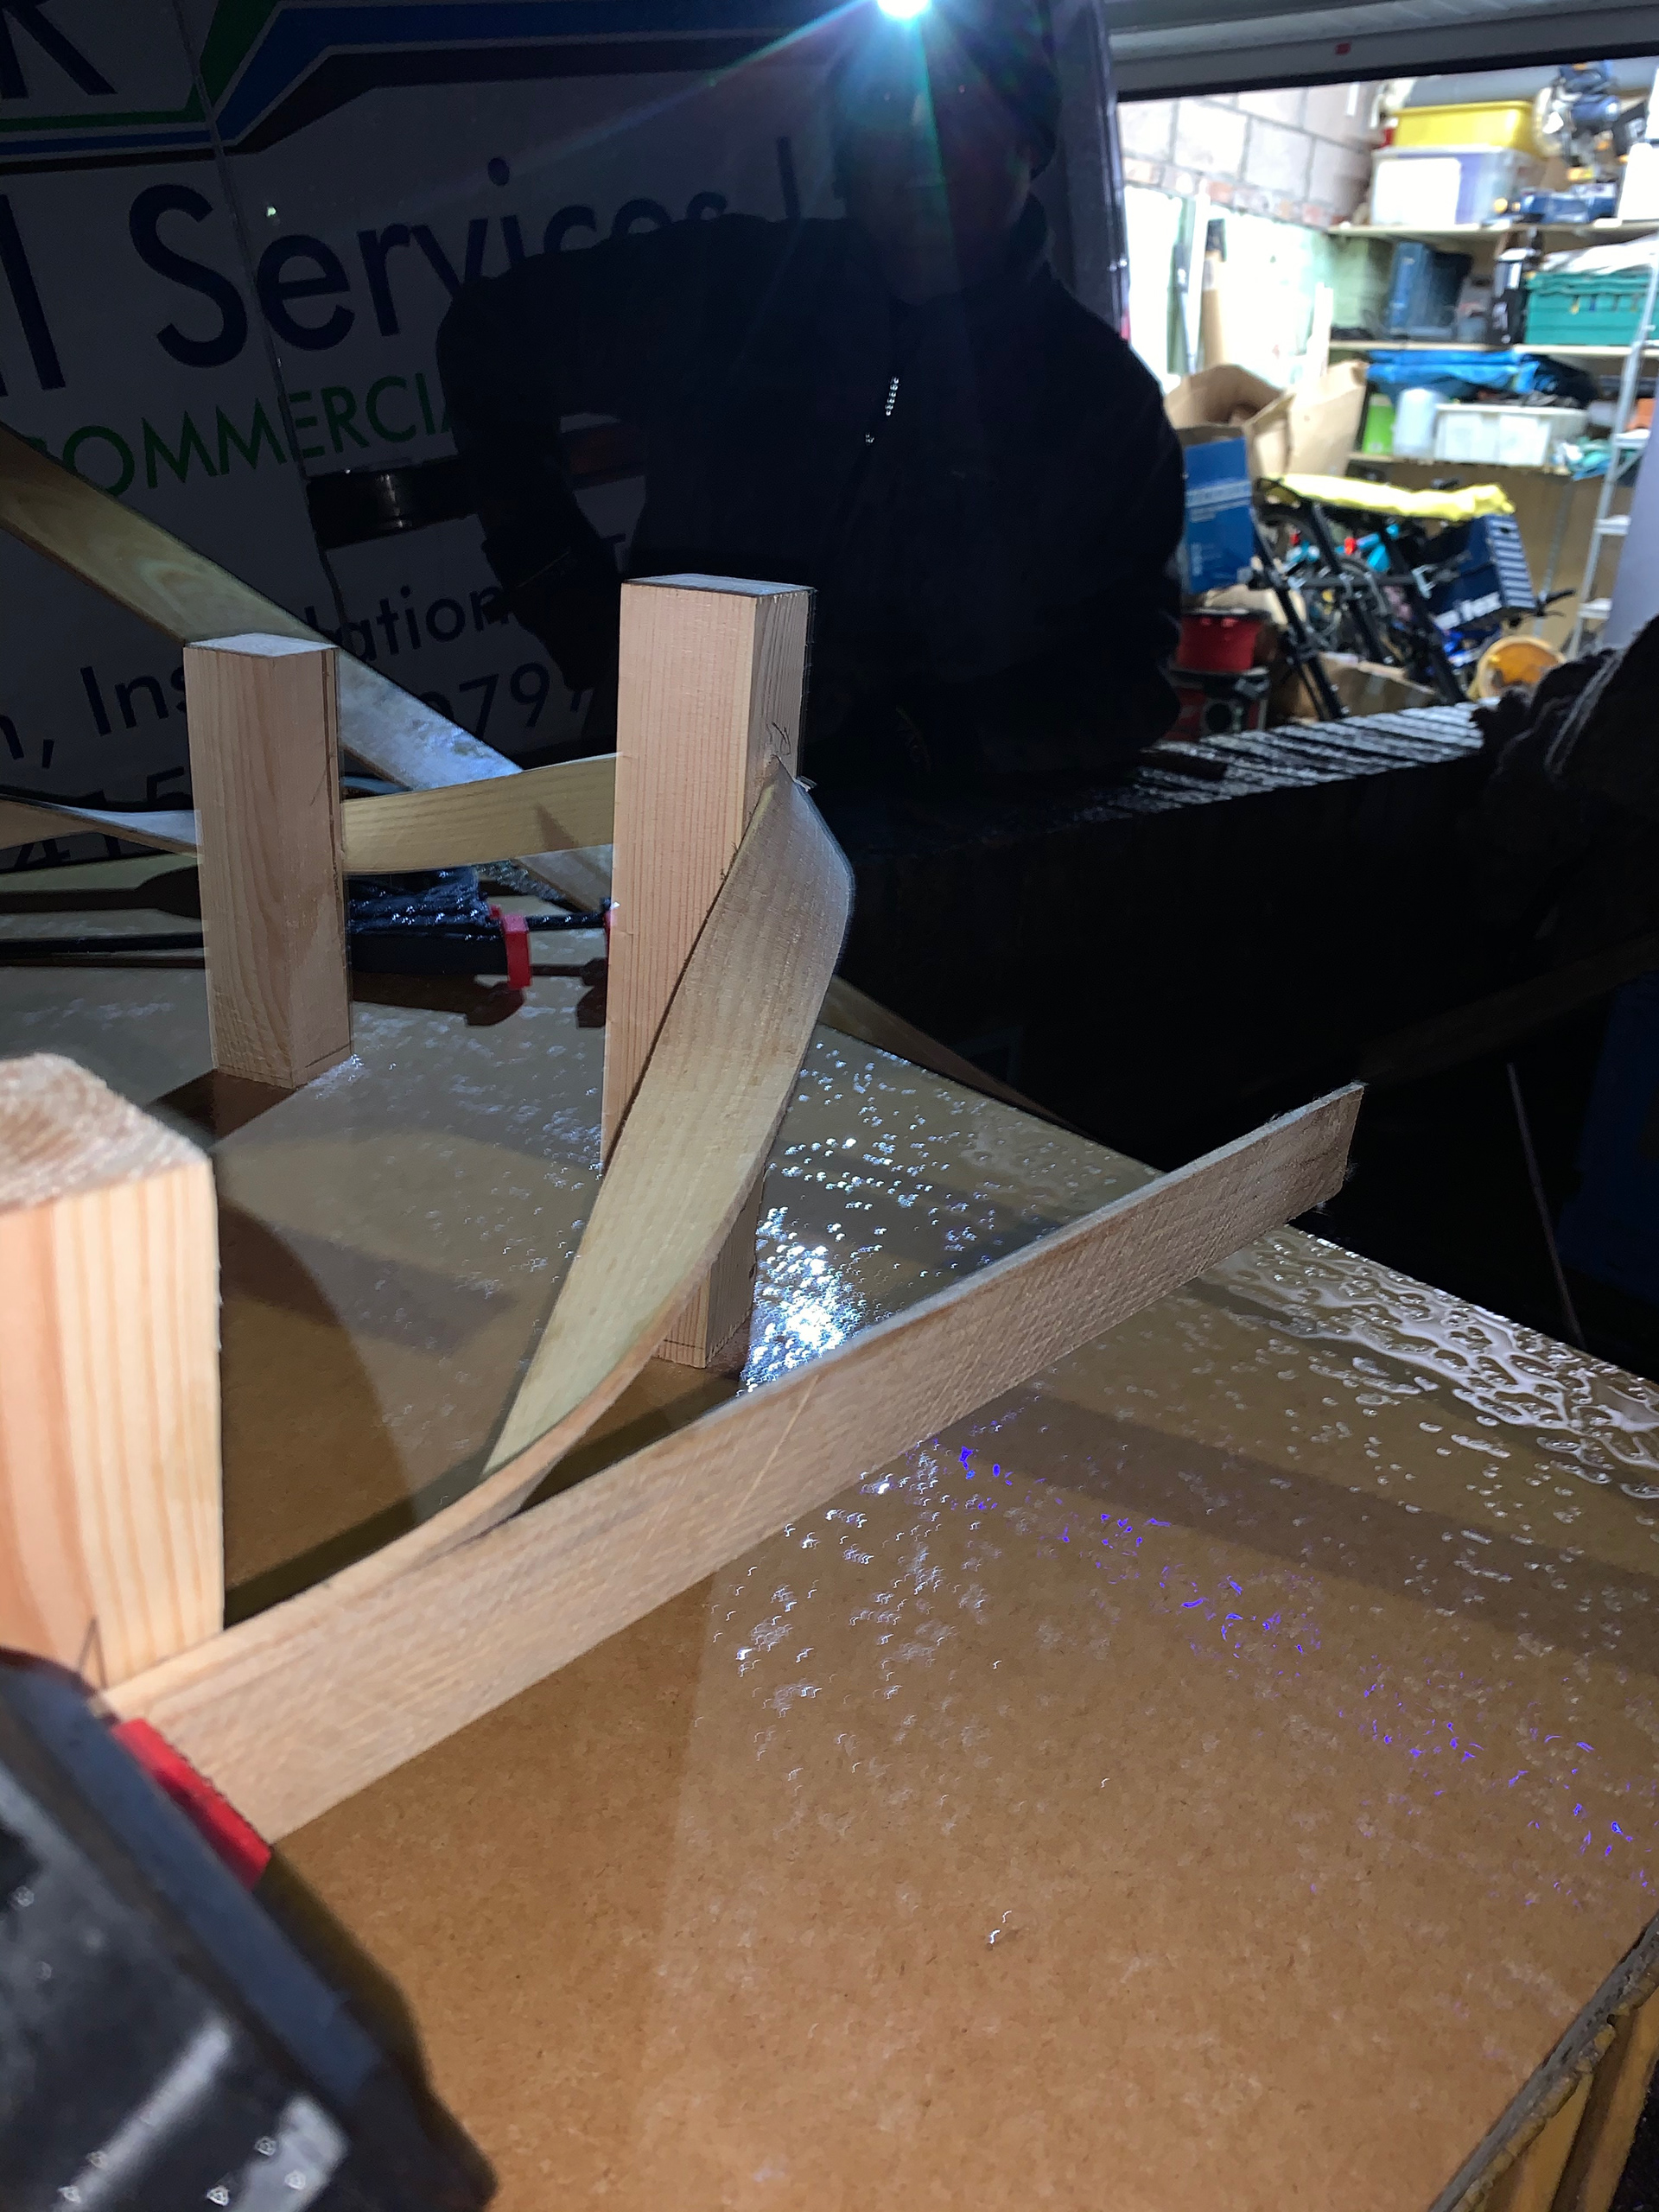
How it would change the way the wood sits.
Before I do the final steam, I wanted to check how the wood would sit and that I had gotten a drastic enough angle to get the effect that I wanted. And so, I used a strip of card to test this and also to find out how long I needed the wood to be. I would need 170cm worth of wood the go all the way around the mould.
FINAL STEAM
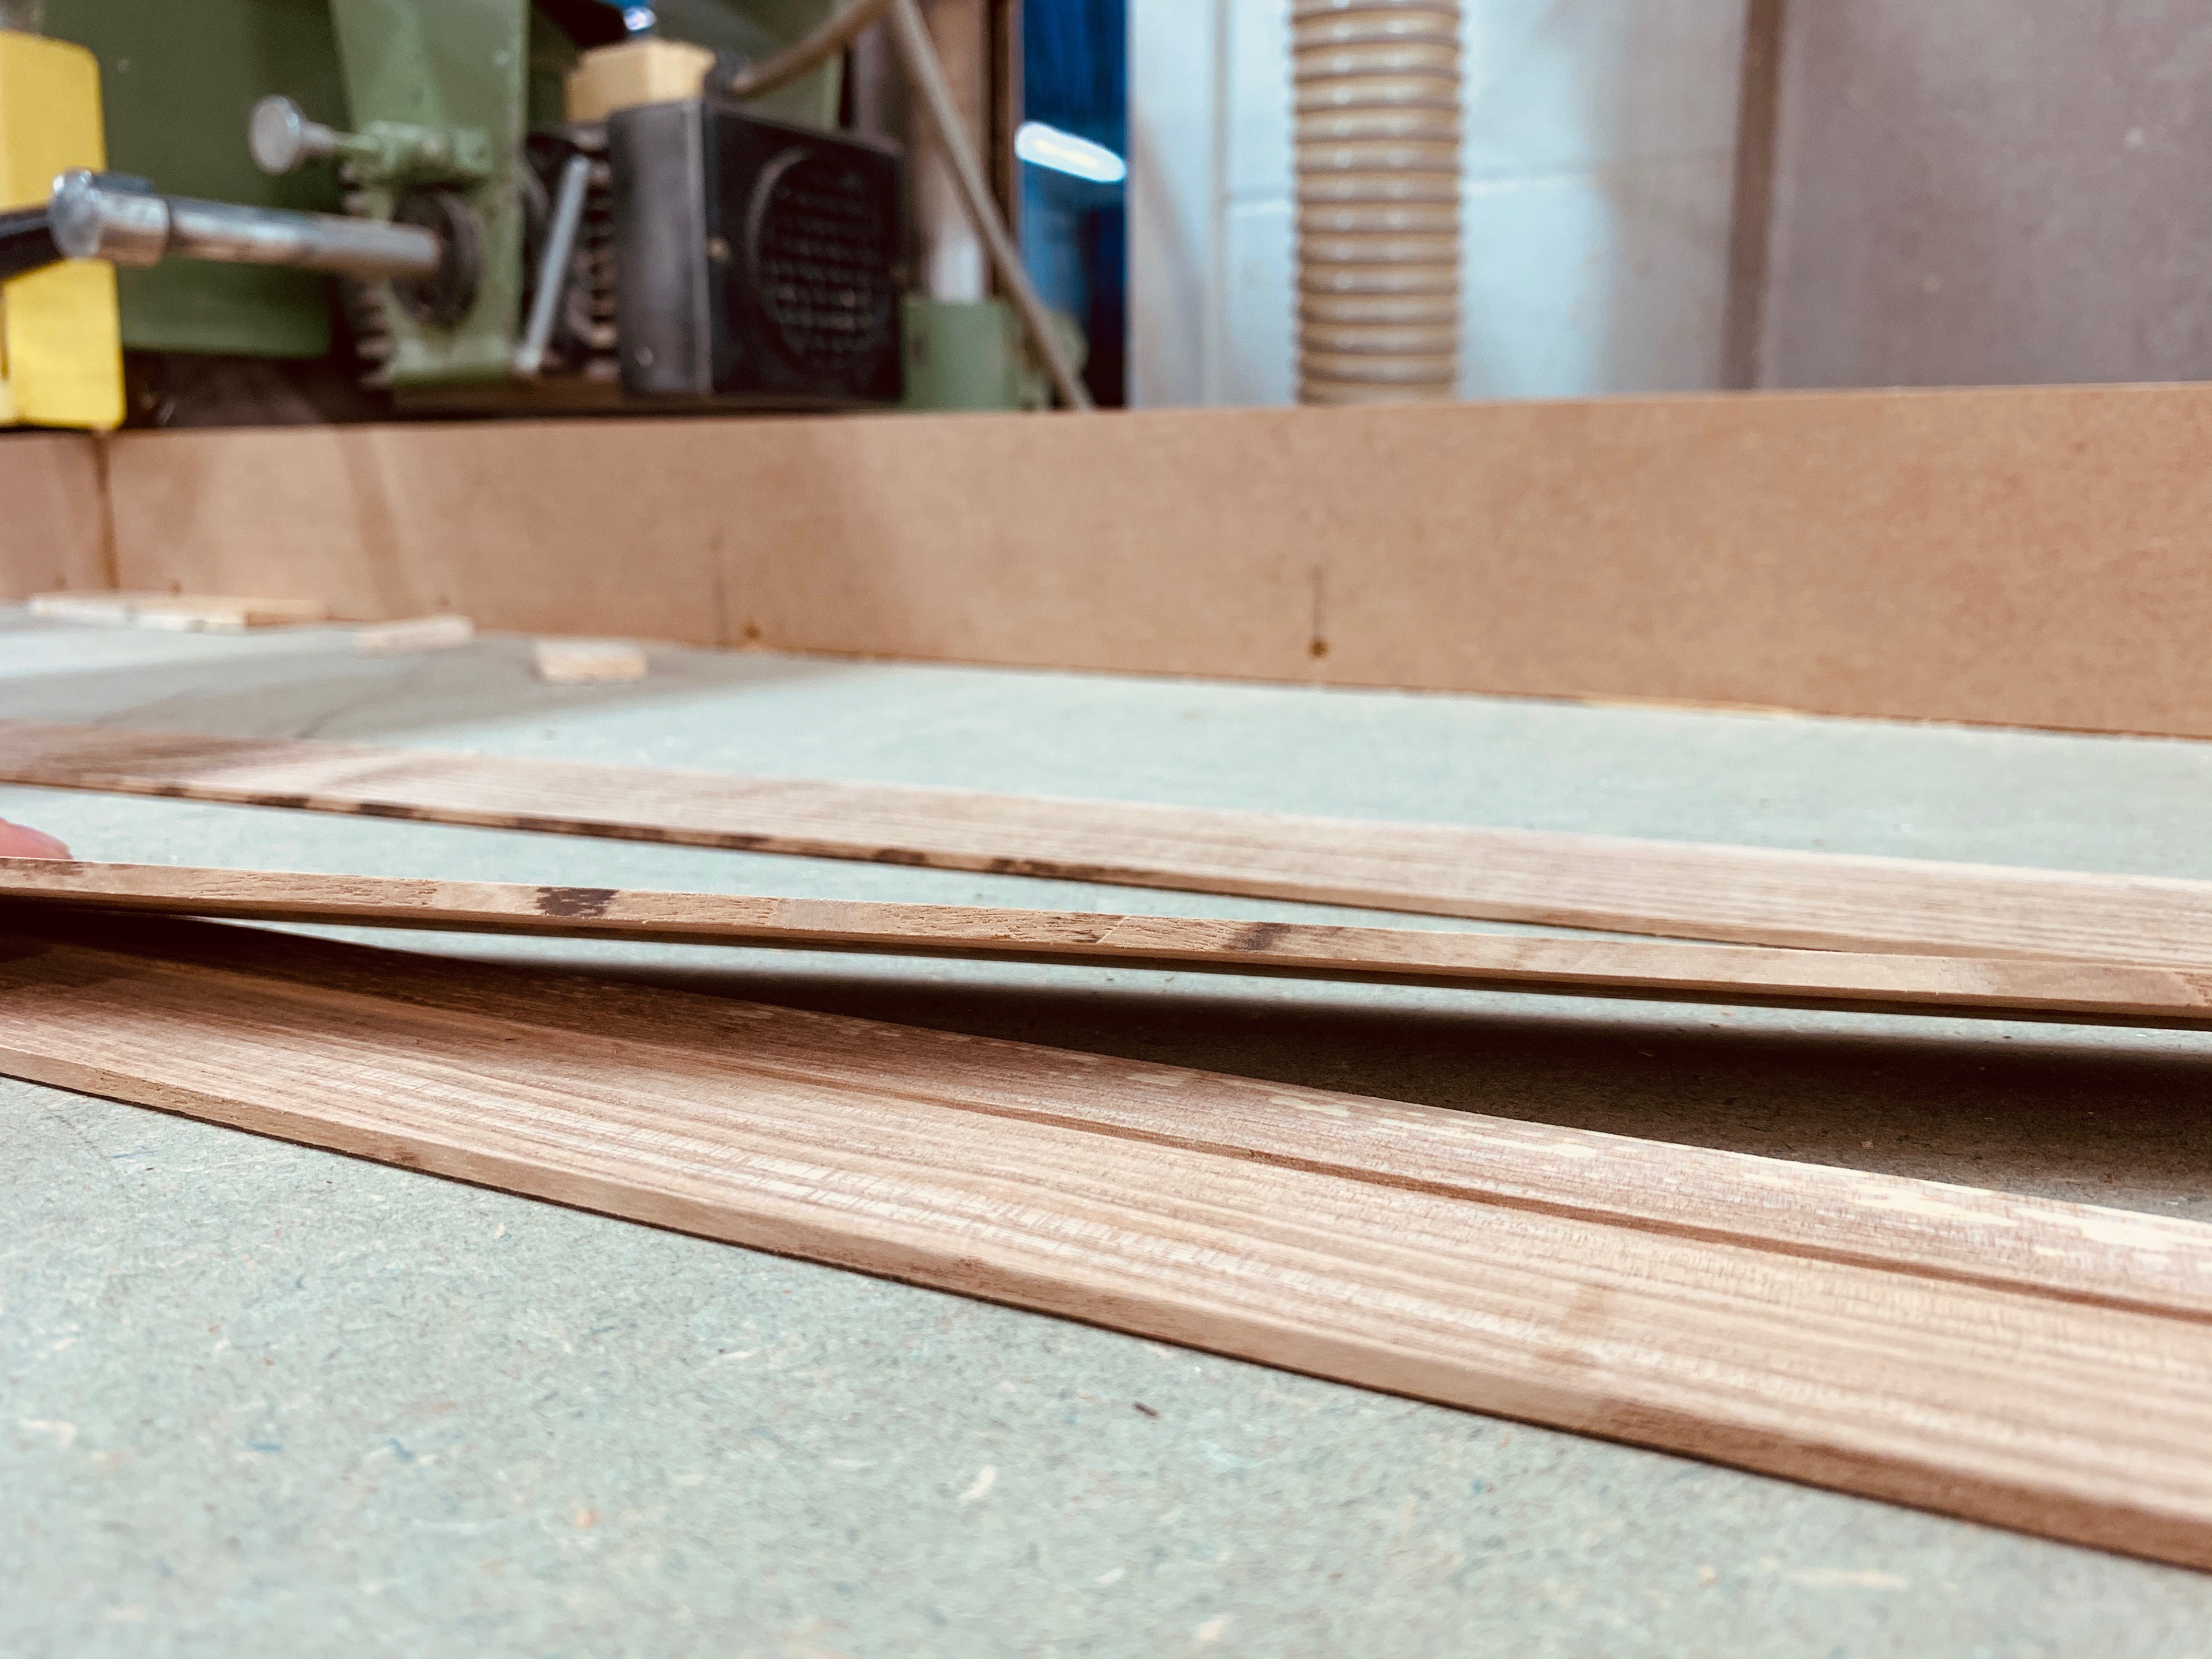
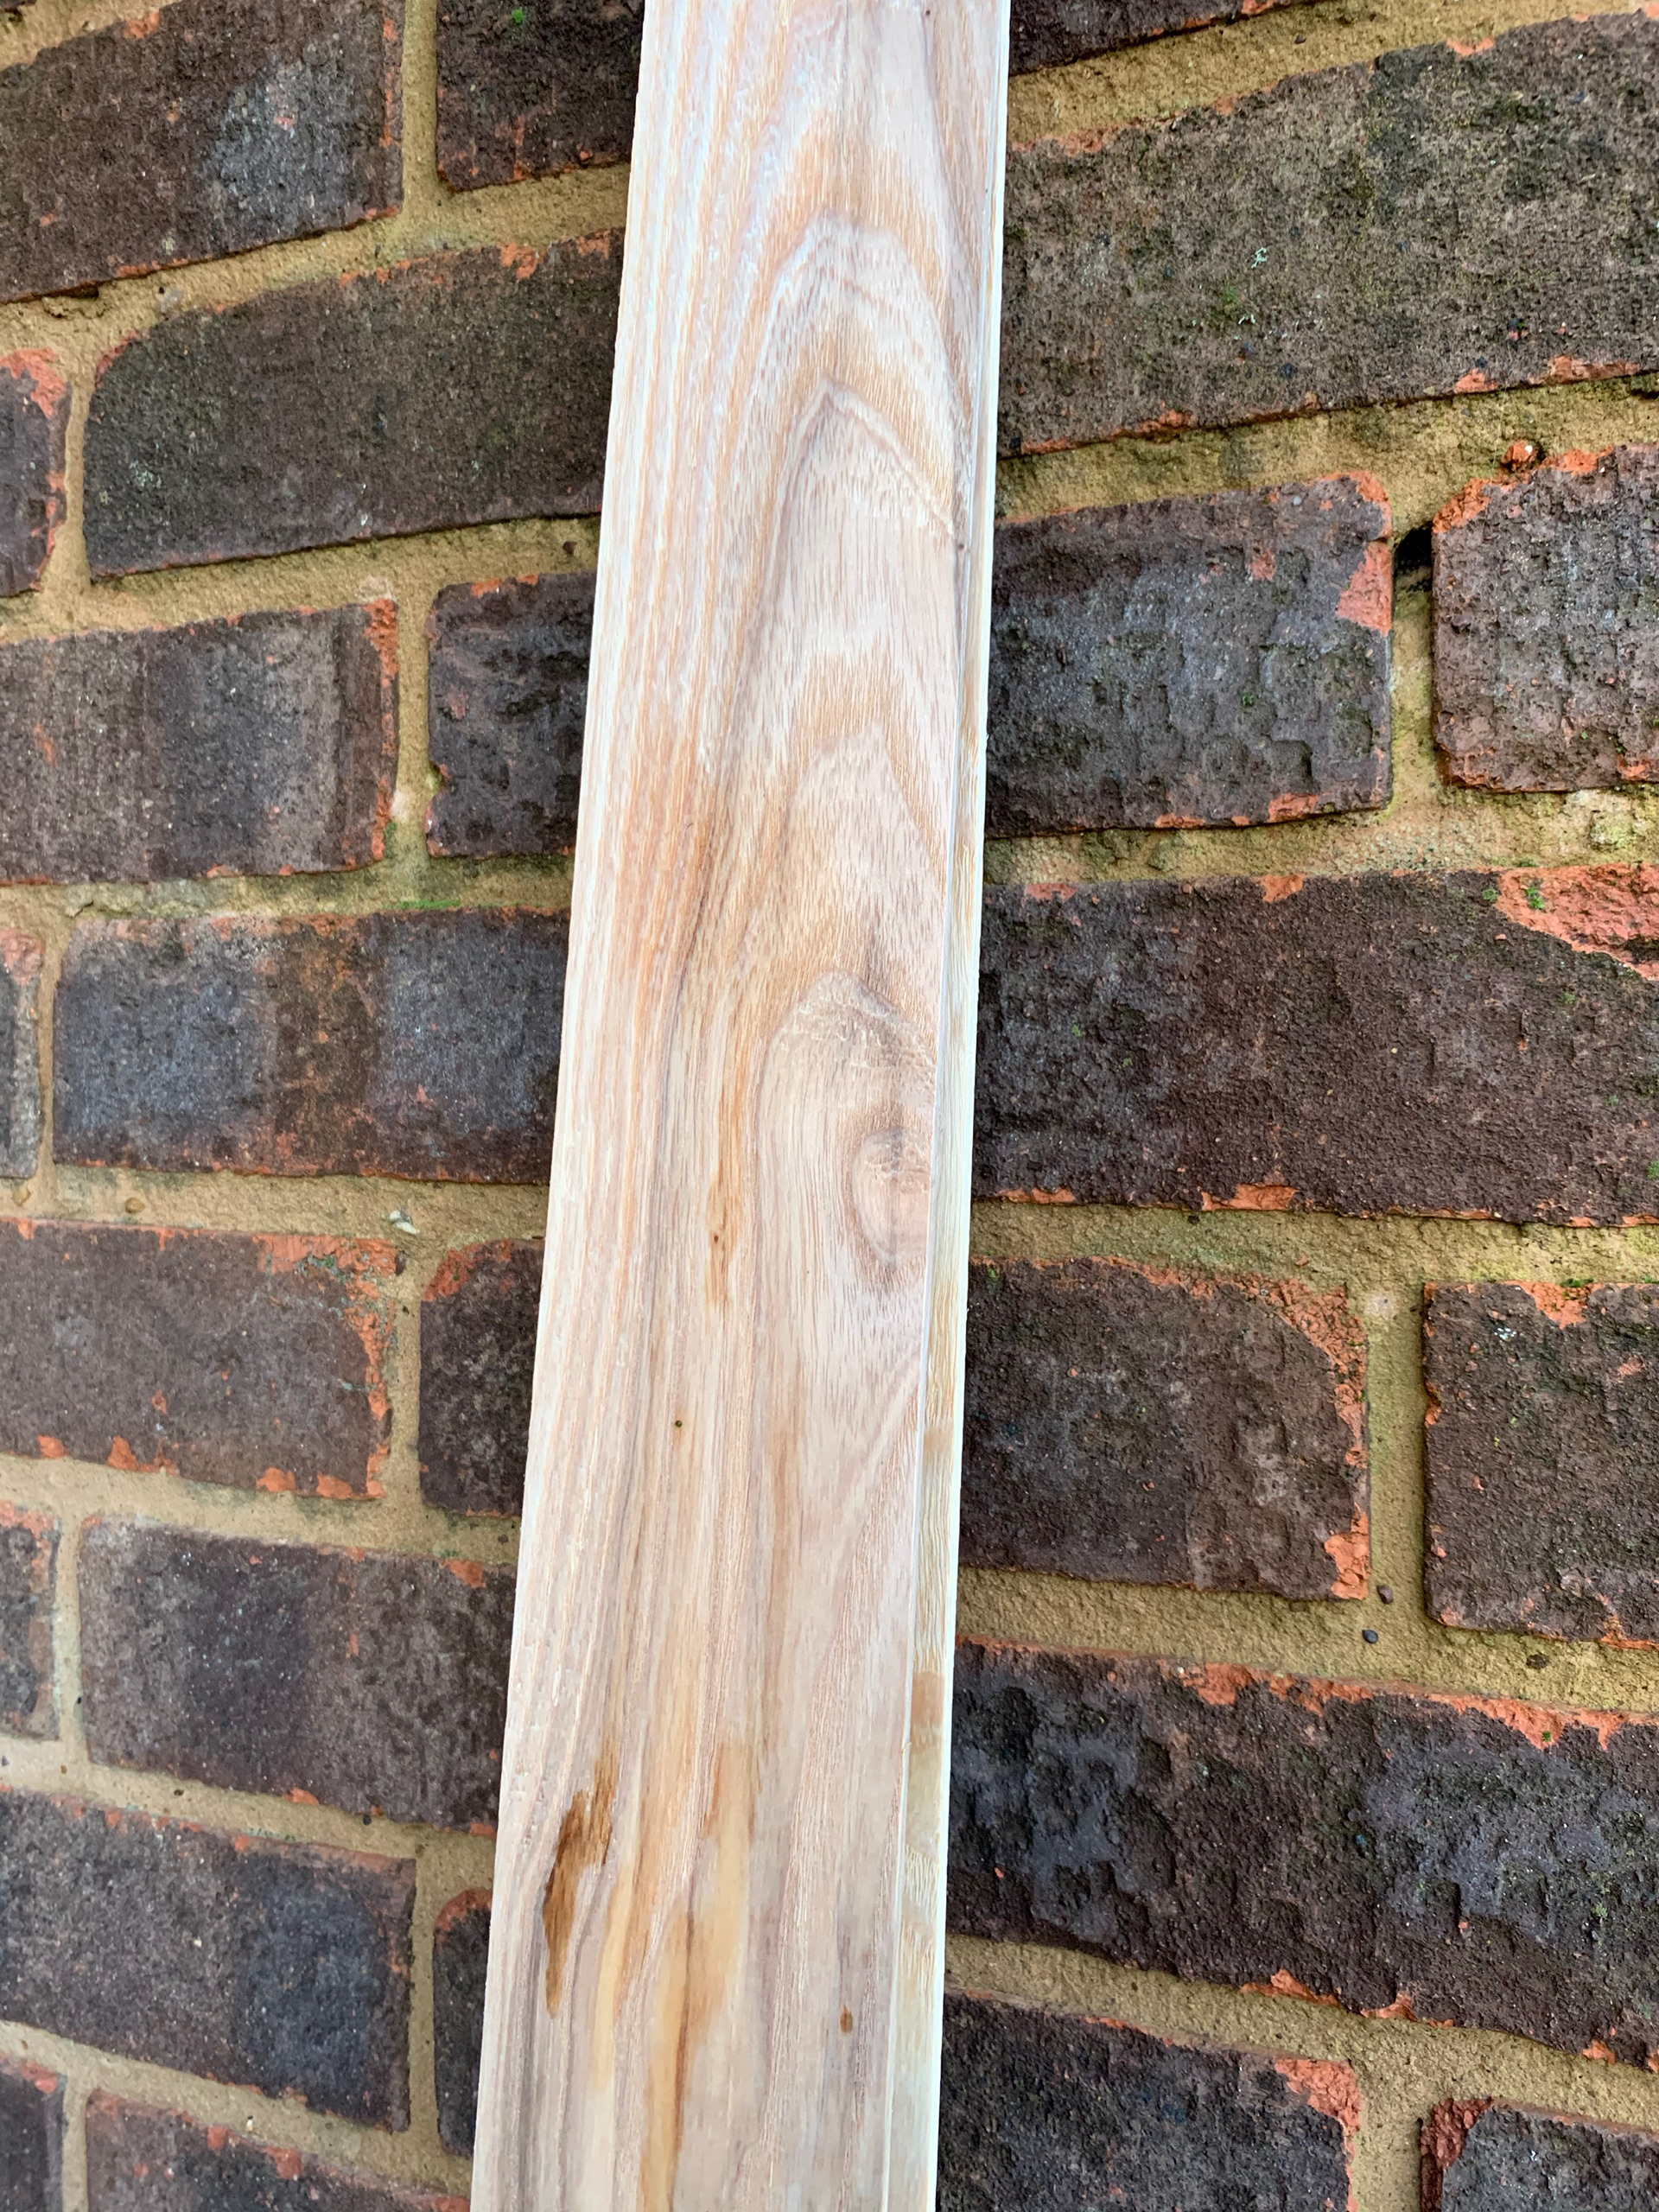
When it came to me being able to steam, there wasn’t a lot of choice left when it came to wood. I did manage to find some; however, I had to do it in two parts. Once the wood was cut to size, I cut the channel that the LED lights would sit in, the problem I encountered here was that the wood is very thin and cutting the channel has only made it thinner. This means that this is a possible weakness/breaking point. I do have a spare piece just in case one breaks but if there are multiple breakages I will have to start again.


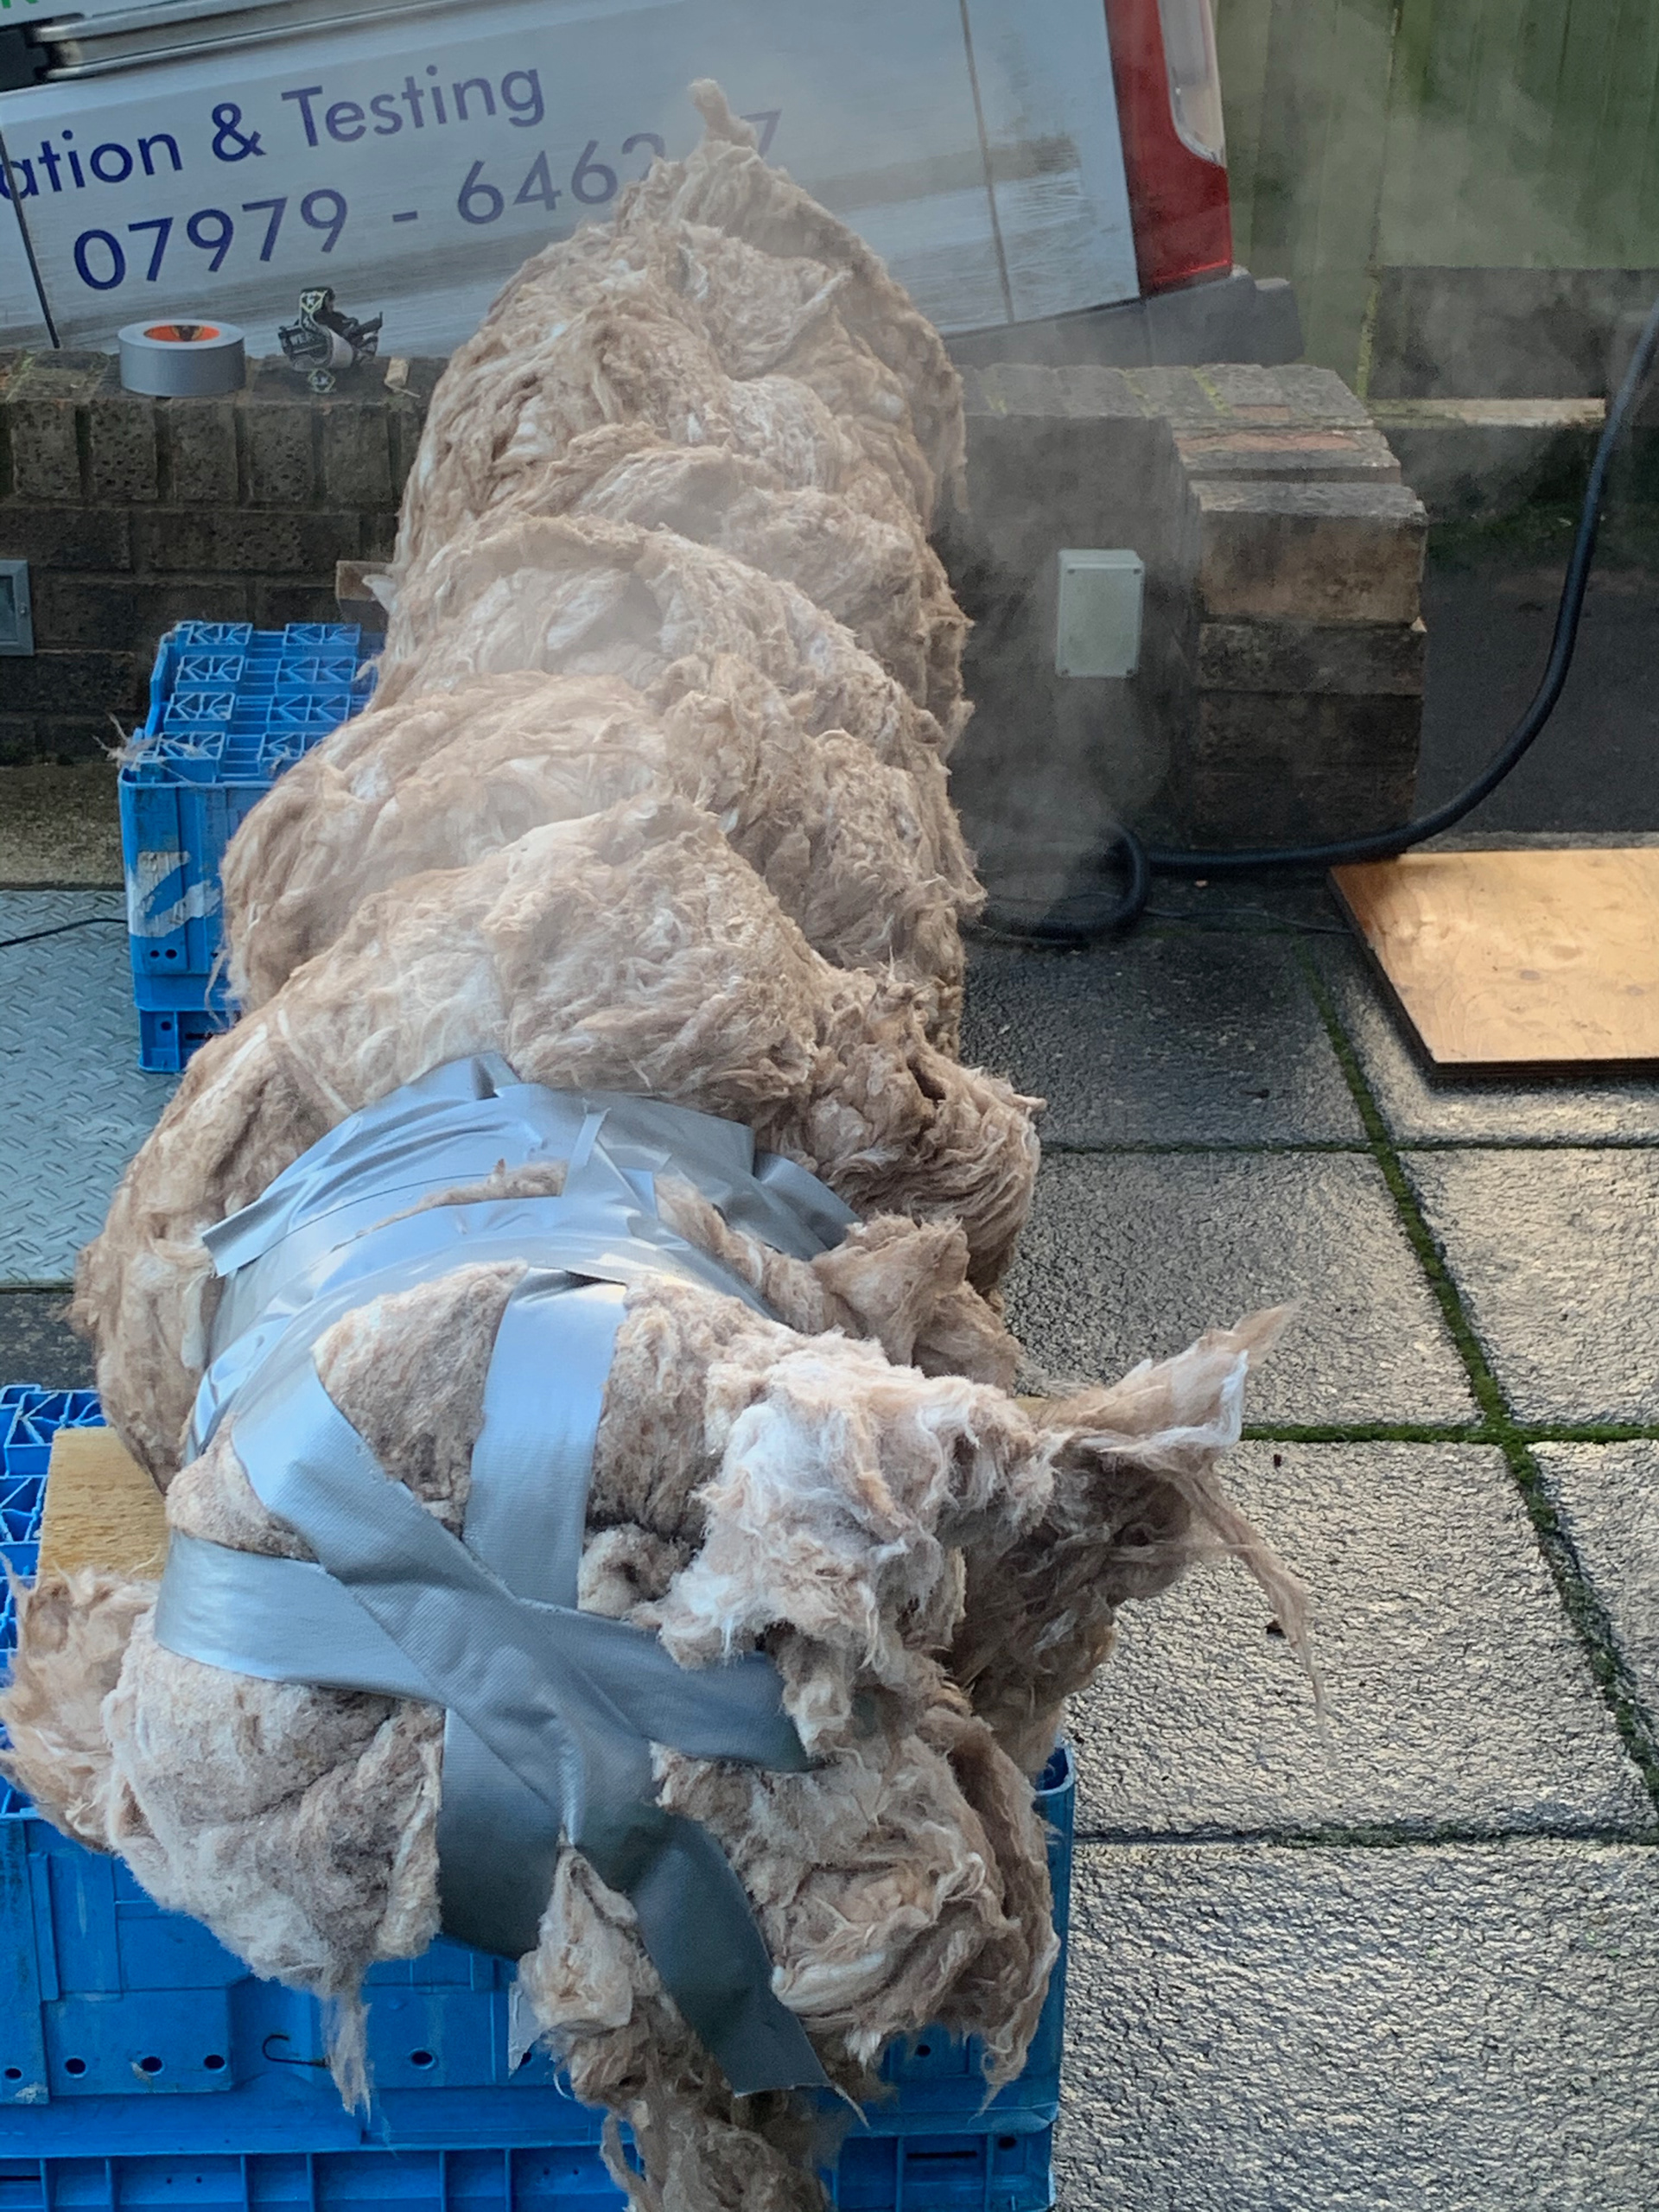
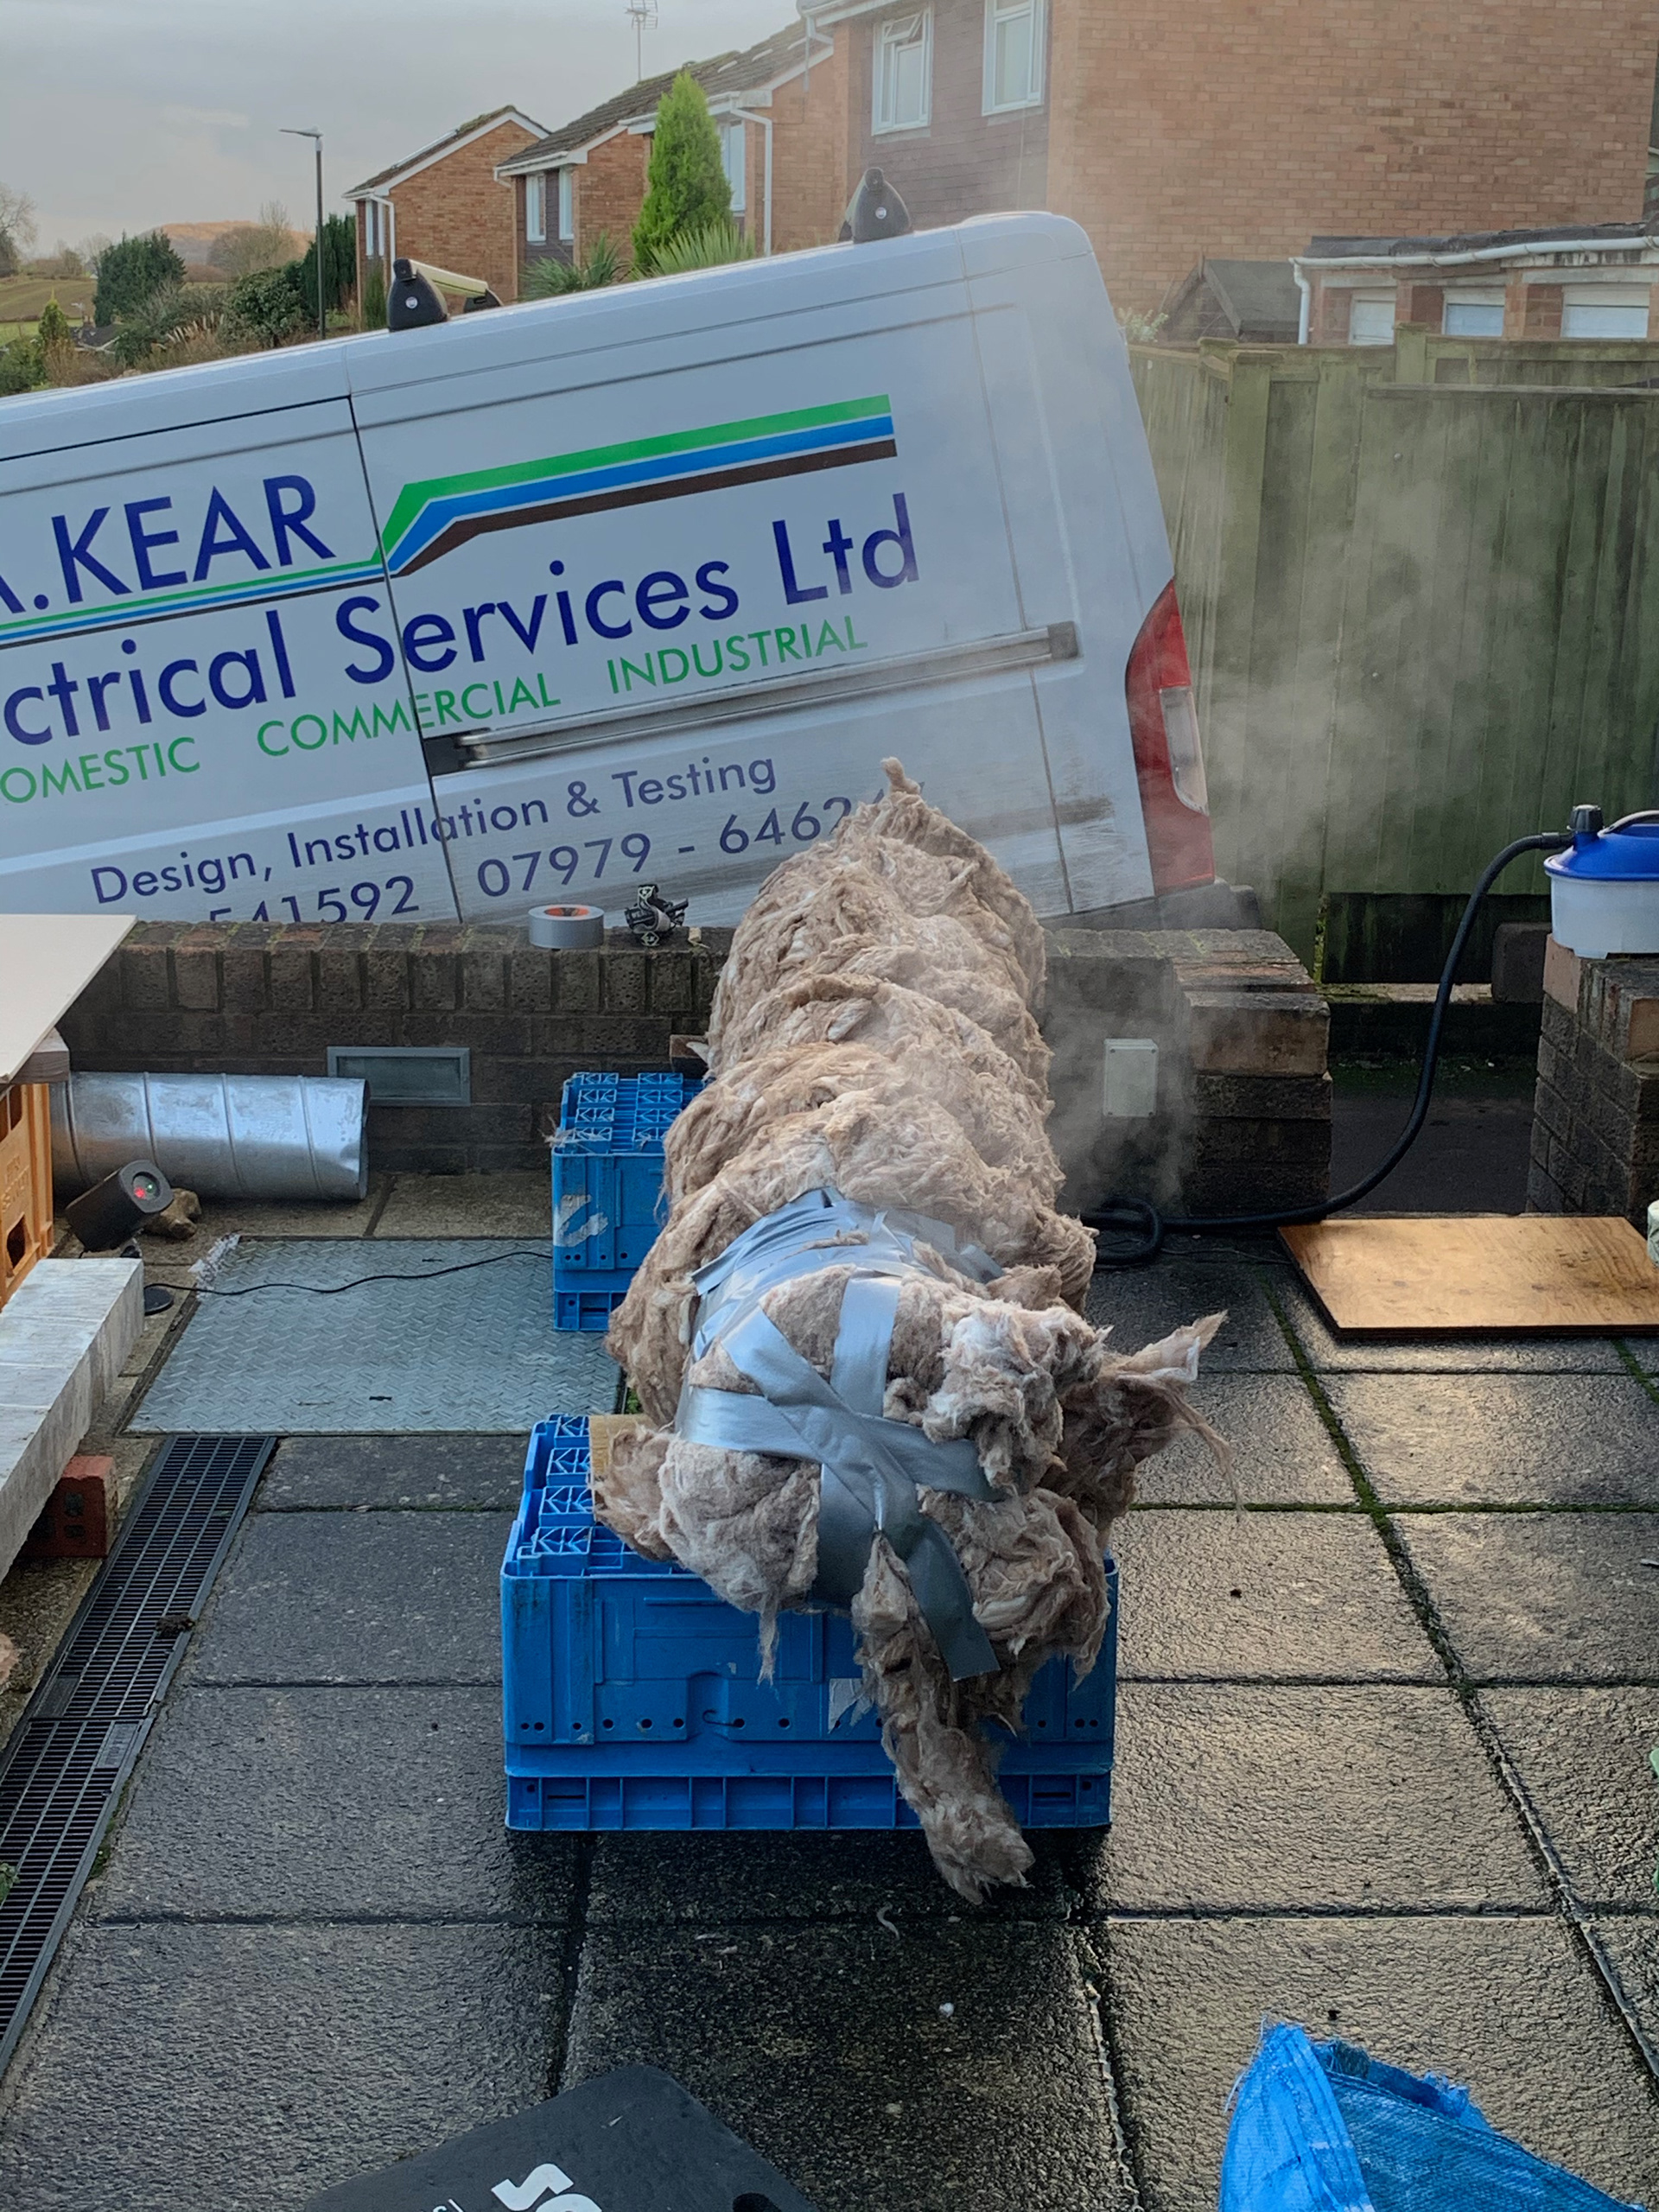
Unfortunately, the wood did split in several places. I also ran out of time to make the piece at university, as well as materials. There was no more wood for me to use. This meant that I had to find my own way of steaming the wood.

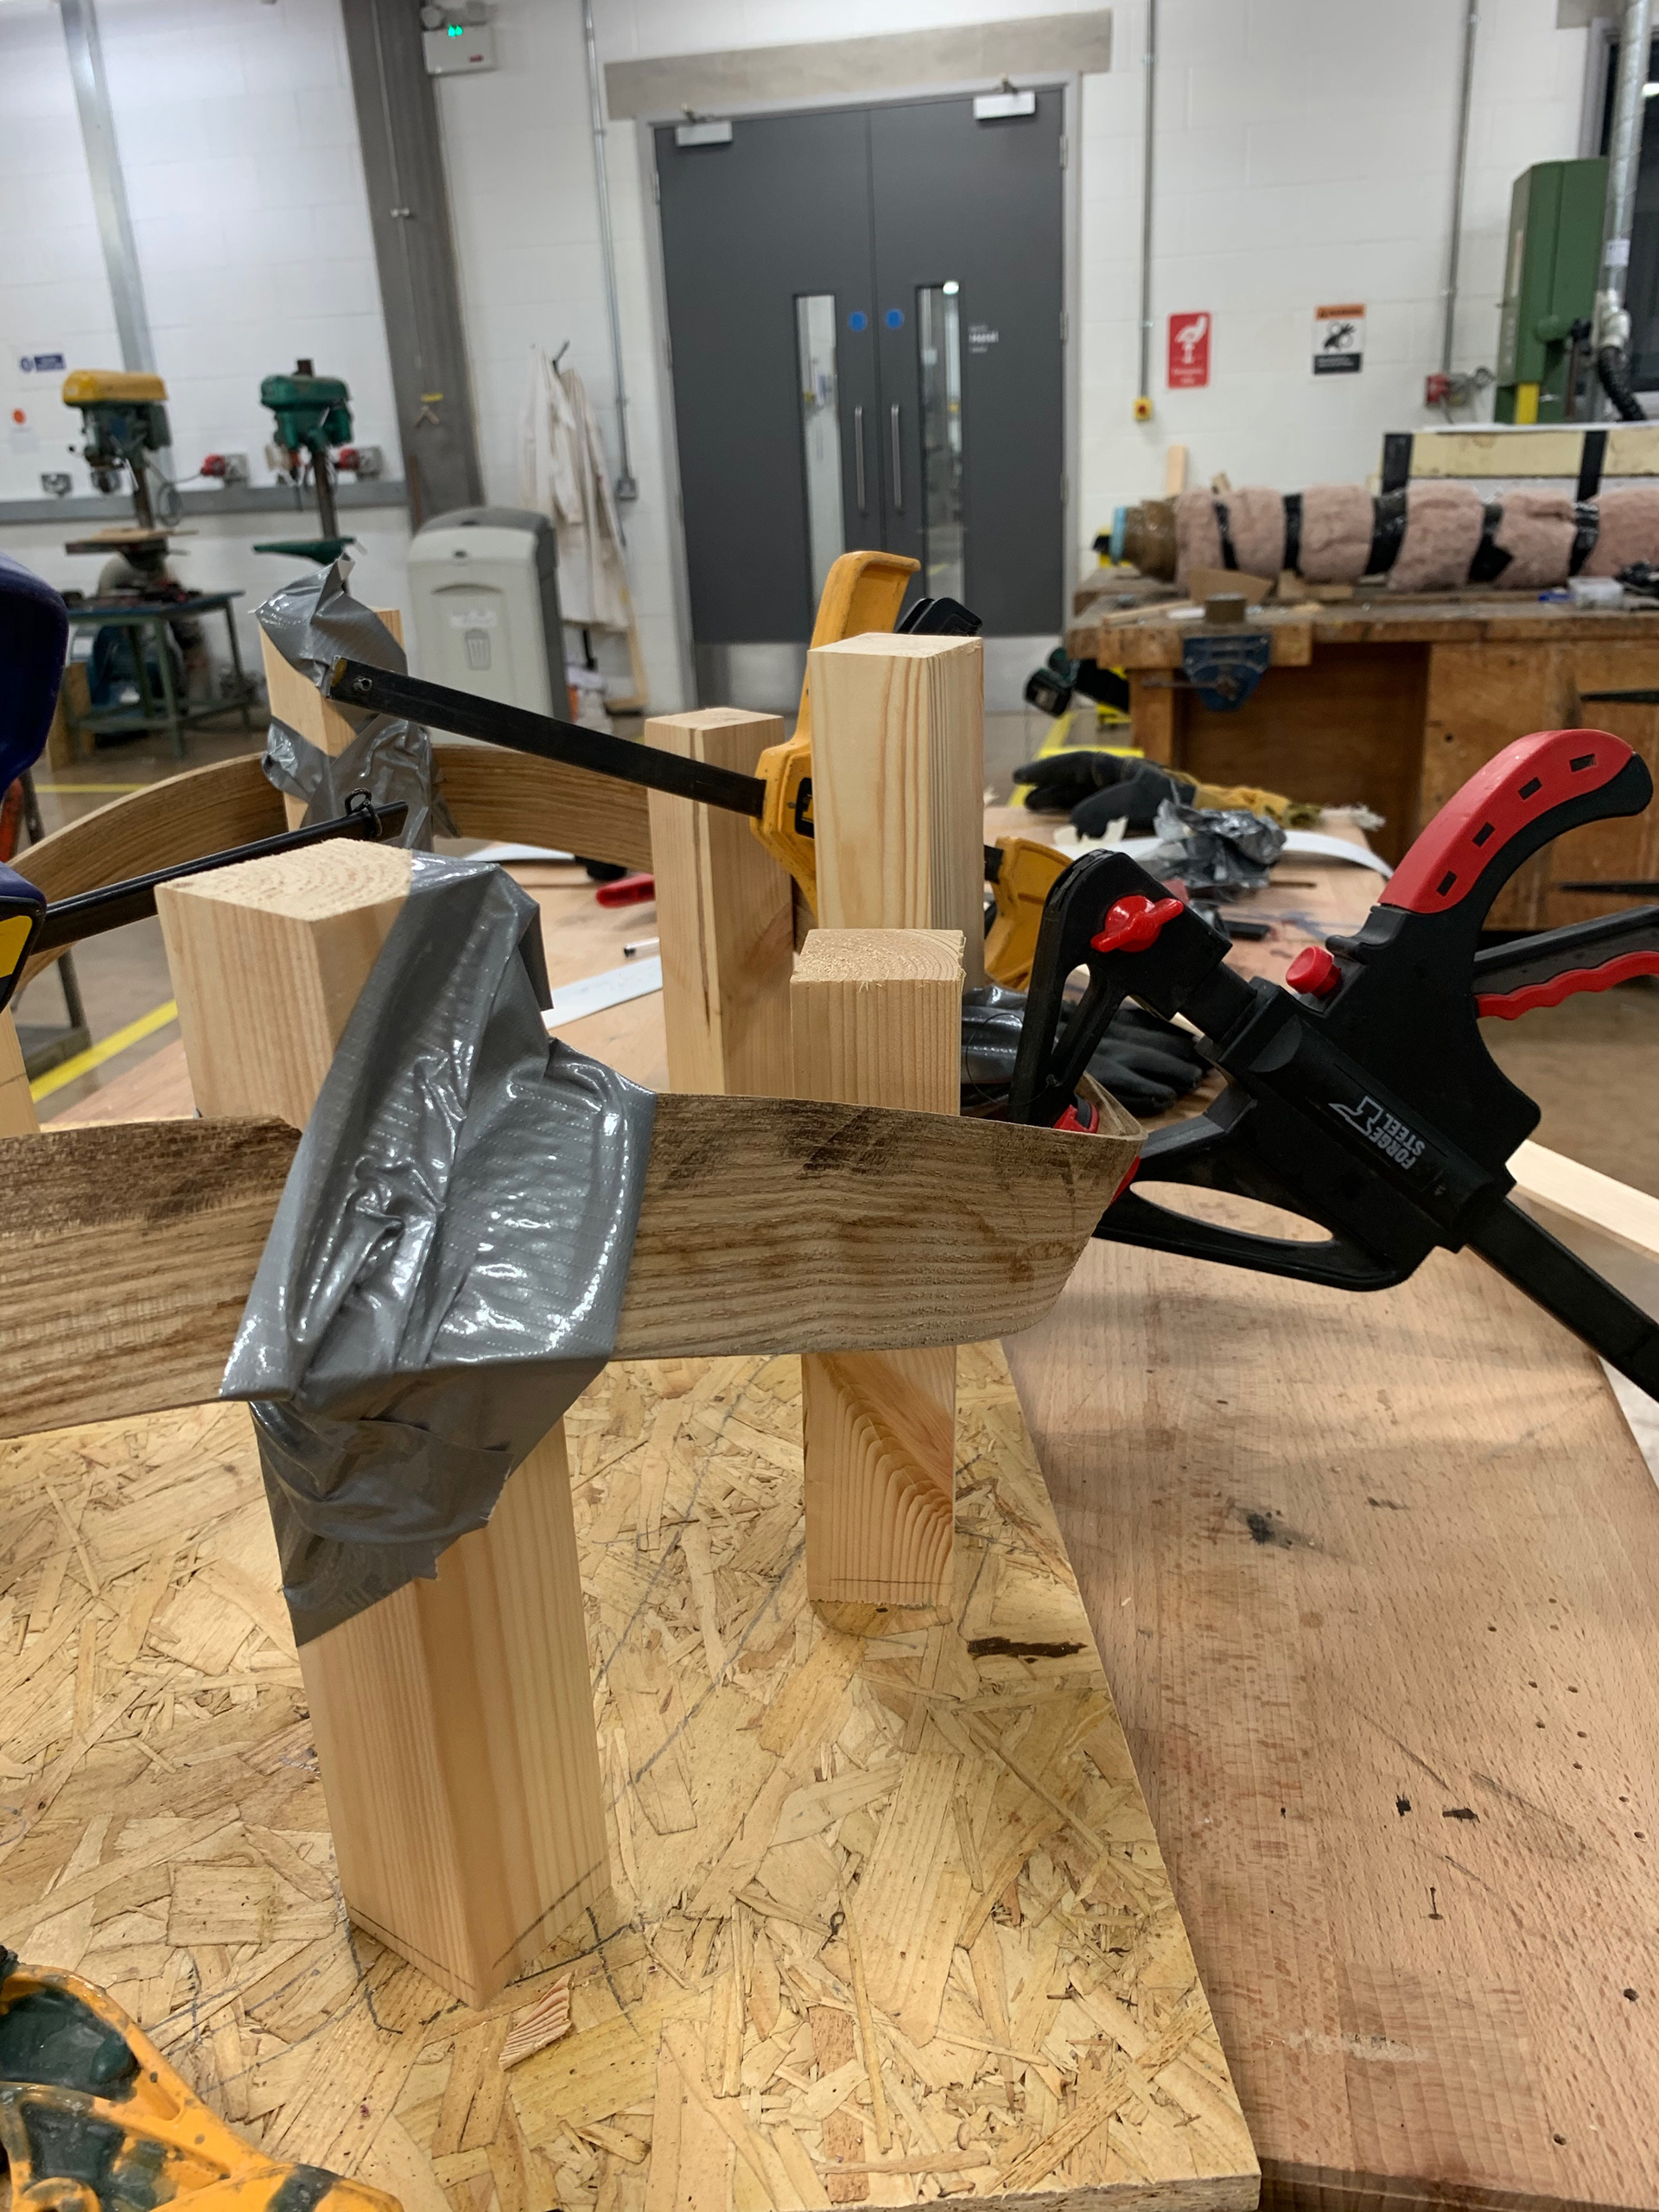


I managed to find my own source of wood, which were a better length for what I wanted to do. Thinking back at the previous bends I did I found that the frame that I was moulding the wood around was too small for the curves I wanted to produce. And so, I decided to make the frame less elongated and more rounded. This would eliminate any harsh points which would help to reduce the tension exerted on the thin wood. I also decided to make the groves in the poles wider to make it easier to angle the wood in.
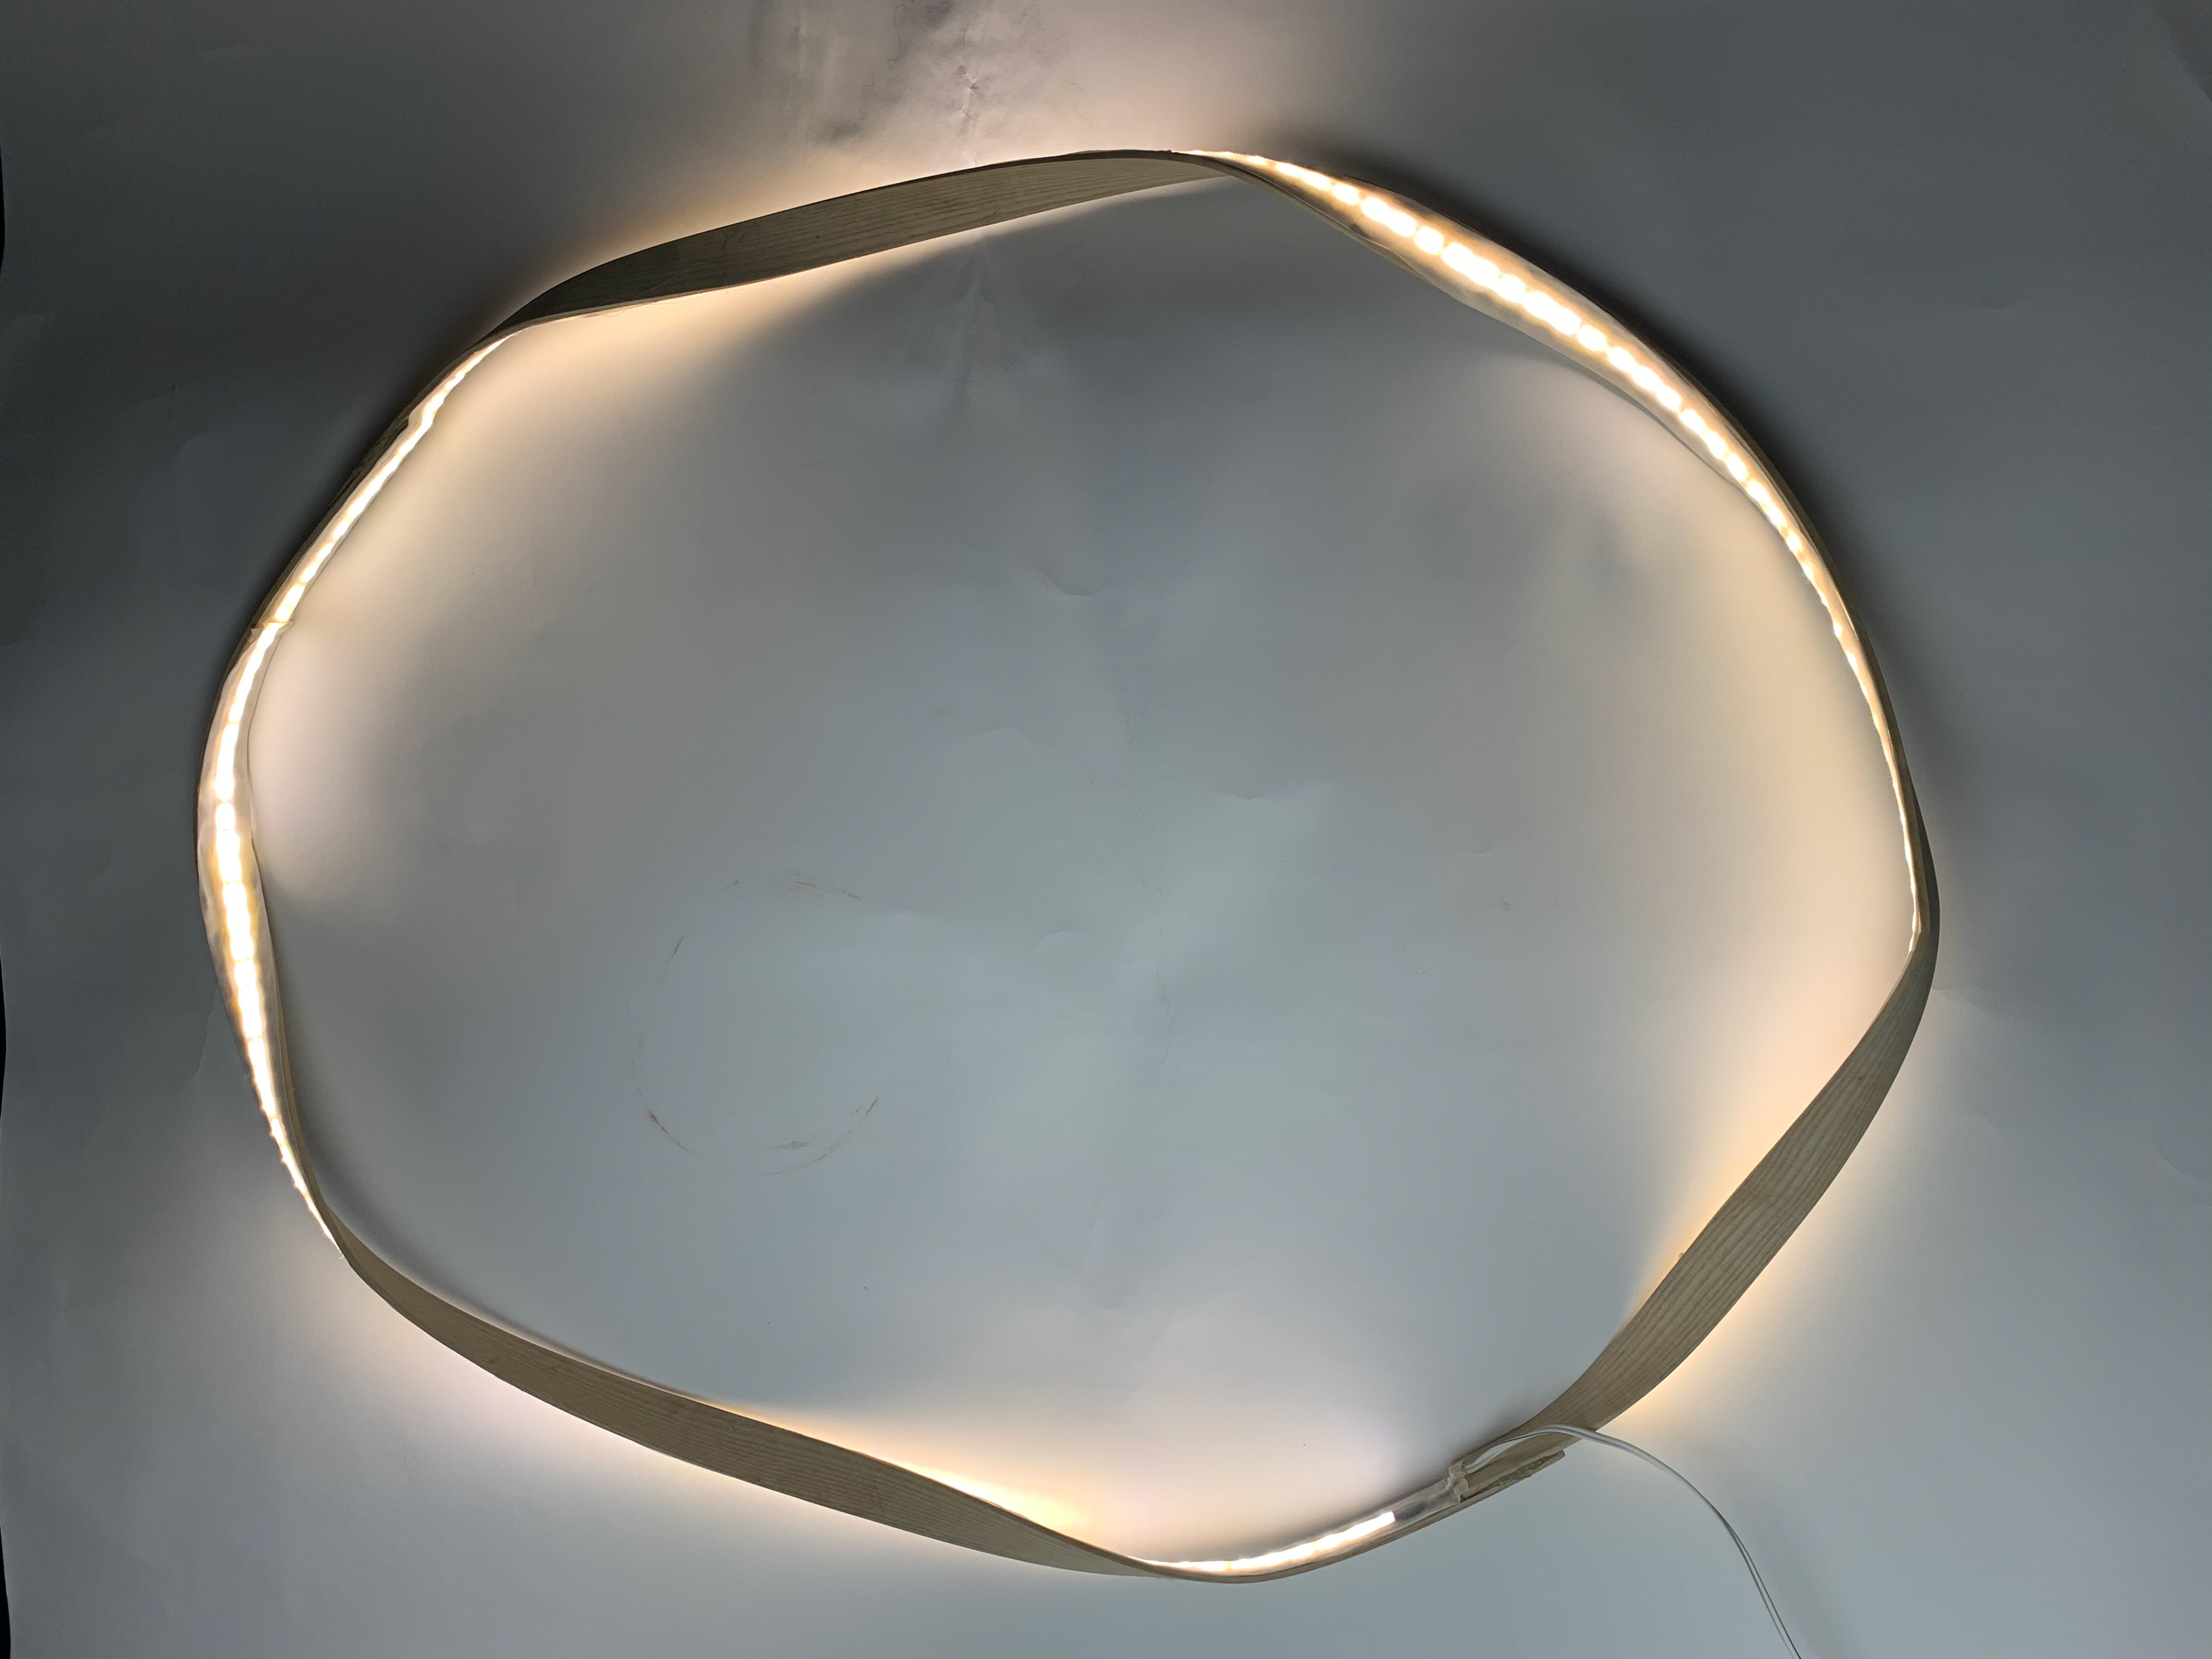
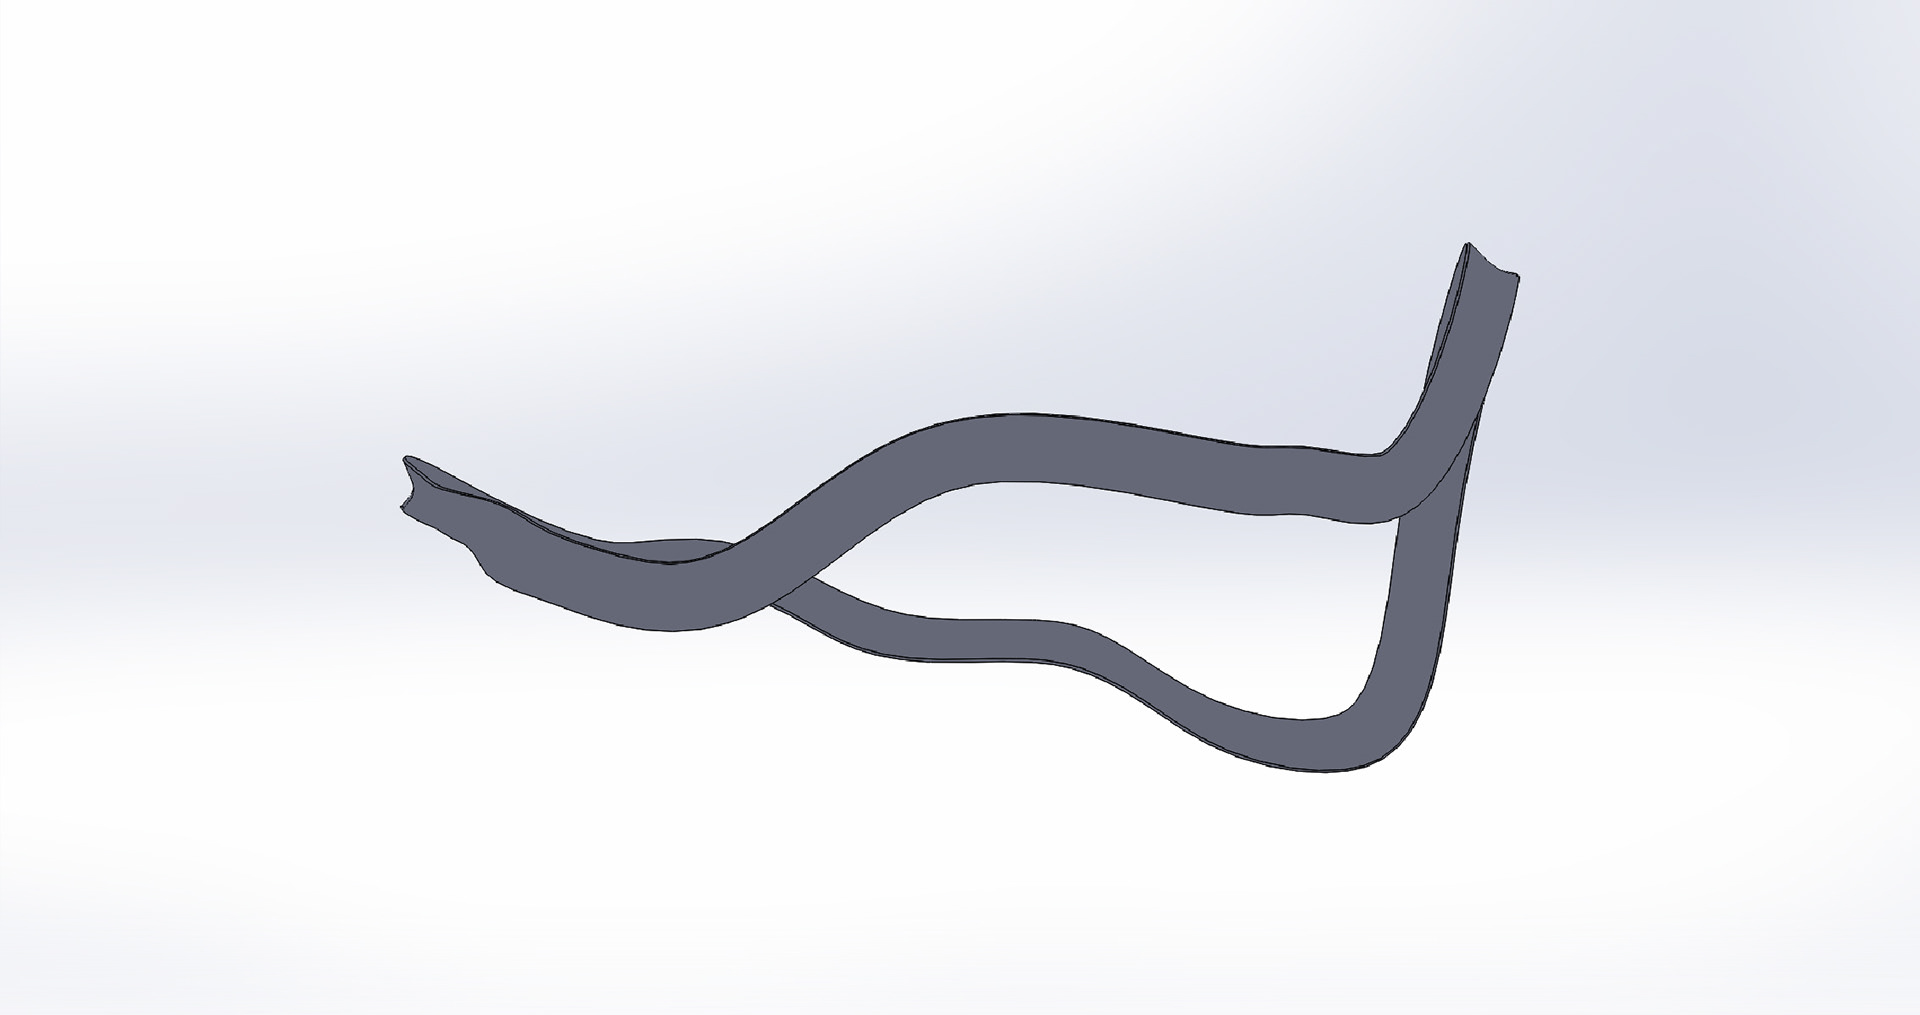
The next time I bent the wood the size and angles were better. However, the wood still split. After deliberating what could be the cause it was decided that it was the shallowness of the grooves that was causing the problems. The depth of the groves rested on the middle of the wood, the pressure of the wood wanting to straighten back out was making it split. And so, we decided to use a thinner wood that nestled into the groves better. And too also change how the wood gets twisted around. The change in the twists adds for a generally more interesting shape that would potentially look very good as a hanging/ wall mounted piece.


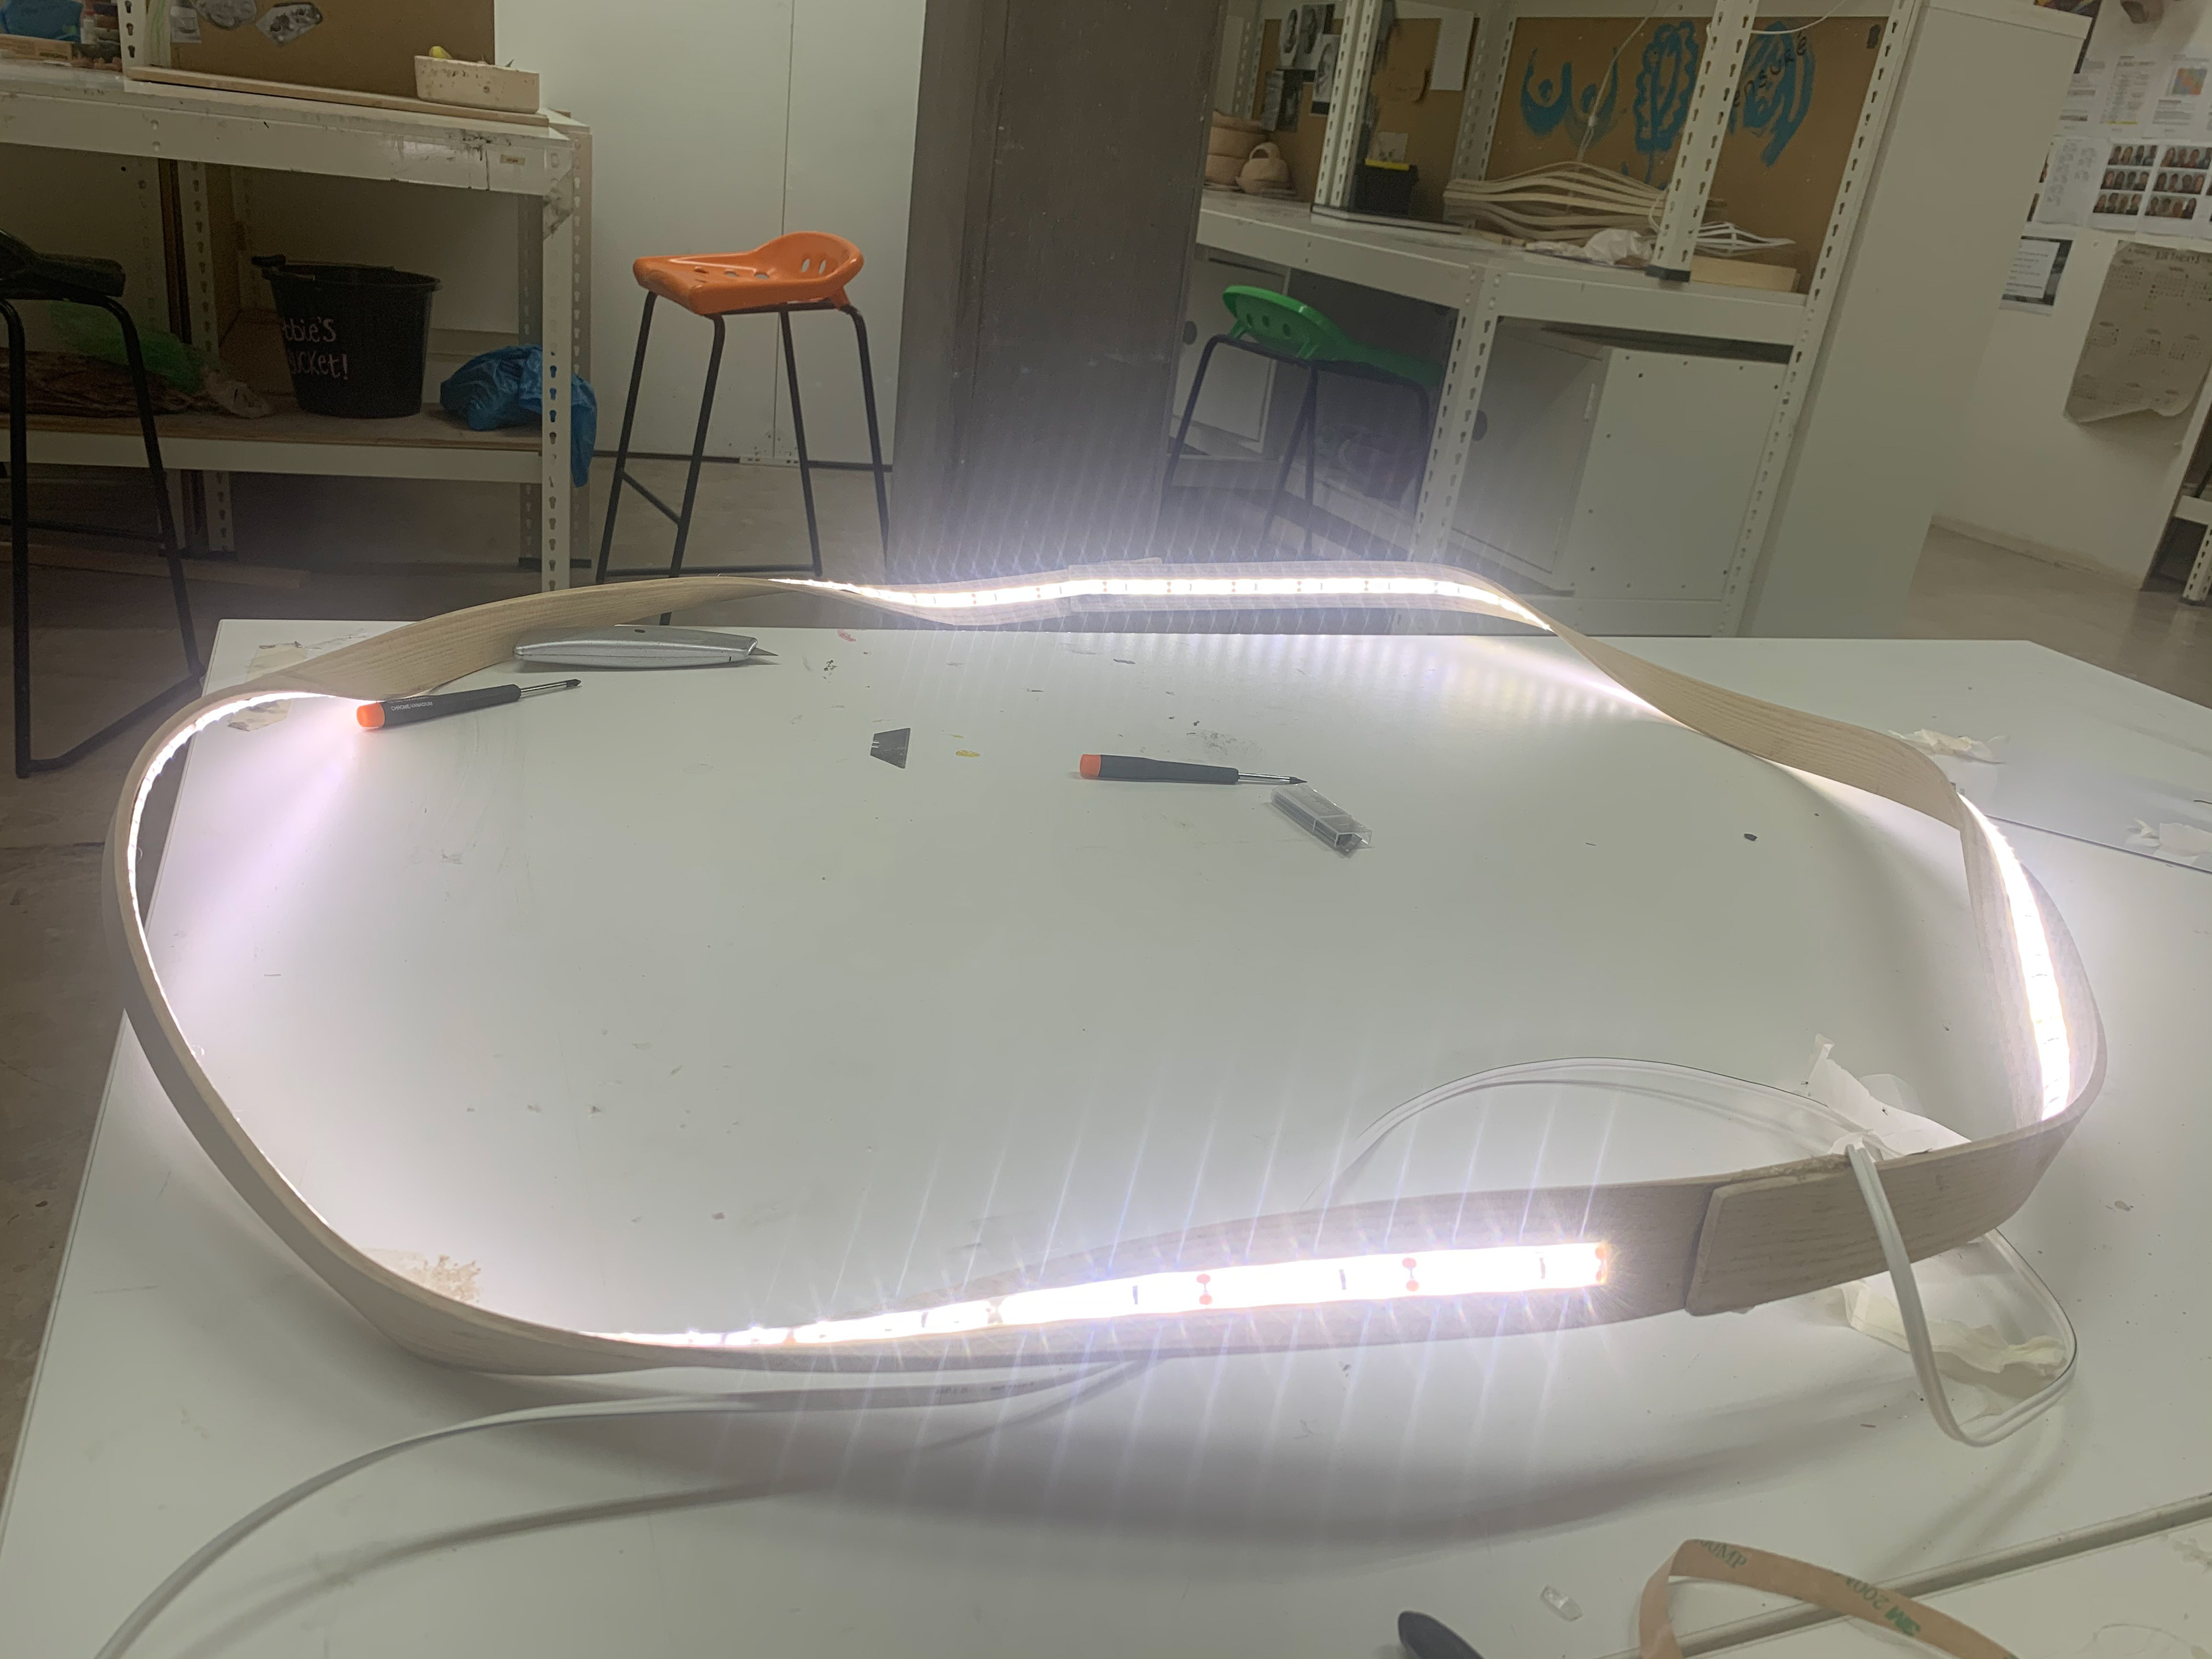
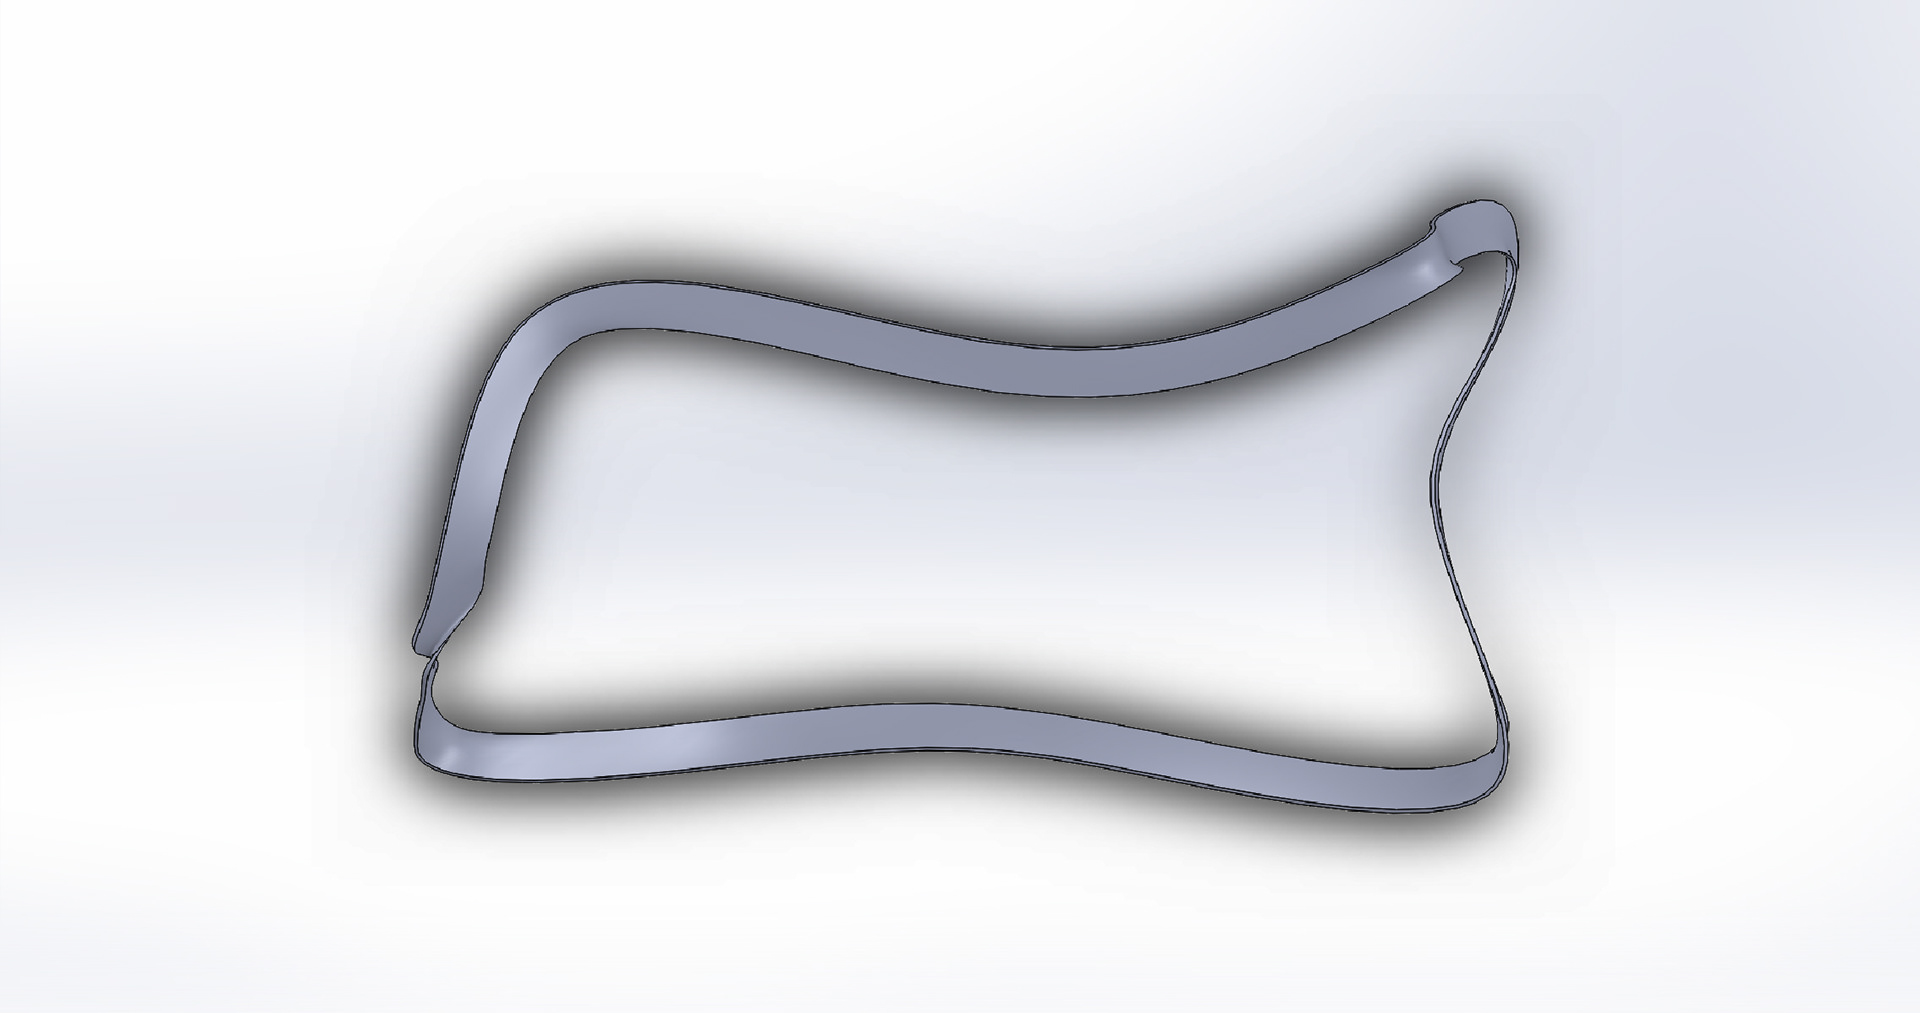
The new way of twisting the wood worked very well with no splits in the wood. It isn't what I originally envisioned, however, it is still an interesting piece that would look great in a modern living room or as an interesting piece in any part of the home.
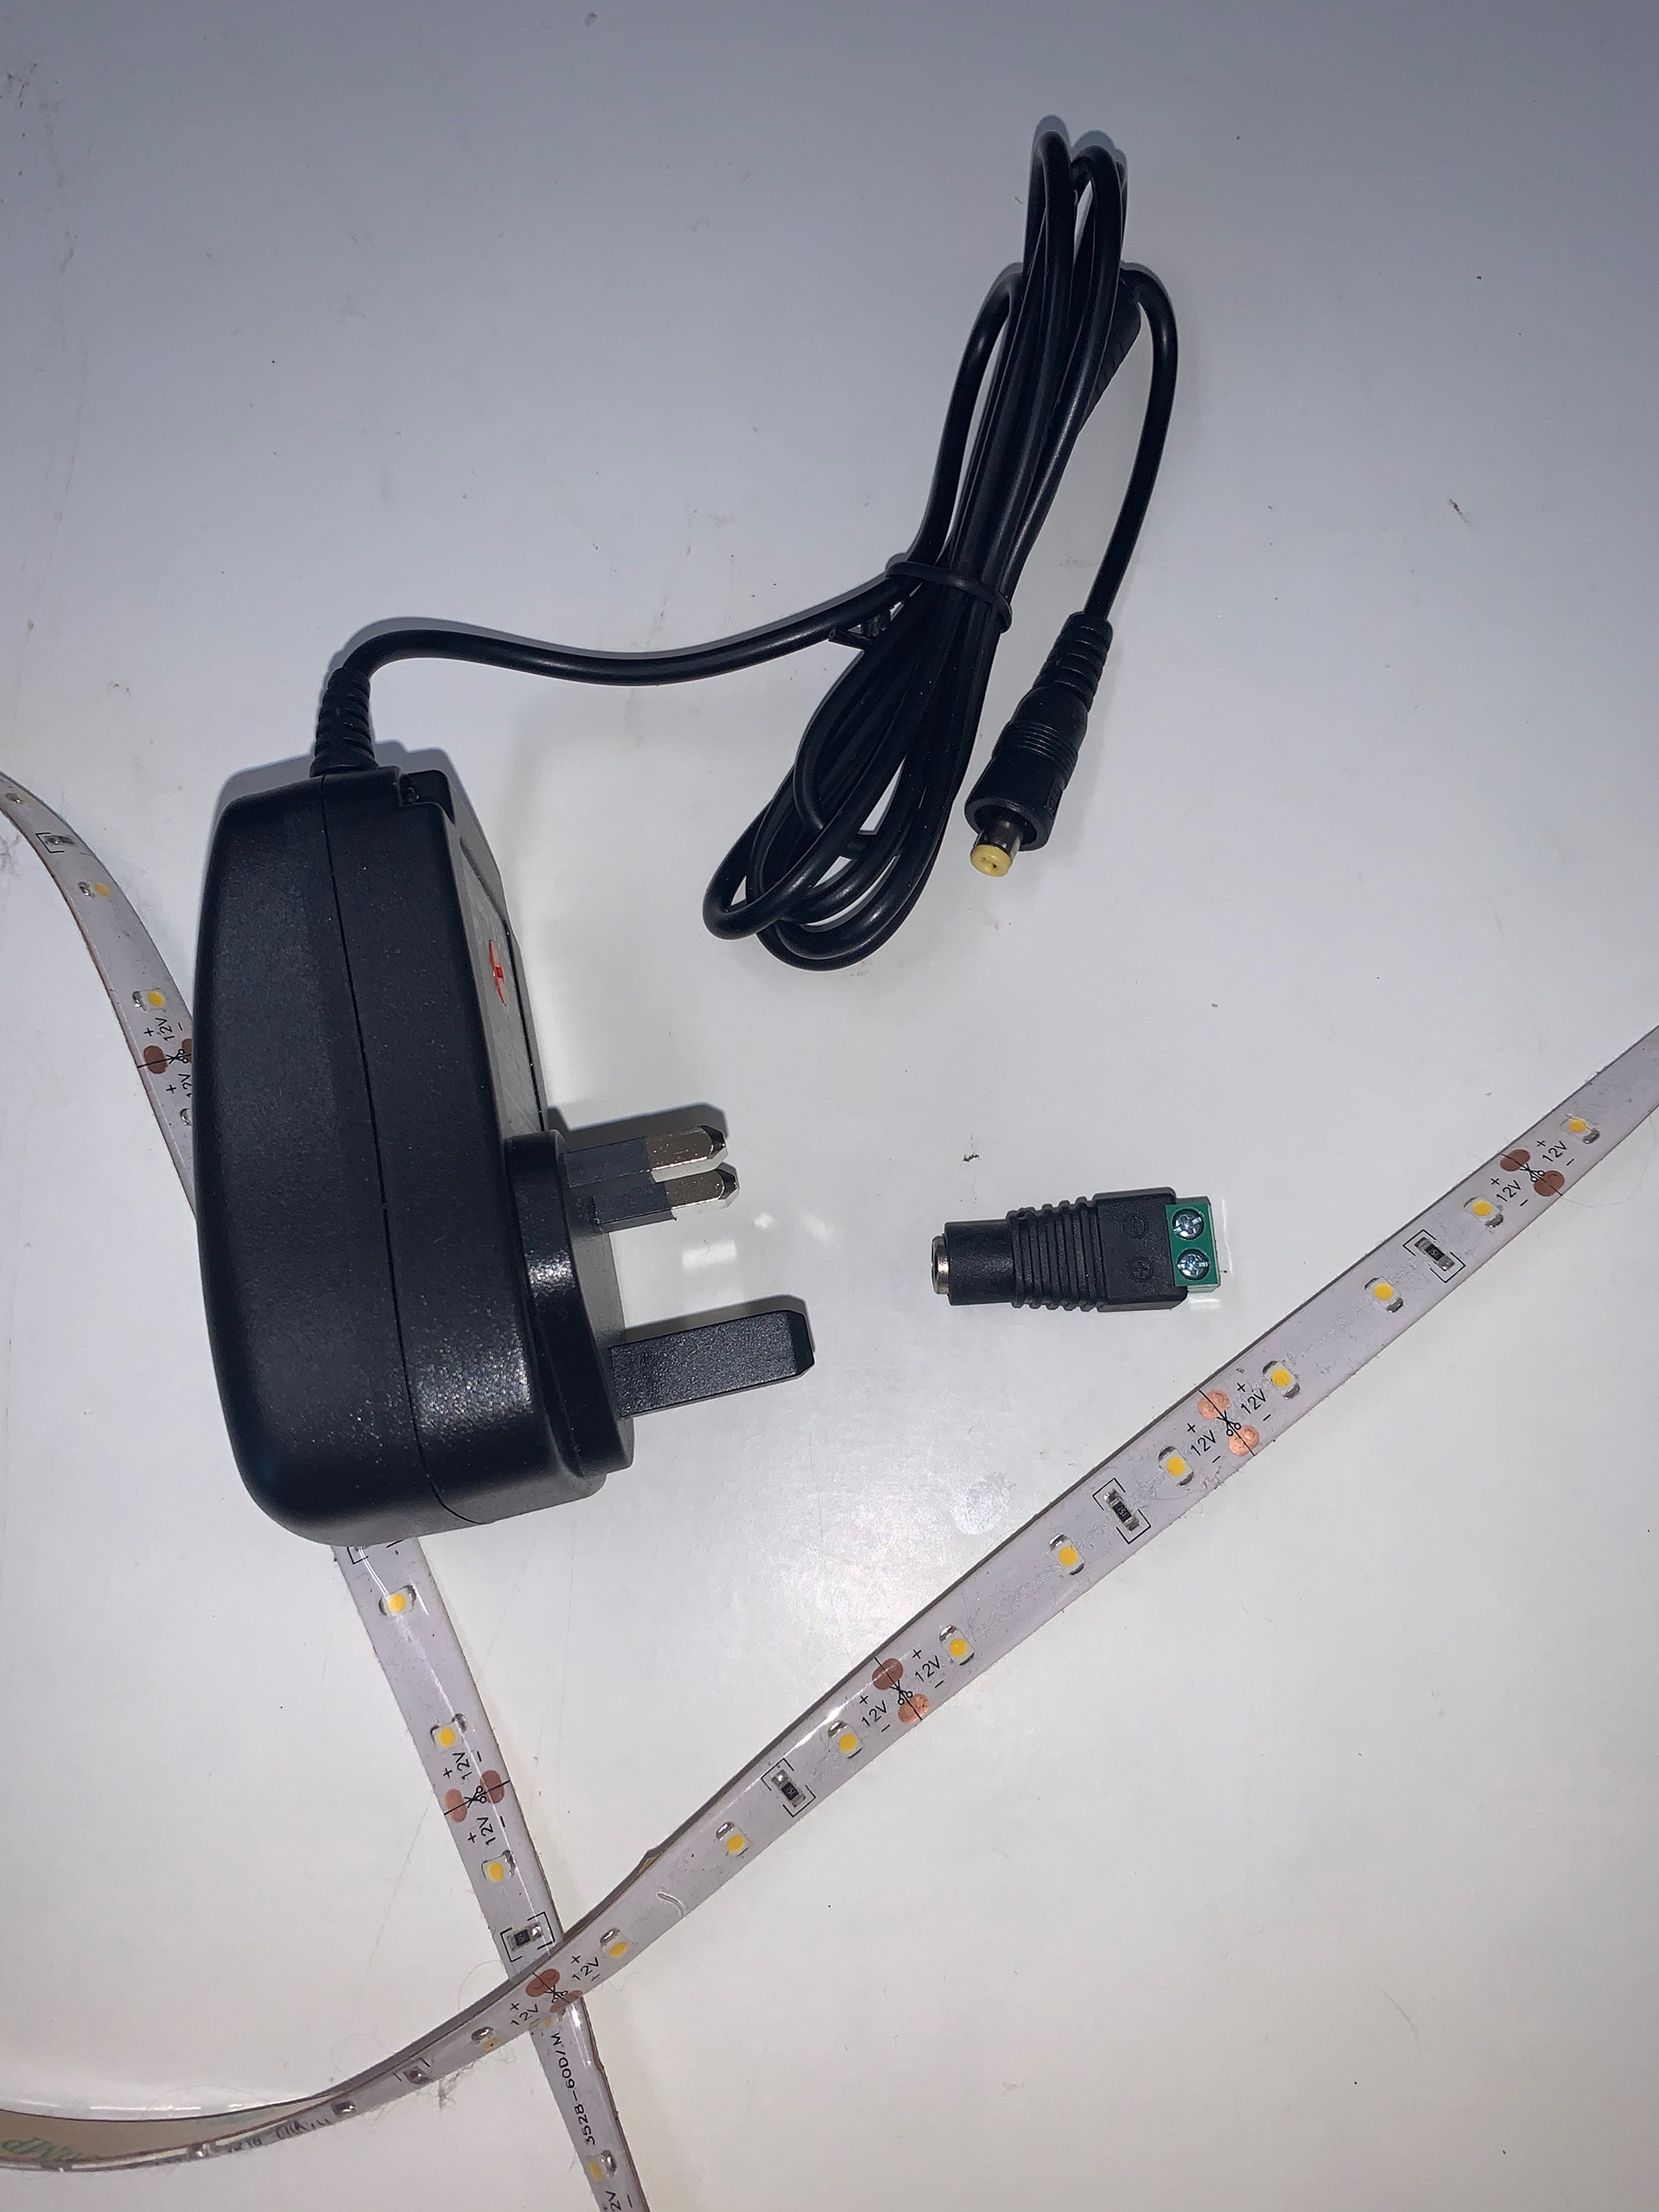
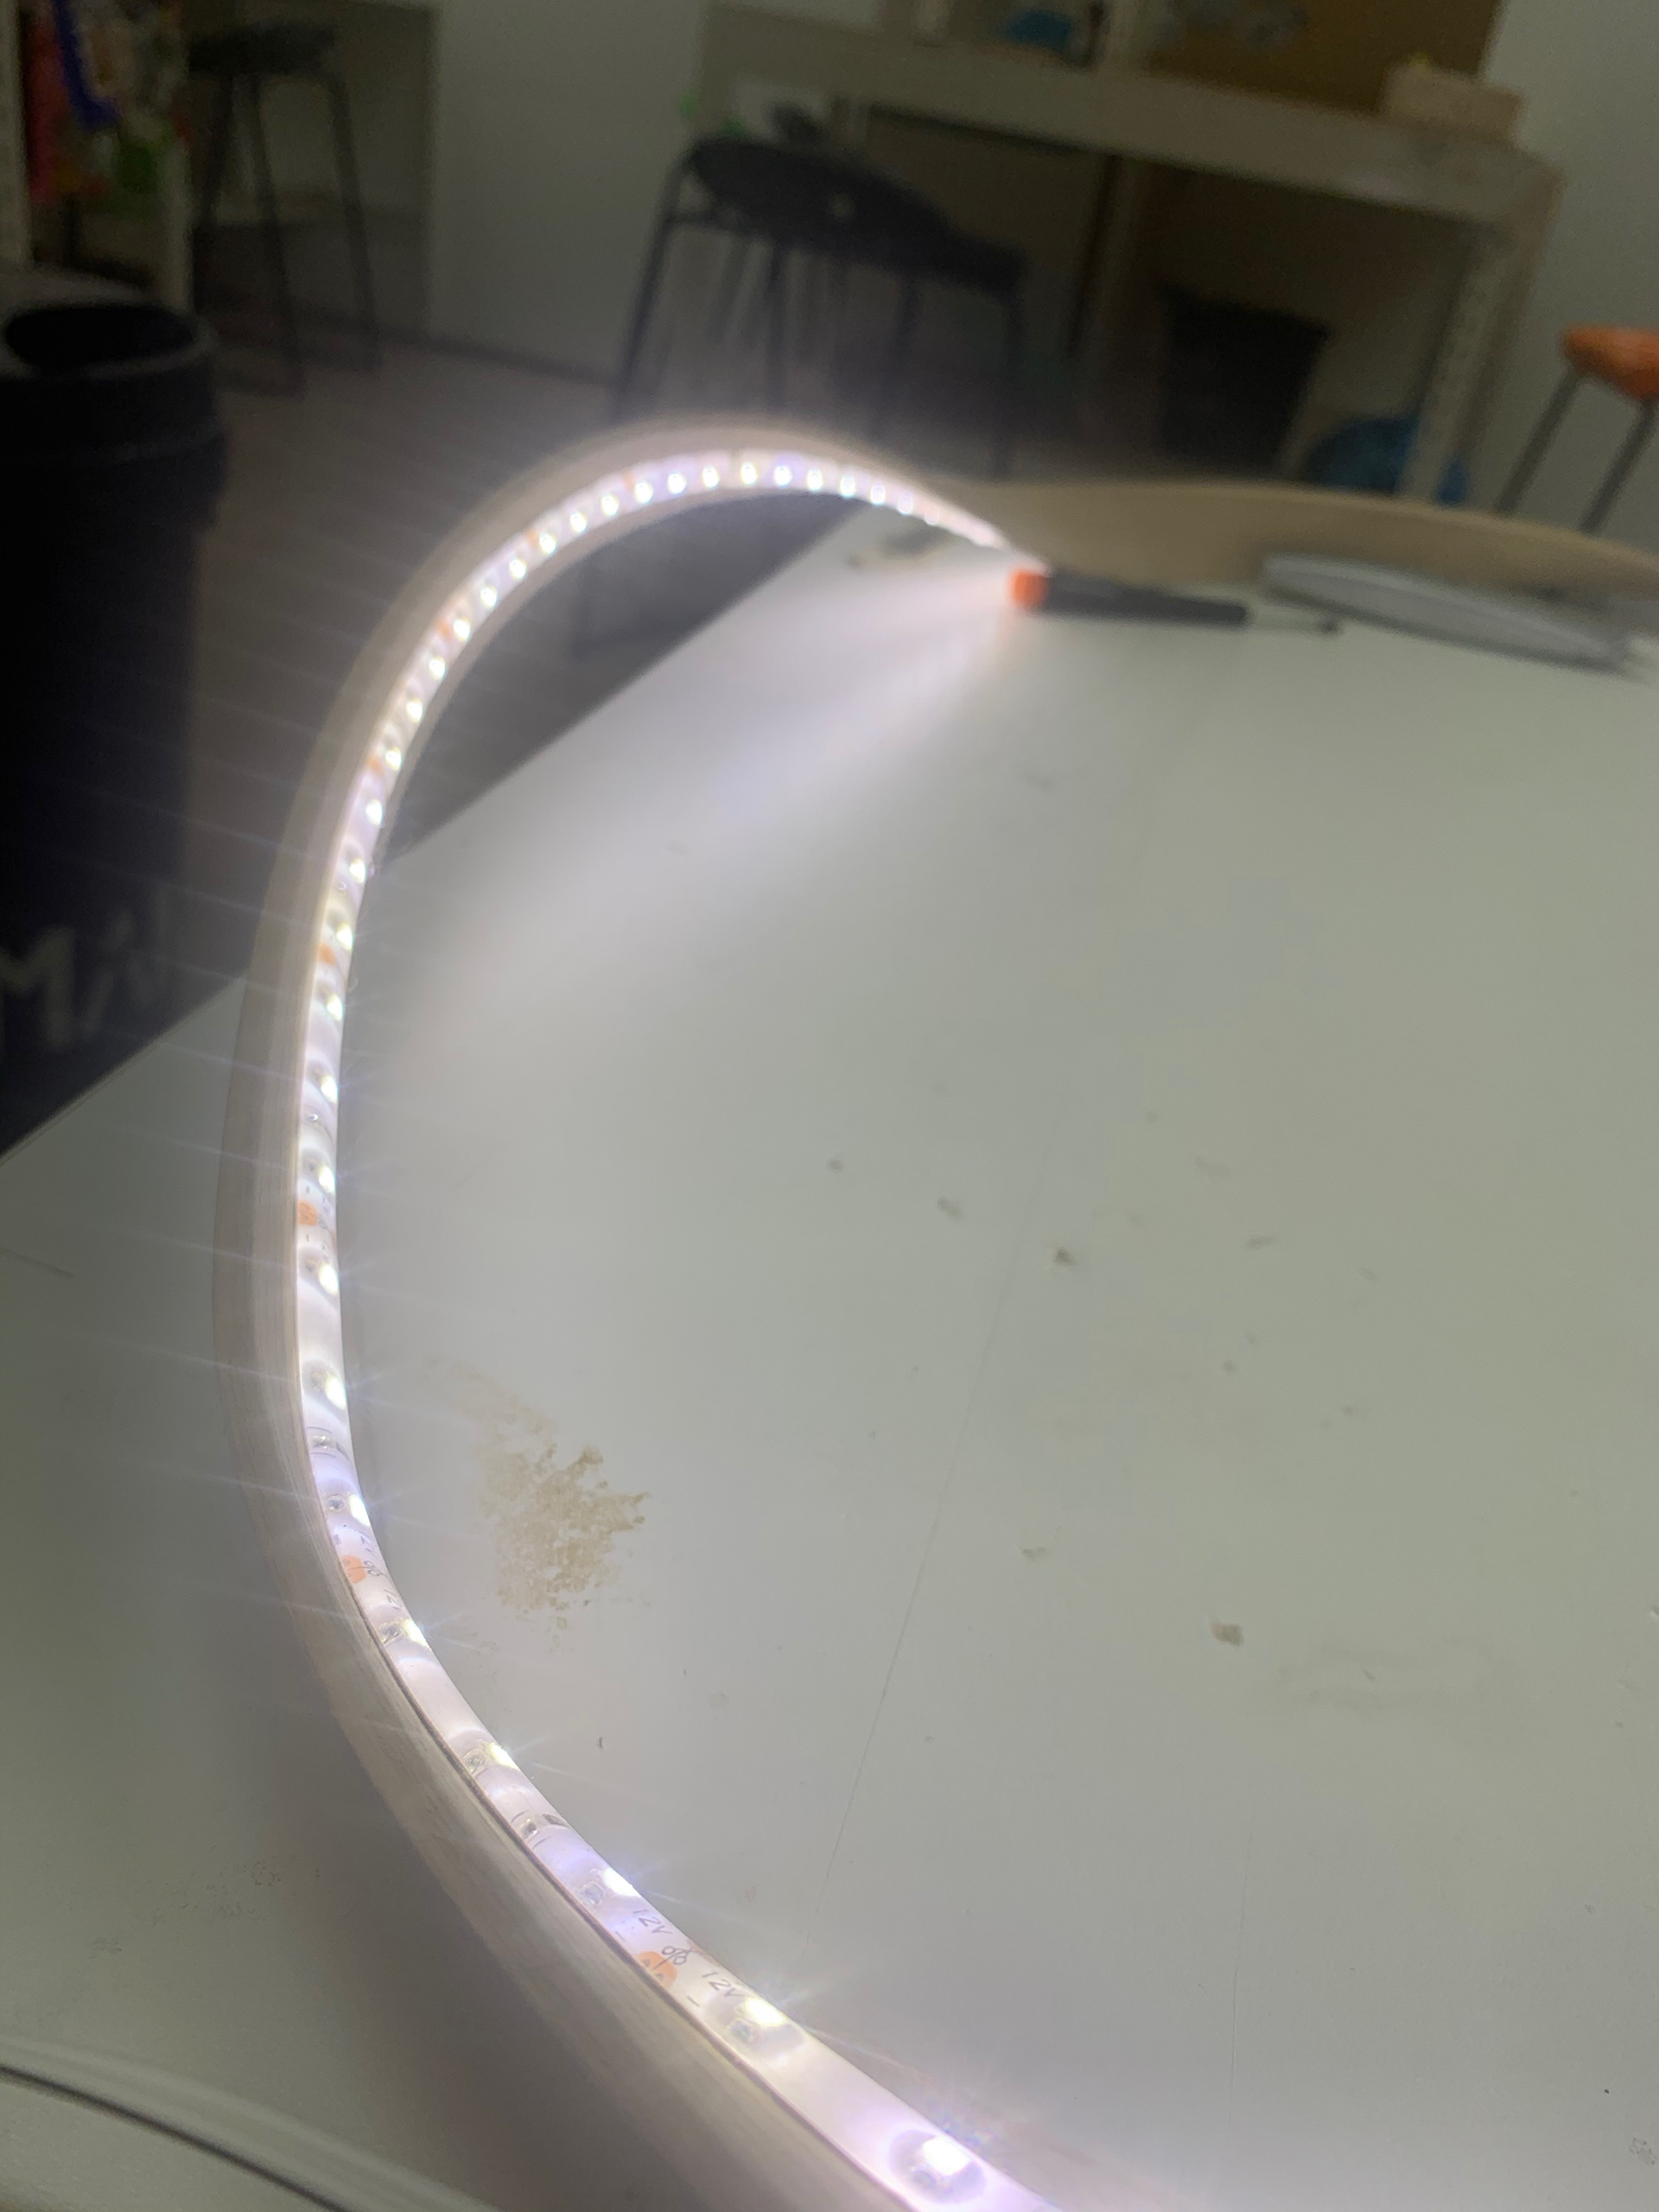
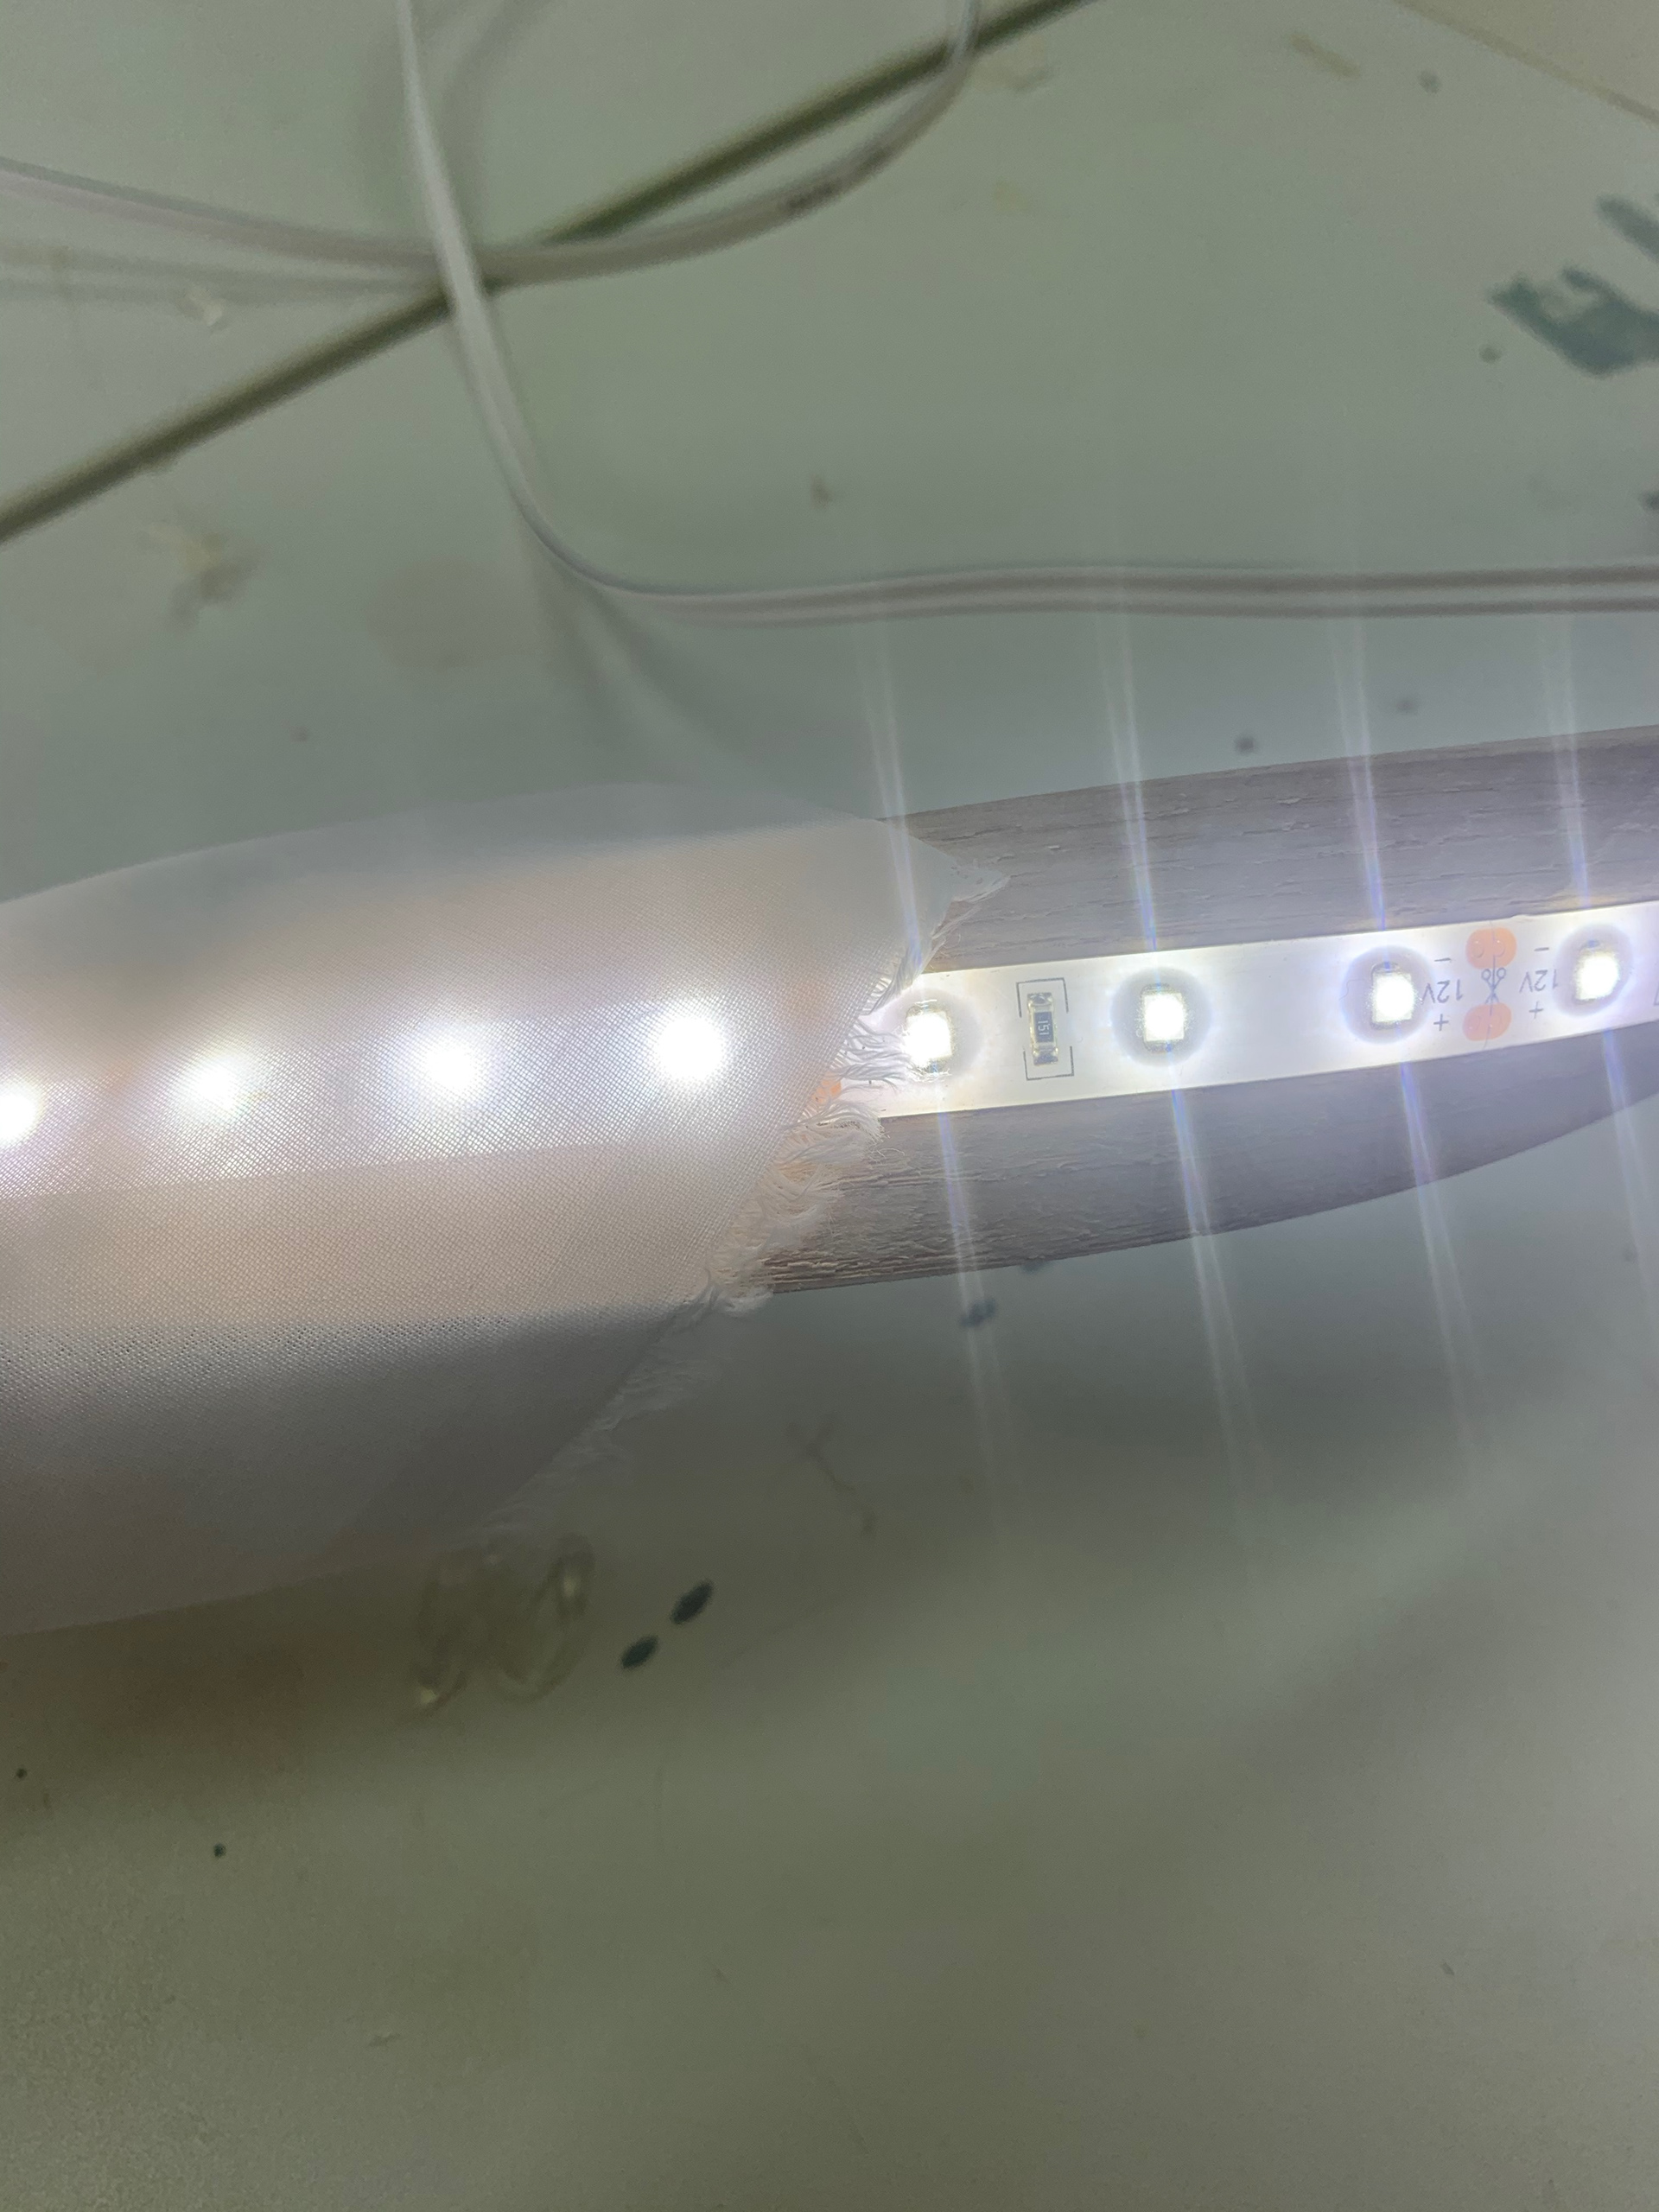
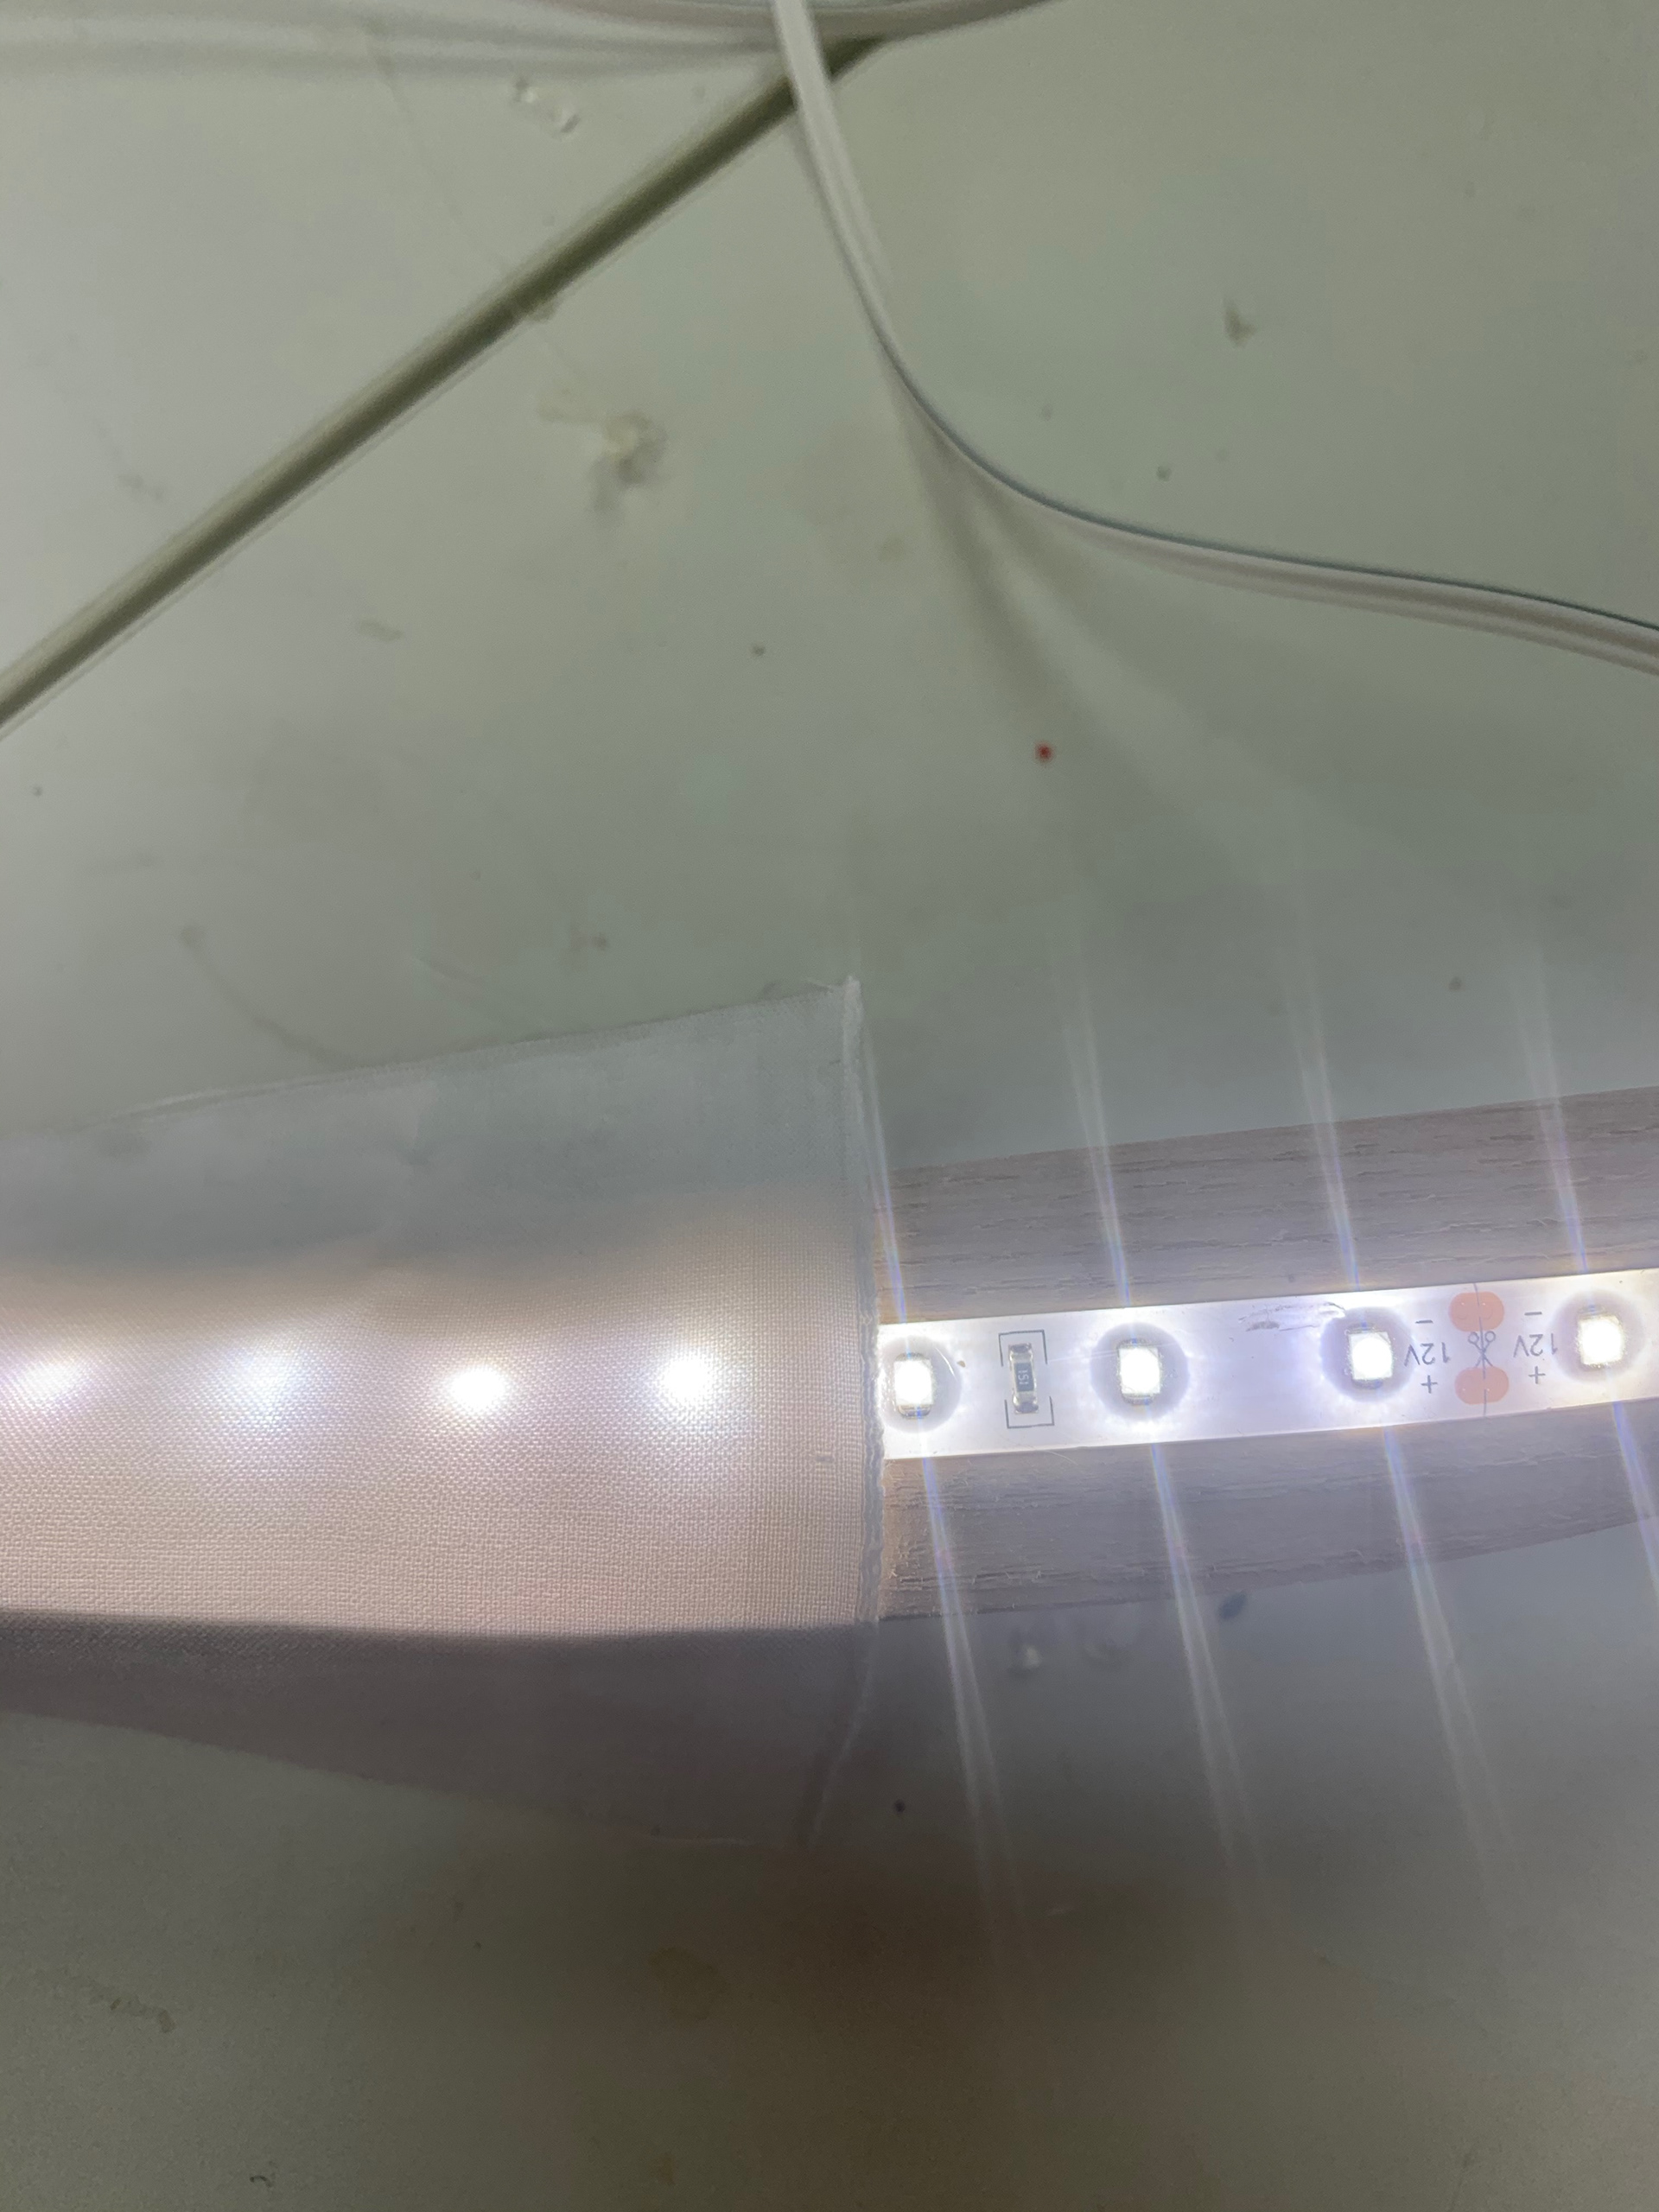
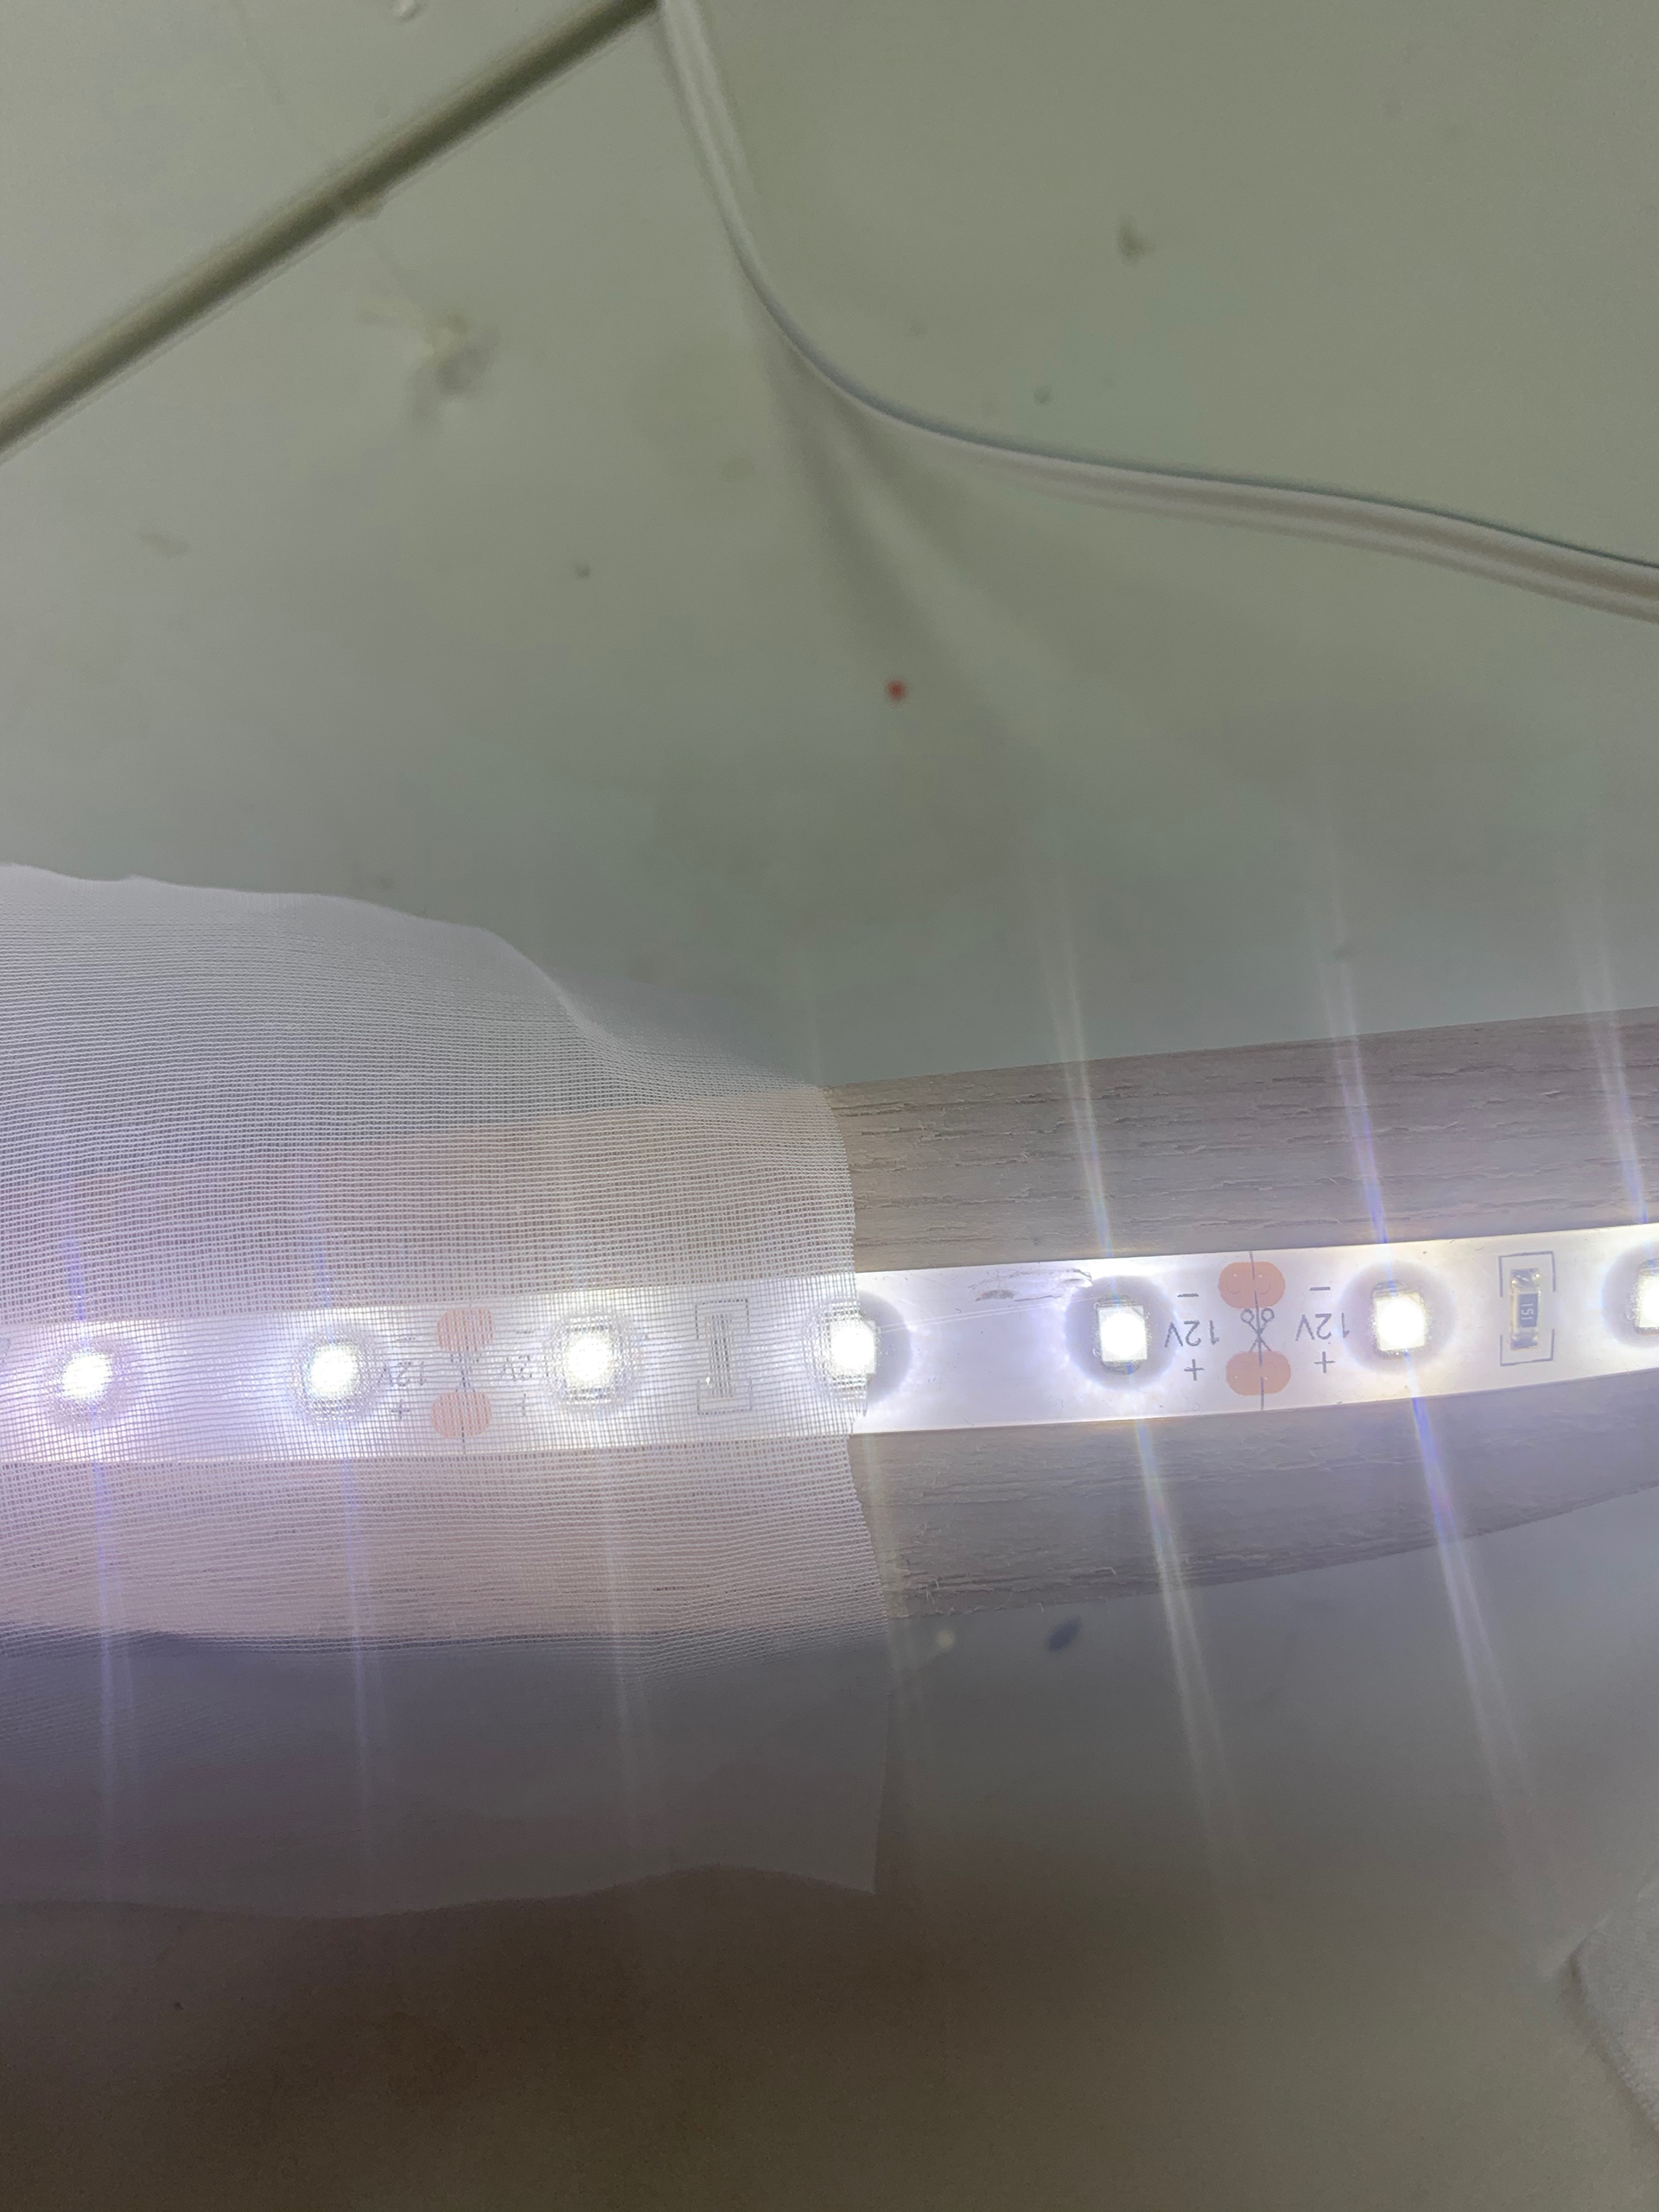
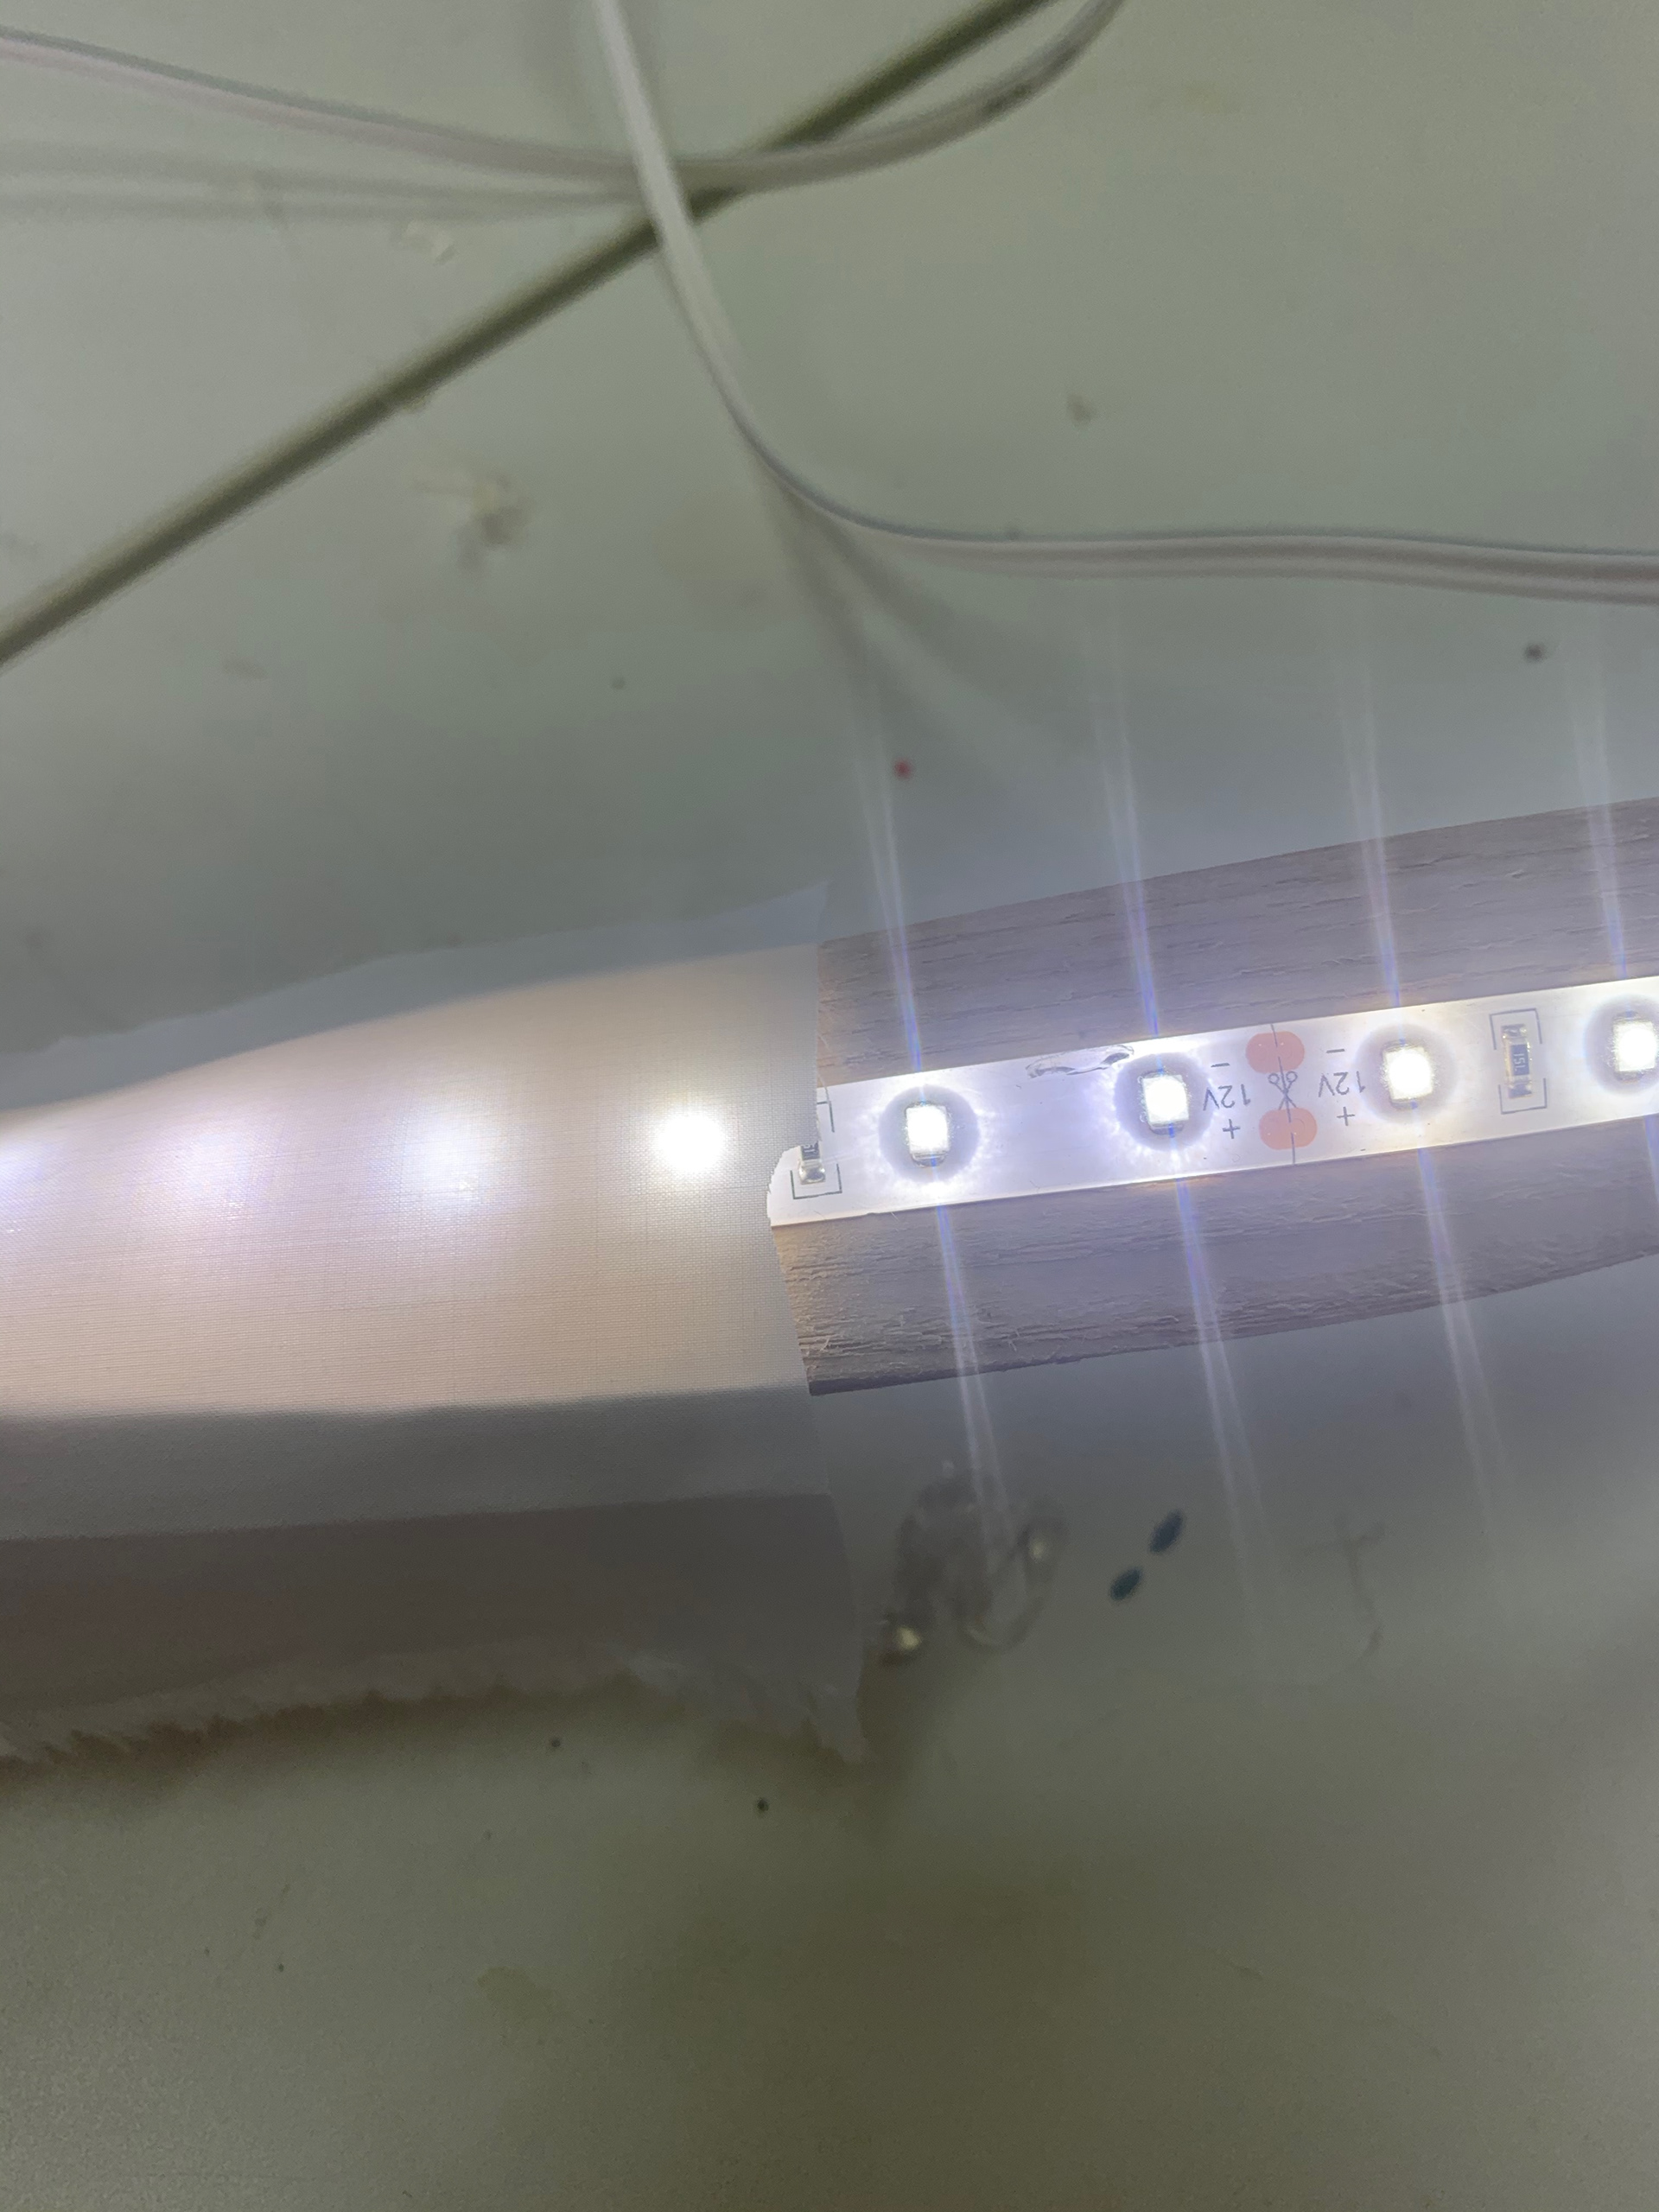
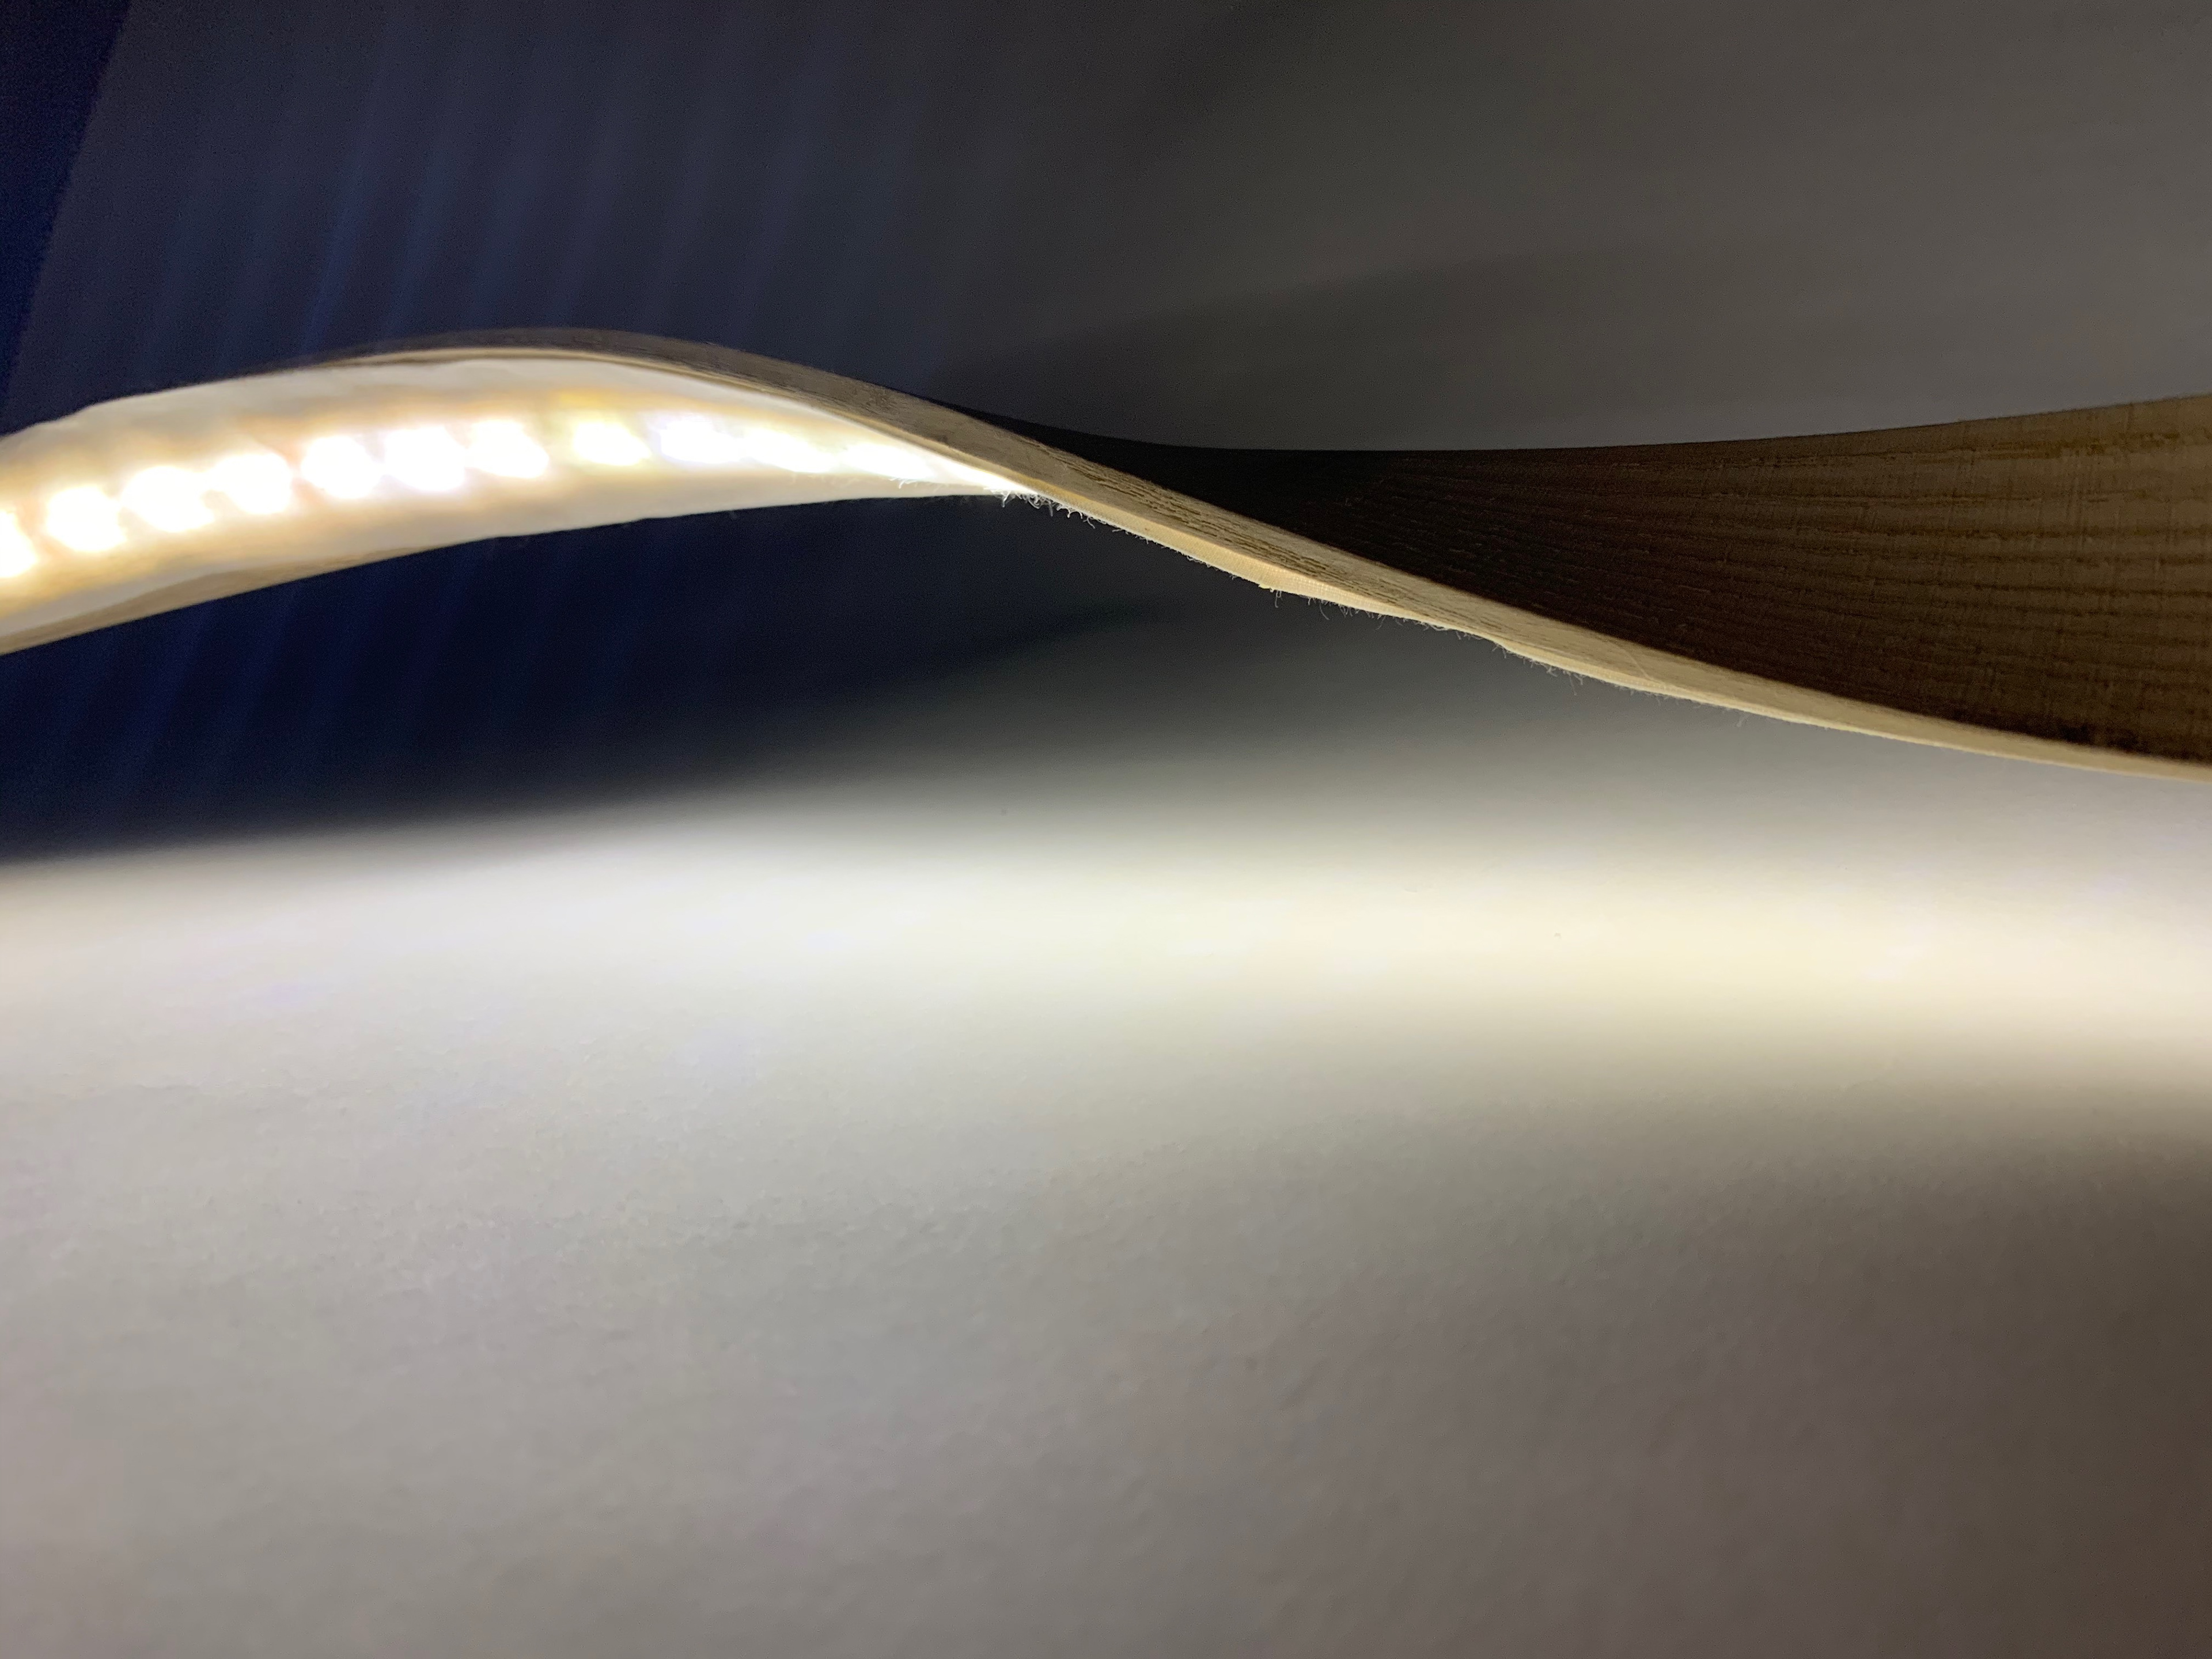
Once the two halves were stuck together the next stage was to add the lights. I am using 12v ribbon LEDs. Looking at the lights they are quite harsh on the eye. And so, I plan on diffusing them with some cotton fabric. Since the lights are LED this means that they won’t produce that much heat make it perfectly safe to add the fabric. The lights will go around one side of the piece, covered by the fabric.
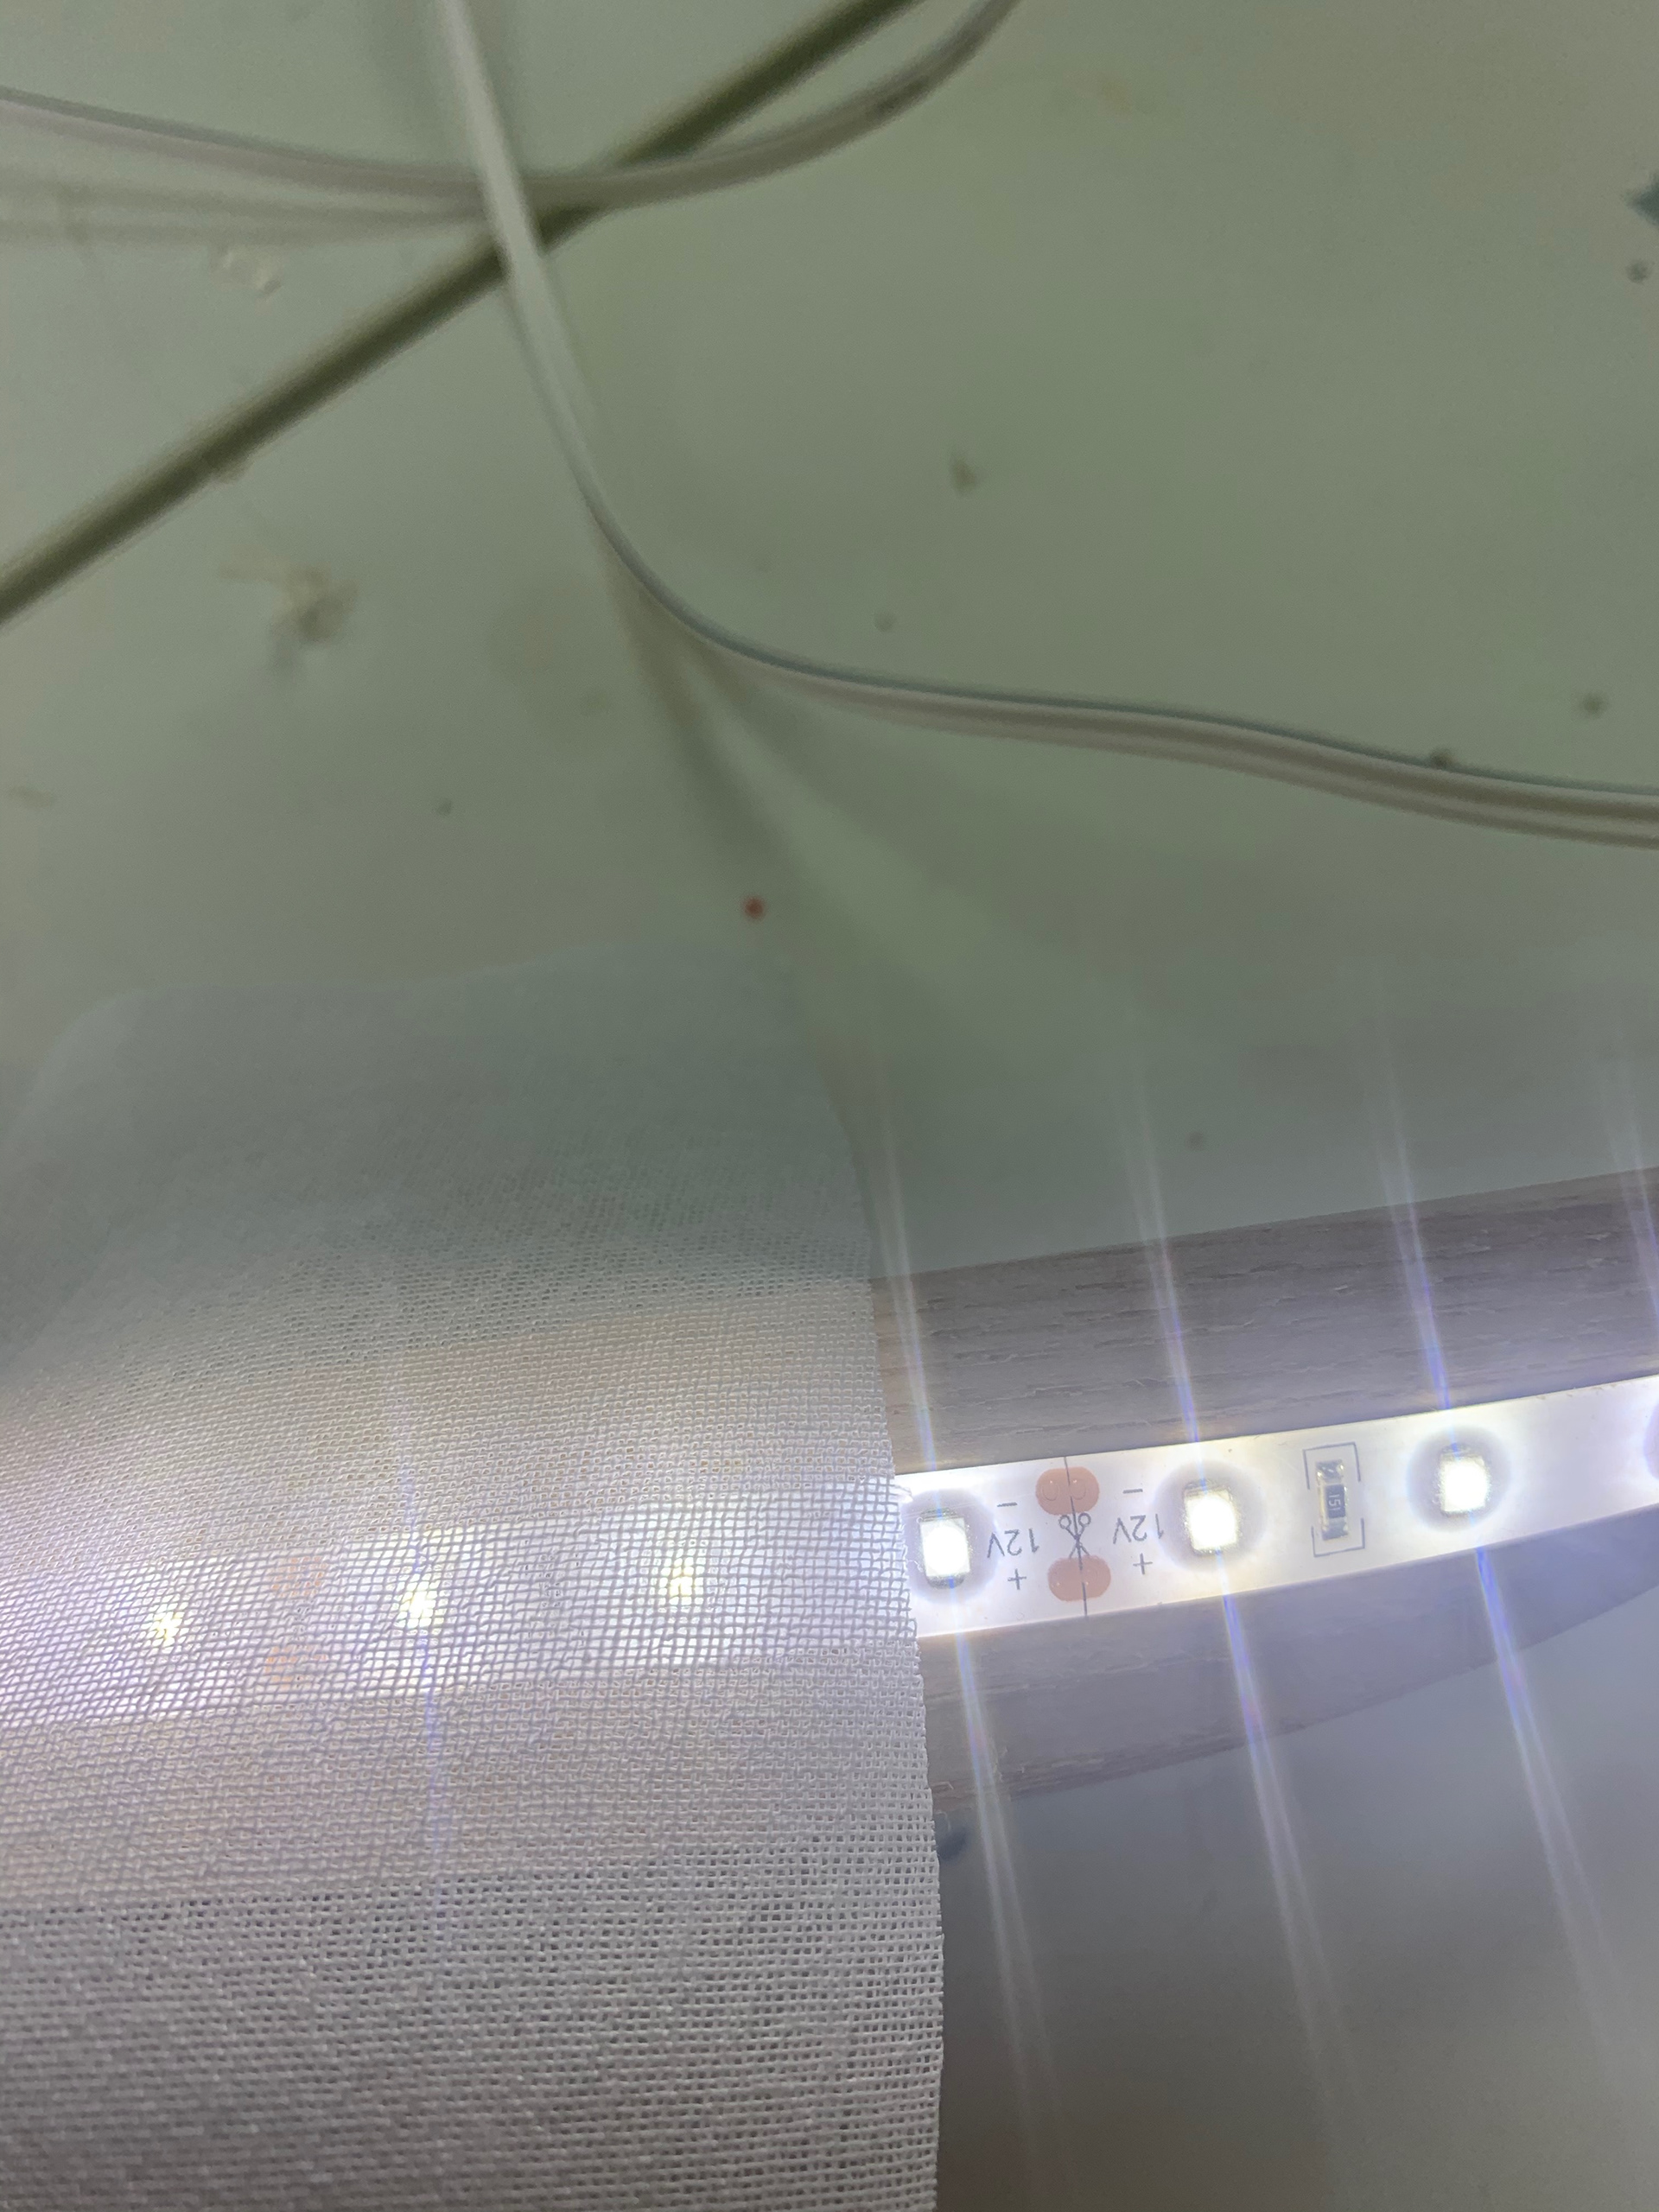
I had a few swatches of fabric to choose from and so sampled them against the lights to see which one created the effect that I was looking for.
fabric option 1

fabric option 2
fabric option 3

fabric option 4
fabric option 5
fabric option 6
chosen fabric
The material I chose had a good diffusion of the light and gave it a warmer glow. This is more agreeable for a living area; too bright a light and be distracting and also harsh on the eyes, after a long day of potentially looking at a computer screen a softer warmer light would be more relaxing which is something most people want to achieve in their homes.

Now that I have finished the actual piece, I need to create two design boards. One that shows the key milestones in the project and one that shows the outcome in situ. To do this I used photoshop and illustrator. I'm not particular gifted at CAD and so editing the image of my work into the environment I envisioned it in is the best way for me to showcase my ideas.
Even though I am not the best at computer-based design I did manage to produce some CAD drawings that resembled the design I had imagined.
This project has been a learning experience. It has taught me about how planning and rethinking is integral to a design project. The amount of times that I had to rethink how I bent the wood, formed the wood, and then changing the design entirely was frustrating. Patience is something that is necessary for this technique. The wood takes a lot of time to heat and then to set. Thinking back to how I started this project. I feel that I should’ve spent more time experimenting with the wood, learning how is moves and what would make it break. This would've helped me predict what would happen when I tried my design. And so, reducing the number of attempts it took to get my piece to work.
The experimentation aspect of this module was not what I was expecting. Due to the short length of the project I thought that it would be more straightforward. I envisioned that there would be more guidelines on what would be achieved as well as the deliverables that were required at the end. Personally, I found that there was a strong emphasis on the skills that product designers have, which meant that those who, like myself, didn’t have these skills and prior knowledge struggled to keep up. Particularly when it came to the CAD and presentation board elements. As a maker I am used to working with physical materials and do not have much experience with computer-based design. And so, I feel like a more in-depth workshop or tutorial would've been beneficial to me just so I felt that my work was up to the standard of the other students.
However, I do feel like this was a good choice for me. It gave me the opportunity to explore a new way of making. Steam bending is something that I haven’t had the chance to do before. I feel that maybe my design was a bit ambitious for an introductory course. There were a lot of problems that I encountered along the way, specifically the amount of splitting that occurred when I tried to bend the wood. It wasn’t until the end of the time I had to bend the wood that I realised the problem that was occurring. The wooden blocks that I had to form the wood around were too small for the wood I had available to me. The wood I had was 70mm and the grooves in the wood less than half of this size; this meant that too much pressure was being put on the middle of the wood causing it to crack. If I was to go back to this design this little bit of information would be the difference between being able to complete it and not.
The trouble shooting, I had to go through this project has proved to me that no matter how much you plan something out you really don’t know how something is going to work out until you finally do it. Trial and error are something that all makers need to go through at some point to improve their practice and the sooner I do it the more time I have to successfully make the things I want to make.