Facture 2018
My time on the maker course has started with the module "Facture". This unit is all about the exploration of materials and processes in the hopes that we can find the skills to carry forward in our future practice.
WORKSHOPS
WEEK ONE
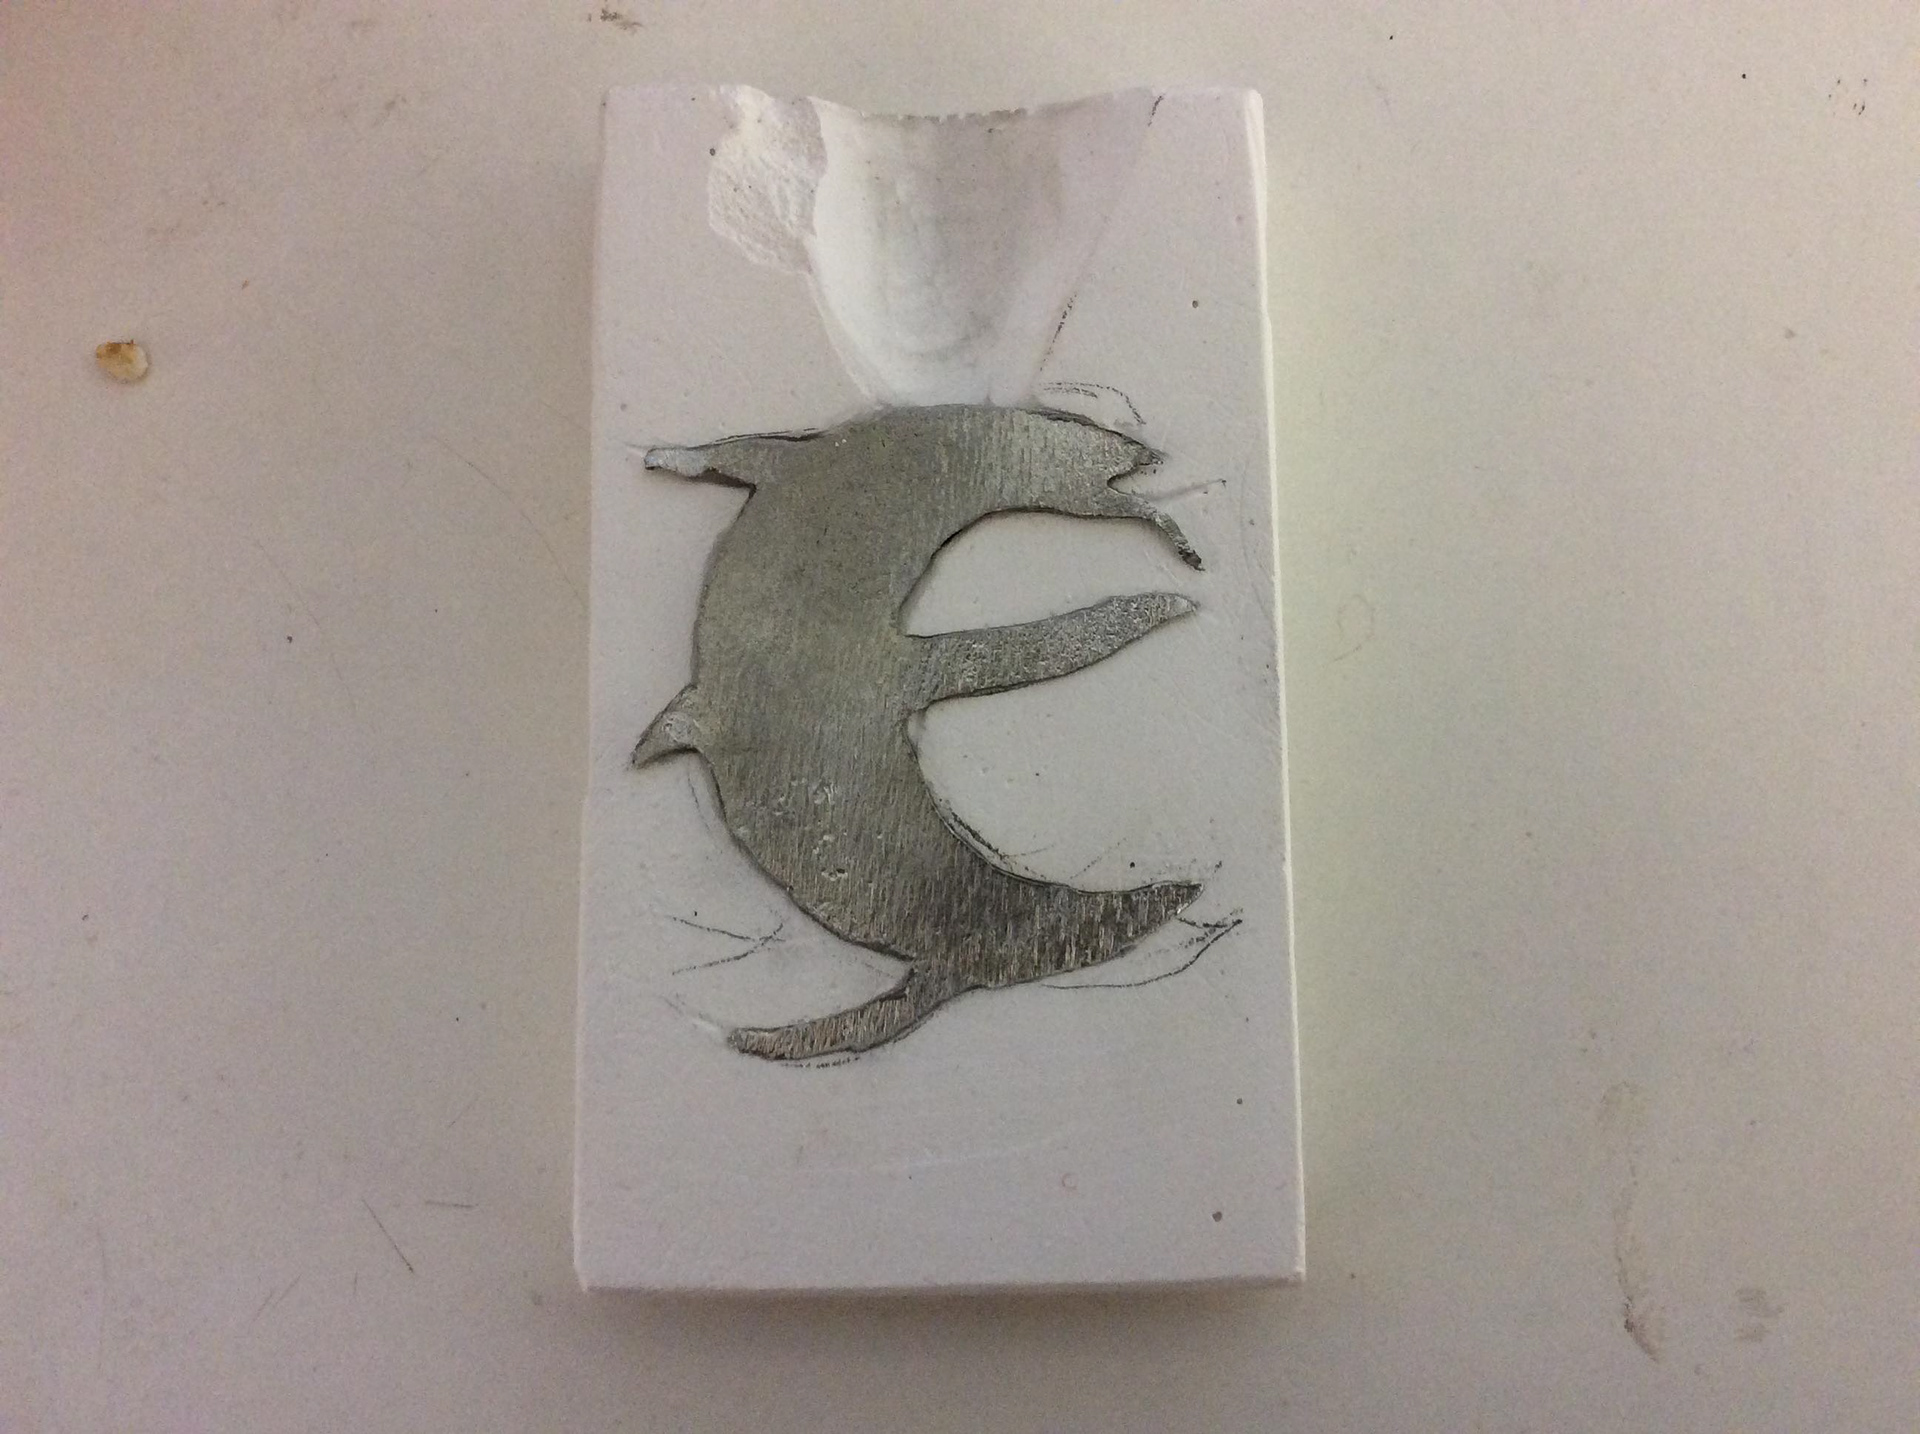
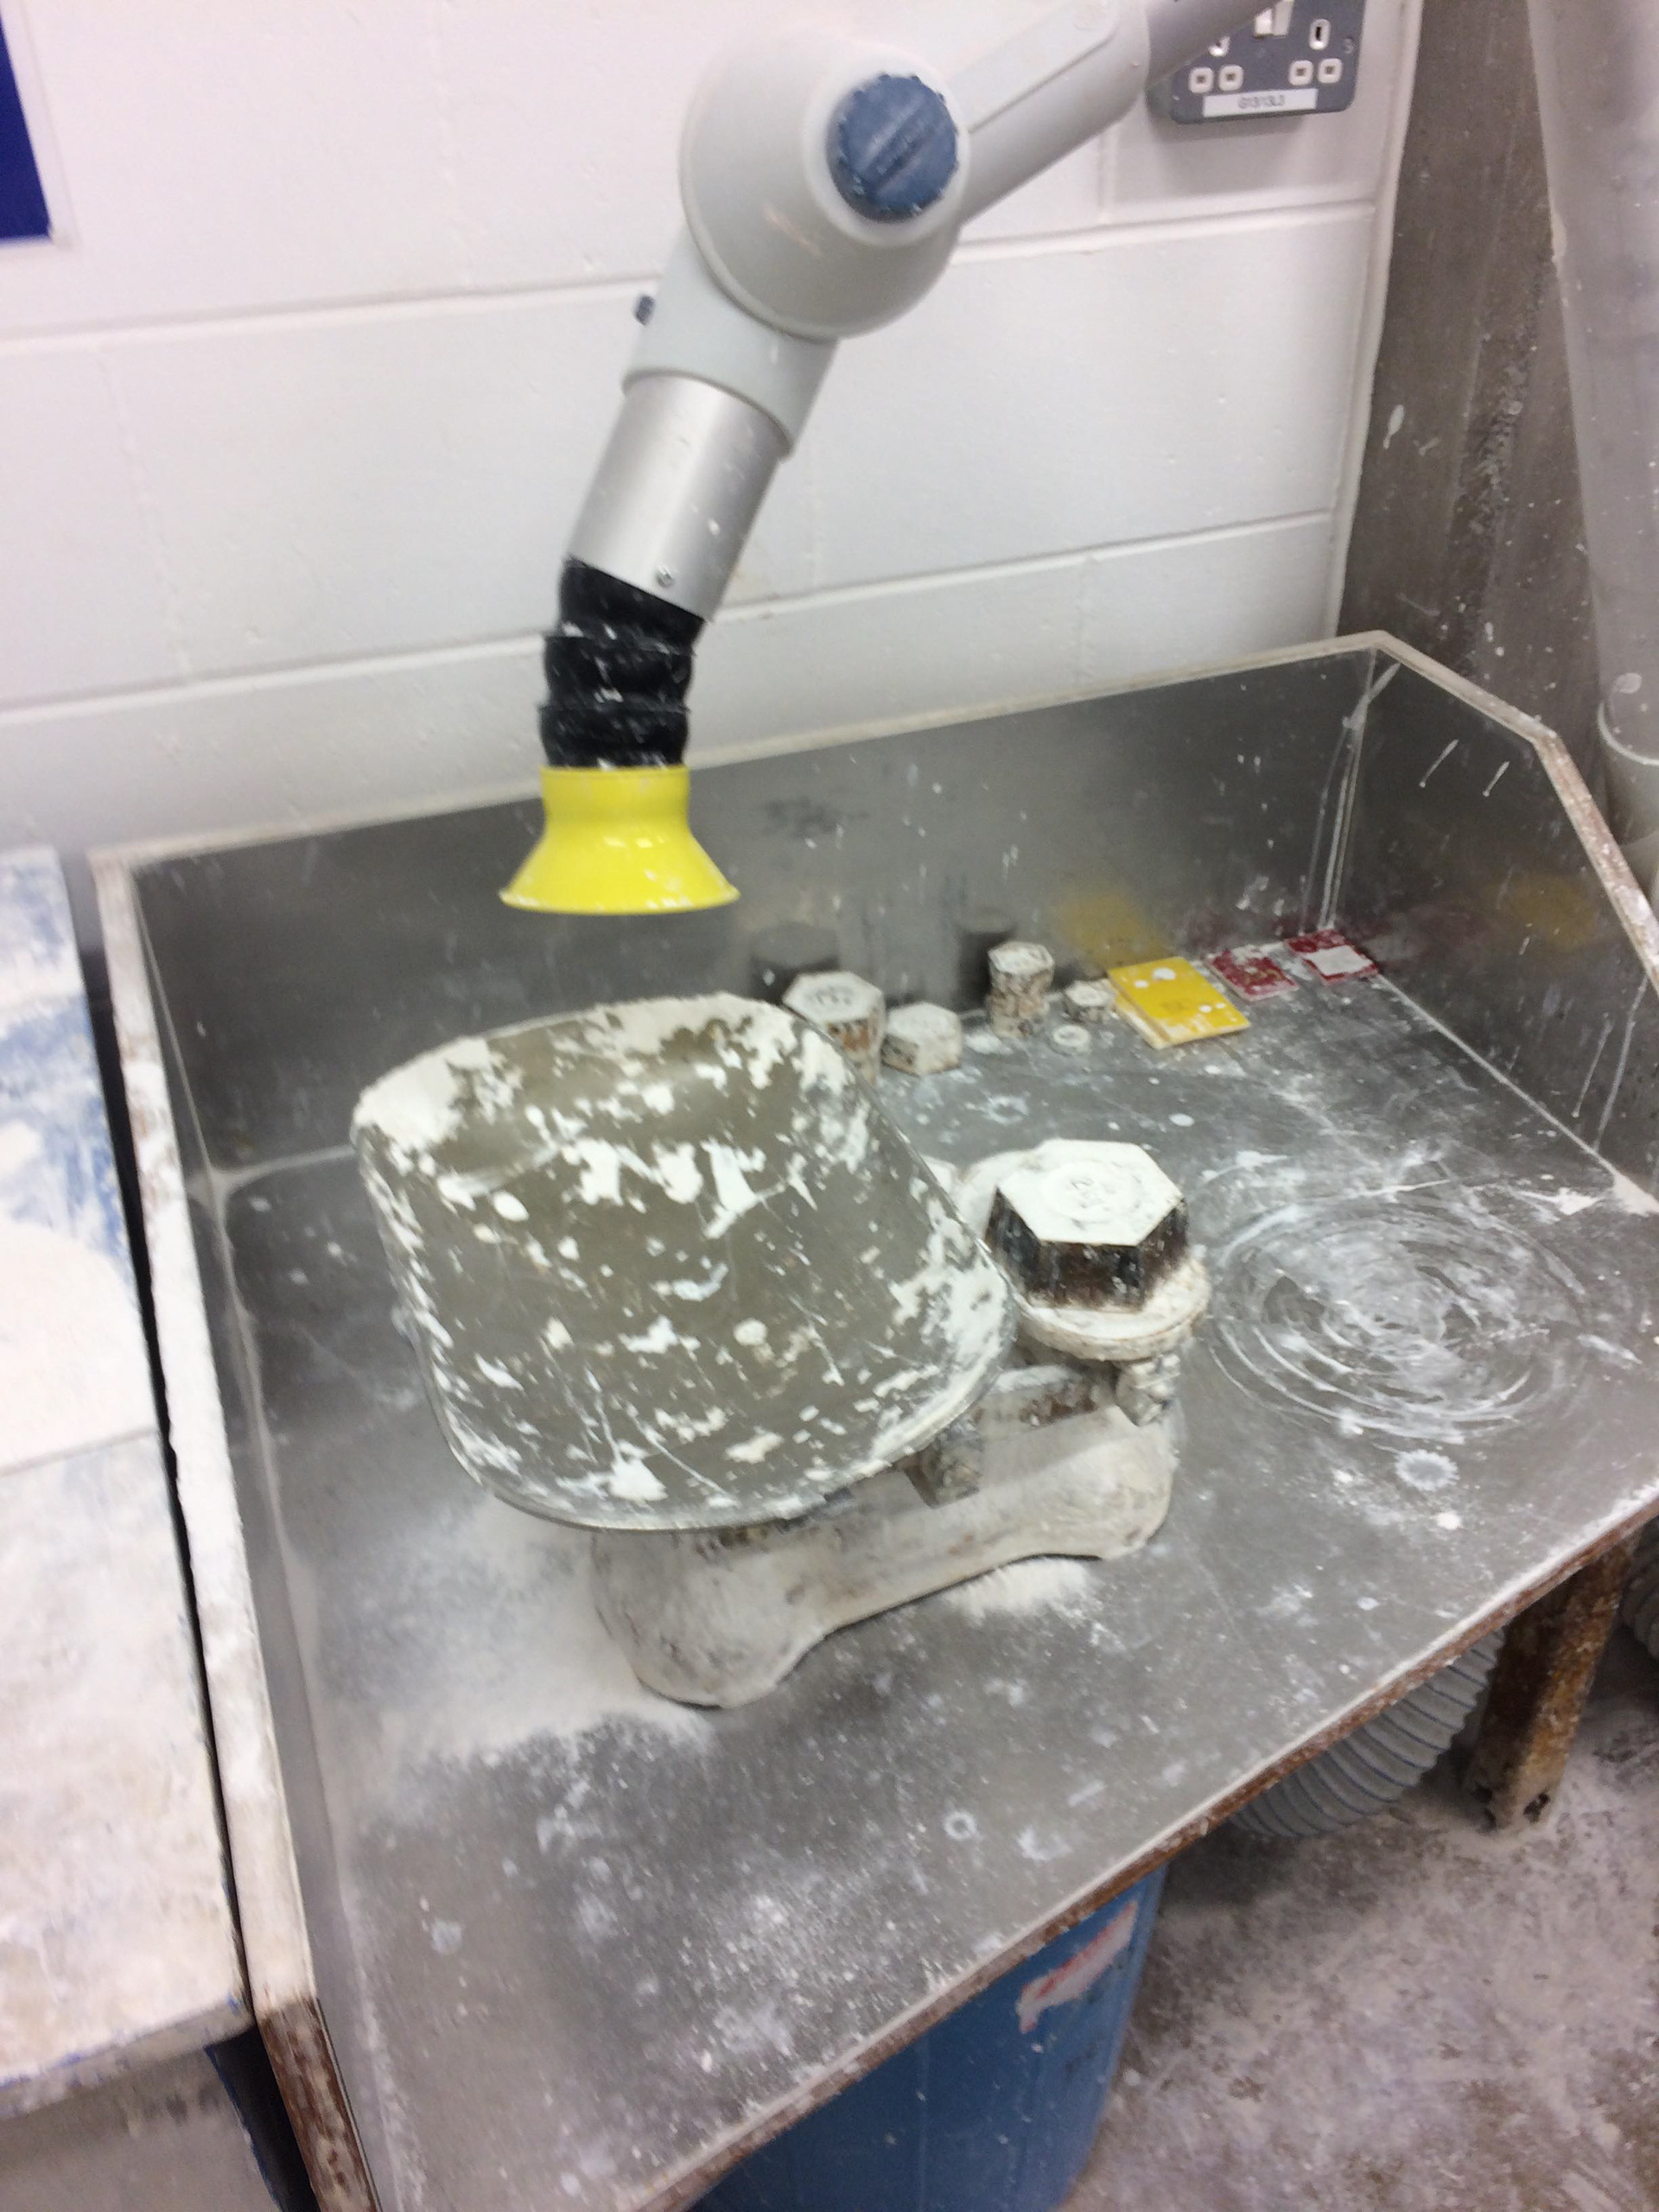
My exploration started in the small metal workshop where we were introduced to pewter casting and the many whys that you can use it:
The first technique that we looked at was plaster casting. This involved carving away at the plaster to create a design. This technique is better for relief designs and reflects the same intentions as a linocut in printing. This is a good technique if you plan on only using one side, such as a plaque or motif. It may also have good use in jewellery such as pendants and rings.


The second is flask casting. With this technique, you can create more two-dimensional objects with texture on both sides. For this technique to work there needs to be considerations made for air escaping; designs that are too complex won’t work easily, this include designs that go back on themselves from the main pour point.
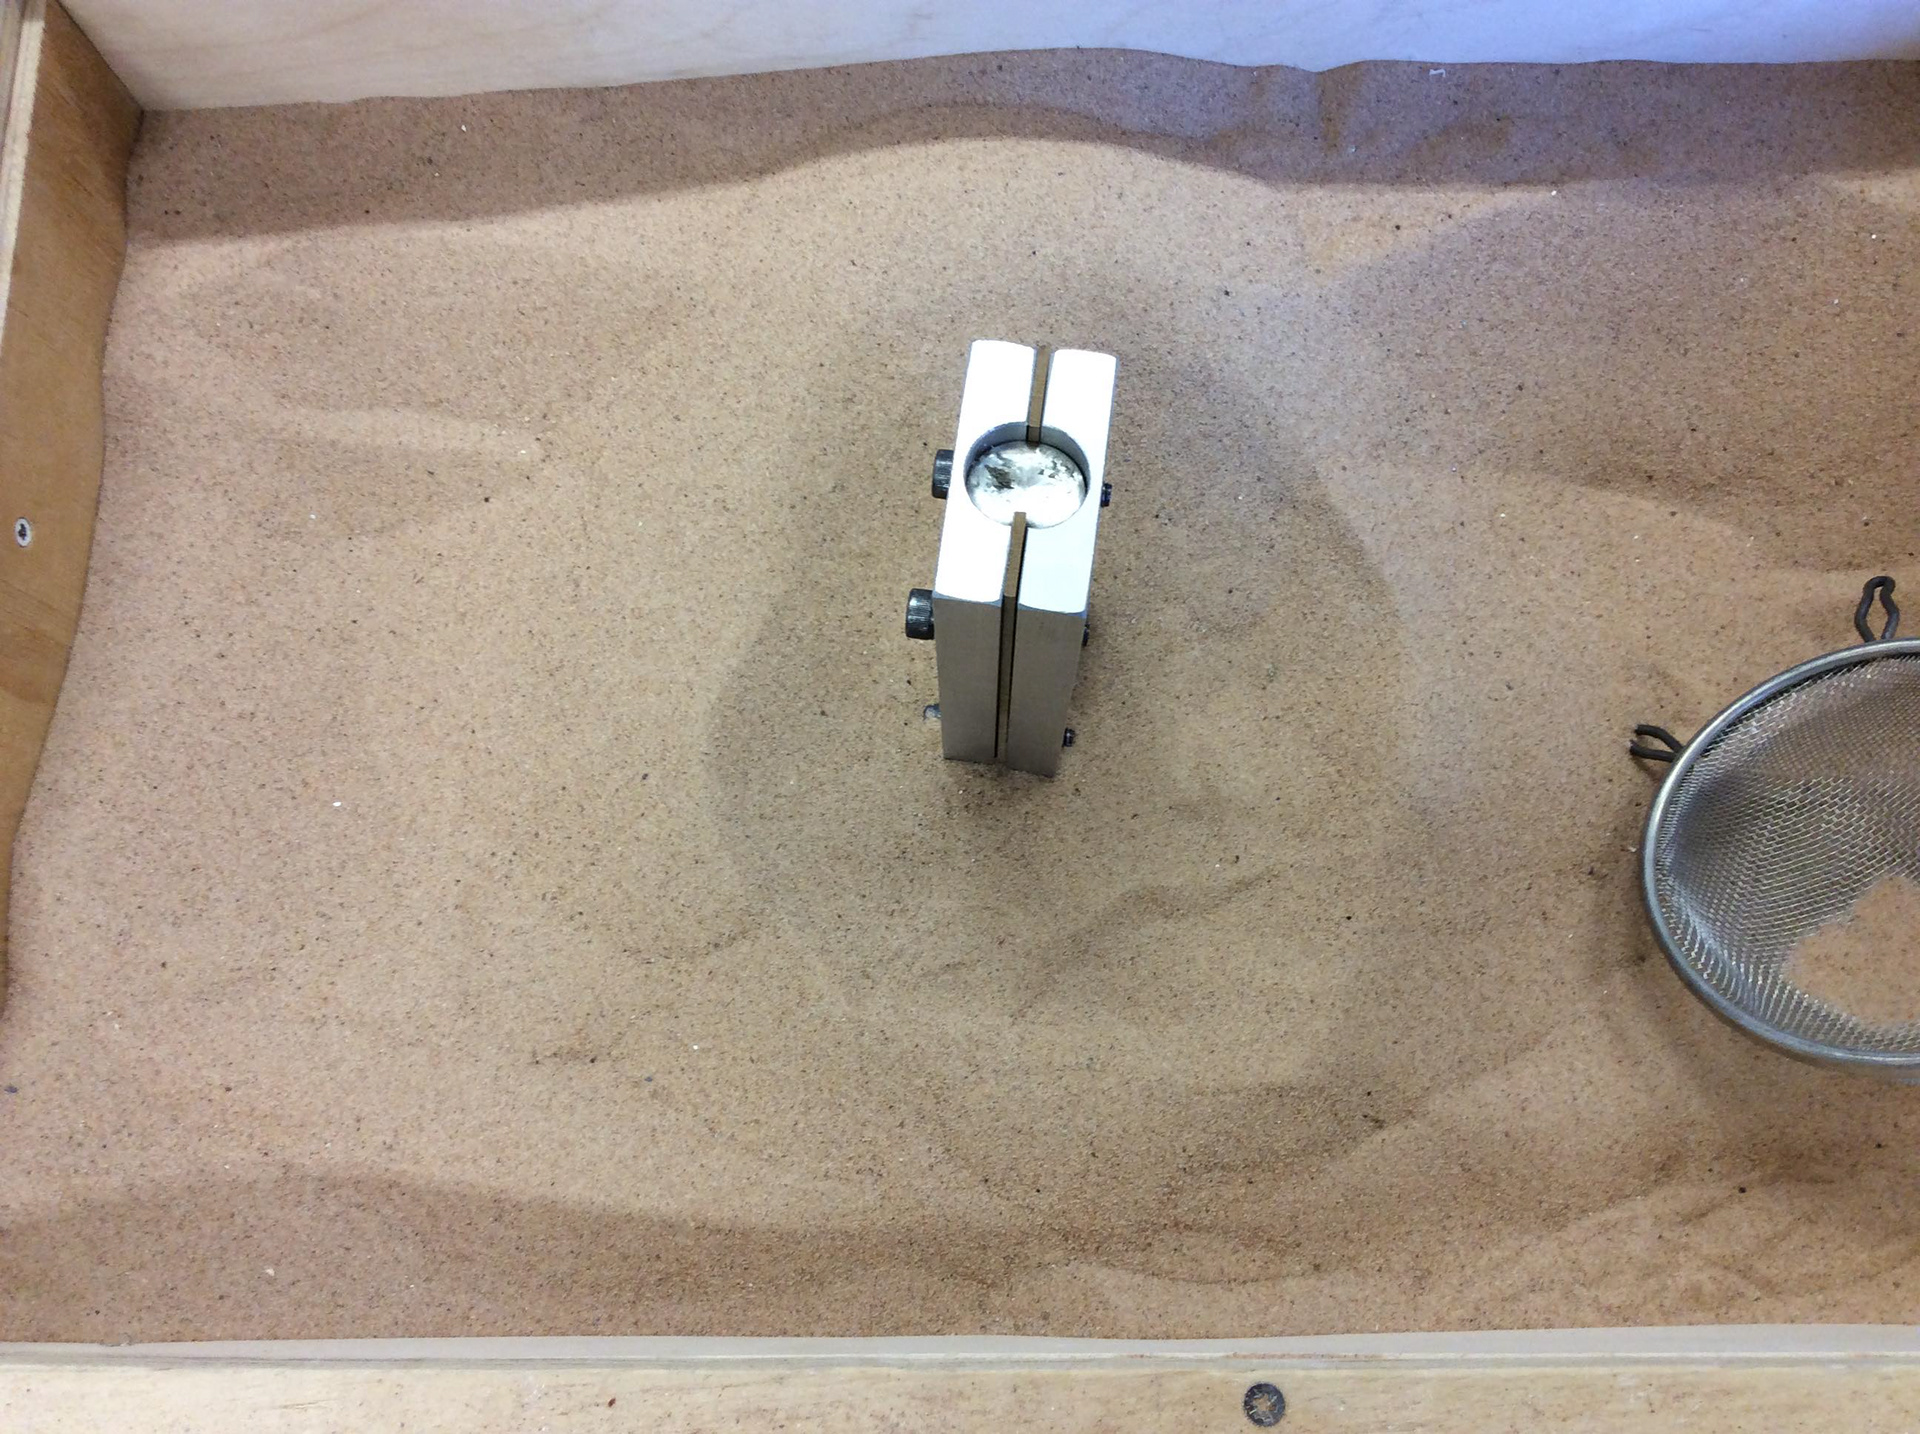
The third and final is sand casting. this technique is the only one that truly gives a 3D result. By using the bangles and compressed sand you are able to incase an object to catch all of the details of the surface. The downside to this technique is that it is solid, making the outcomes potentially quite weighty, making it difficult to use in jewellery or mobiles. You also have to allow room for air to escape, this, in turn, does mean that a design may not be perfect when it comes out, requiring additional work to be carried out.

WEEK TWO
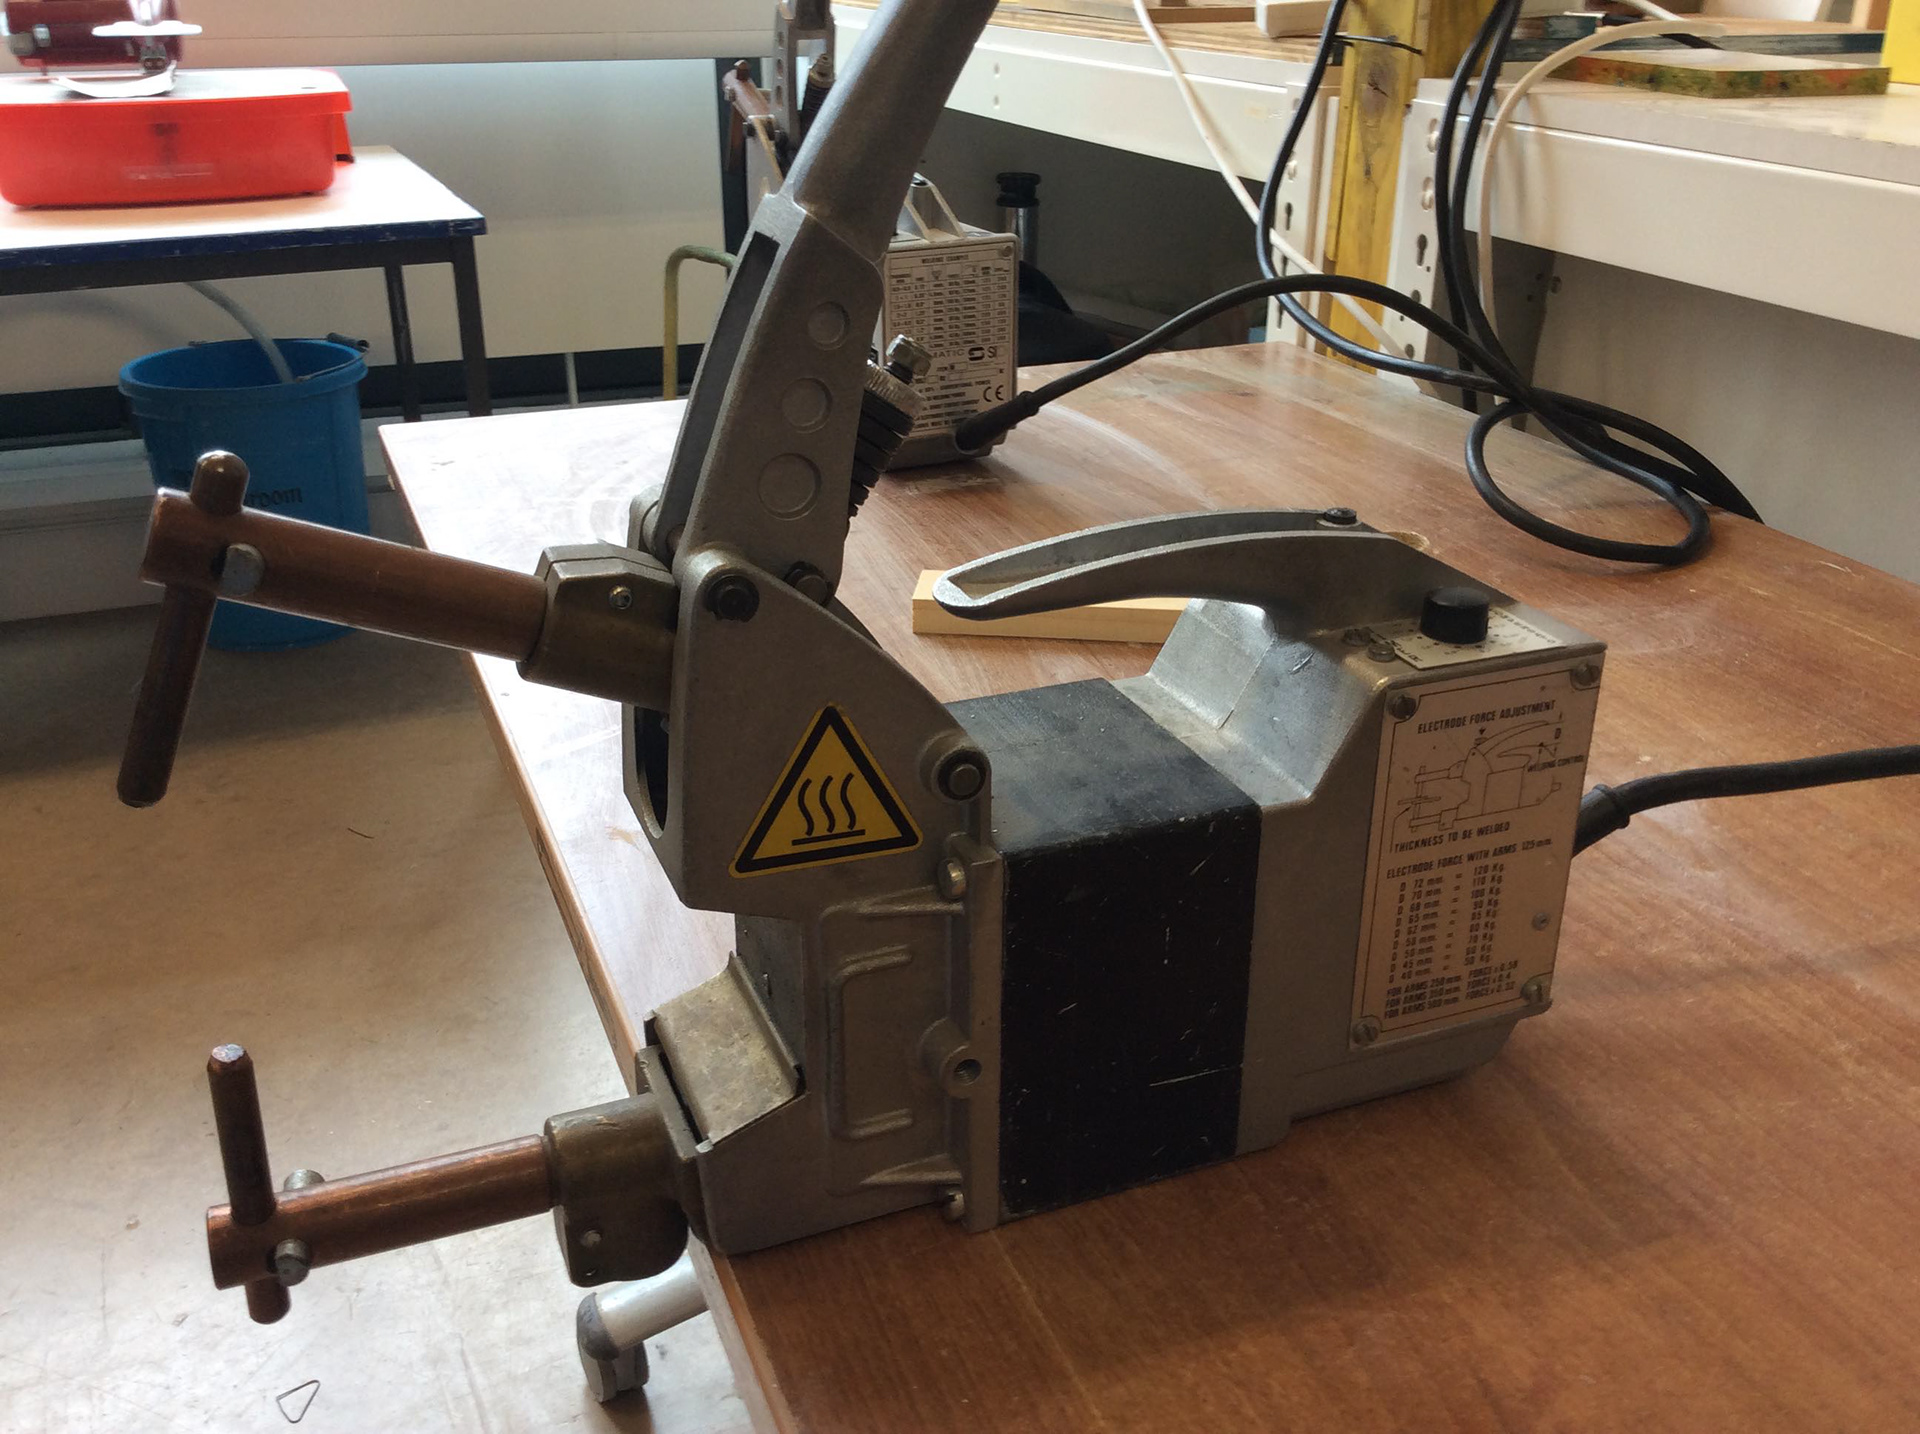
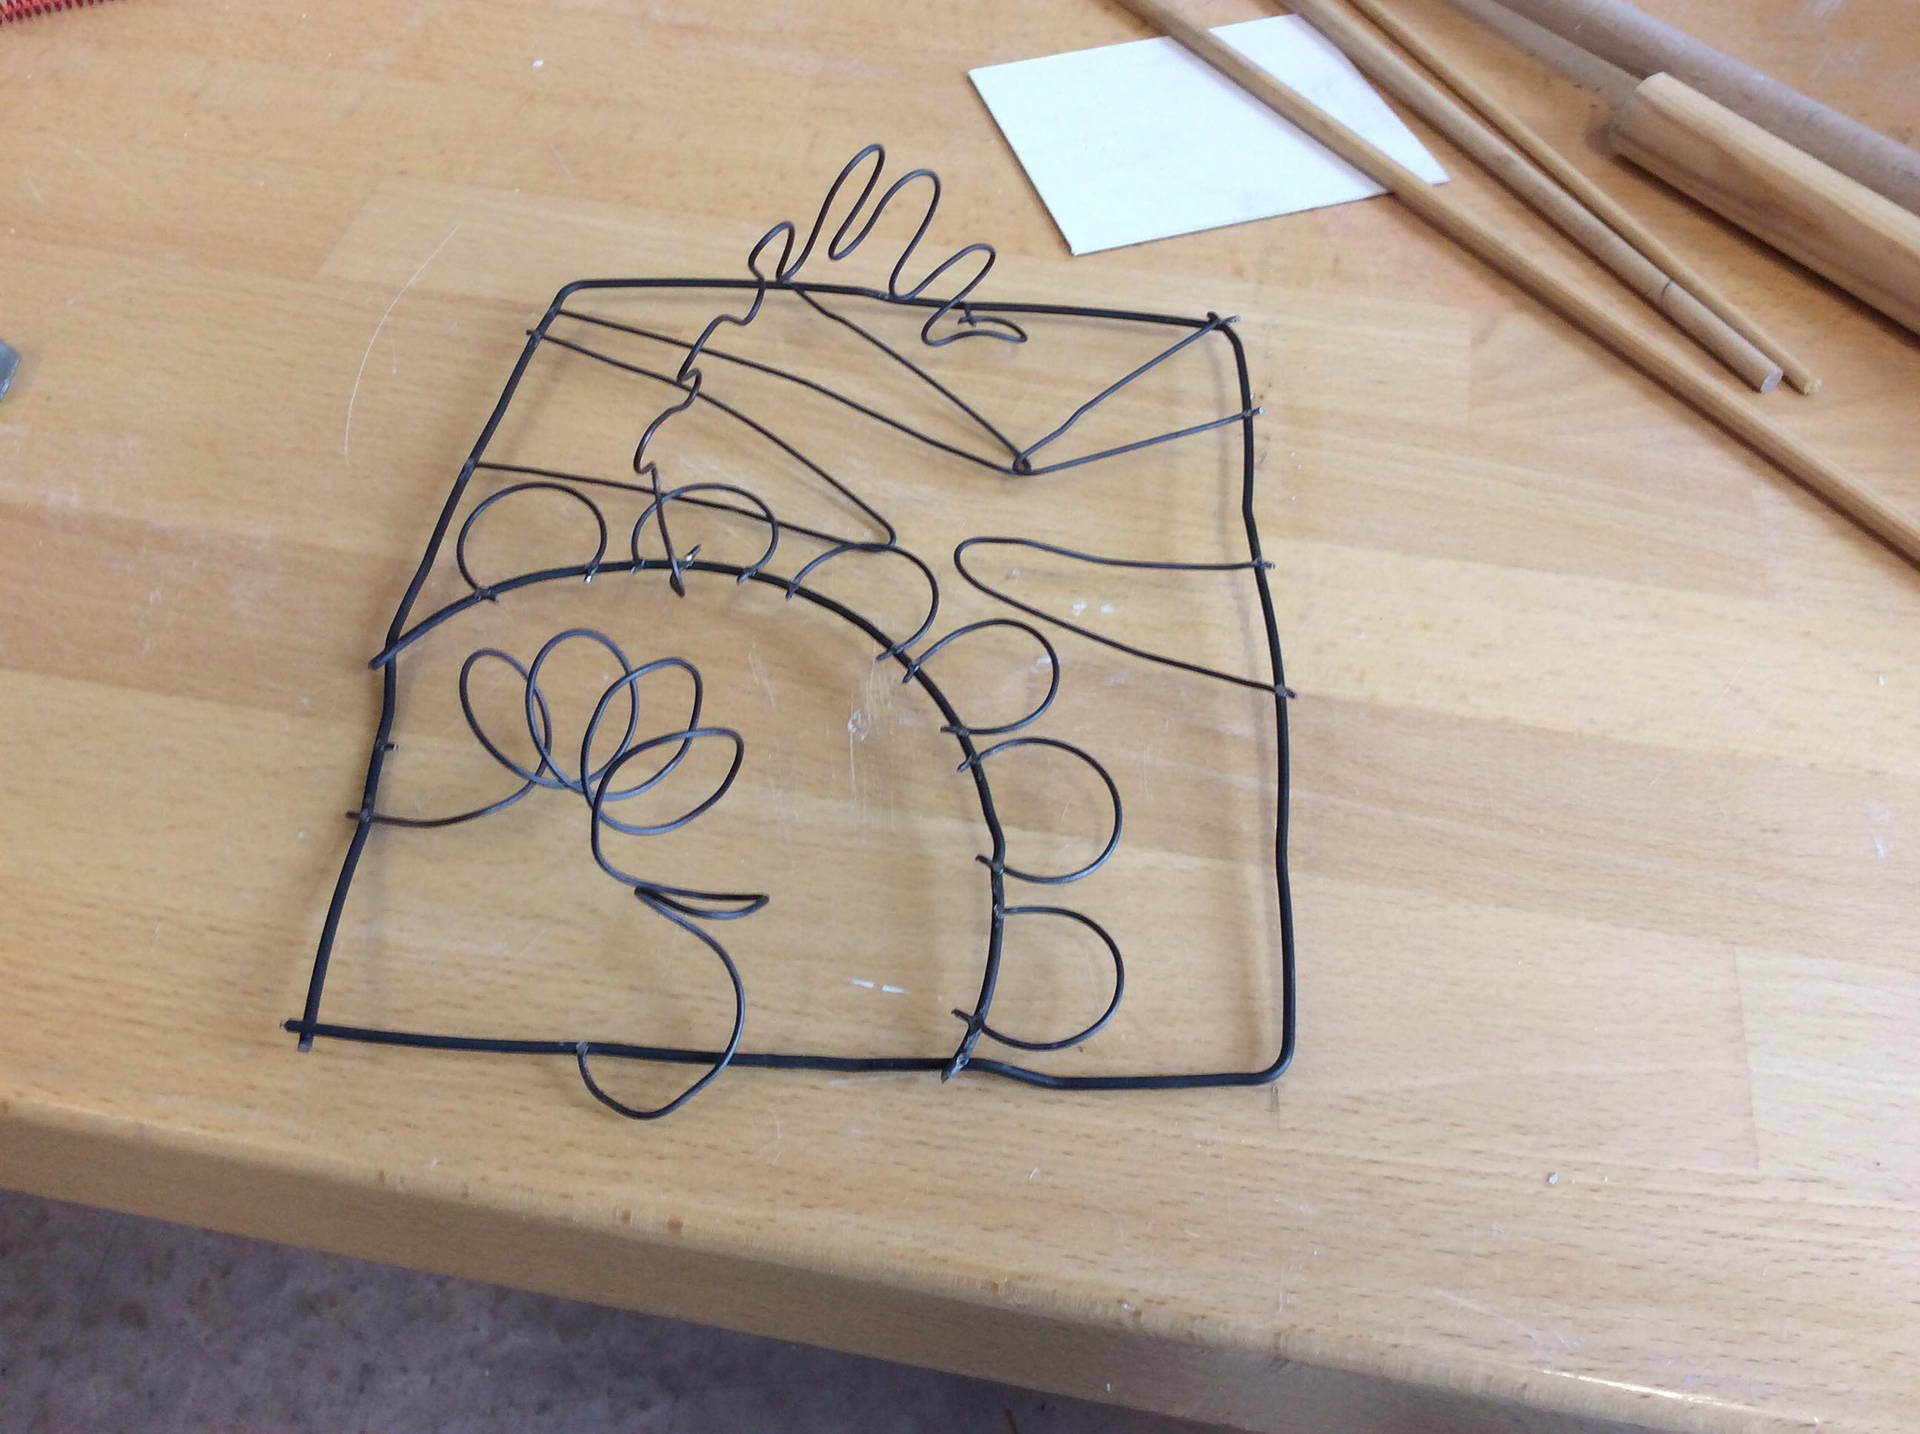
The second week of workshops was about the method of spot welding and wire manipulation. this workshop is integral to deliverable 3 for it allows us to build and connect elements. Spot welding uses an electrical current to bind two pieces of metal, the welder can be set to different durations depending on the strength and size of the pieces; if the setting is too high then there is a chance that the pieces will break at the connection.
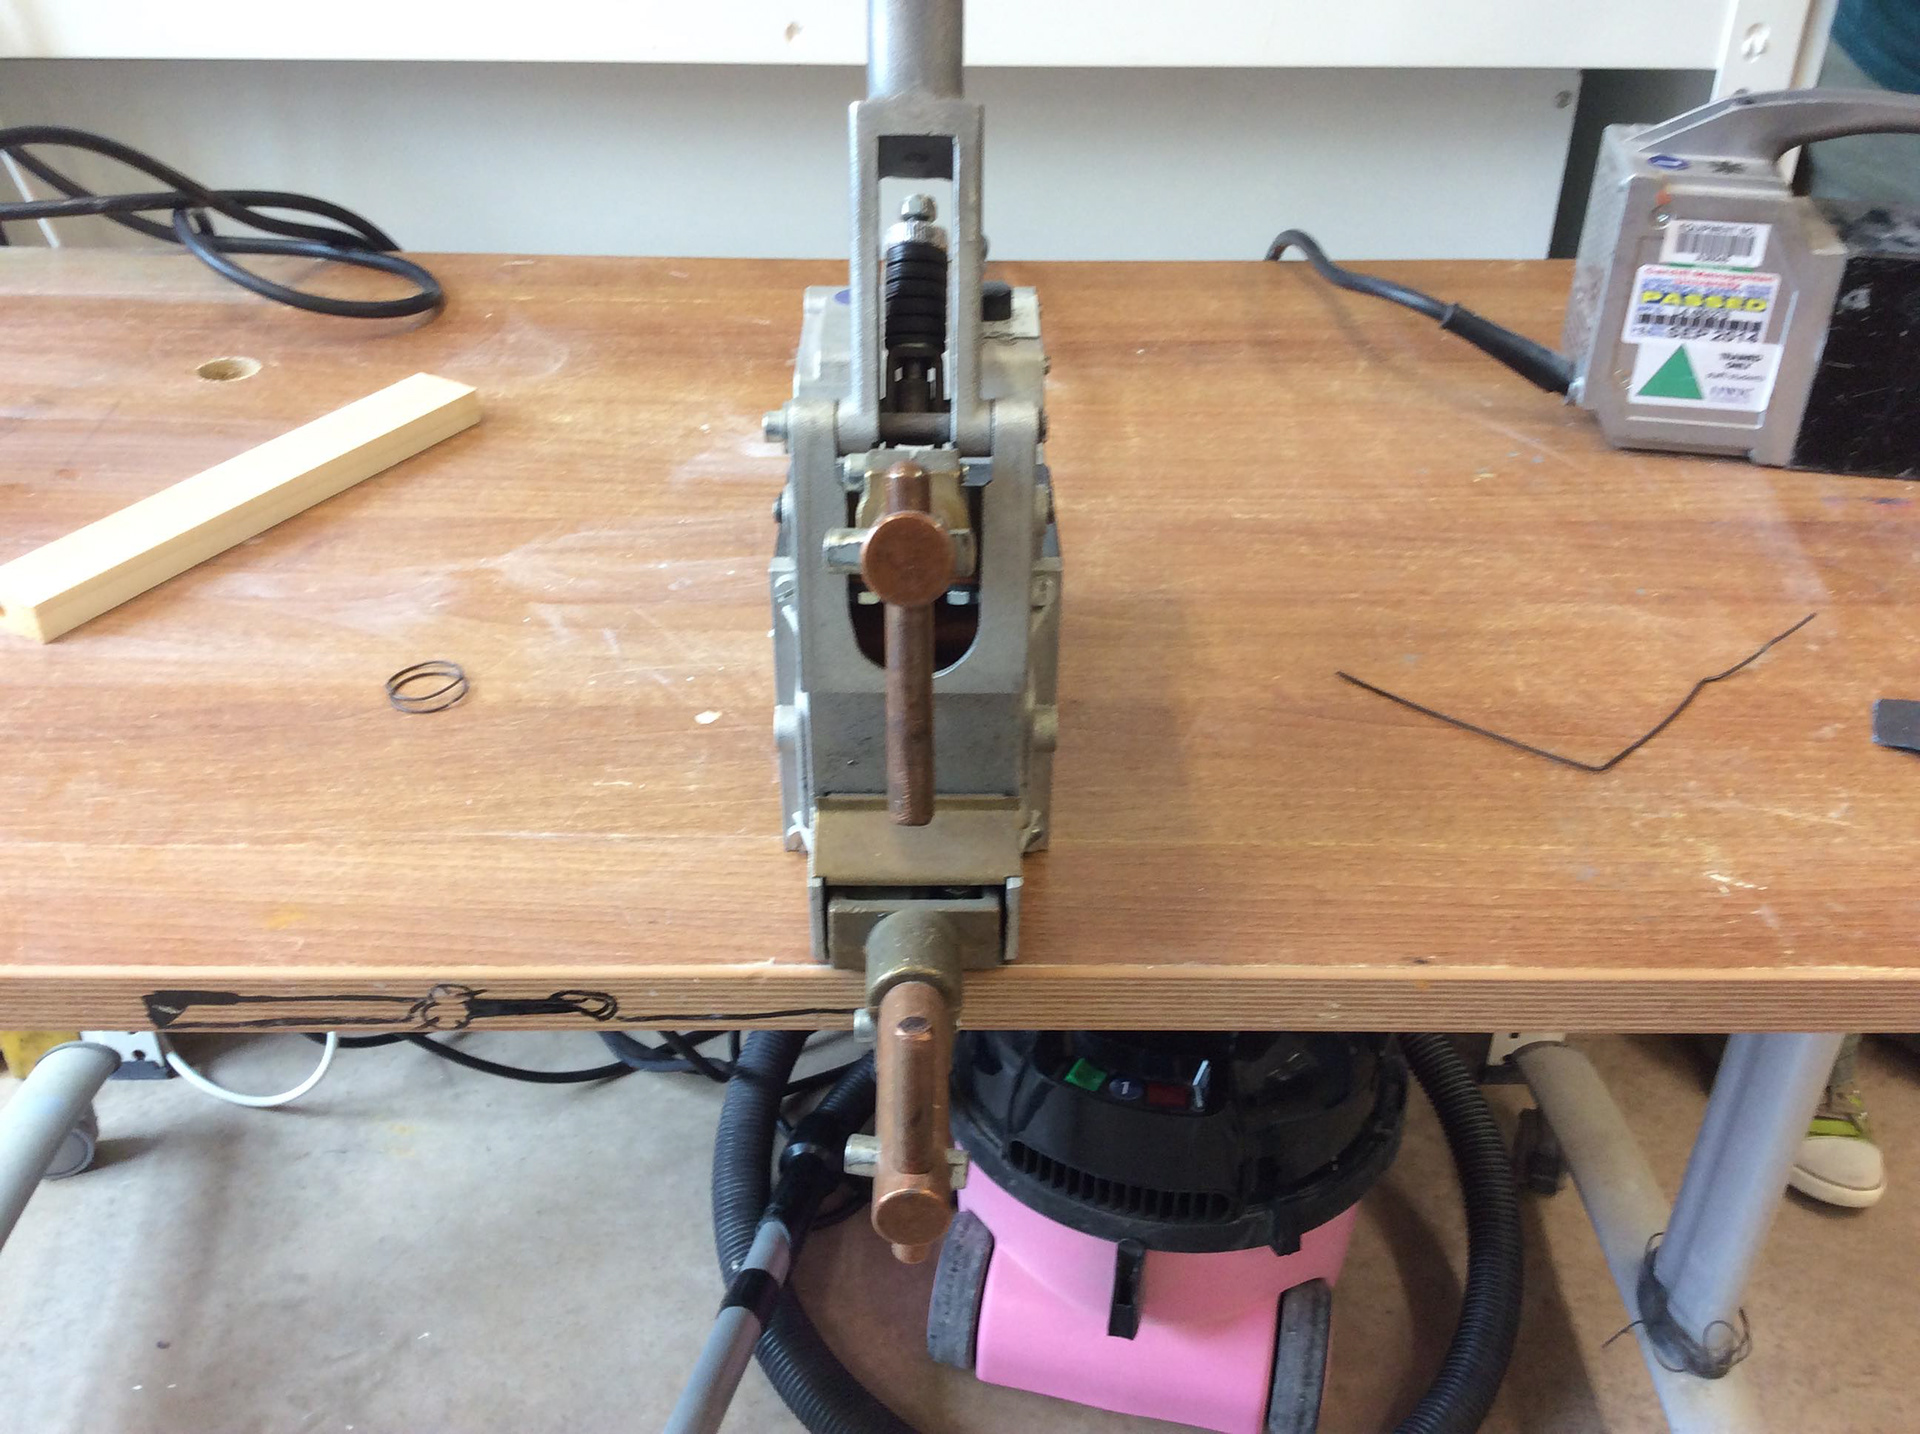

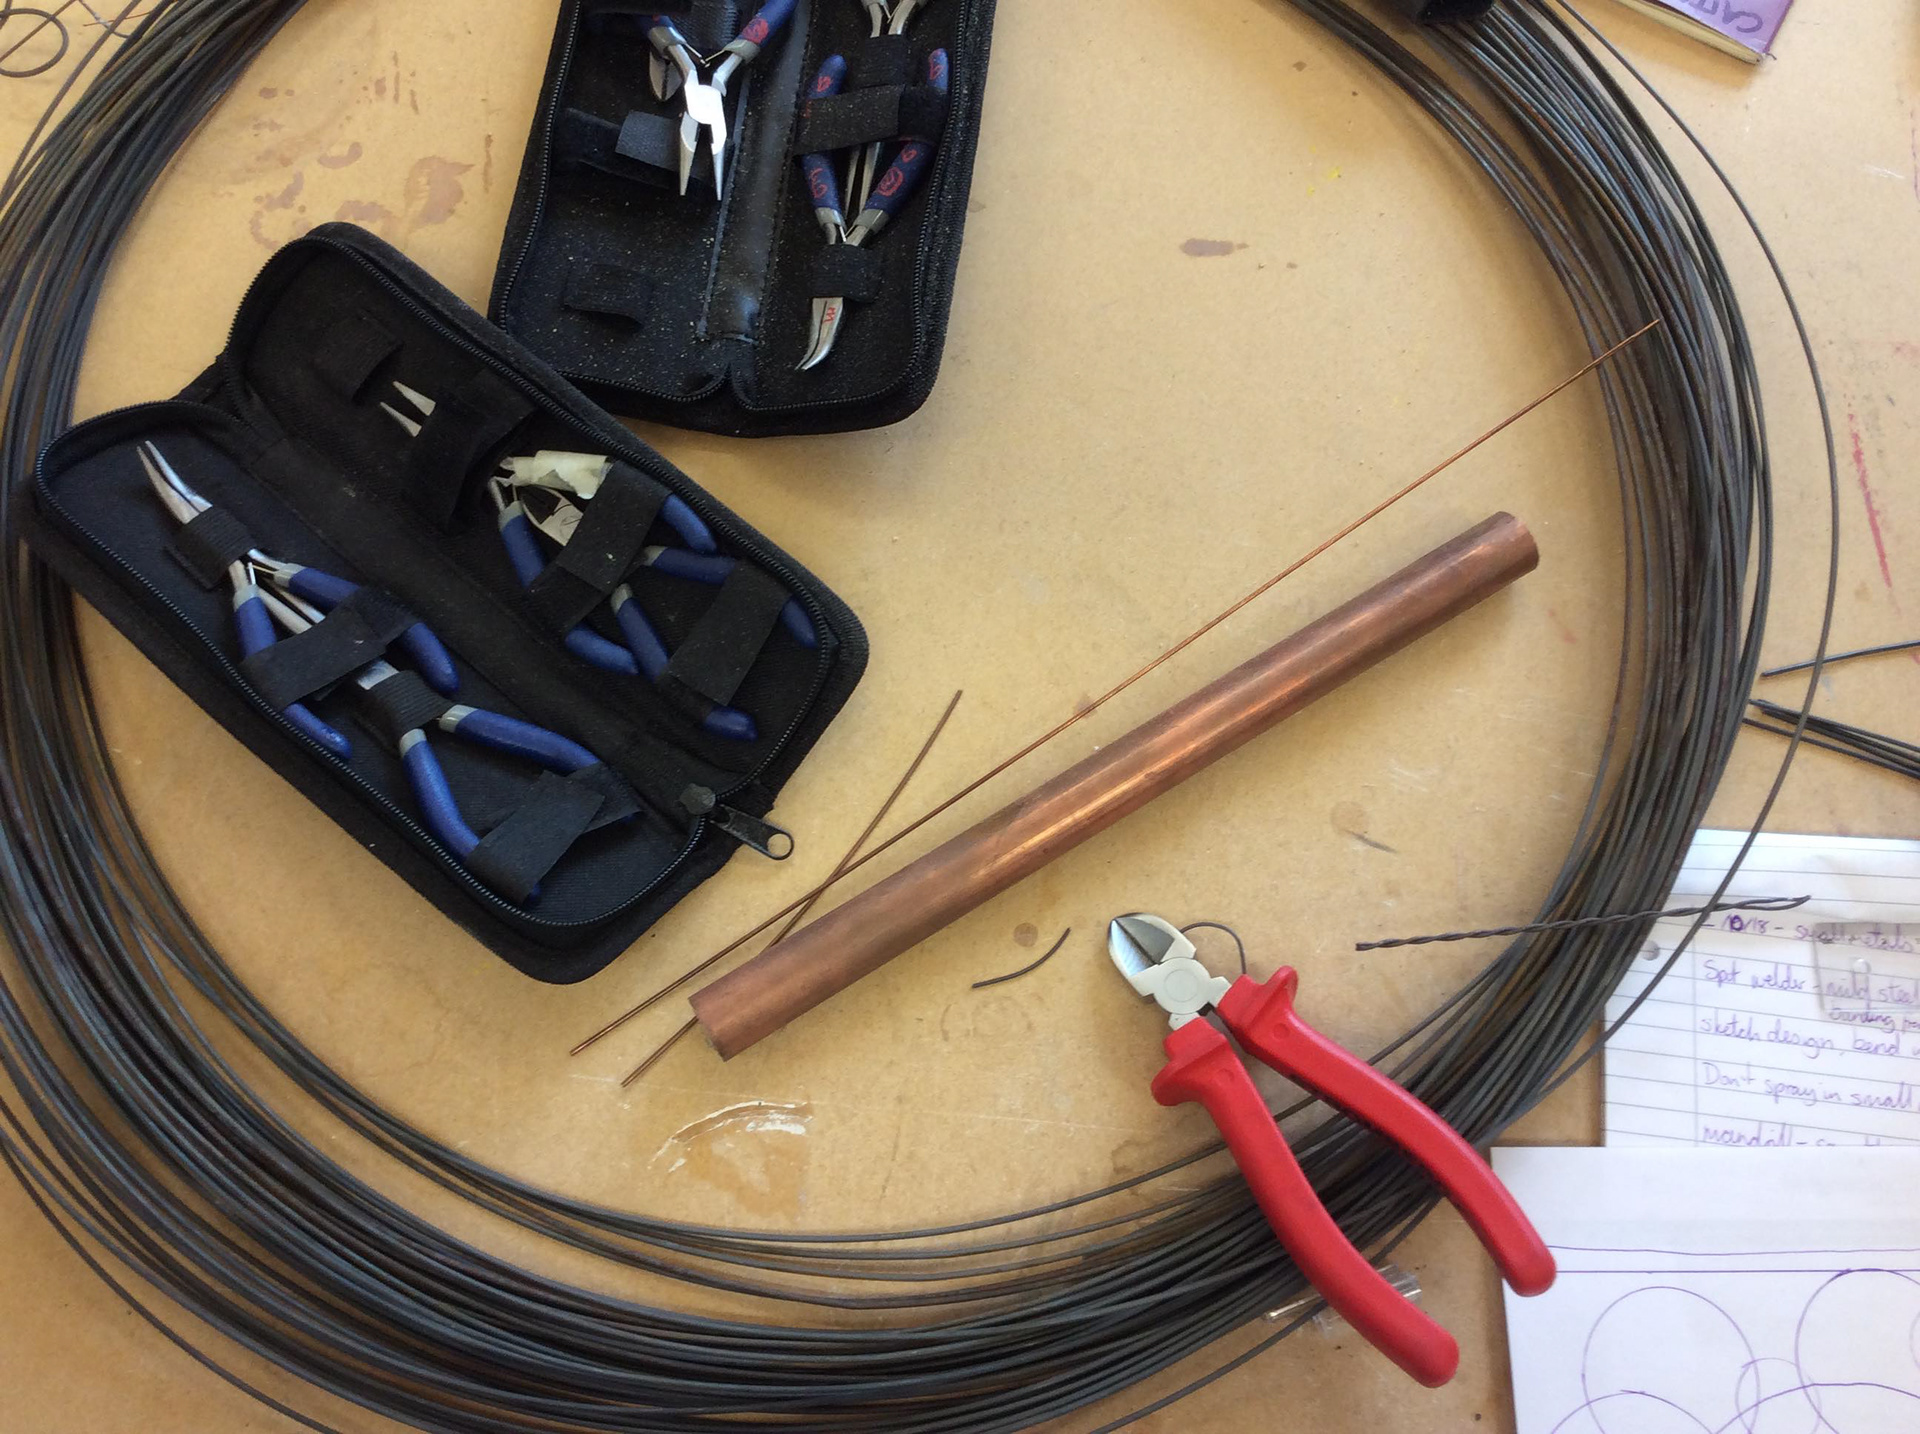

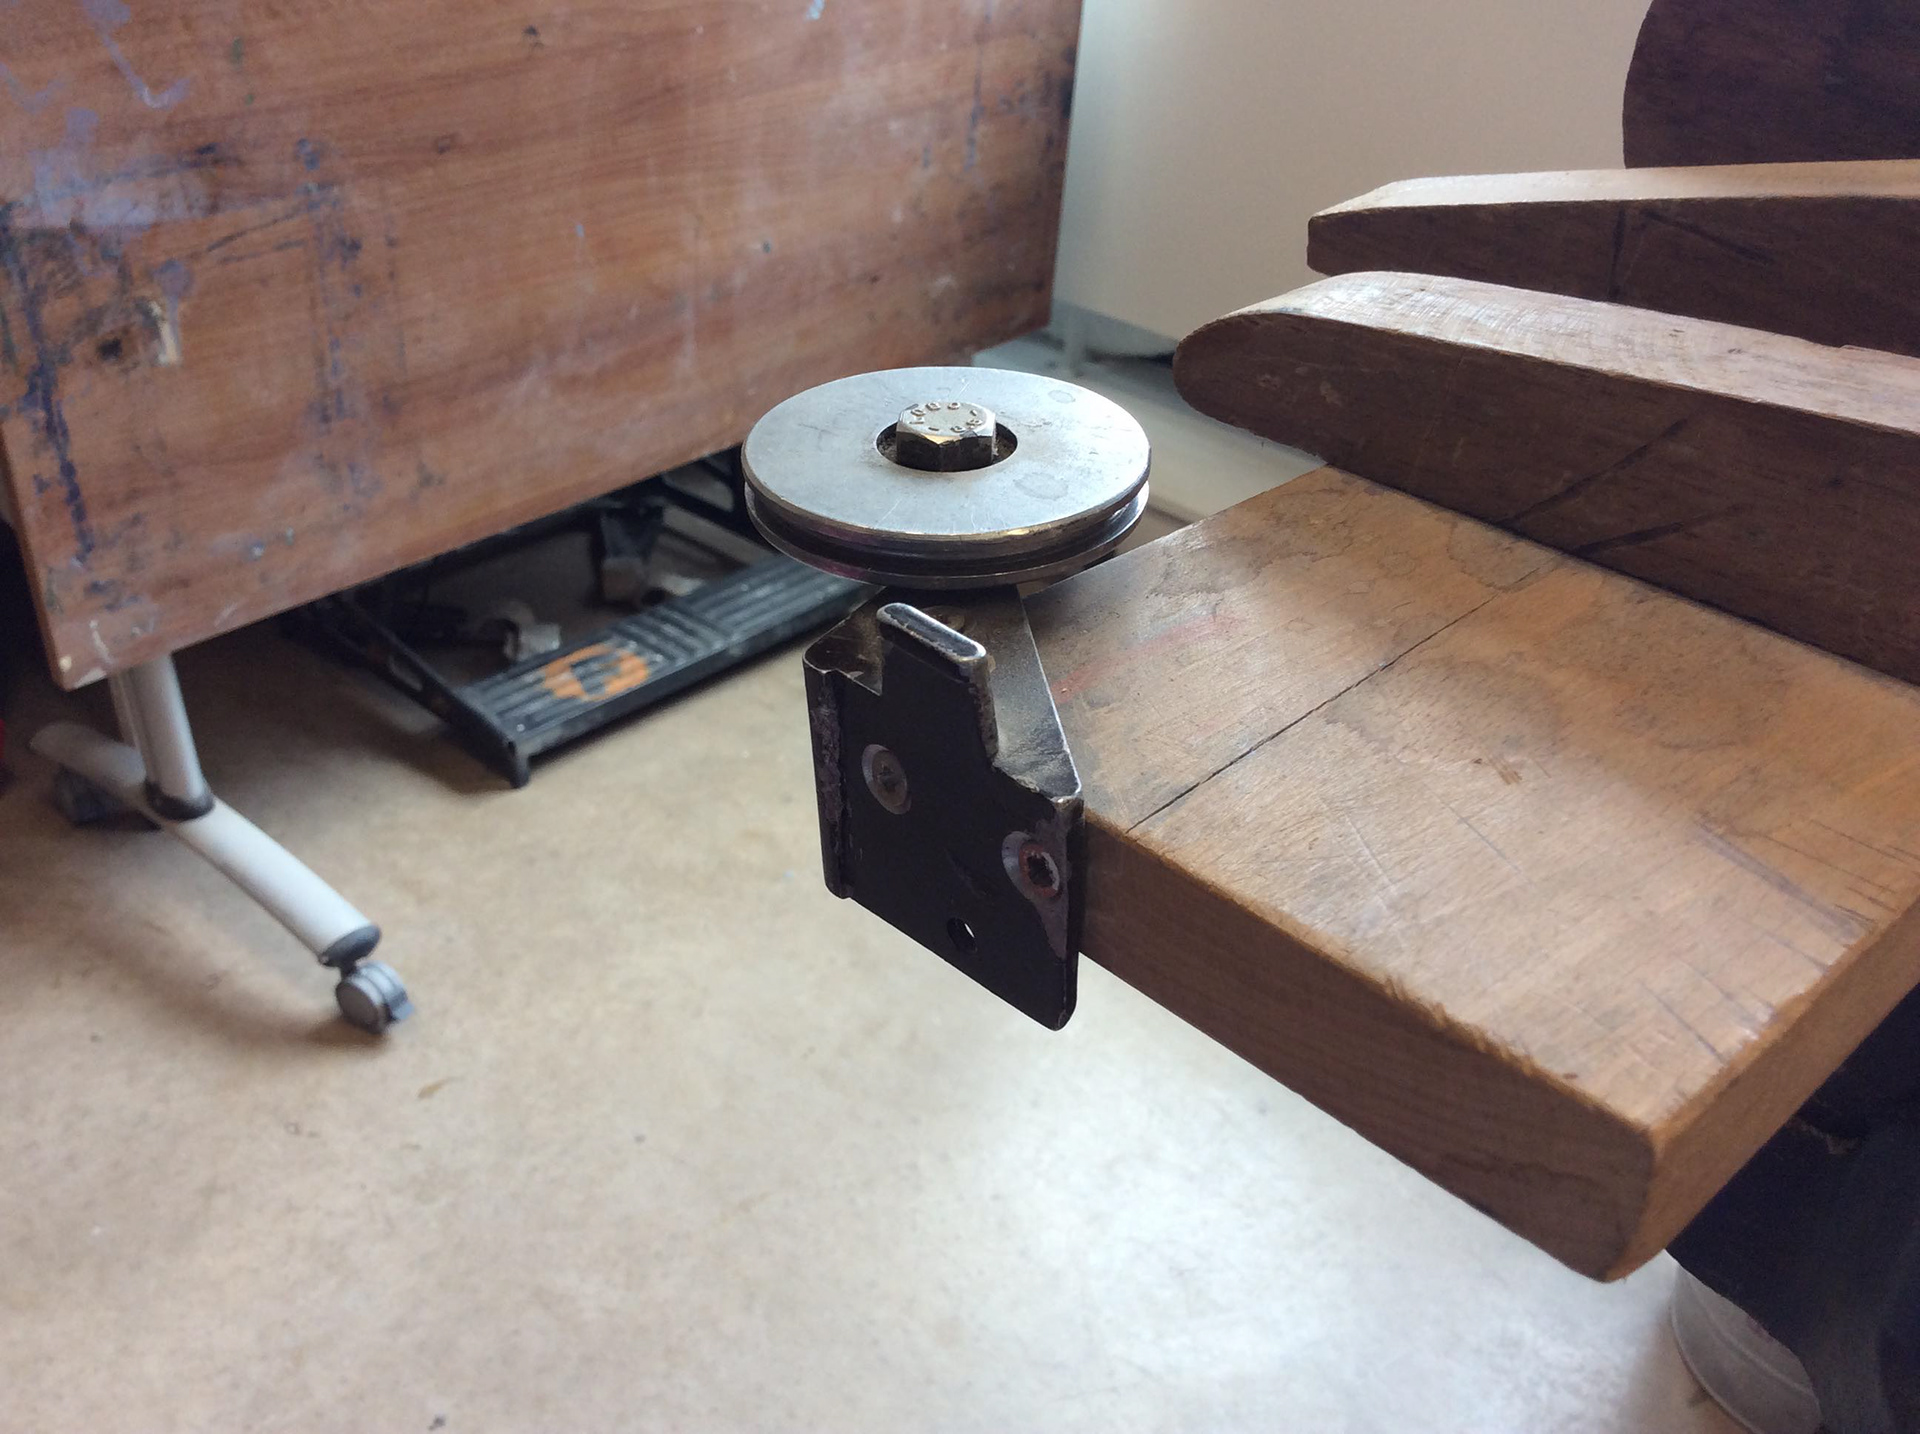
Below is a tool that can be used to remove kinks and shape the wire:
WEEK 3
The enamelling workshop is the one i was really looking forward to. The use of powdered glass to create a colourful glossy finish is something that I have always admired. The shapes that we cut had to be clean for the process to work.
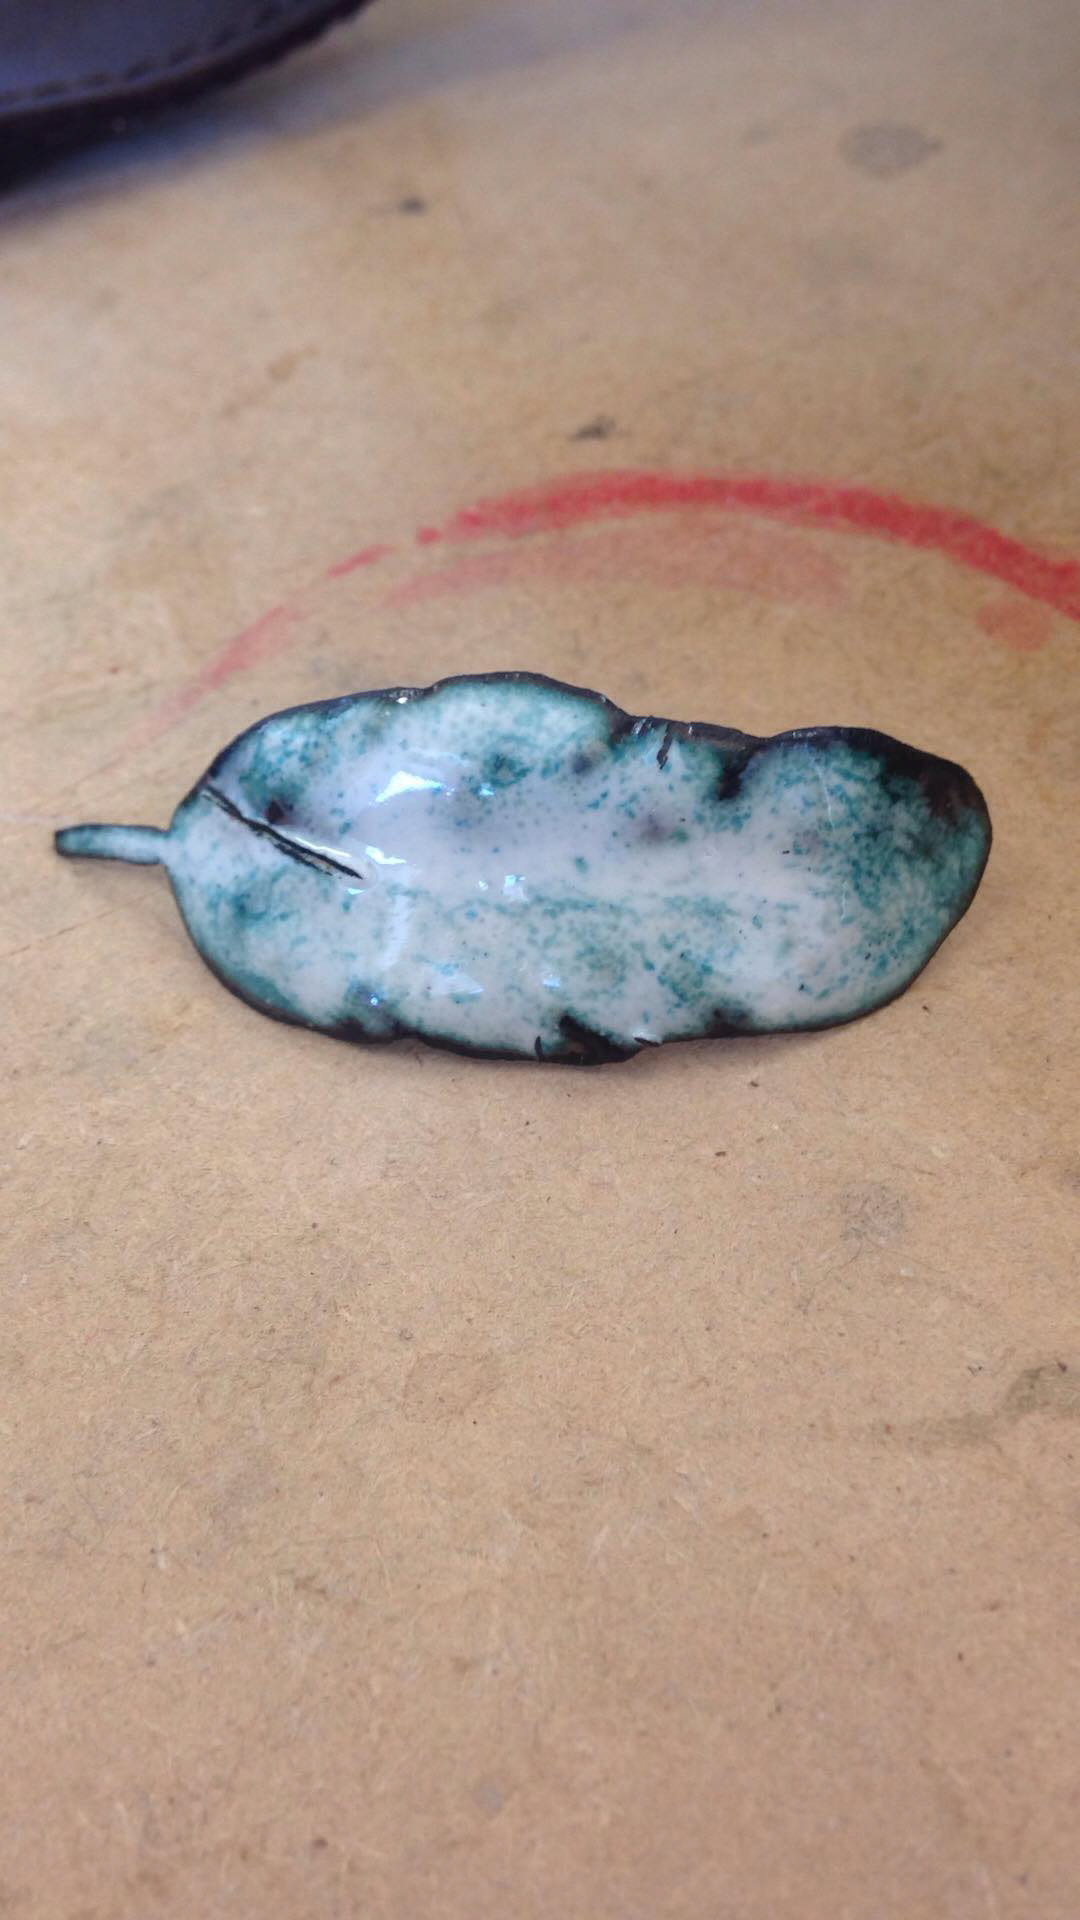
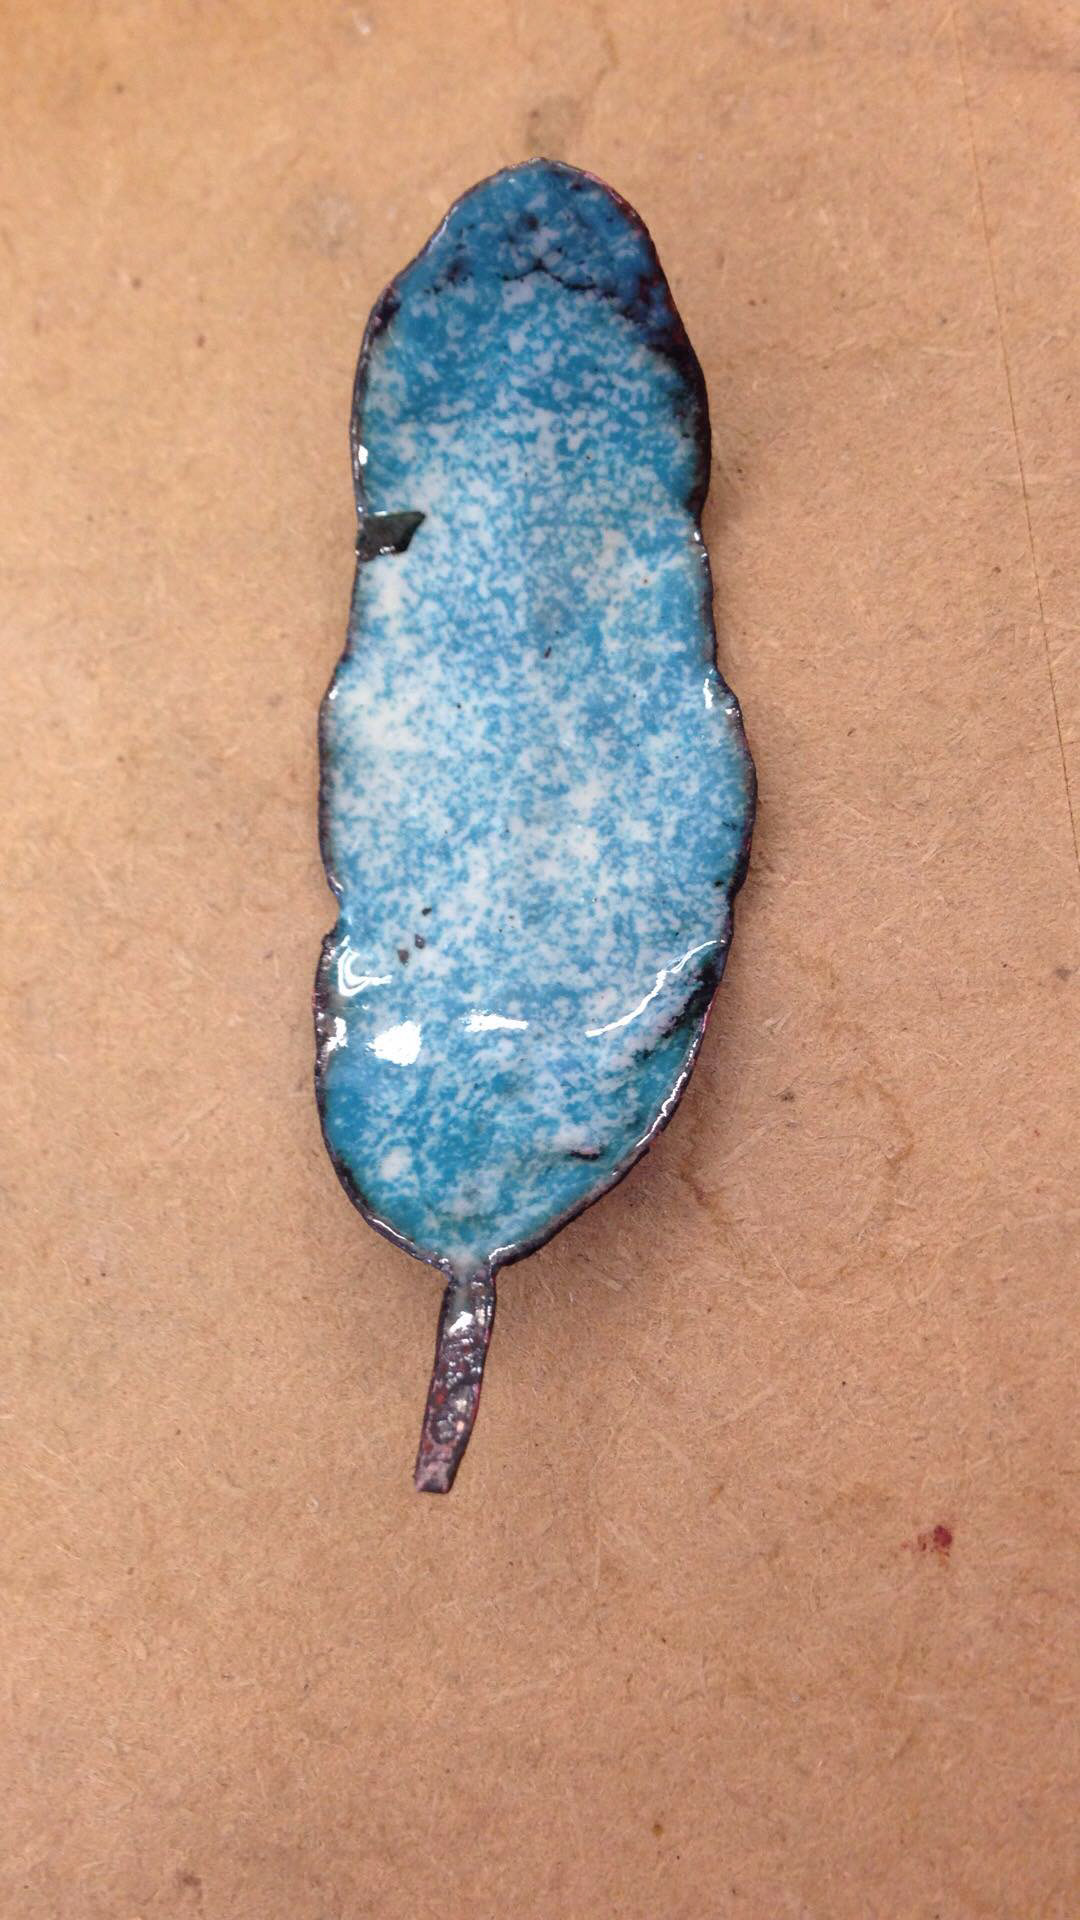
Once this has been done a tacky substance is added so that the powder actually stays on the metal piece before its fired. This allows for an array of colour combinations to be added in an ombre or patterned effect. The piece does need to dry before it can be put in the kiln.
The kiln reaches a temperature of around 800 degrees, this melts the glass and makes it stay on the metal; do not quench too early as this can cause the enamel to crack and fall off.
WEEK 4-6
In the fourth week of workshops I moved on to the wood and metal workshops. In the work shop we started to build our 2nd deliverable- thinking inside the box. The point of the work shop was to induct us into how the machines are supposed to be used. These included the band saw and the vertical disk sander

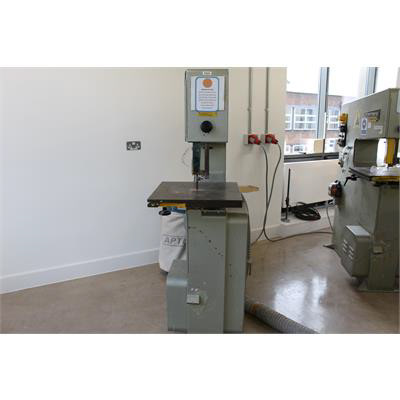
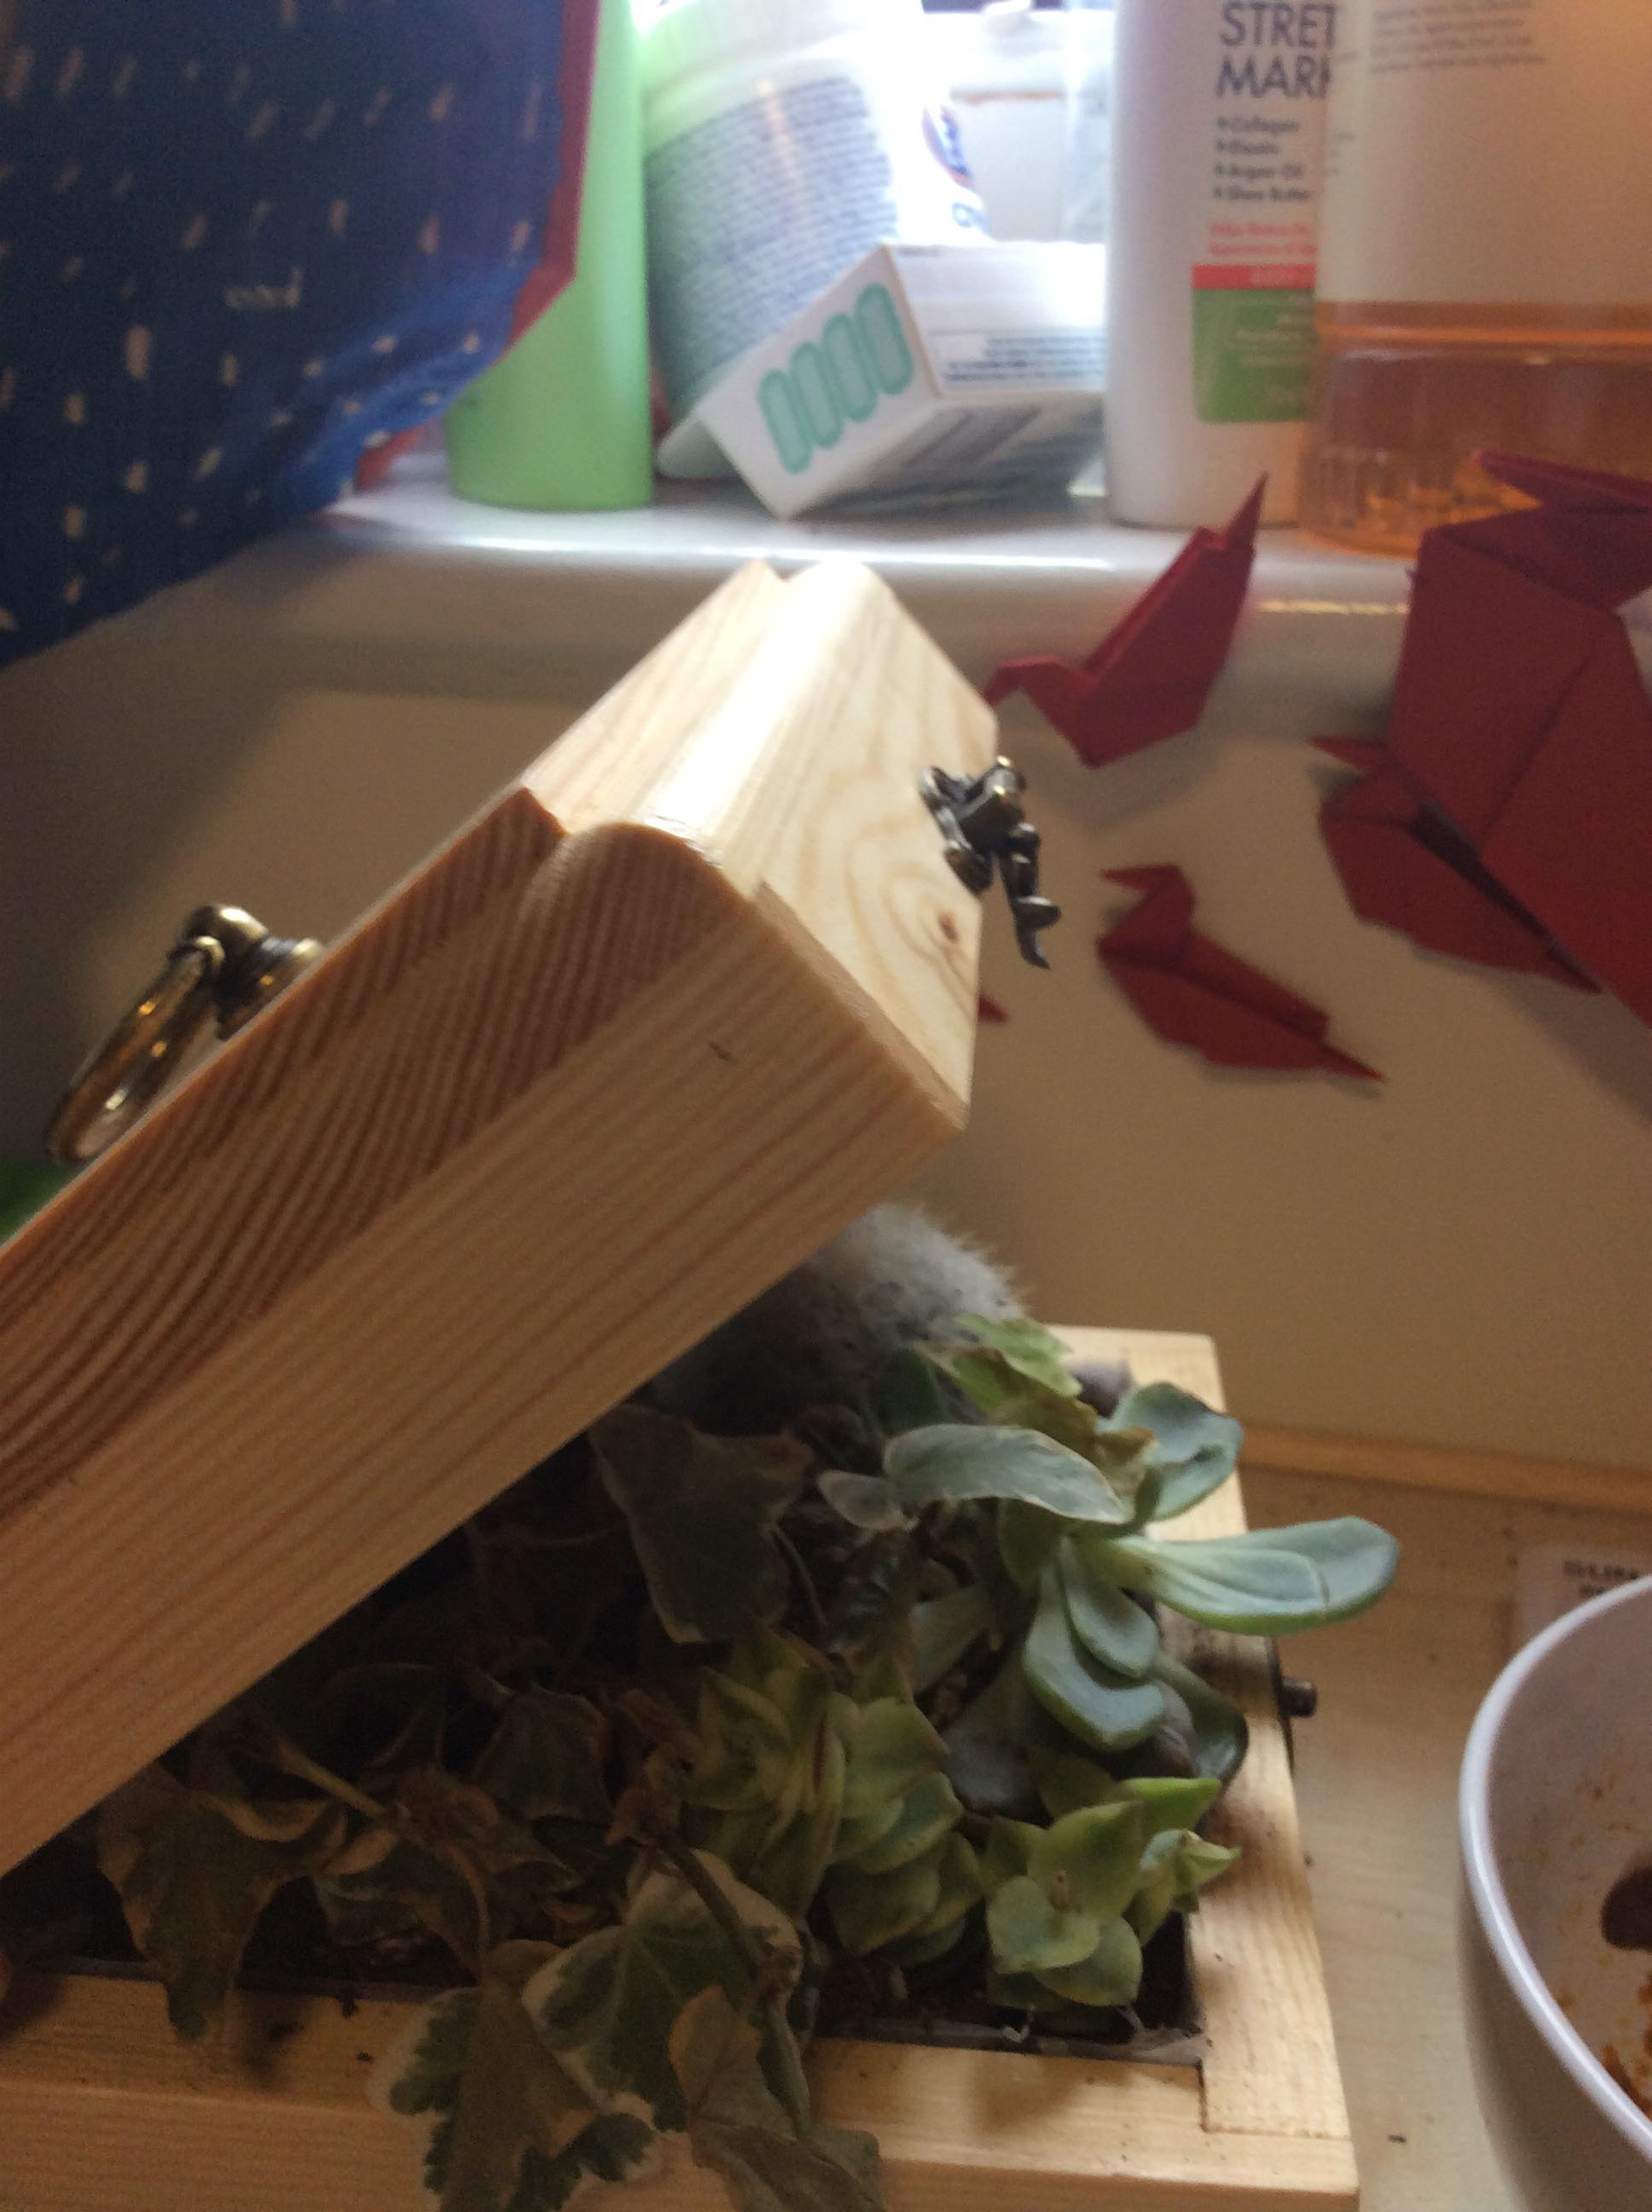
To make sure we were competent with the machines our deliverable was to make a box, to do this we had to use the above machines and a few others. We also got introduced to how the different grades of sand paper can be used to create a variety of surfaces.
For my box’s interior I added a selection of plants from home that helped to remind me of where I moved from.

WEEK 7 & 8
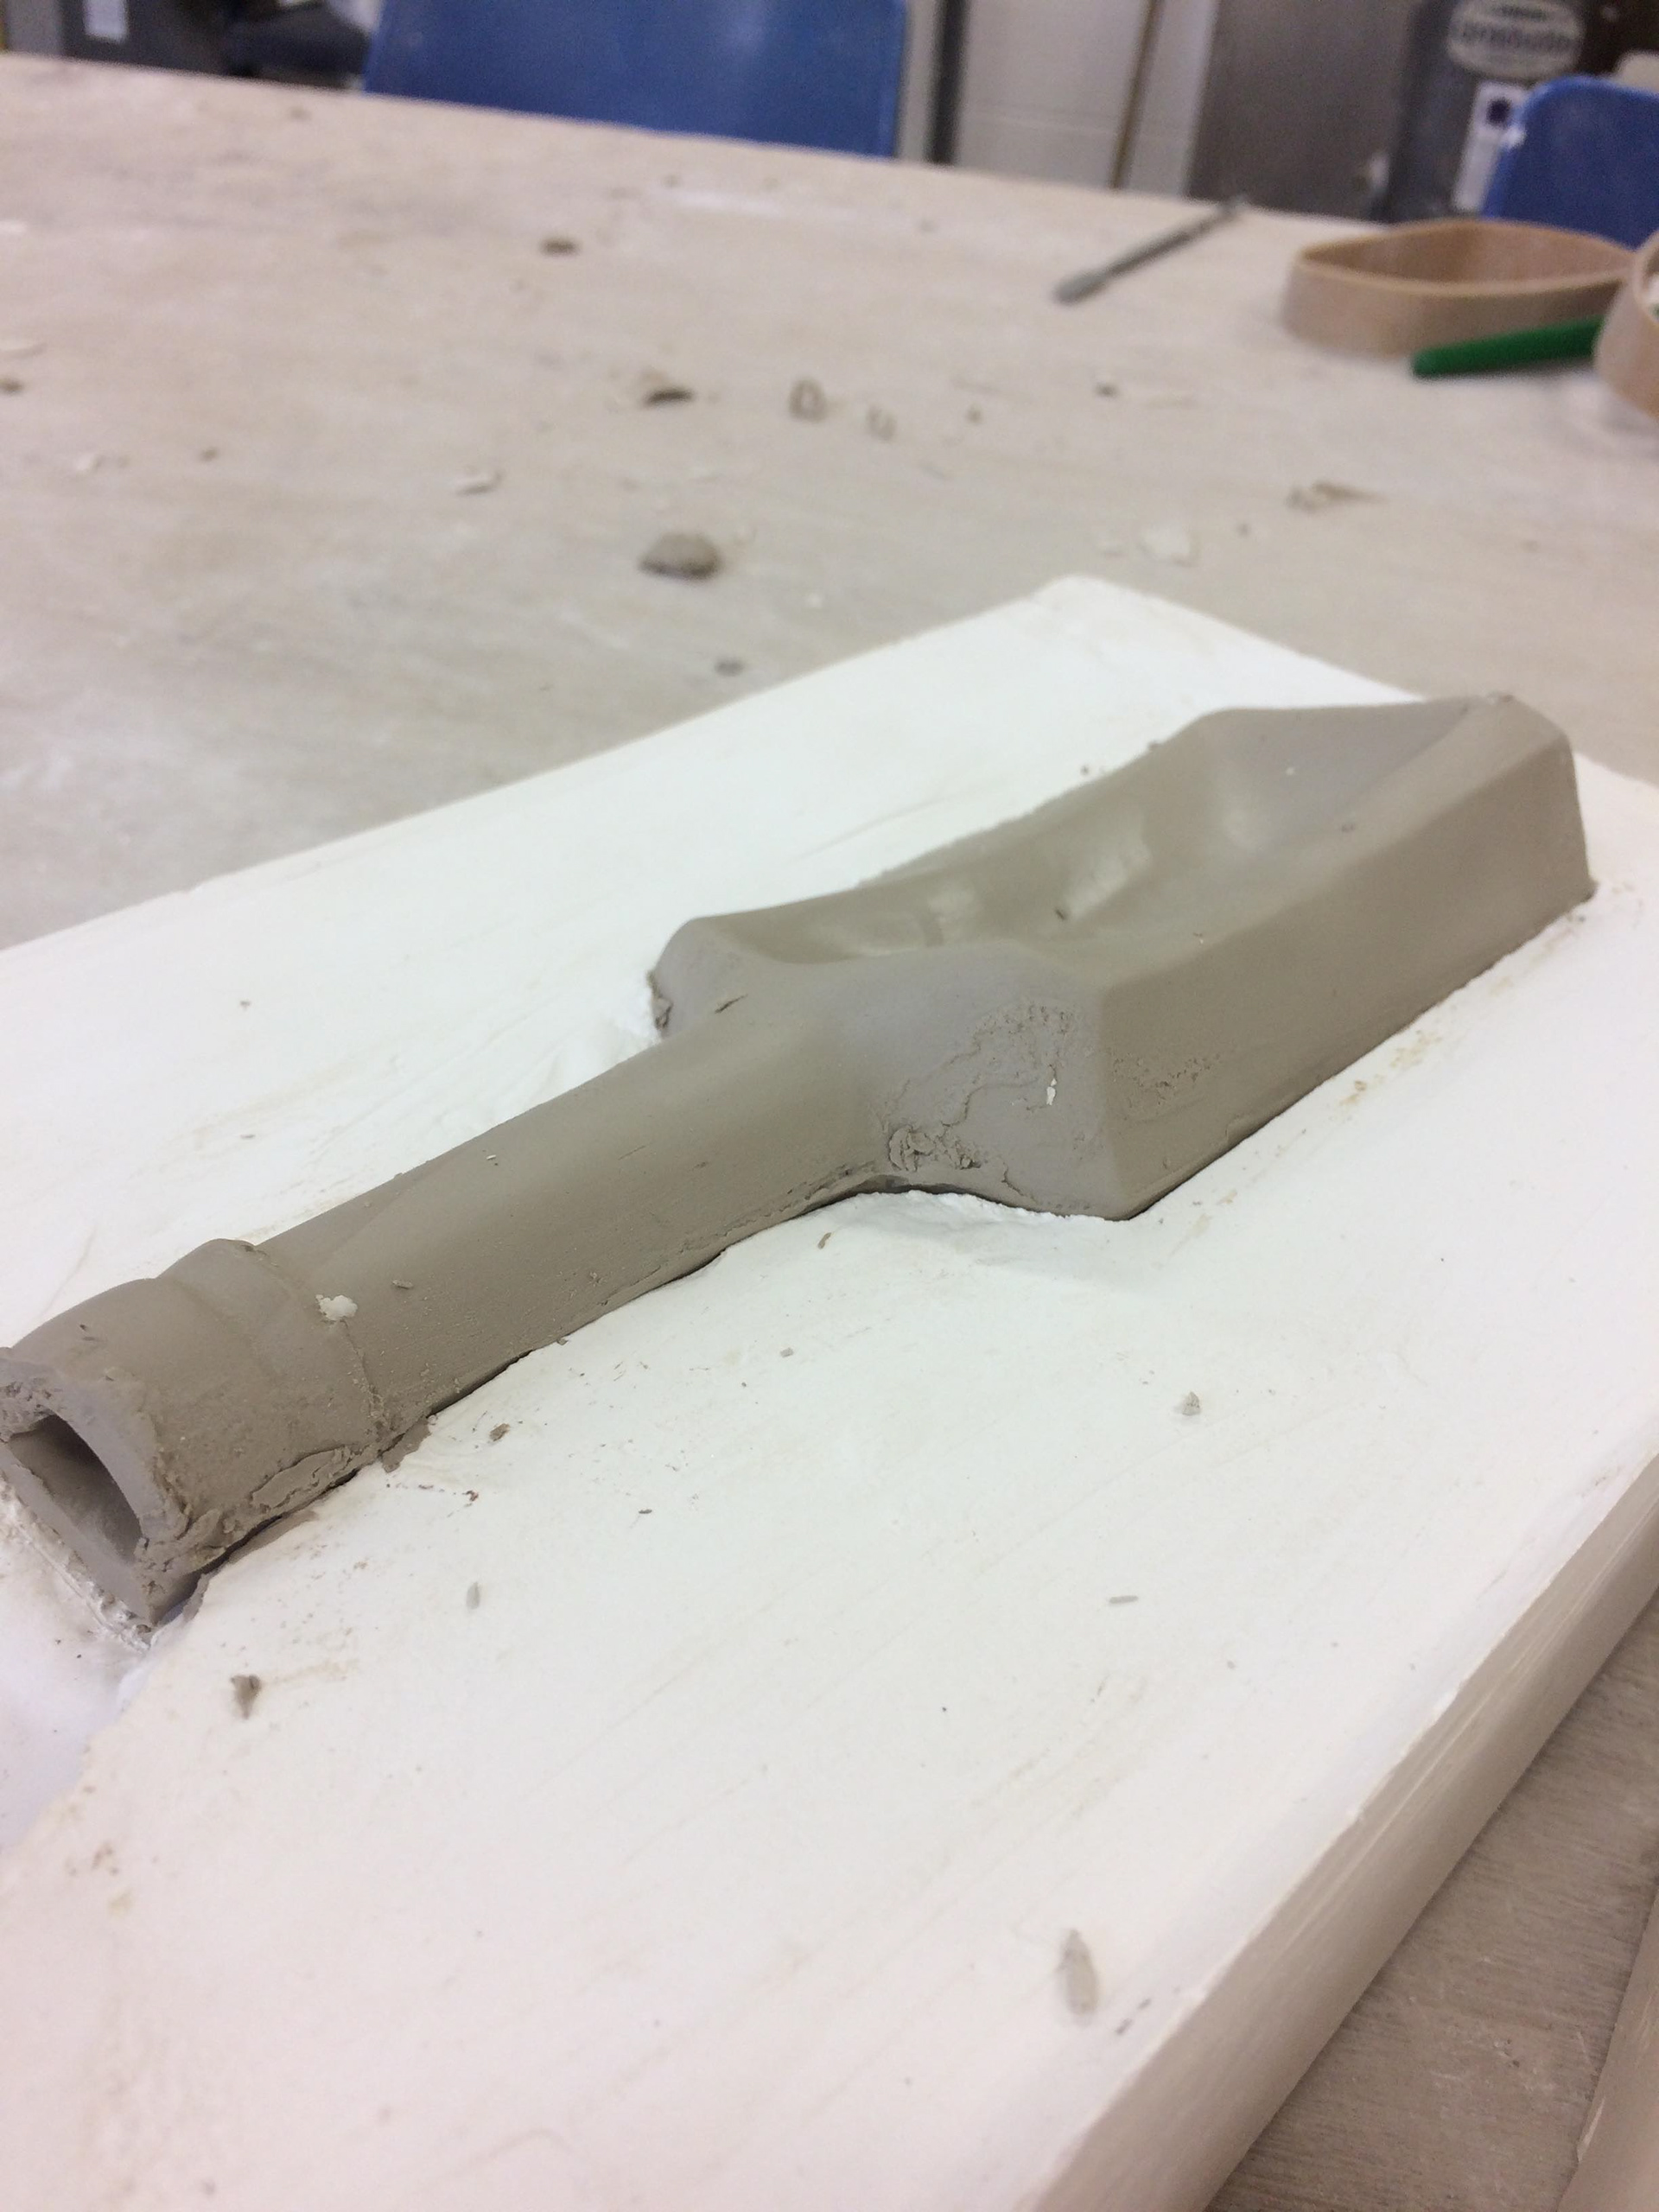
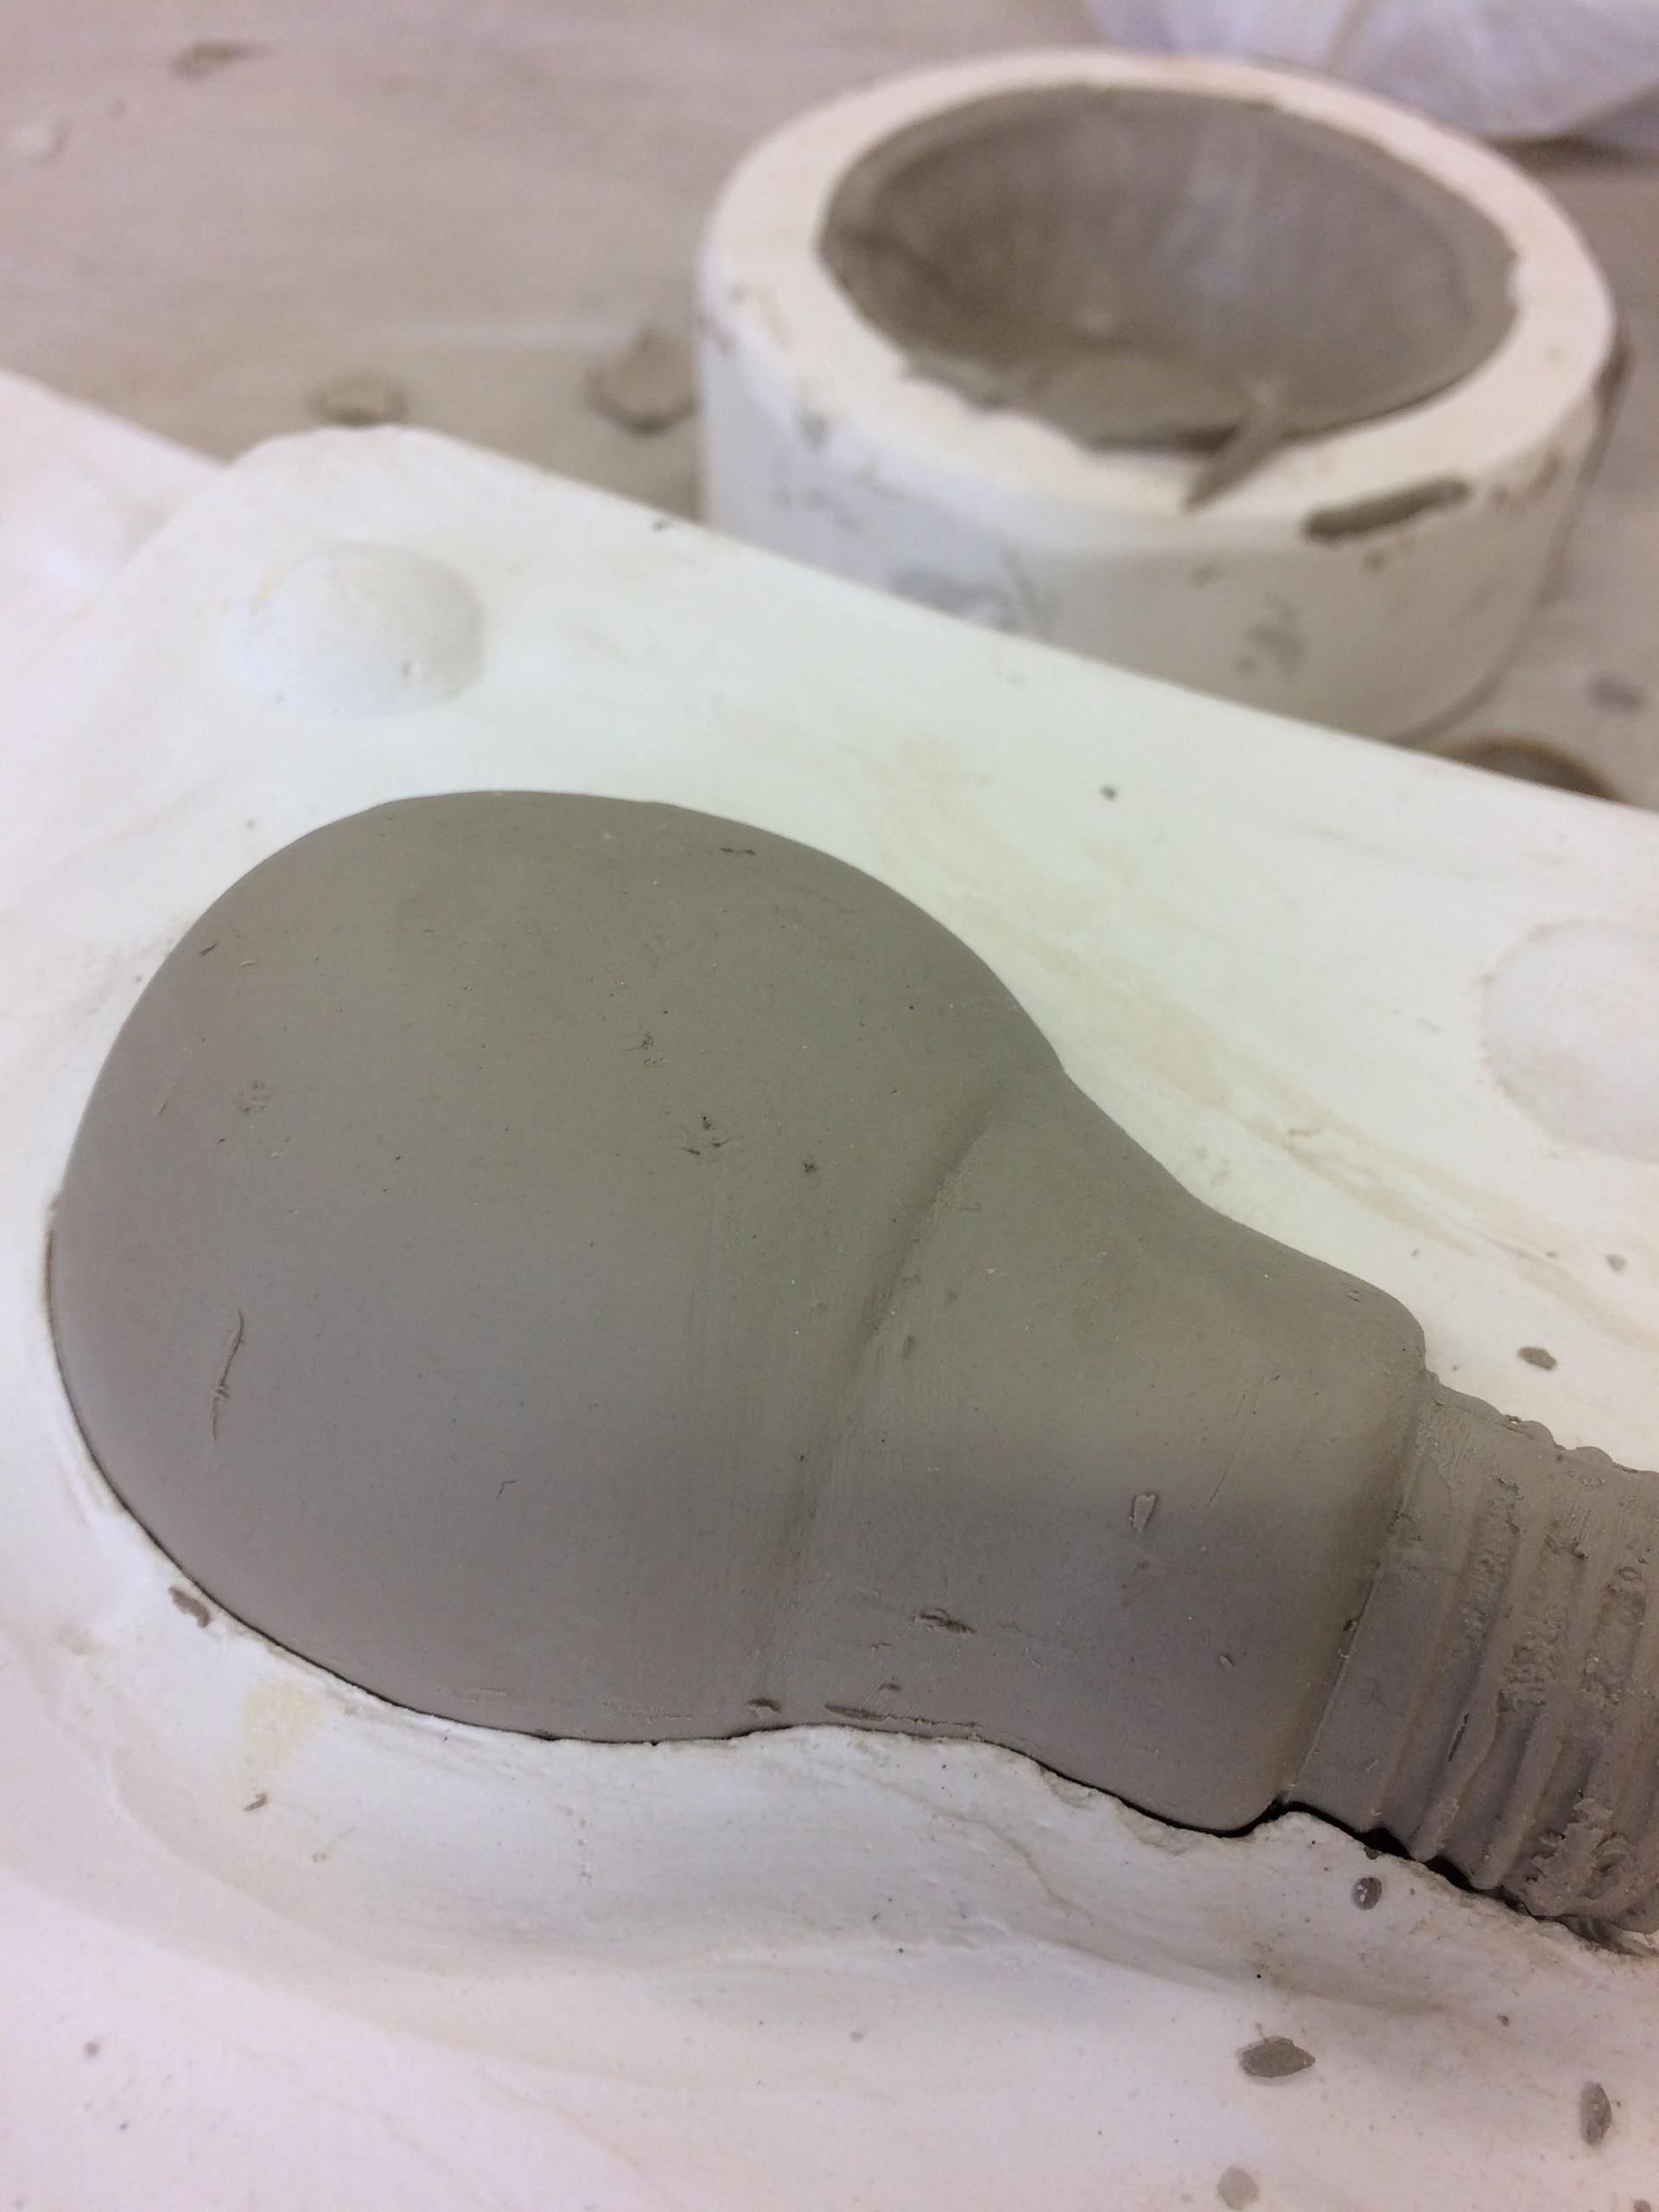
Over the years I have never really done much with ceramics. I have done some simple clay modelling but that is all. Out of everything slip casting was the most alien of the processes, for me. To start we had to make the plaster moulds. To do this with ease the item that was to be cast needed to be simplistic with a clear seem/middle line. If the piece had too many dips and curves it would mean more parts. To be able to use the moulds for the slip they needed to be completely dry. The idea of the plaster mould is that it absorbs the water from the slip to leave solid piece that can be fired and later glazed.
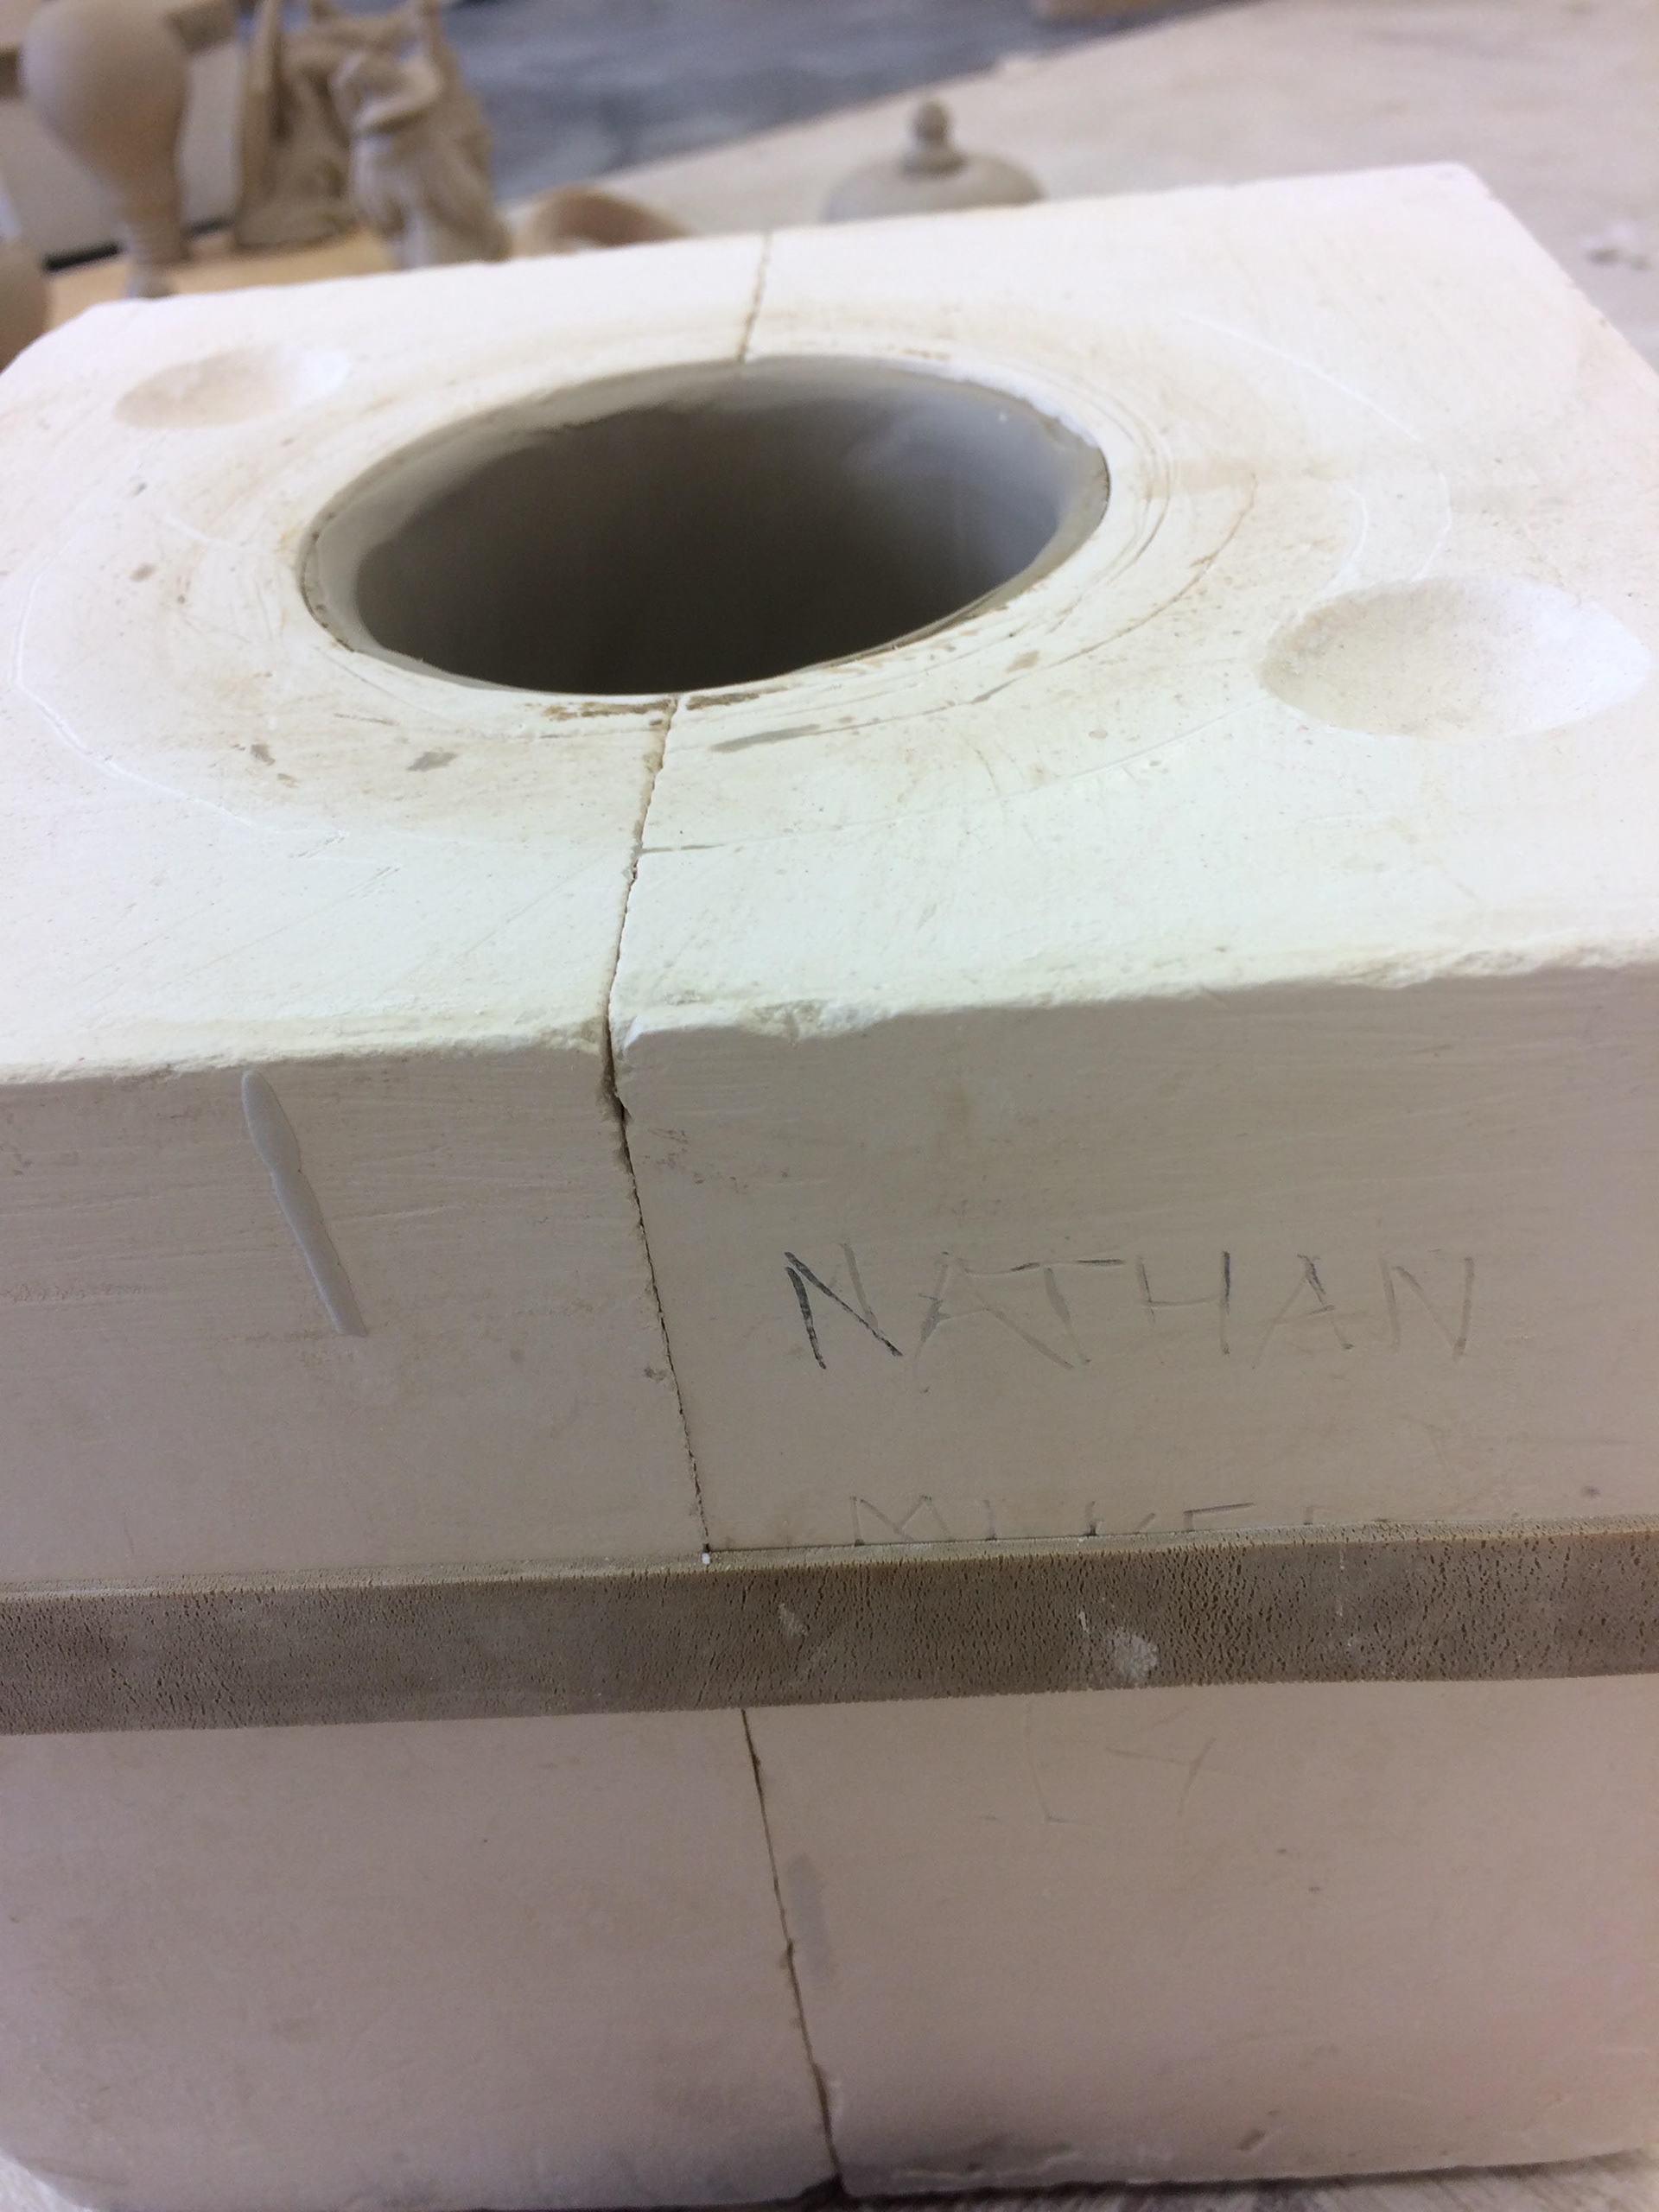

WEEK 9
When it came to casting from the moulds, time was everything. As the water gets absorbed from the outside it leaves a layer that forms the basis of the shape. The longer it is left the thicker the layer is. The remainder of the slip gets poured out leaving the piece hollow. This is how the objects are made to be usable.

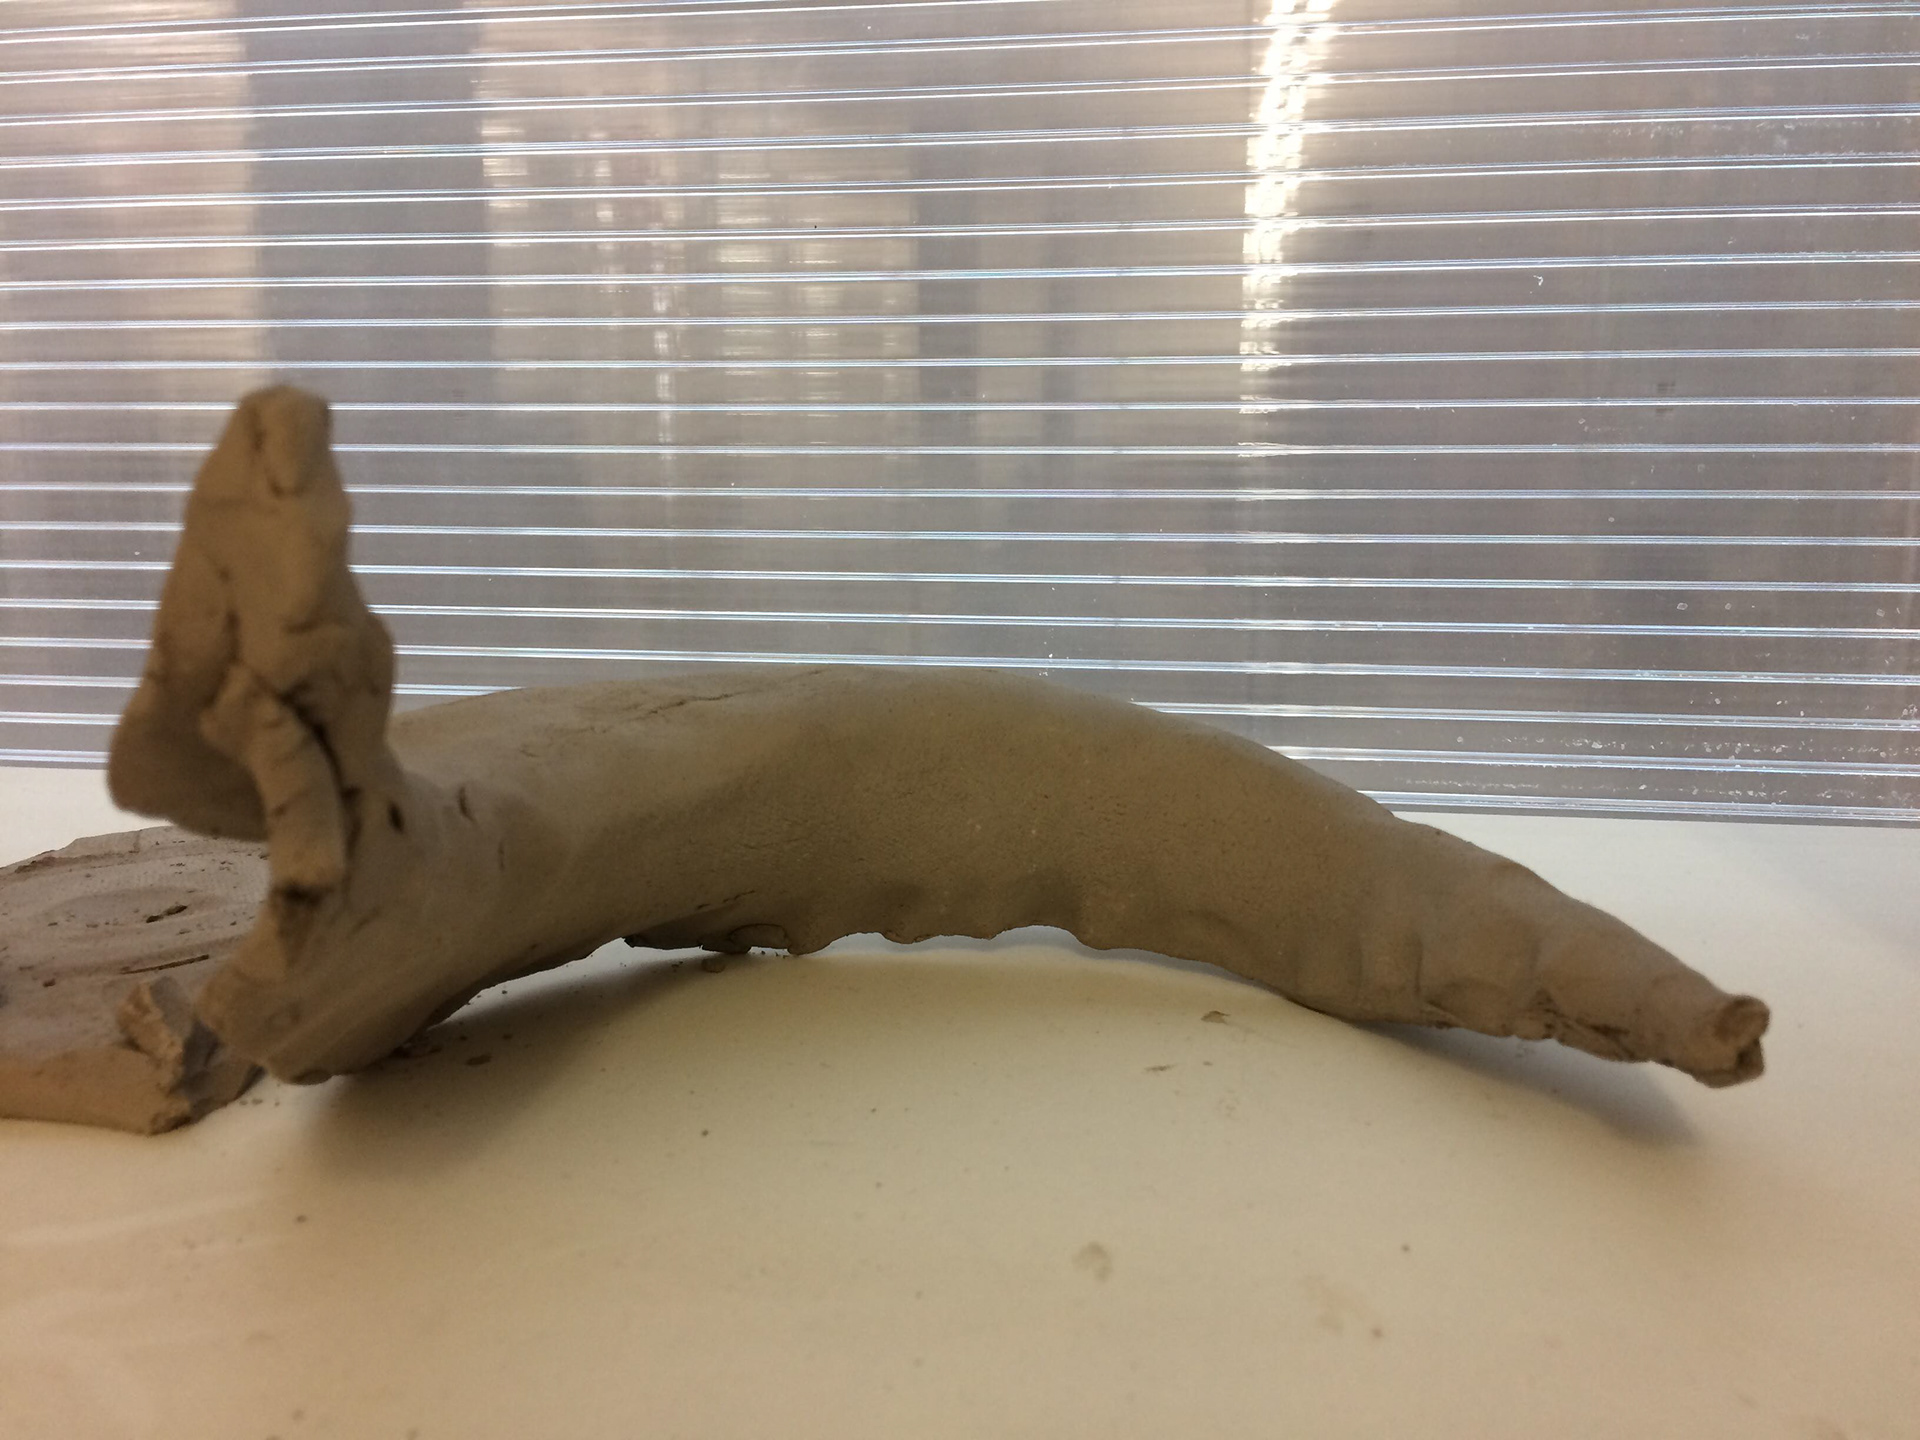
Timing is key to this technique. In a few cases I got the timings wrong causing a few of my pieces to collapse. Where this happened, I turned them into a mix of both form and function allowing me to see how the two lines can be crossed.
DELIVERABLES
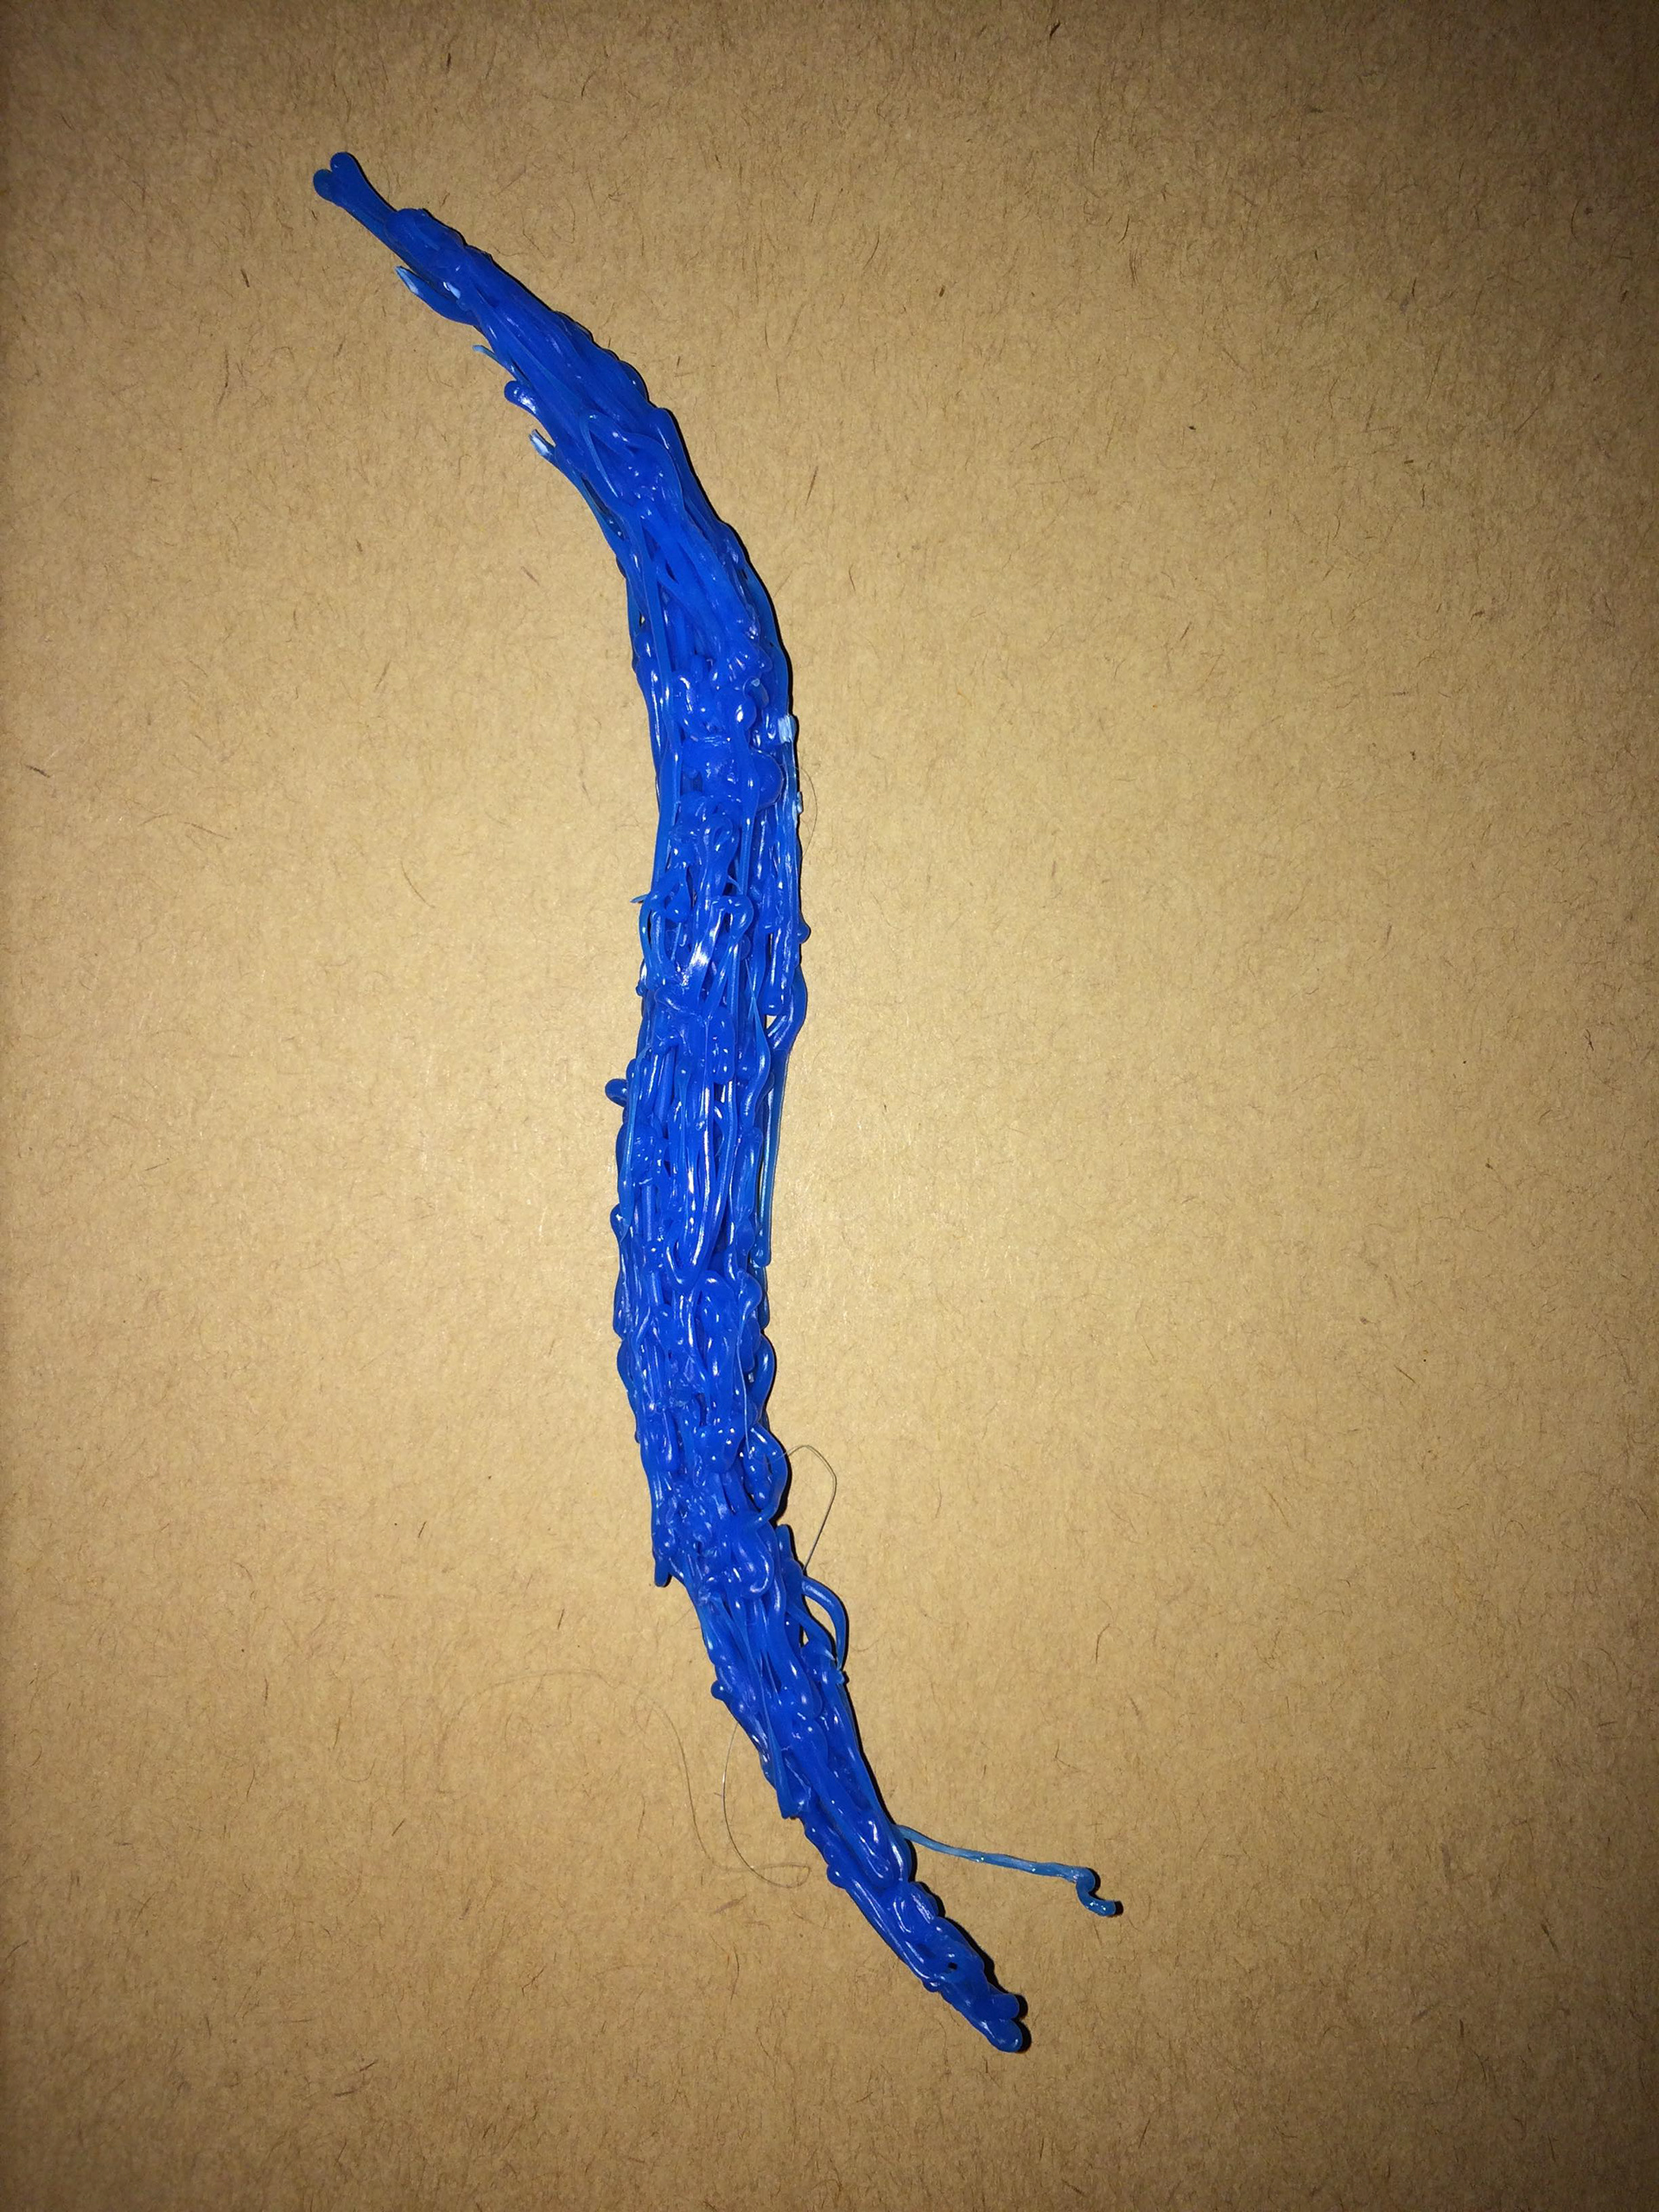
DELIVERABLE 1 - 2D->3D
Looking at line and form, later developing into motion.

DELIVERABLE 2- Thinking Inside the Box
Looking at nostalgia and try to reassemble a home environment.


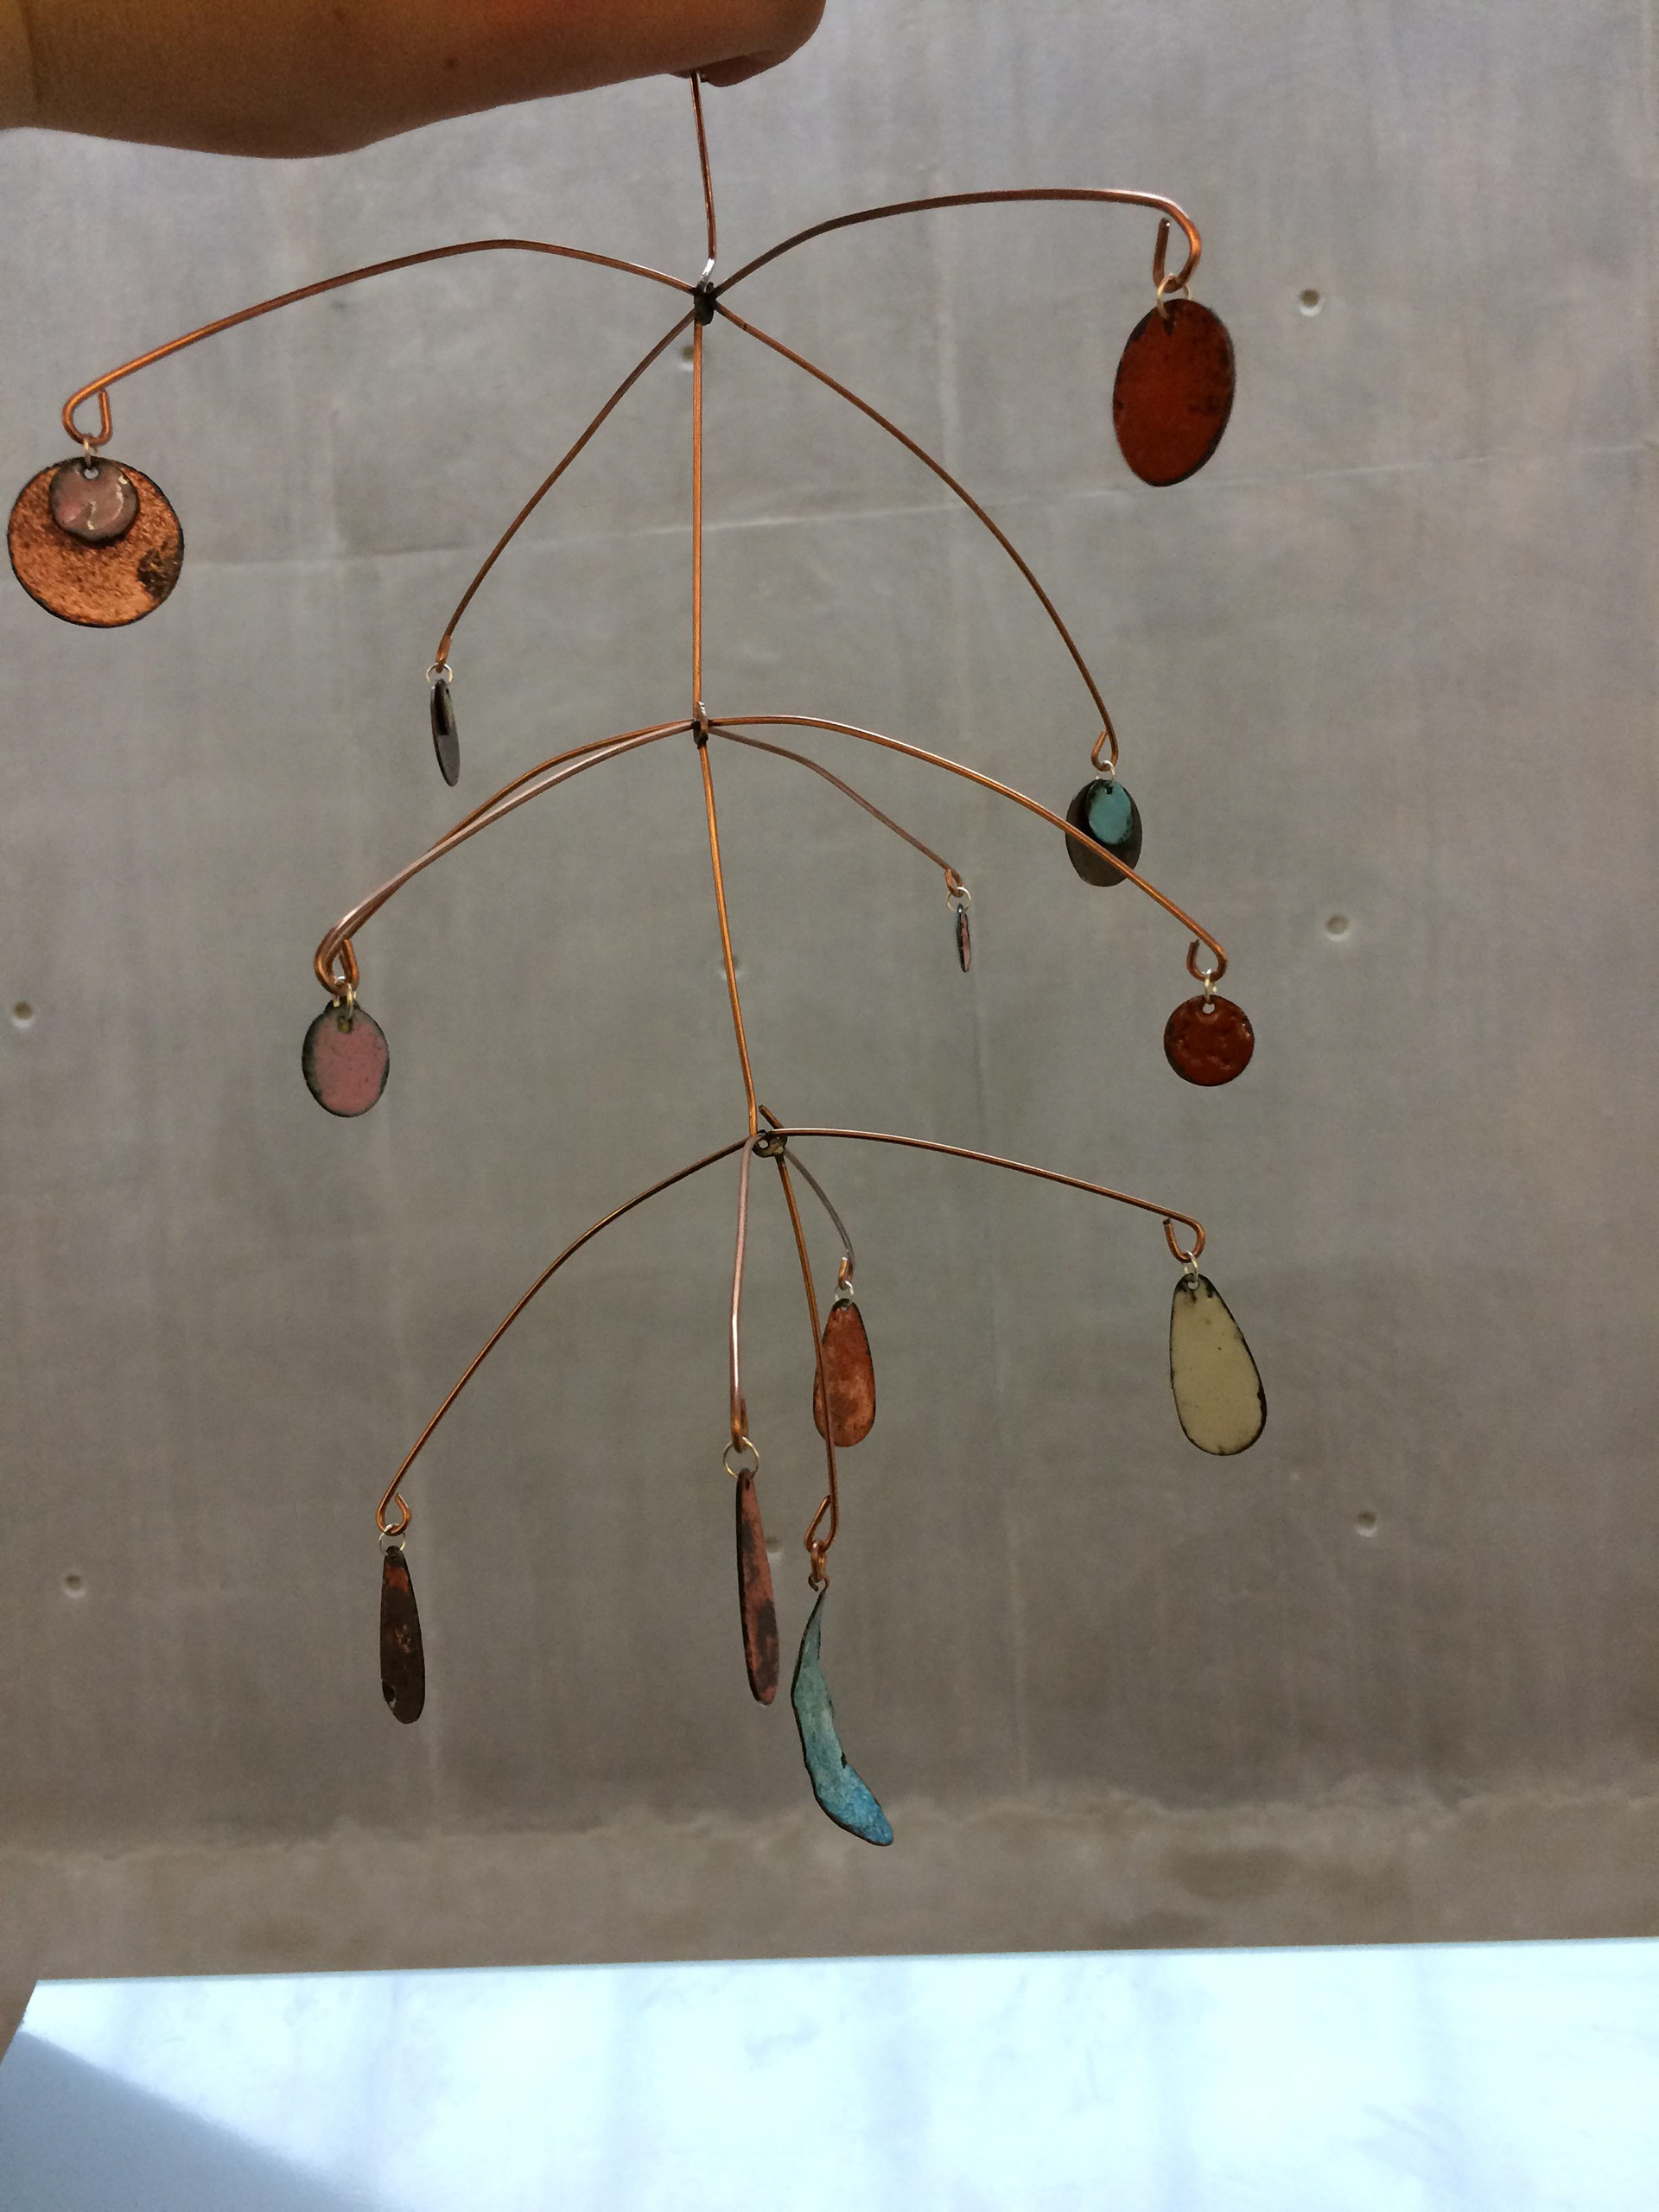
DELIVERABLE 3- Small Metal Mobile
Exploring unity and harmony through enamelling in the small metal workshop.
DELIVERABLE 4- Form and Function
Exploring how functional objects can later be warped to have a more interesting form, and vice versa.


DELIVERABLE 5- CAD Or Stitch?
Trying to develop my skills with rhino; using the principles and elements of design to do so.

DELIVERABLE 6- Design Sheet
Using the same starting point from my 2D-3D project, I looked at how it could be developed and used in different designs.
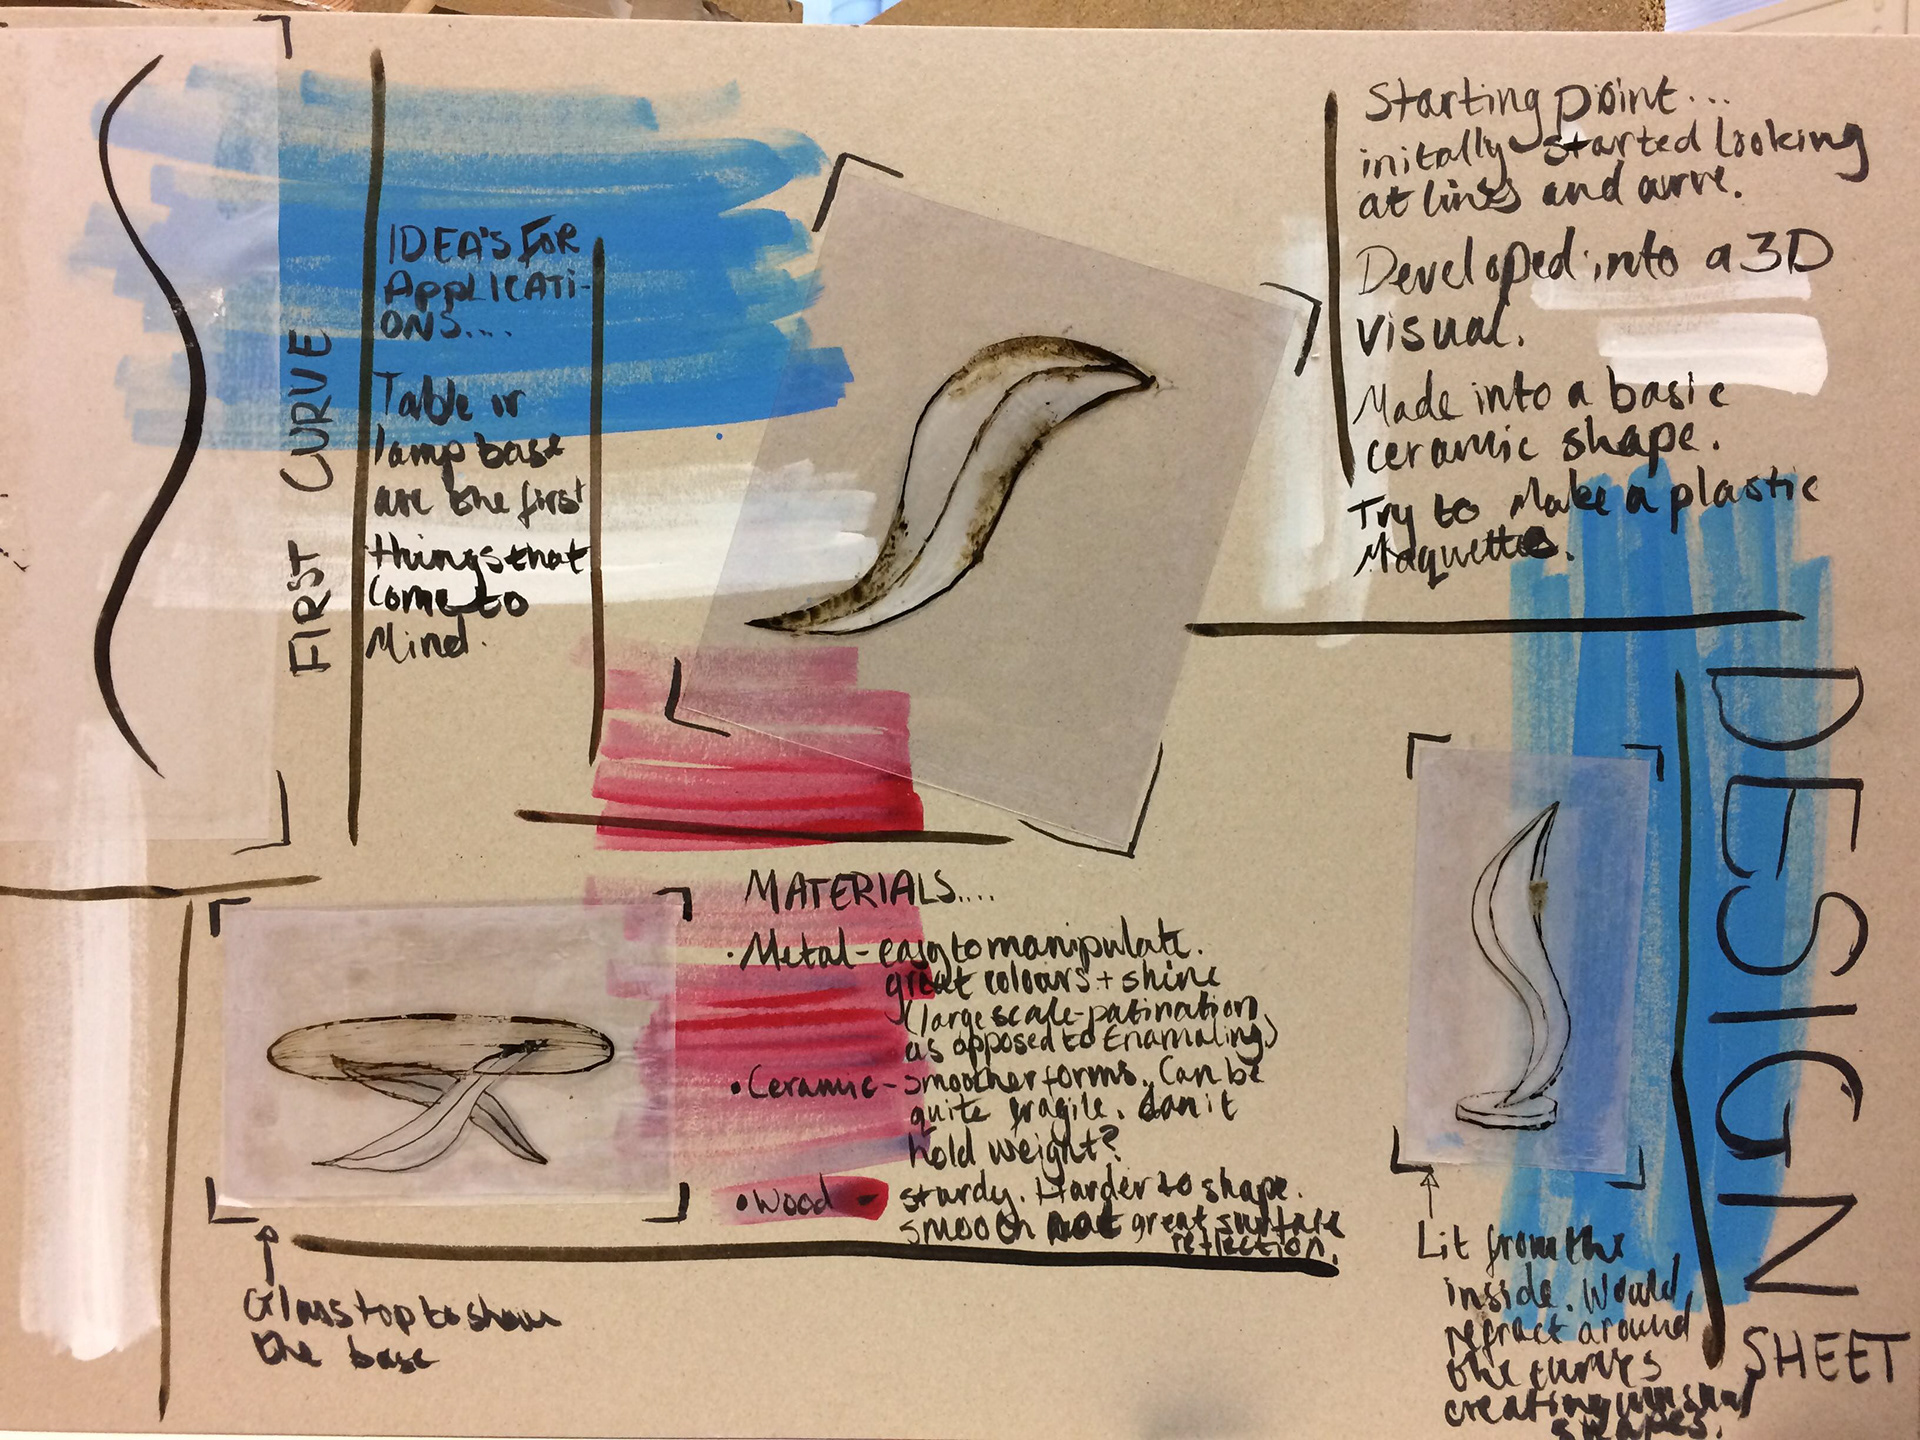
Even though this project was interesting, I did struggle to find inspiration for it. I don’t know whether it was because I was having to travel home so much but I really did struggle to start doing this project. That’s the one thing I will take from this project; I need to utilize my resources and create a solid starting point with lots of stimulants for inspiration.