By way of definition, exposure means to surrender yourself to an element, or in this context, insert yourself into an environment. This module is about finding our way into the world; from fabrication to social media, how do are we going to use our passions for making and producing to find our place in not only industry but life. However, it is good practice to first look at the ‘Why?’, before transitioning to the ‘How?’
I know that I want to make. Through my lead up to joining the ADM course I have tried many other creative outlets including photography and illustration. However, it never felt quite right. When I started to work in a 3D context that’s when everything came together; when I then found that it was furnishings that truly captivated me. The profession of furniture design is vast, everyone has furniture, most people buy furniture. To become a successful designer, I will need to understand how to make my designs desirable, be ahead of the trend curve so my work is the trend.
In the last 3 years I have discovered that I want to make a difference. Through various elective module avenues such as Sustainable Artisan, I have realised that the most effective difference I could make is to have a responsible practice. Using experimental, sustainable materials would be the dream. I want to be able to look at my professional work life and say that I helped to create something that helped the world to heal. Is this achievable? Possibly.
However, on a realistic scale I will be happy to say that I helped as many people as I could realise that they can make a difference. In my dissertation I explored if it would be viable for me to establish my own sustainable furniture practice. In that document I explored all the different aspects of what is needed to start my own enterprise. I know the facts, the figures, and delved into the legal. But even with all of this I felt like I need more experience. I do not want to run headfirst into something like this without having a foundation of knowledge and the support of networking.
ASPIRE Collection 2021
I have chosen two of my designs from research and development to carry forward into this section of the programme. As the pandemic has developed, I have been added to the shielding list which means I cannot go to campus and use the facilities there. Looking back at my project that I did at home last year, I didn’t want to go through the same disappointments in the outcome again, especially as this is my last project as a maker.
Outsourcing initial fabrication will allow for a better base for finishing work. This was the problem I had last year- limited resources meant that I was unable to plane surfaces which lead to uneven surfaces after sanding. Having surfaces that have already been processed to this level will mean not only the finishing and assembly process will be faster but will result in an overall more professional standard. This is also a decision I have taken due to the absence of the advanced workshops generally offered to level 6 students.
WHAT DID I DO FOR R+D?
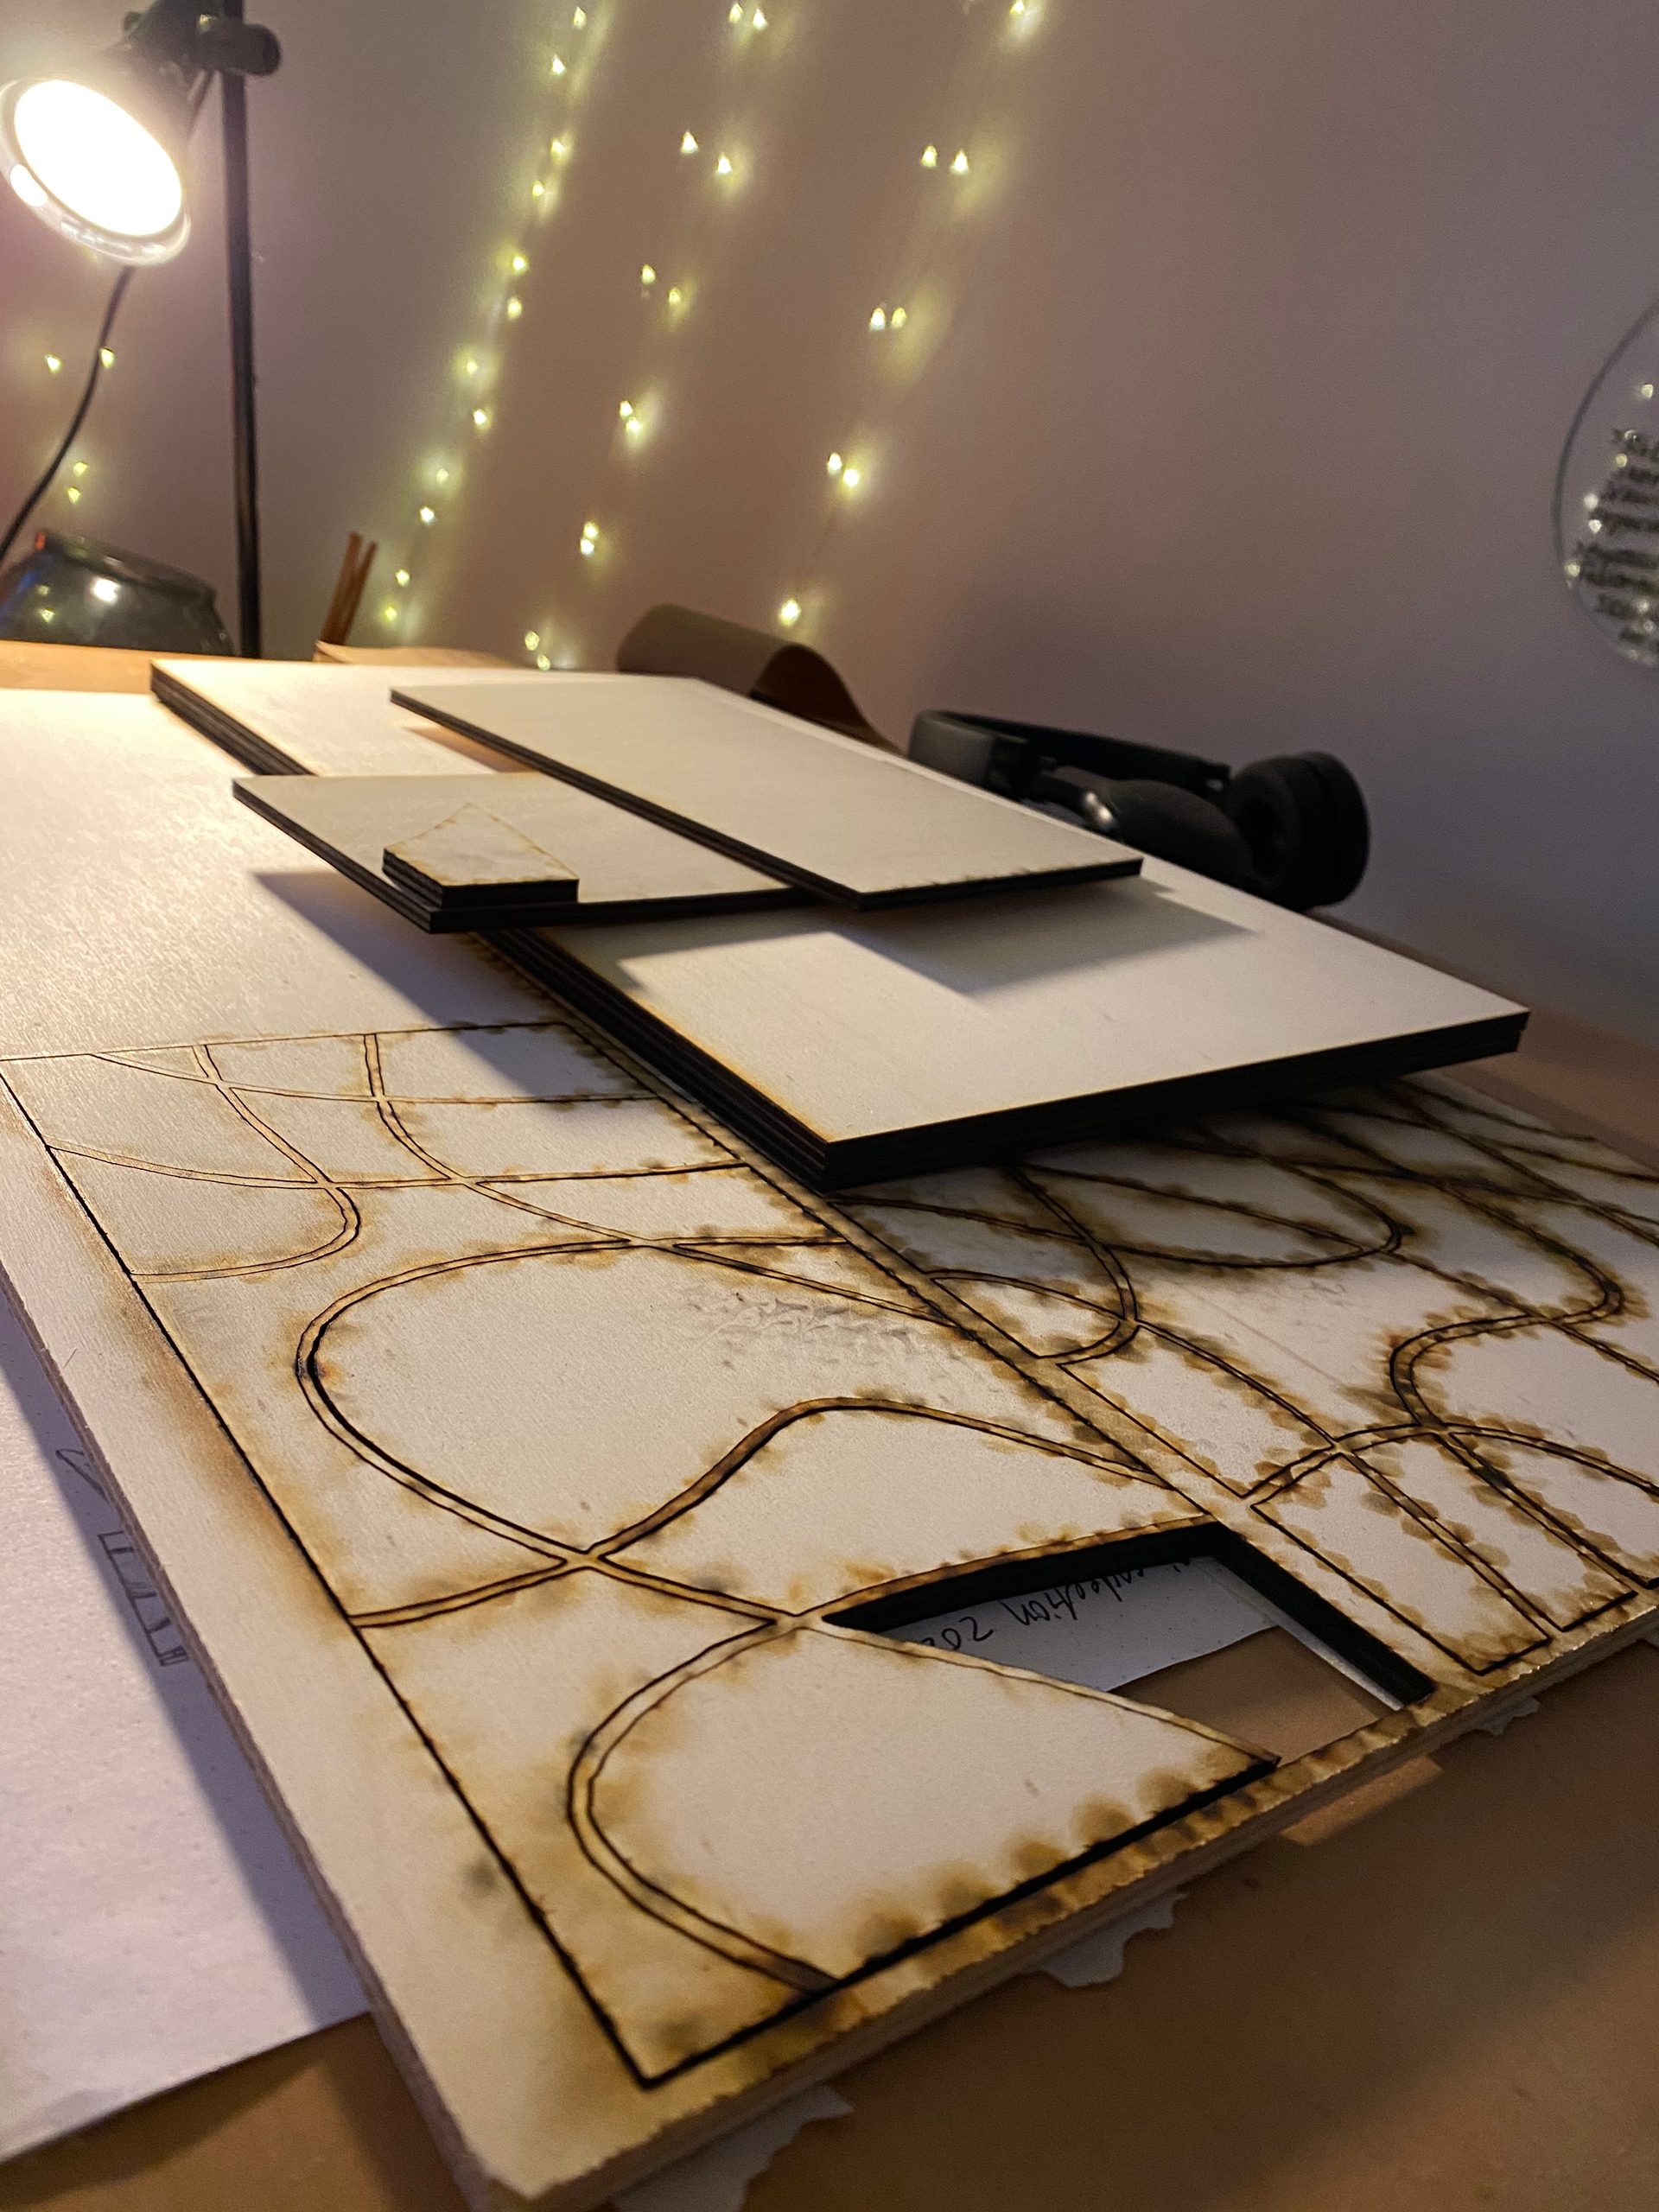
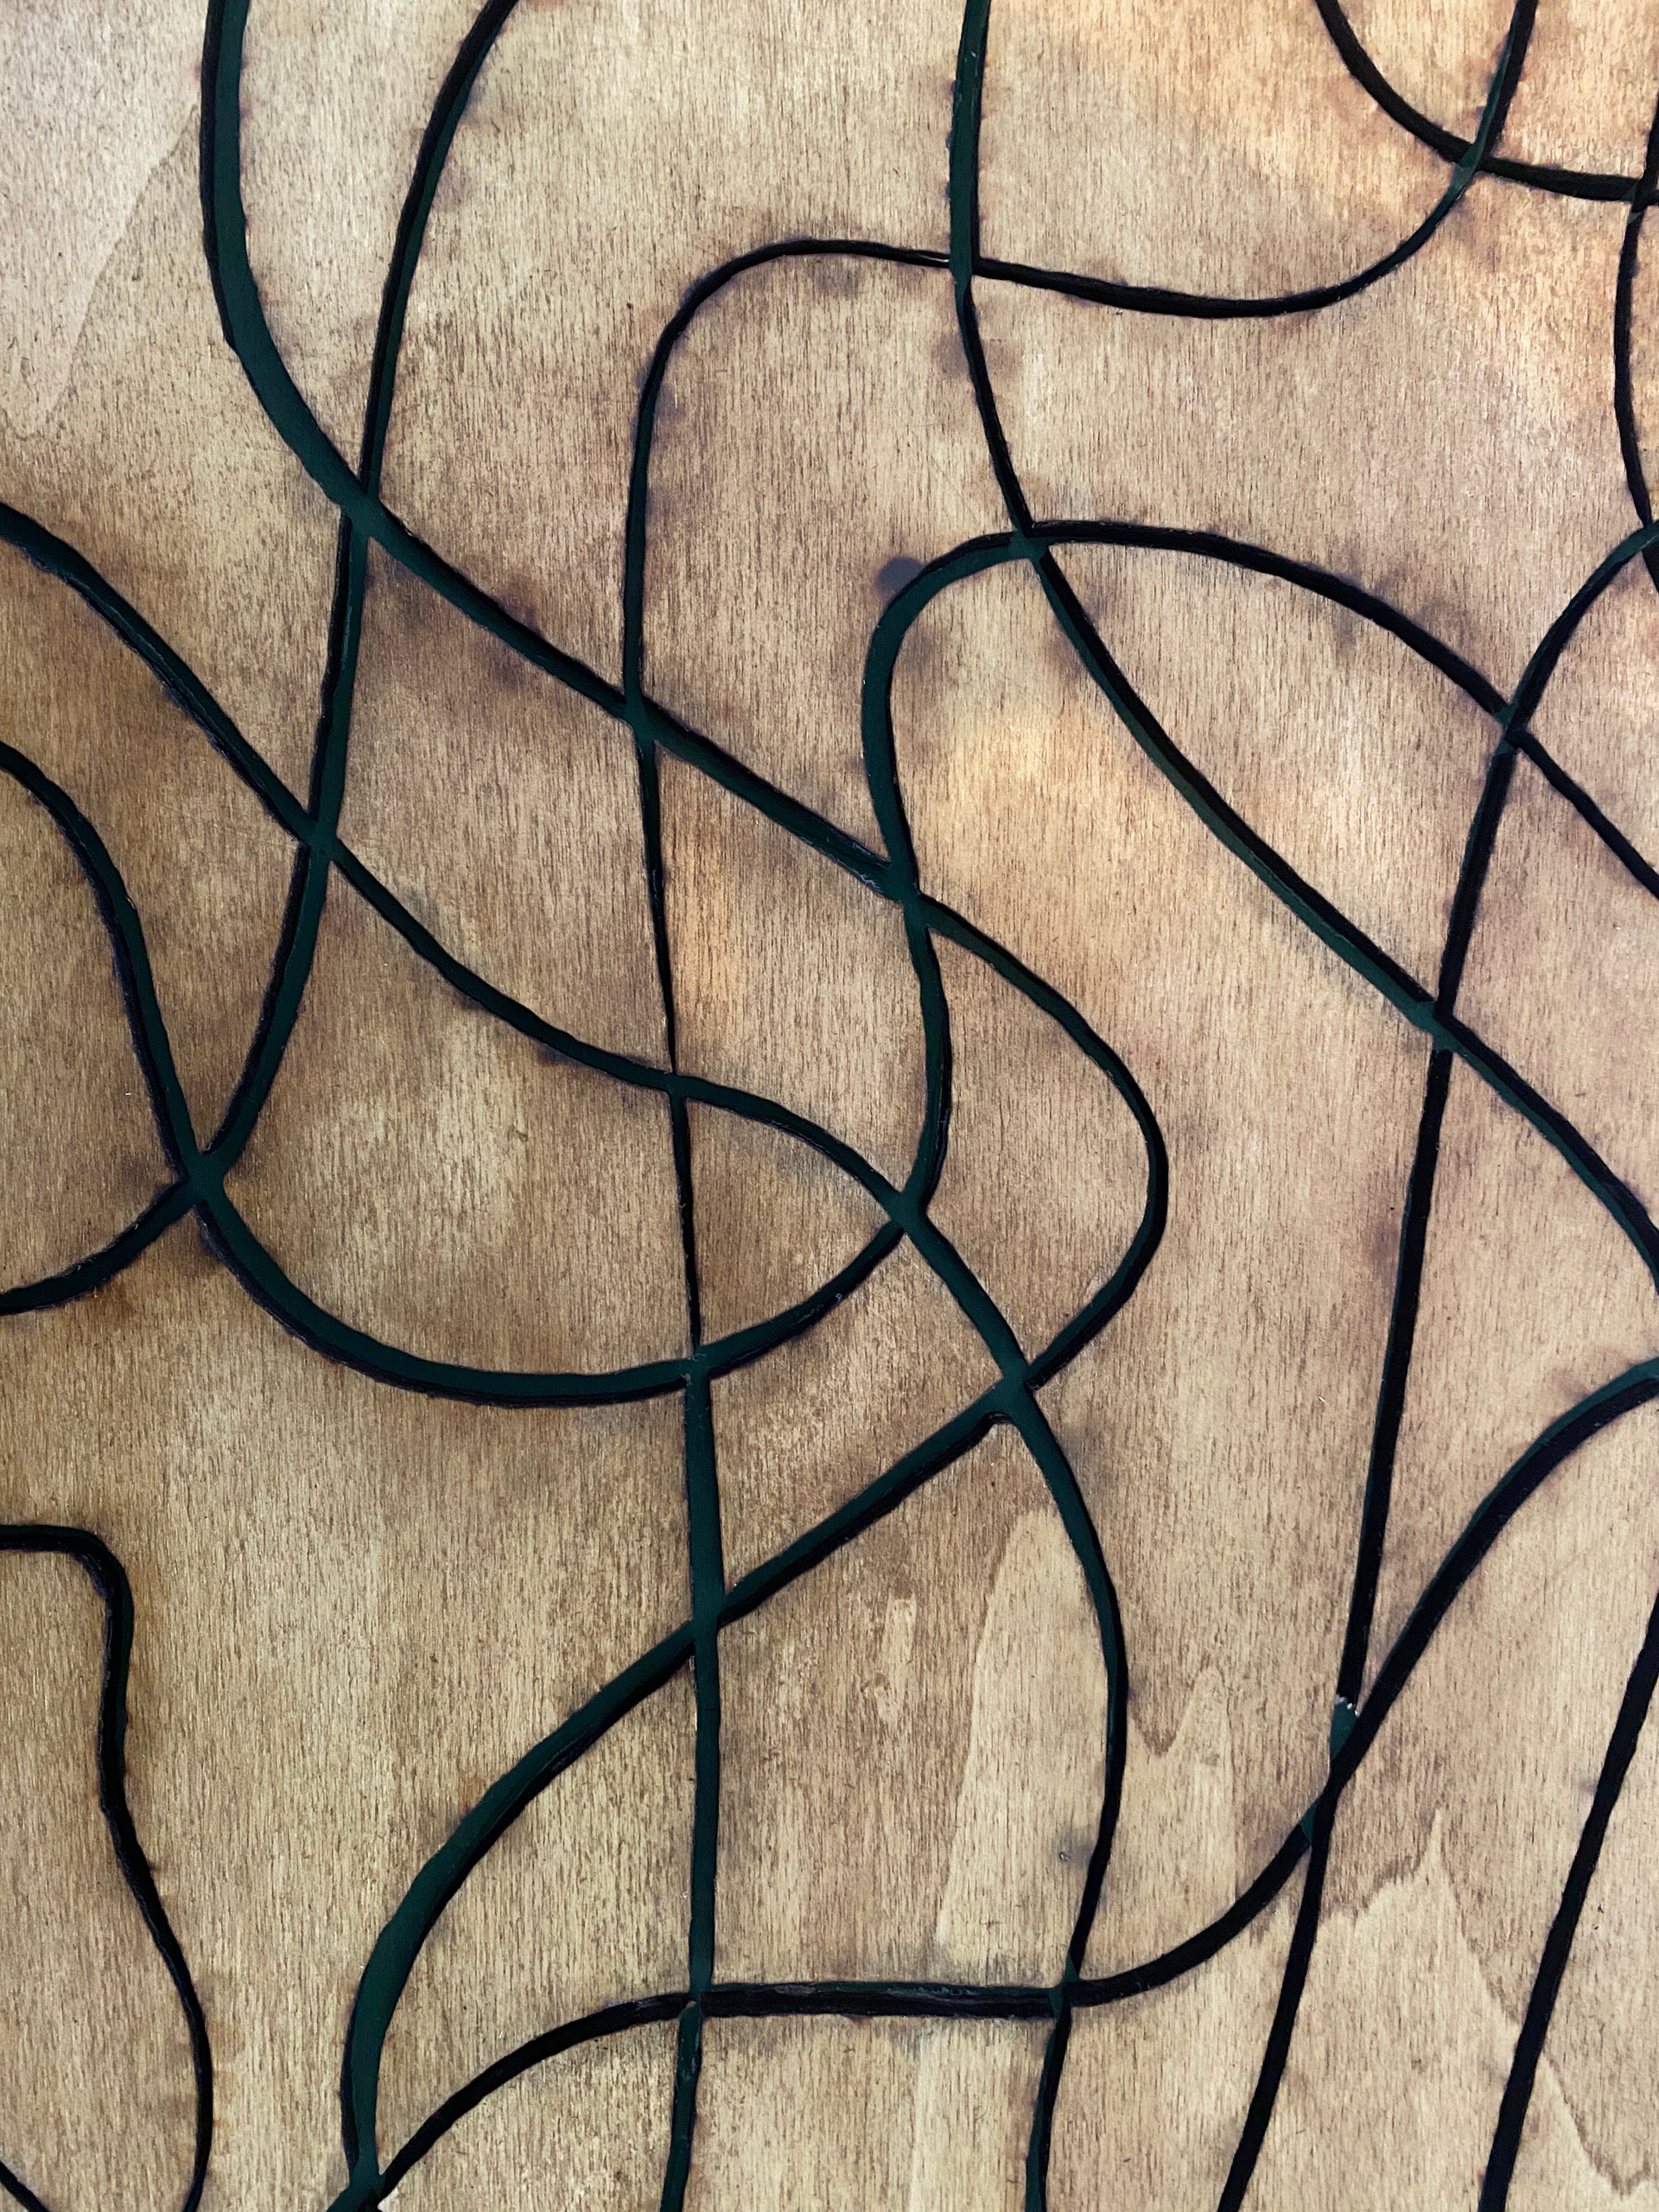
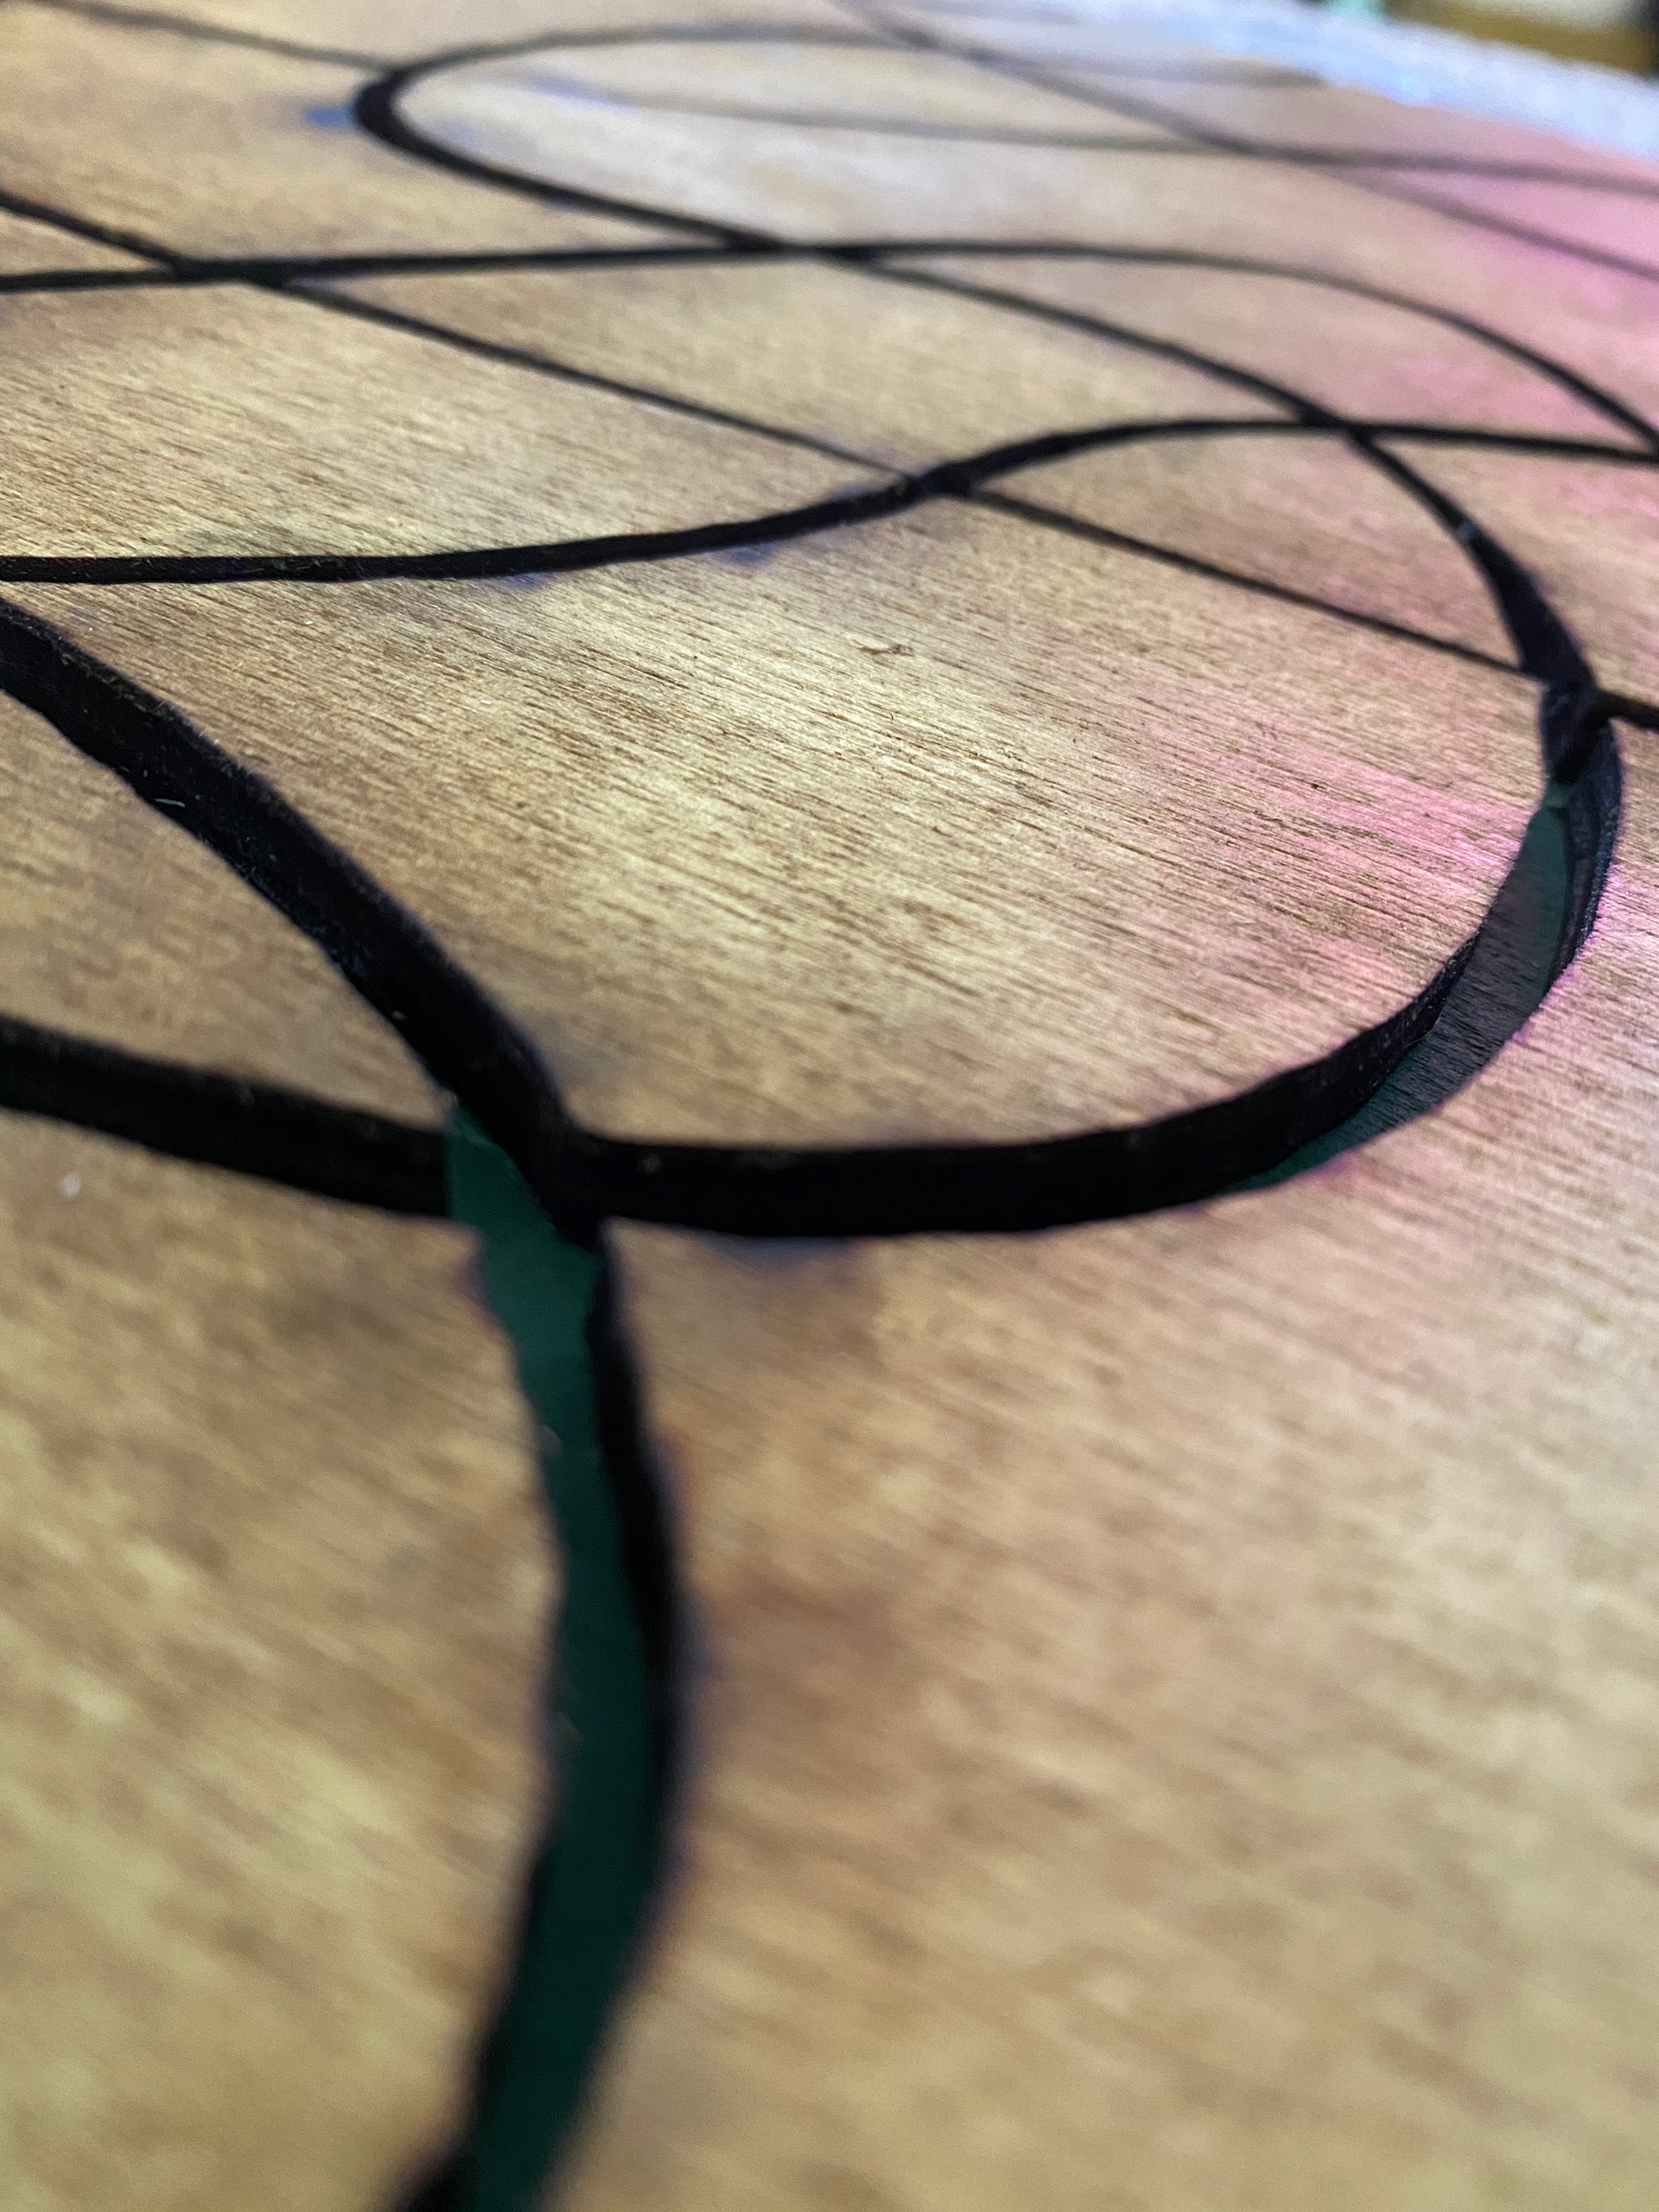
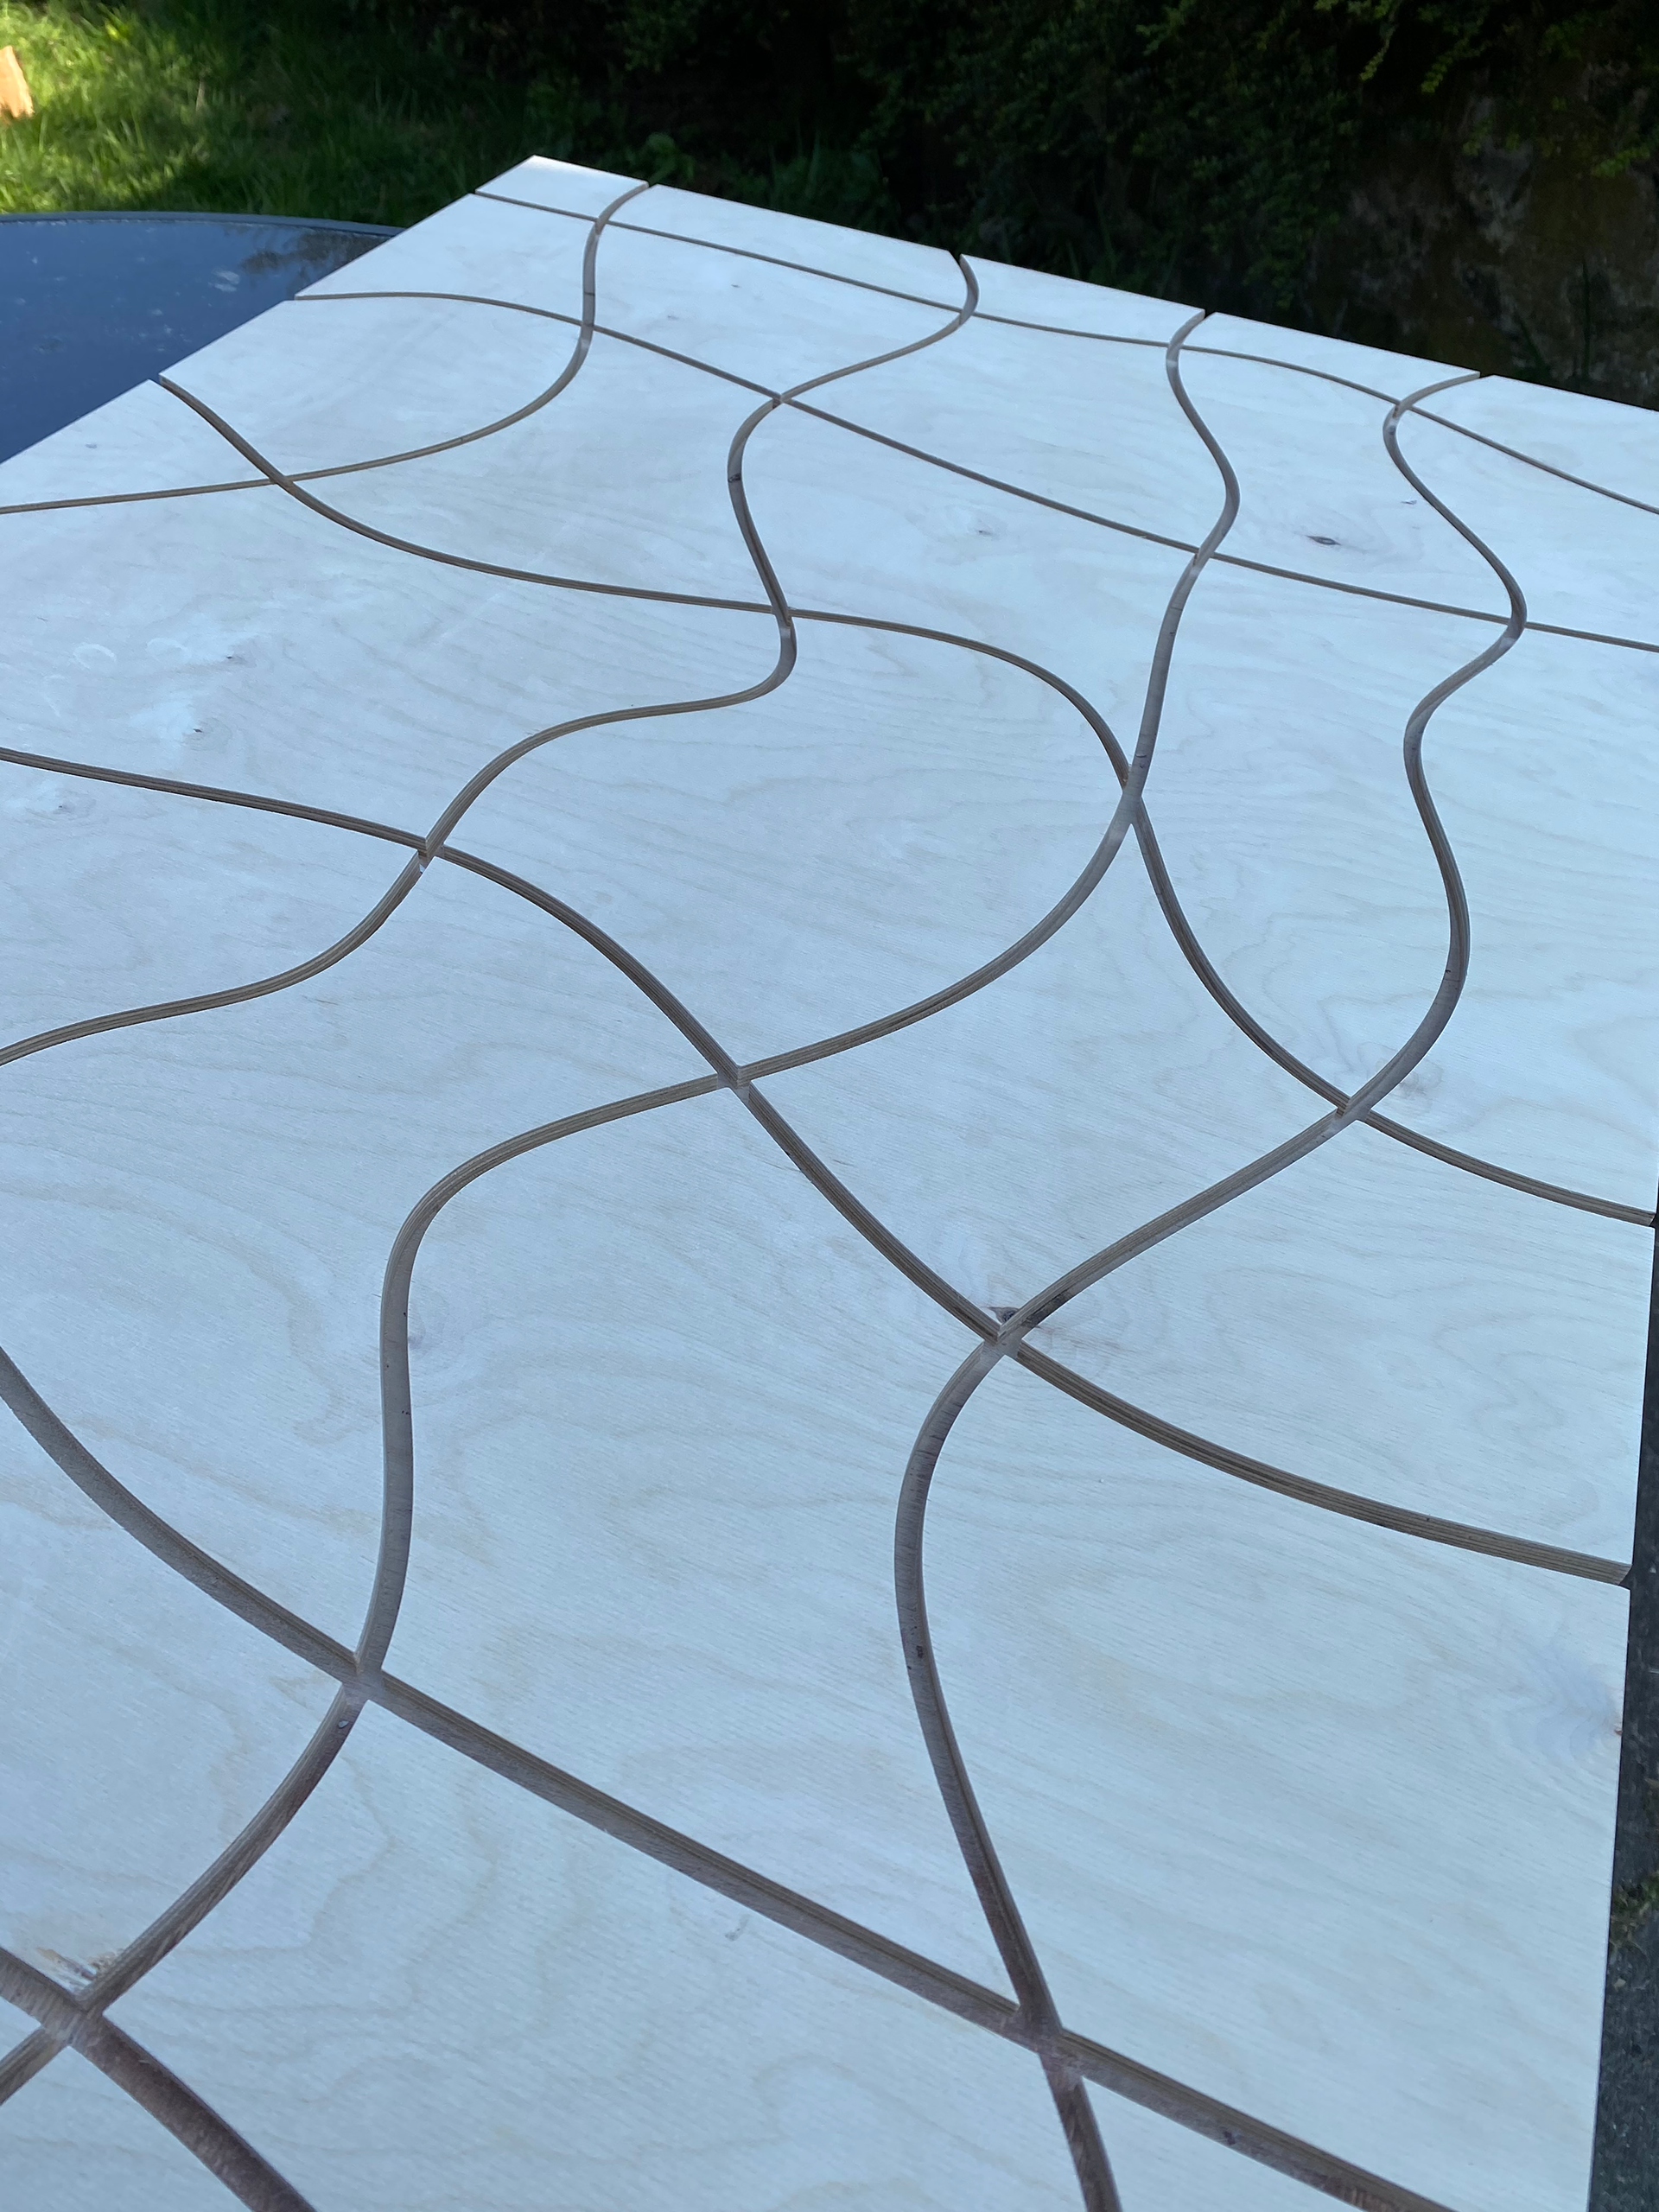
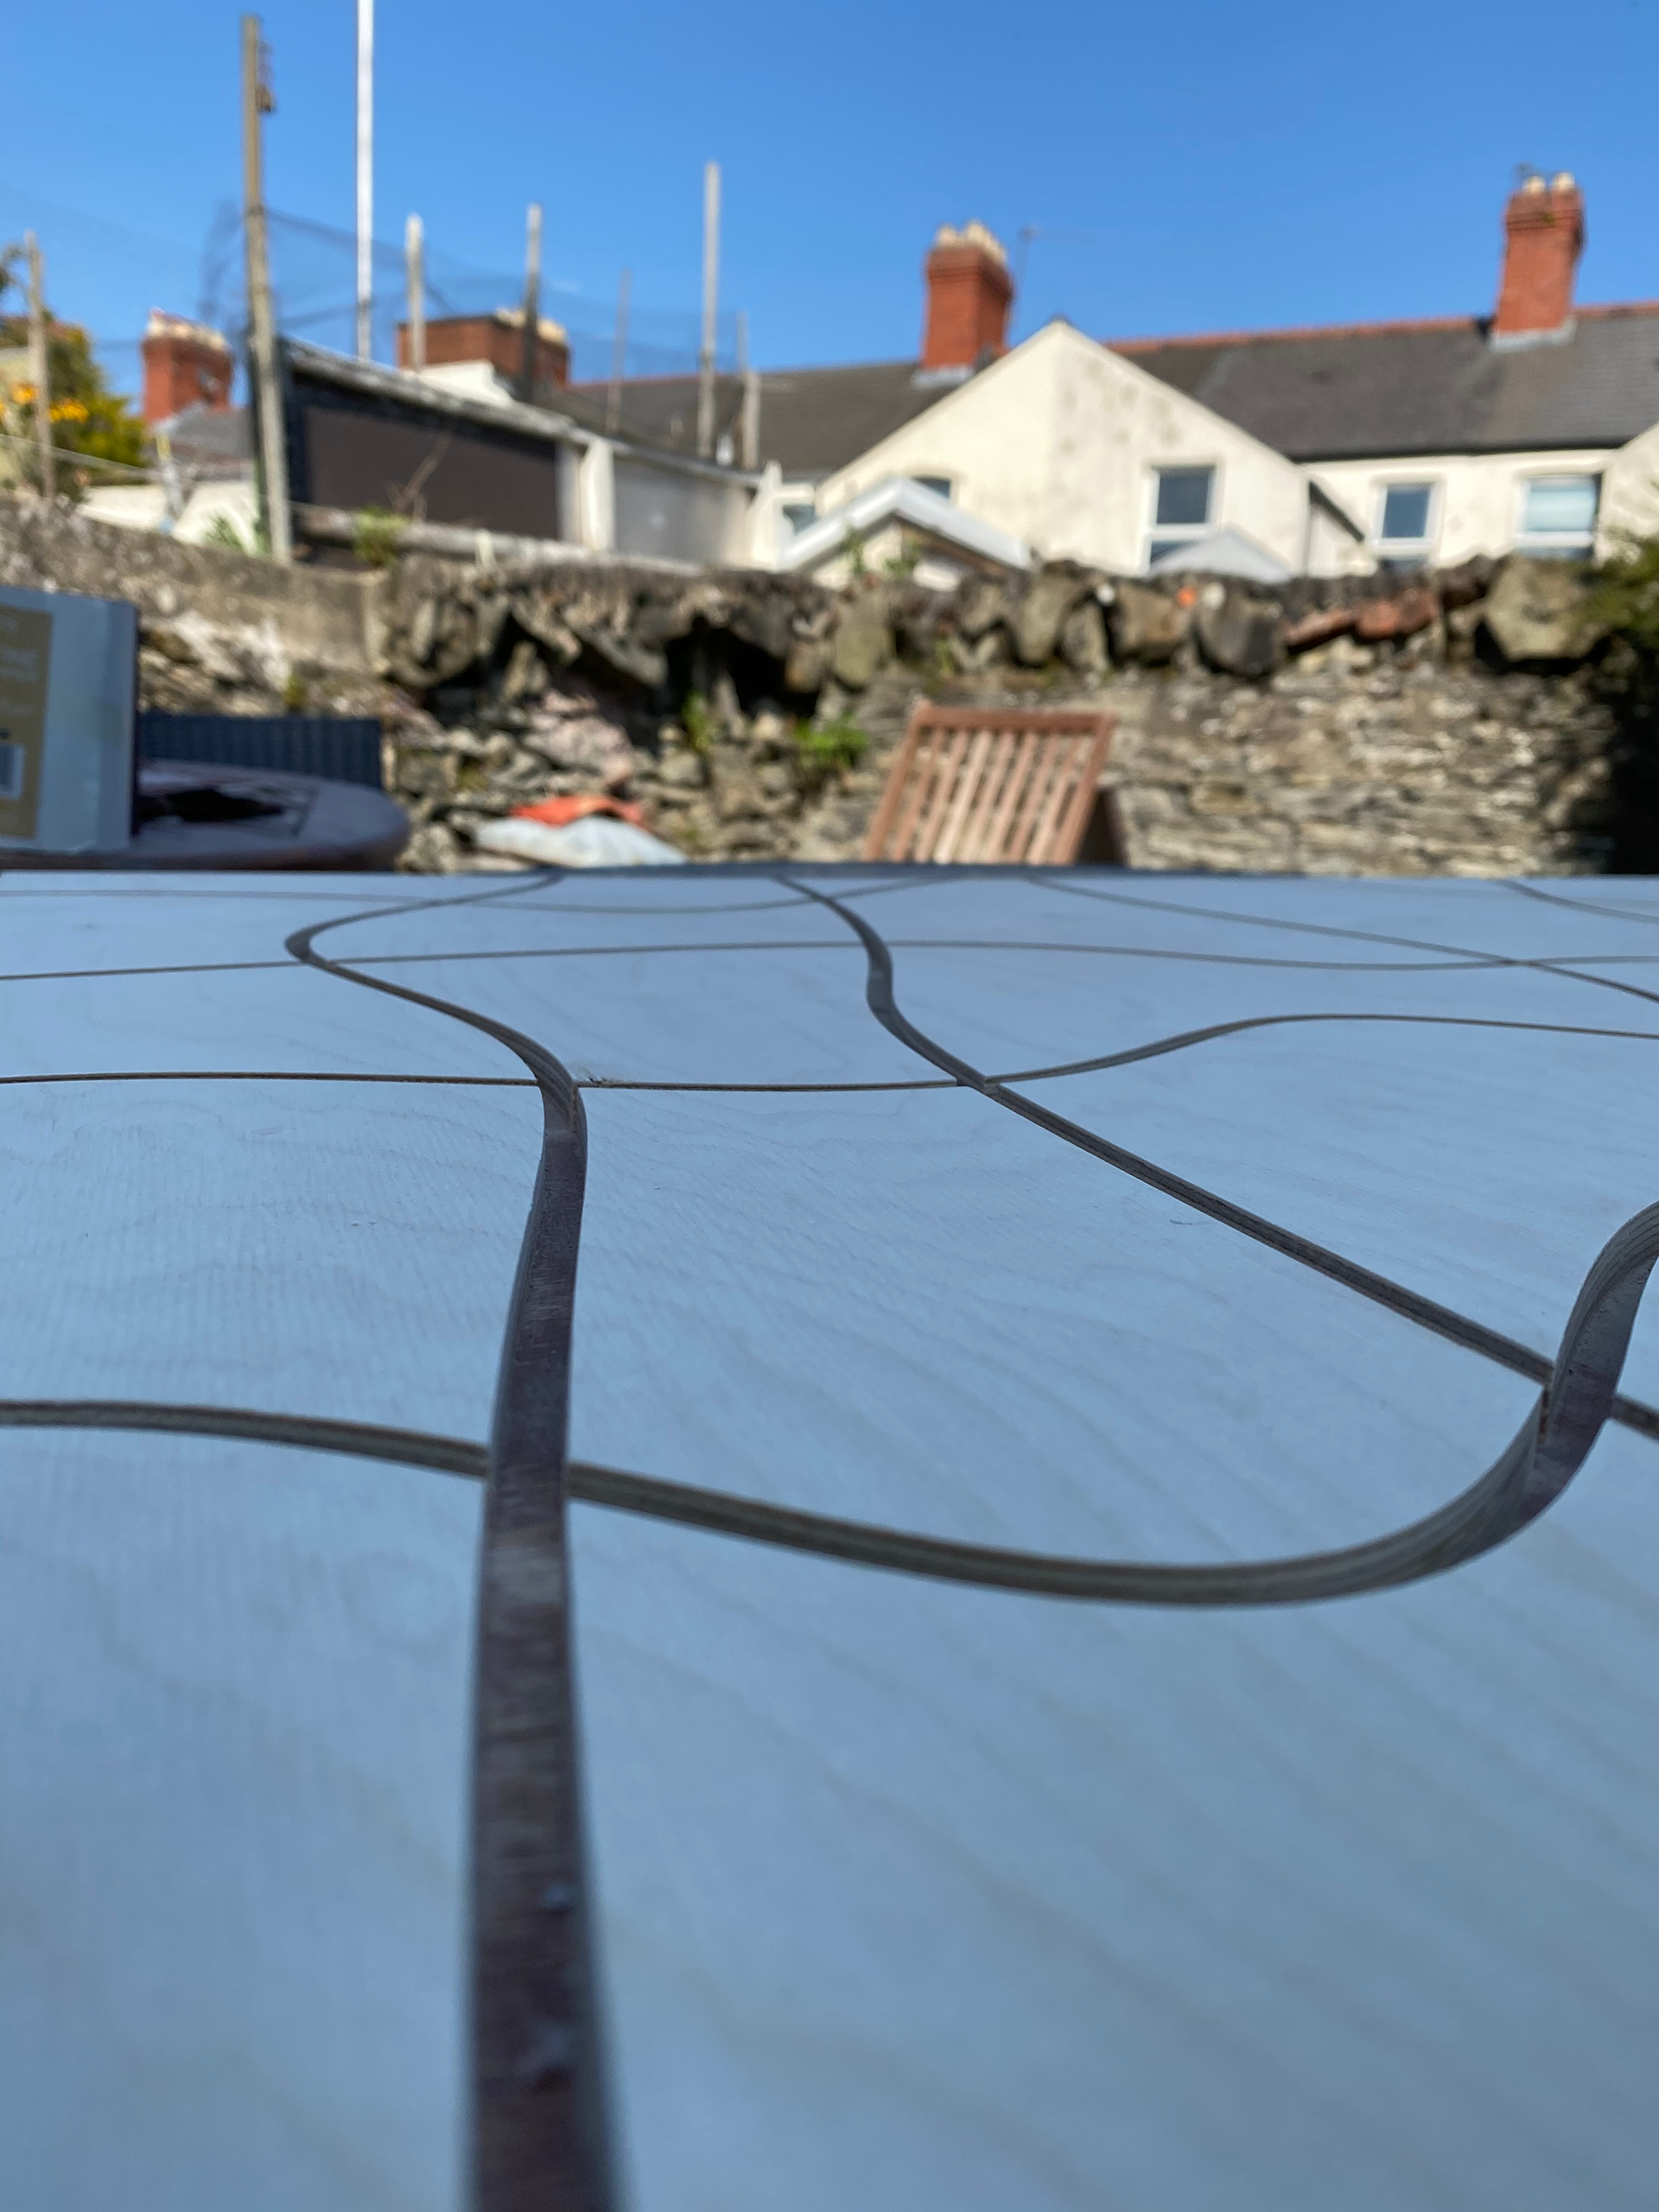
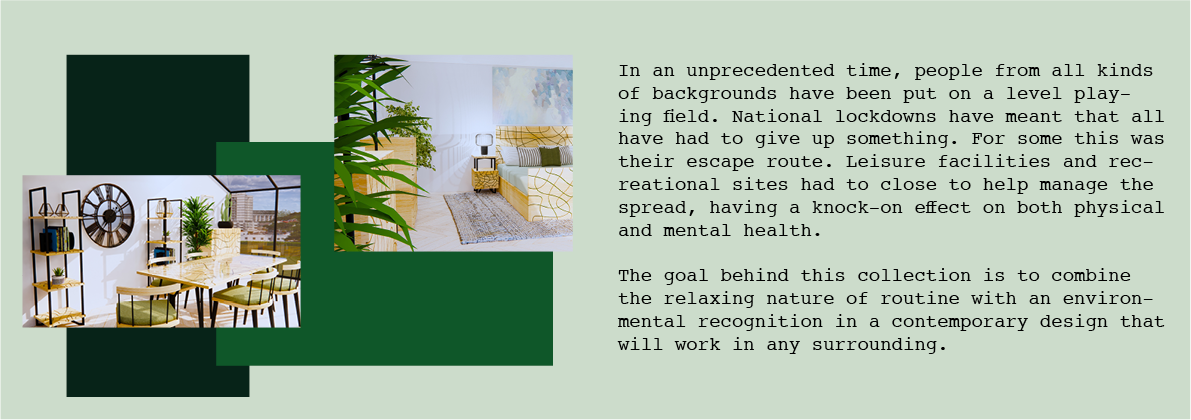
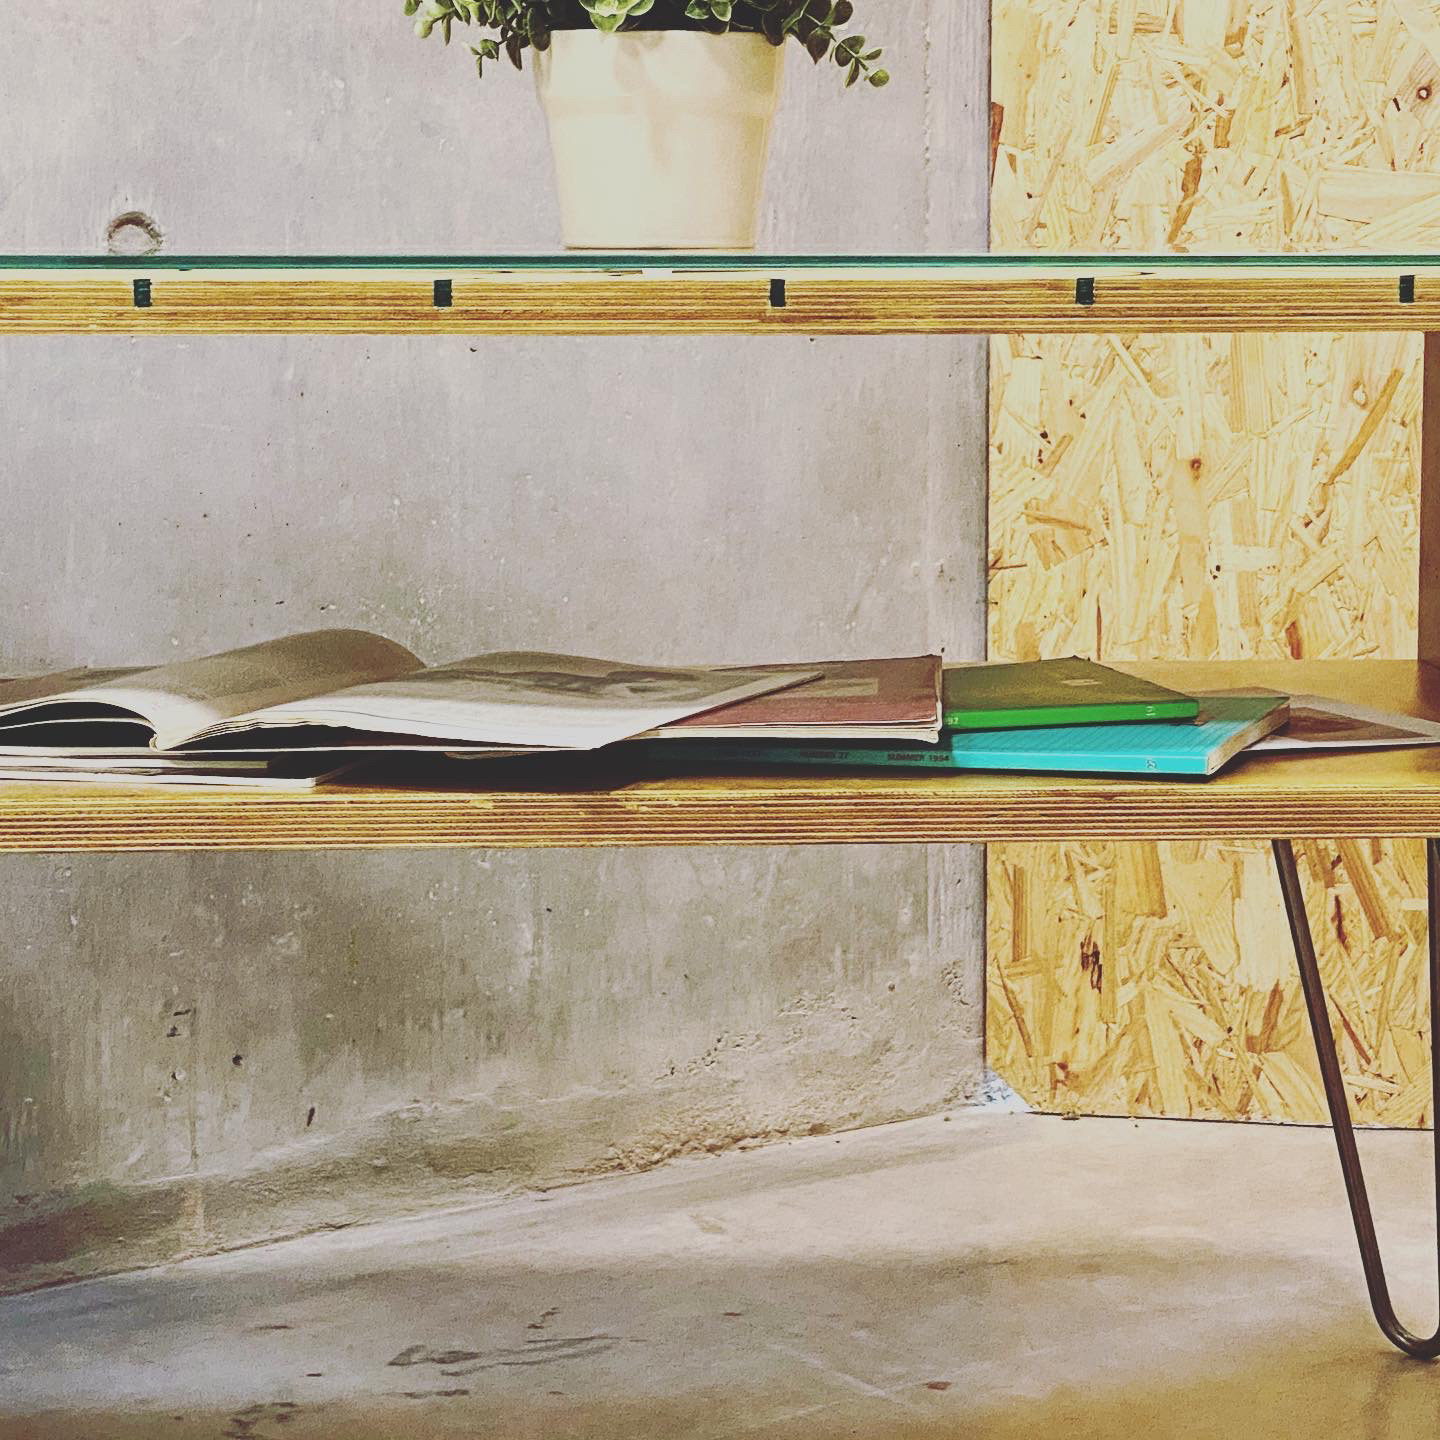
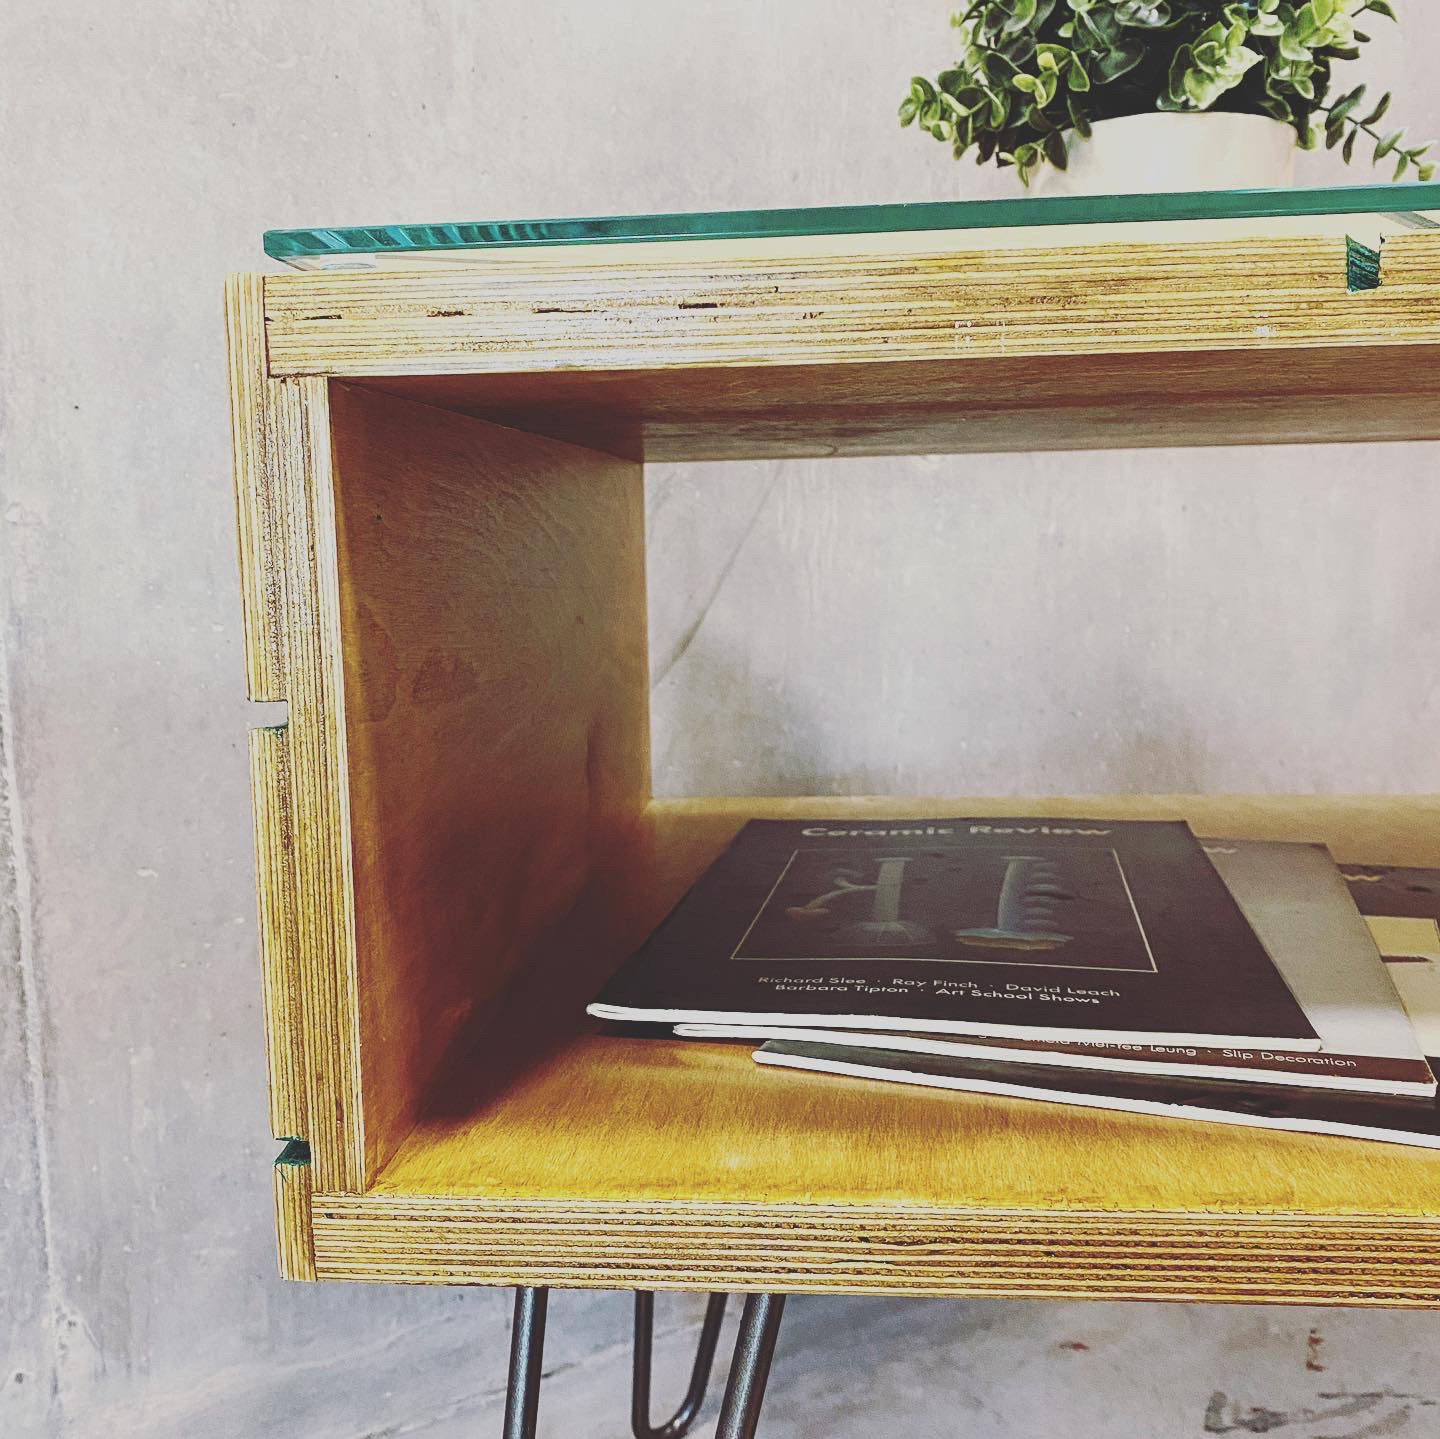
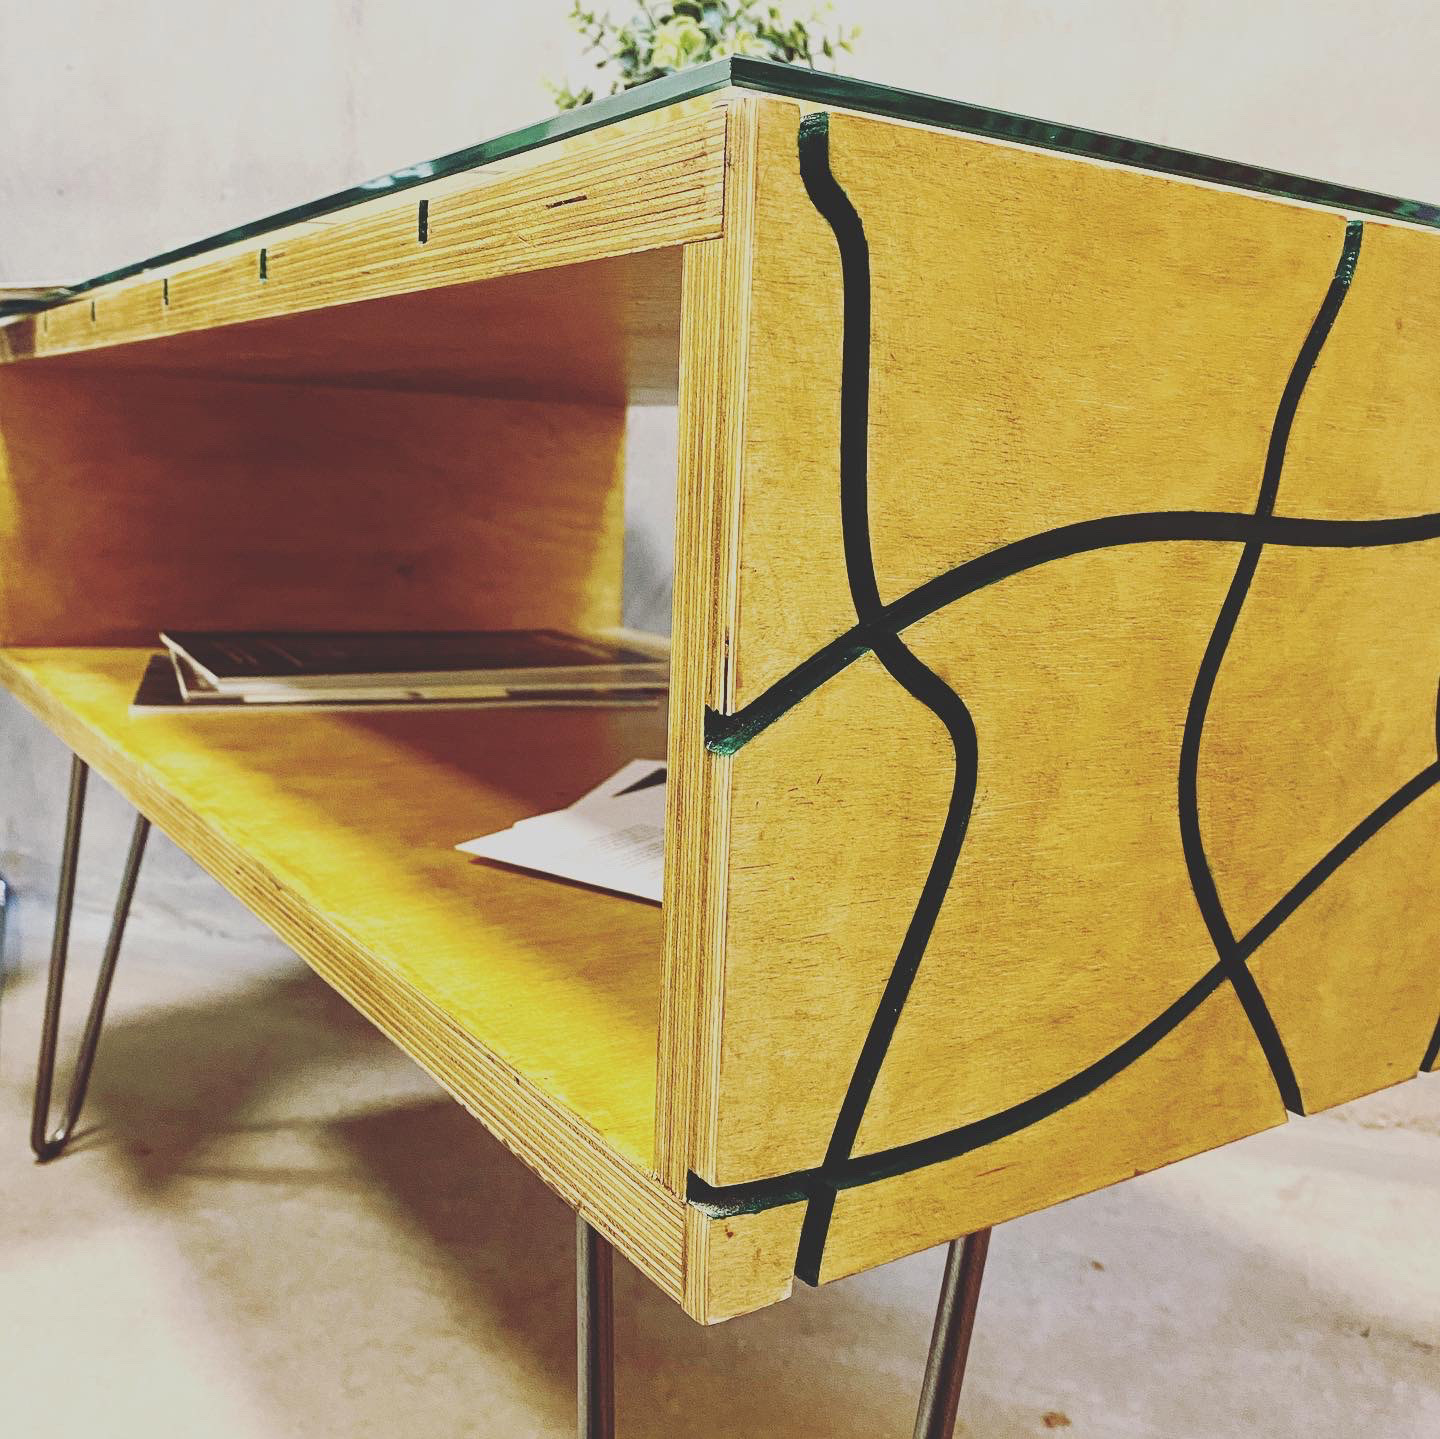
During research and development, I used the current pandemic and closure of leisure centres as an inspiration point for a new furniture collection. I extracted the distorted tile lines generated by the gentle yet dynamic movement of water to create a bold colourful surface pattern. These patterns were then applied to 60’s inspired shapes to create a collection that works to boost mentality and reduce stress.
The two pieces that I have chosen to carry forward are the coffee table and side cabinet. By choosing two it will allow me time to focus on the specific details and design considerations necessary to make the pieces suitable for a potential market.
-THE CHOSEN ITEMS-
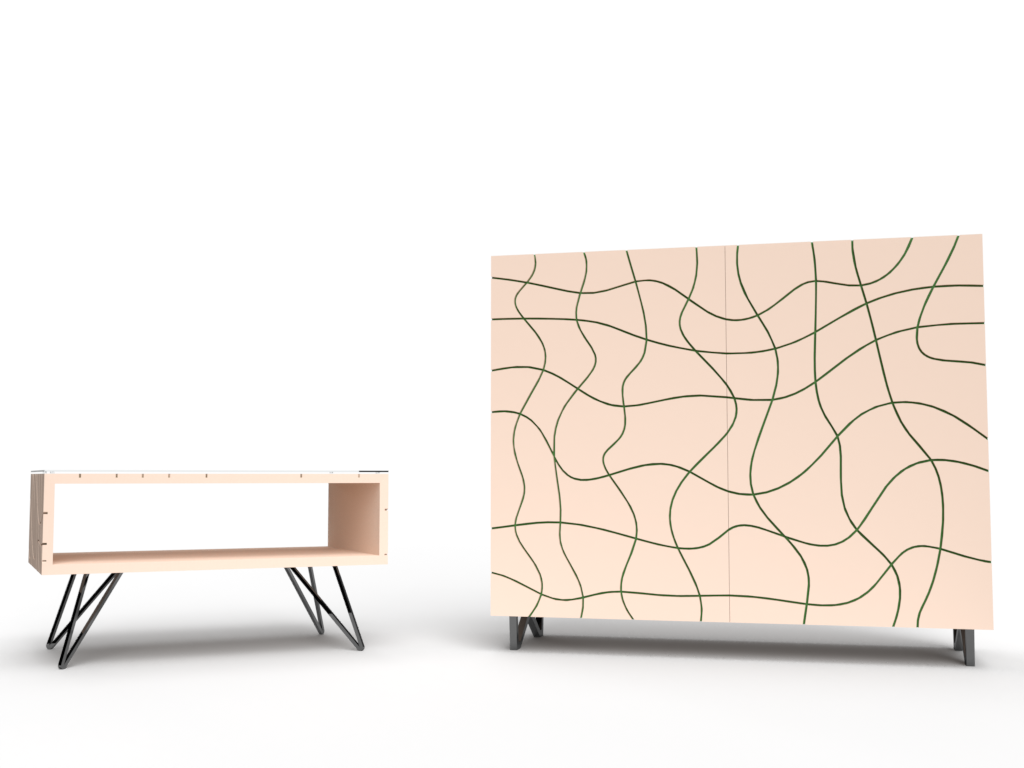
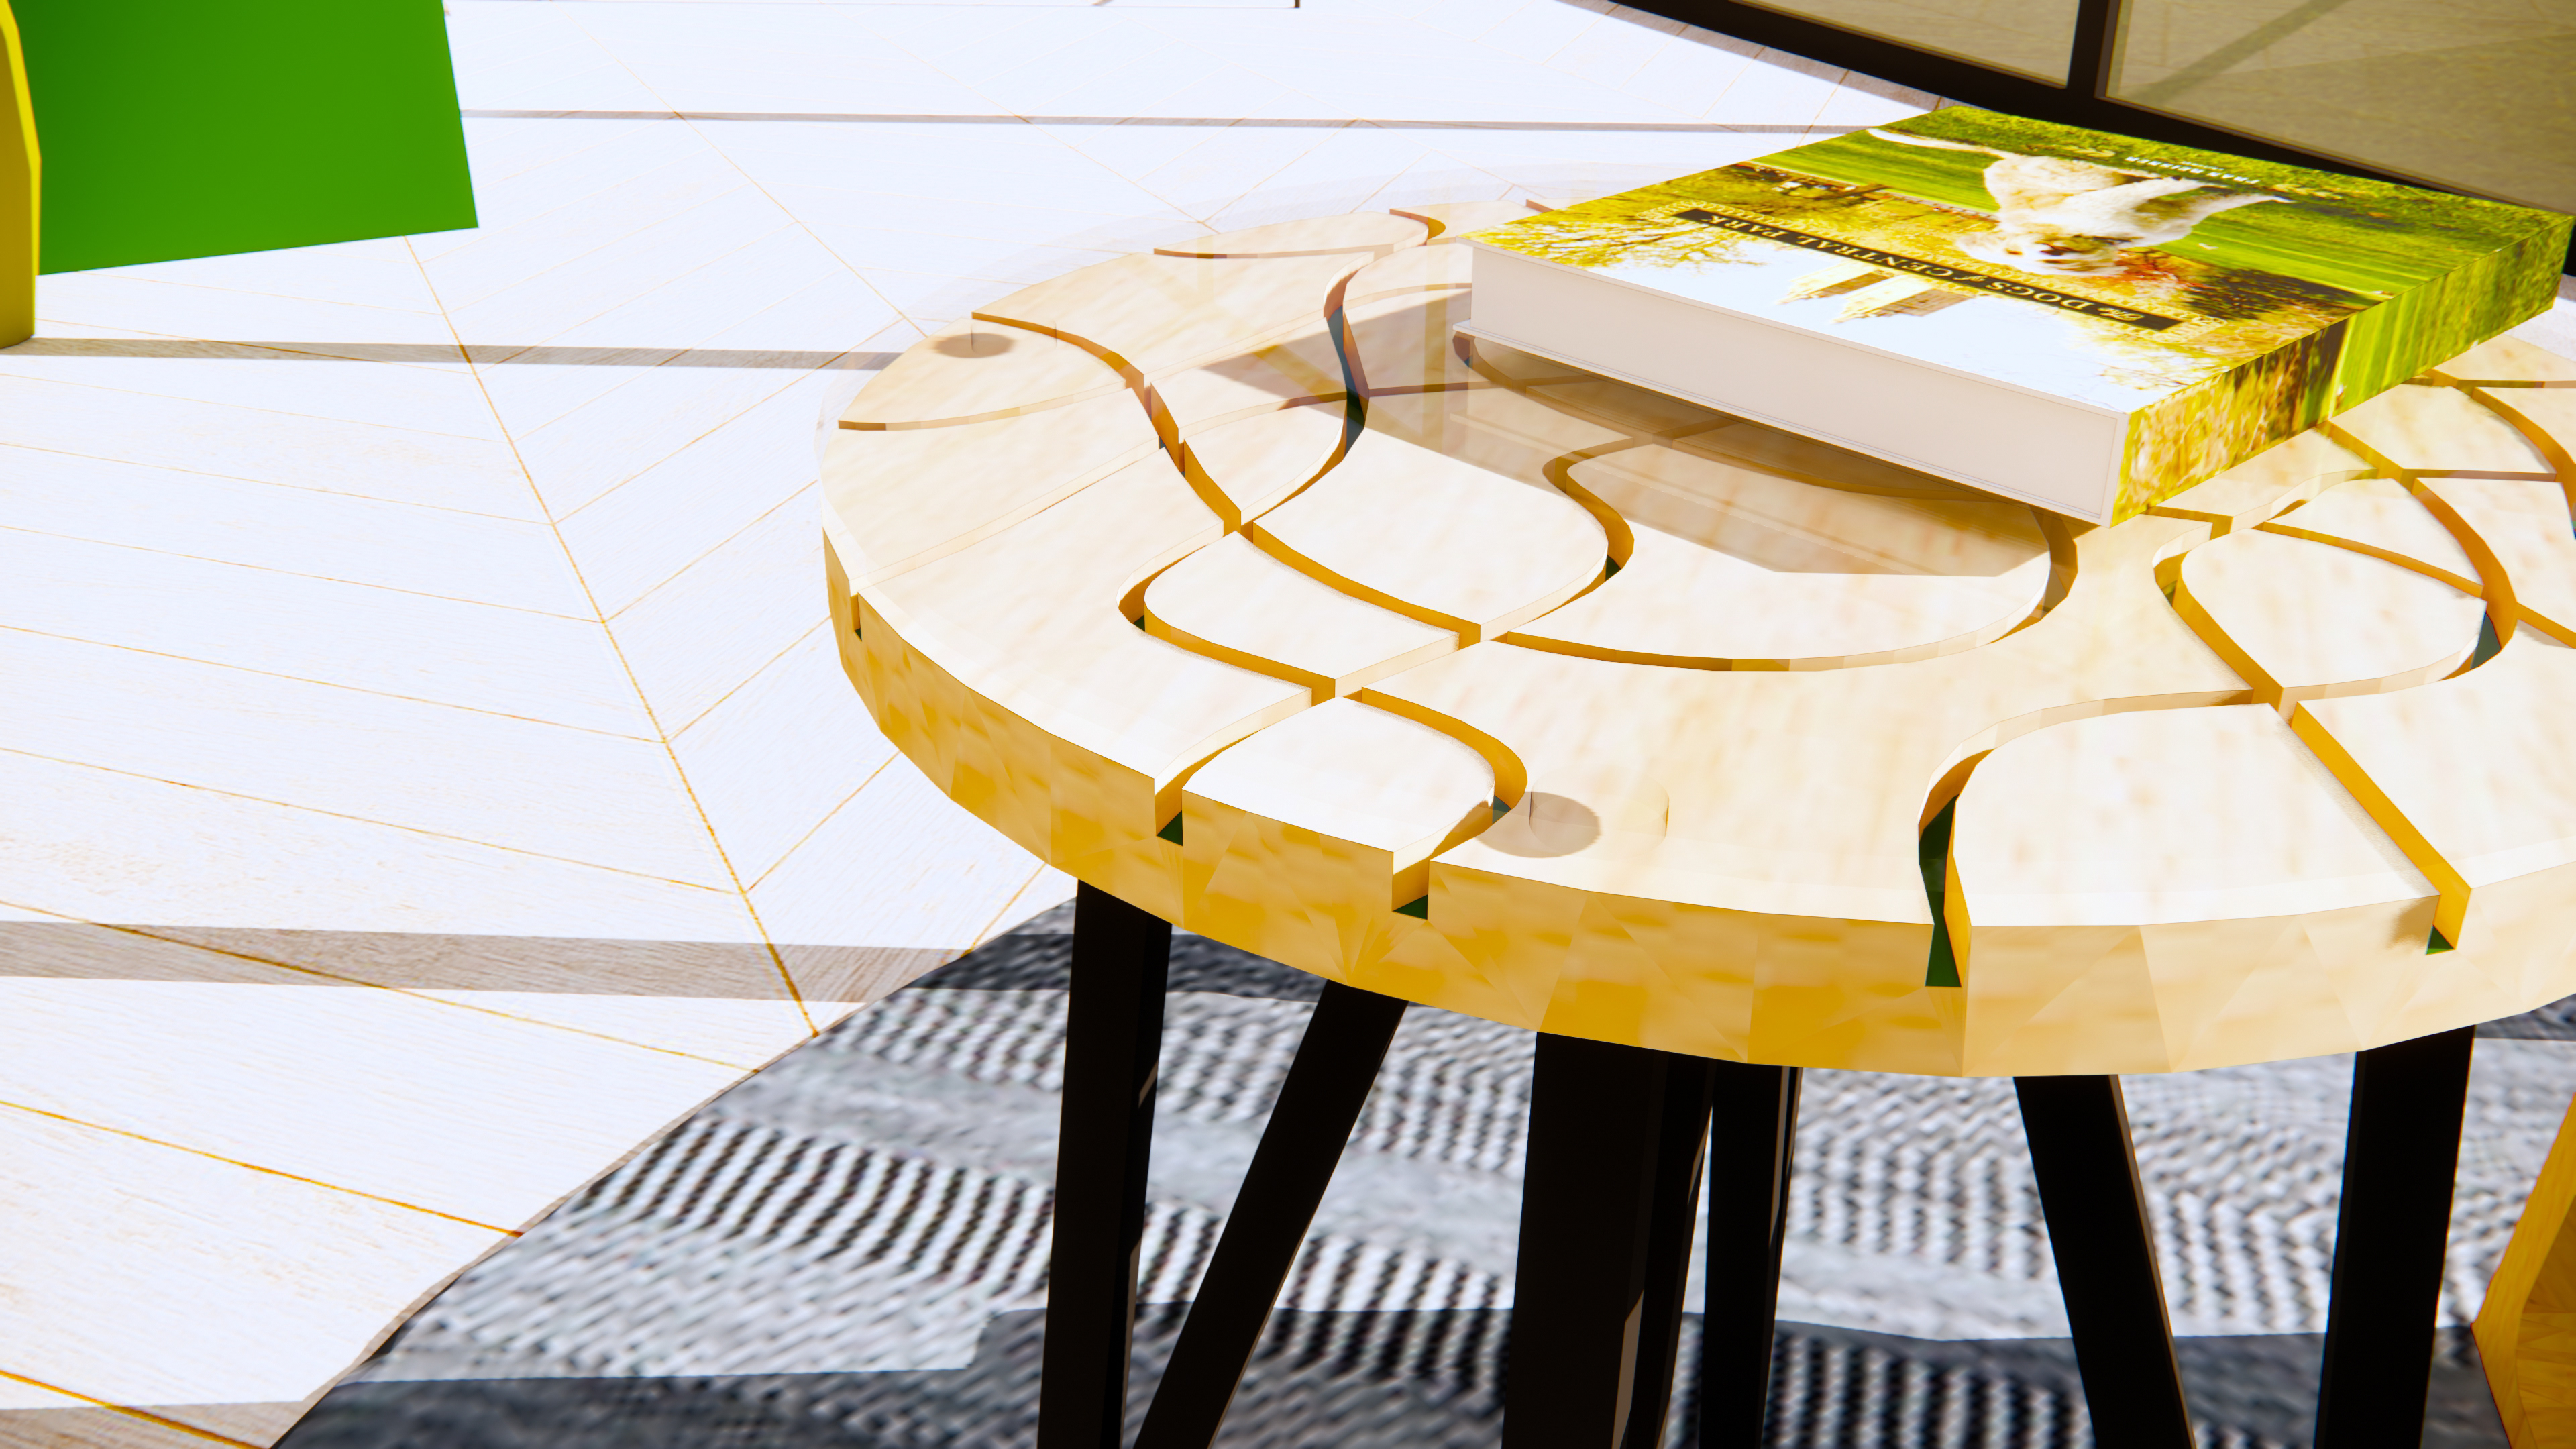
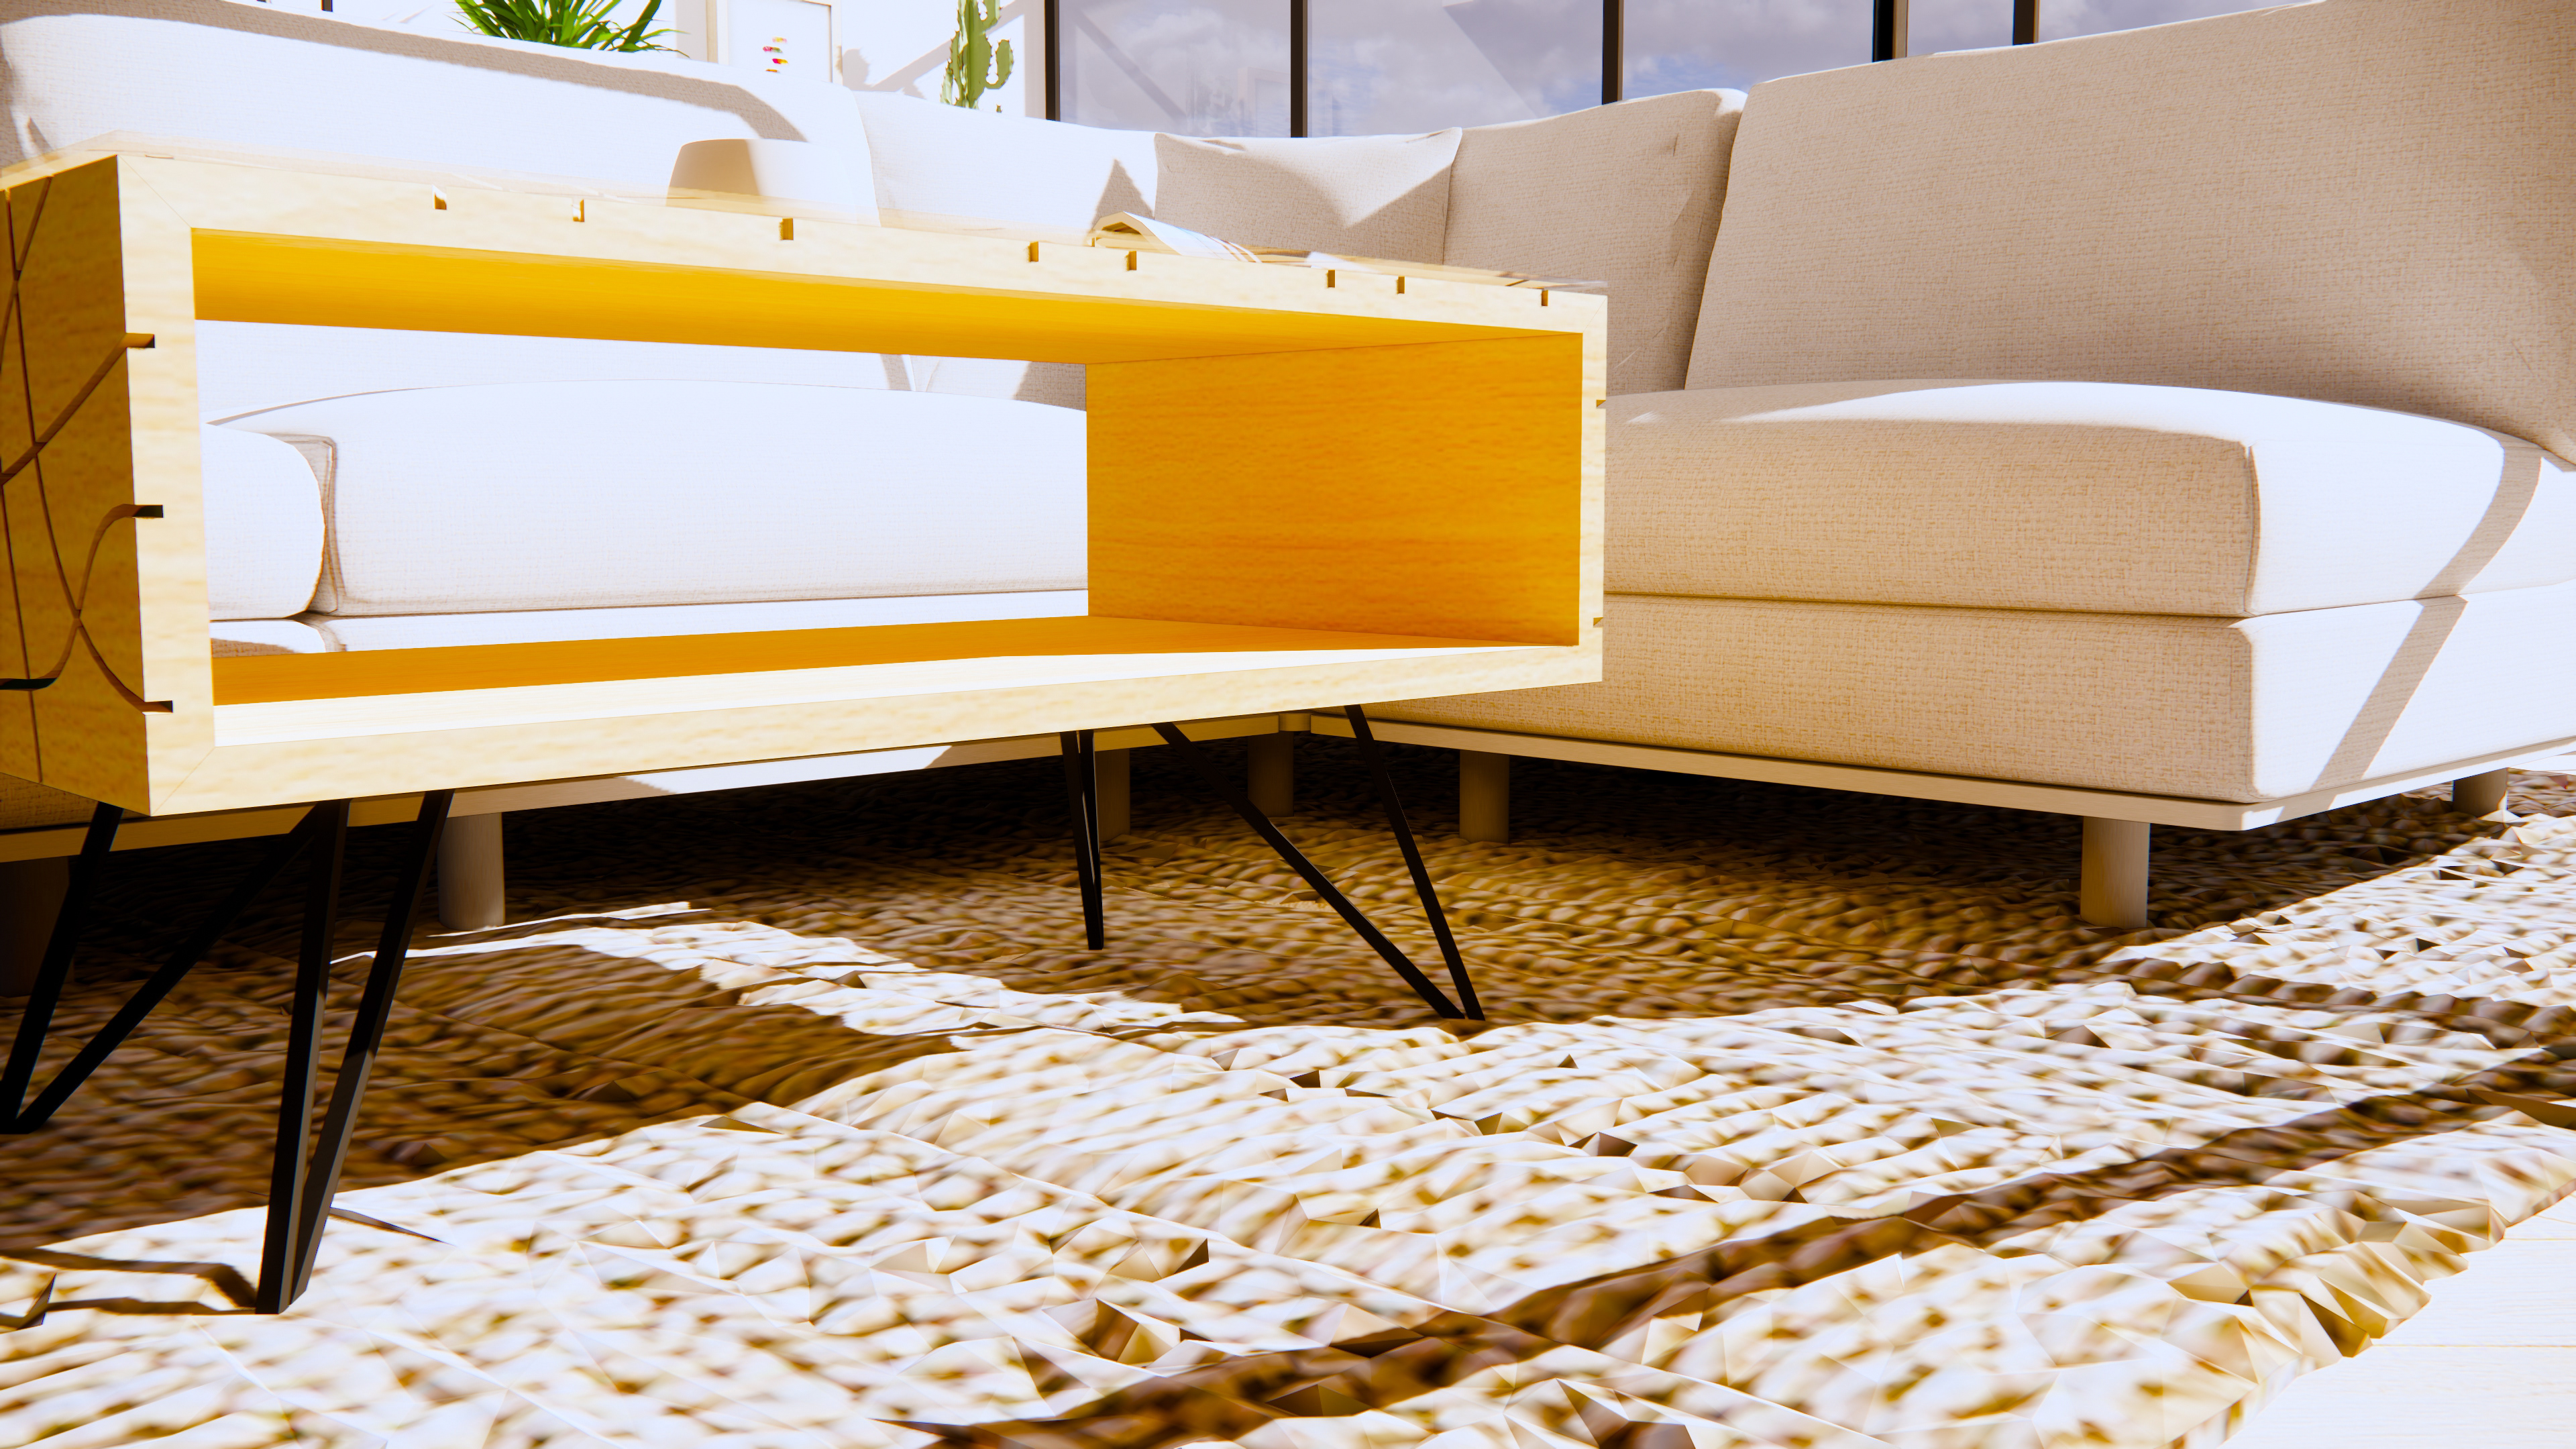
ASPIRE COFFEE TABLE
Design considerations:
> Mood Boosting Accents – this piece has the hope of improving mental wellbeing at the core of its inspiration. This is done through mood boosting colour and association with the relaxing nature of water.
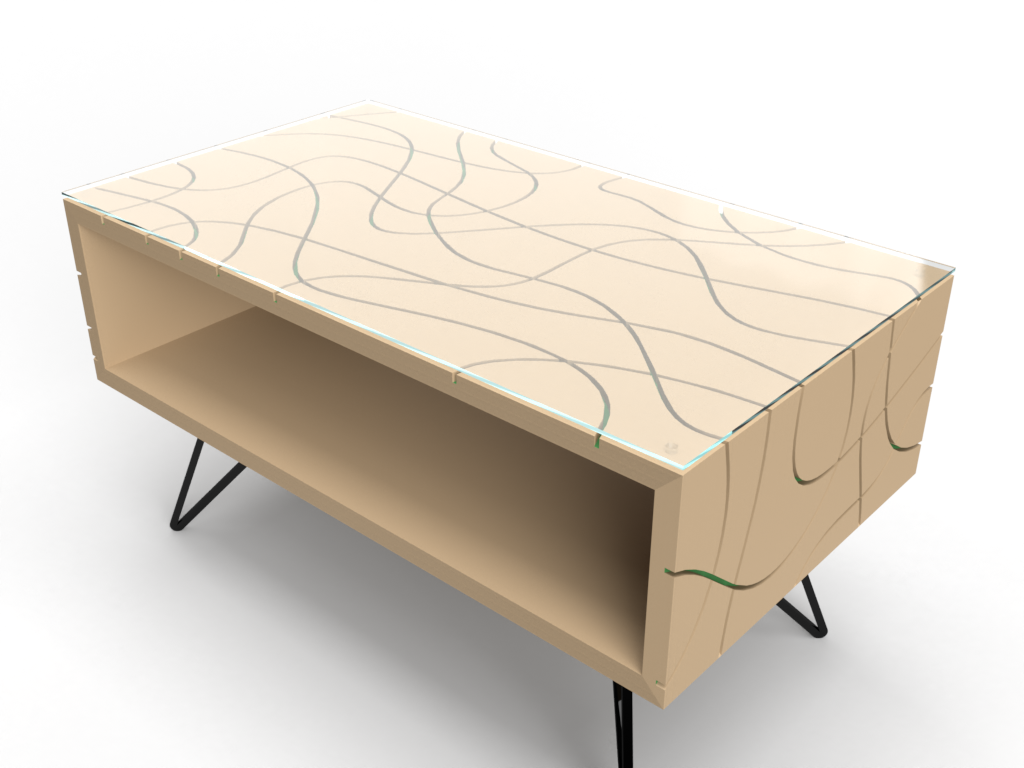
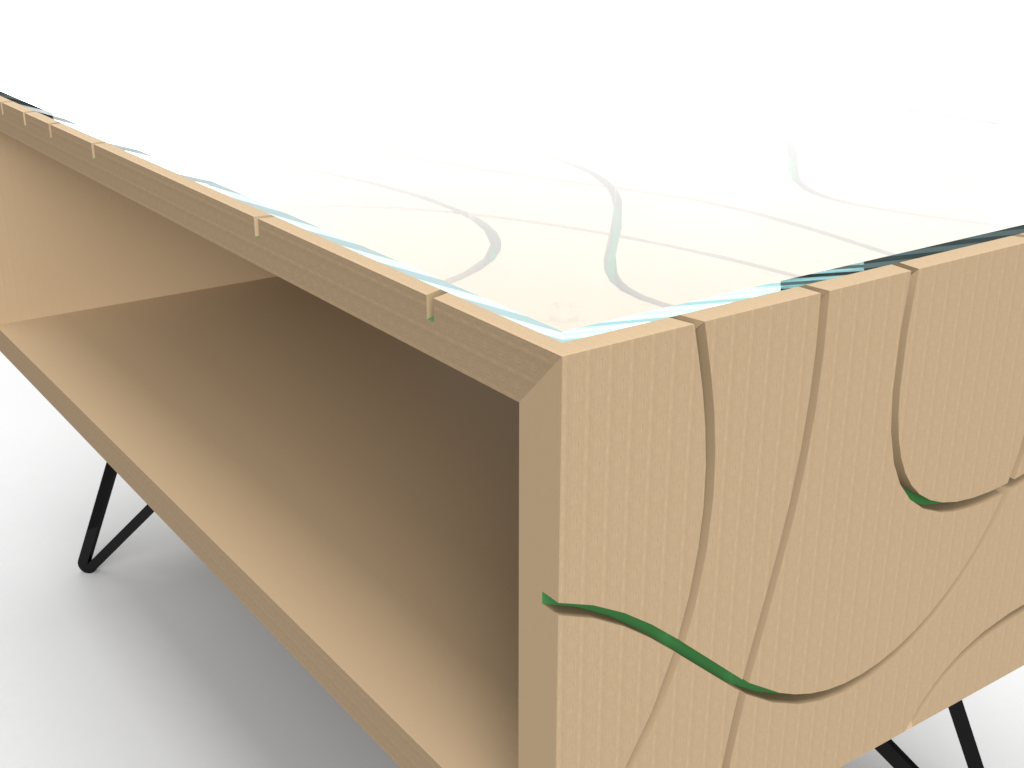
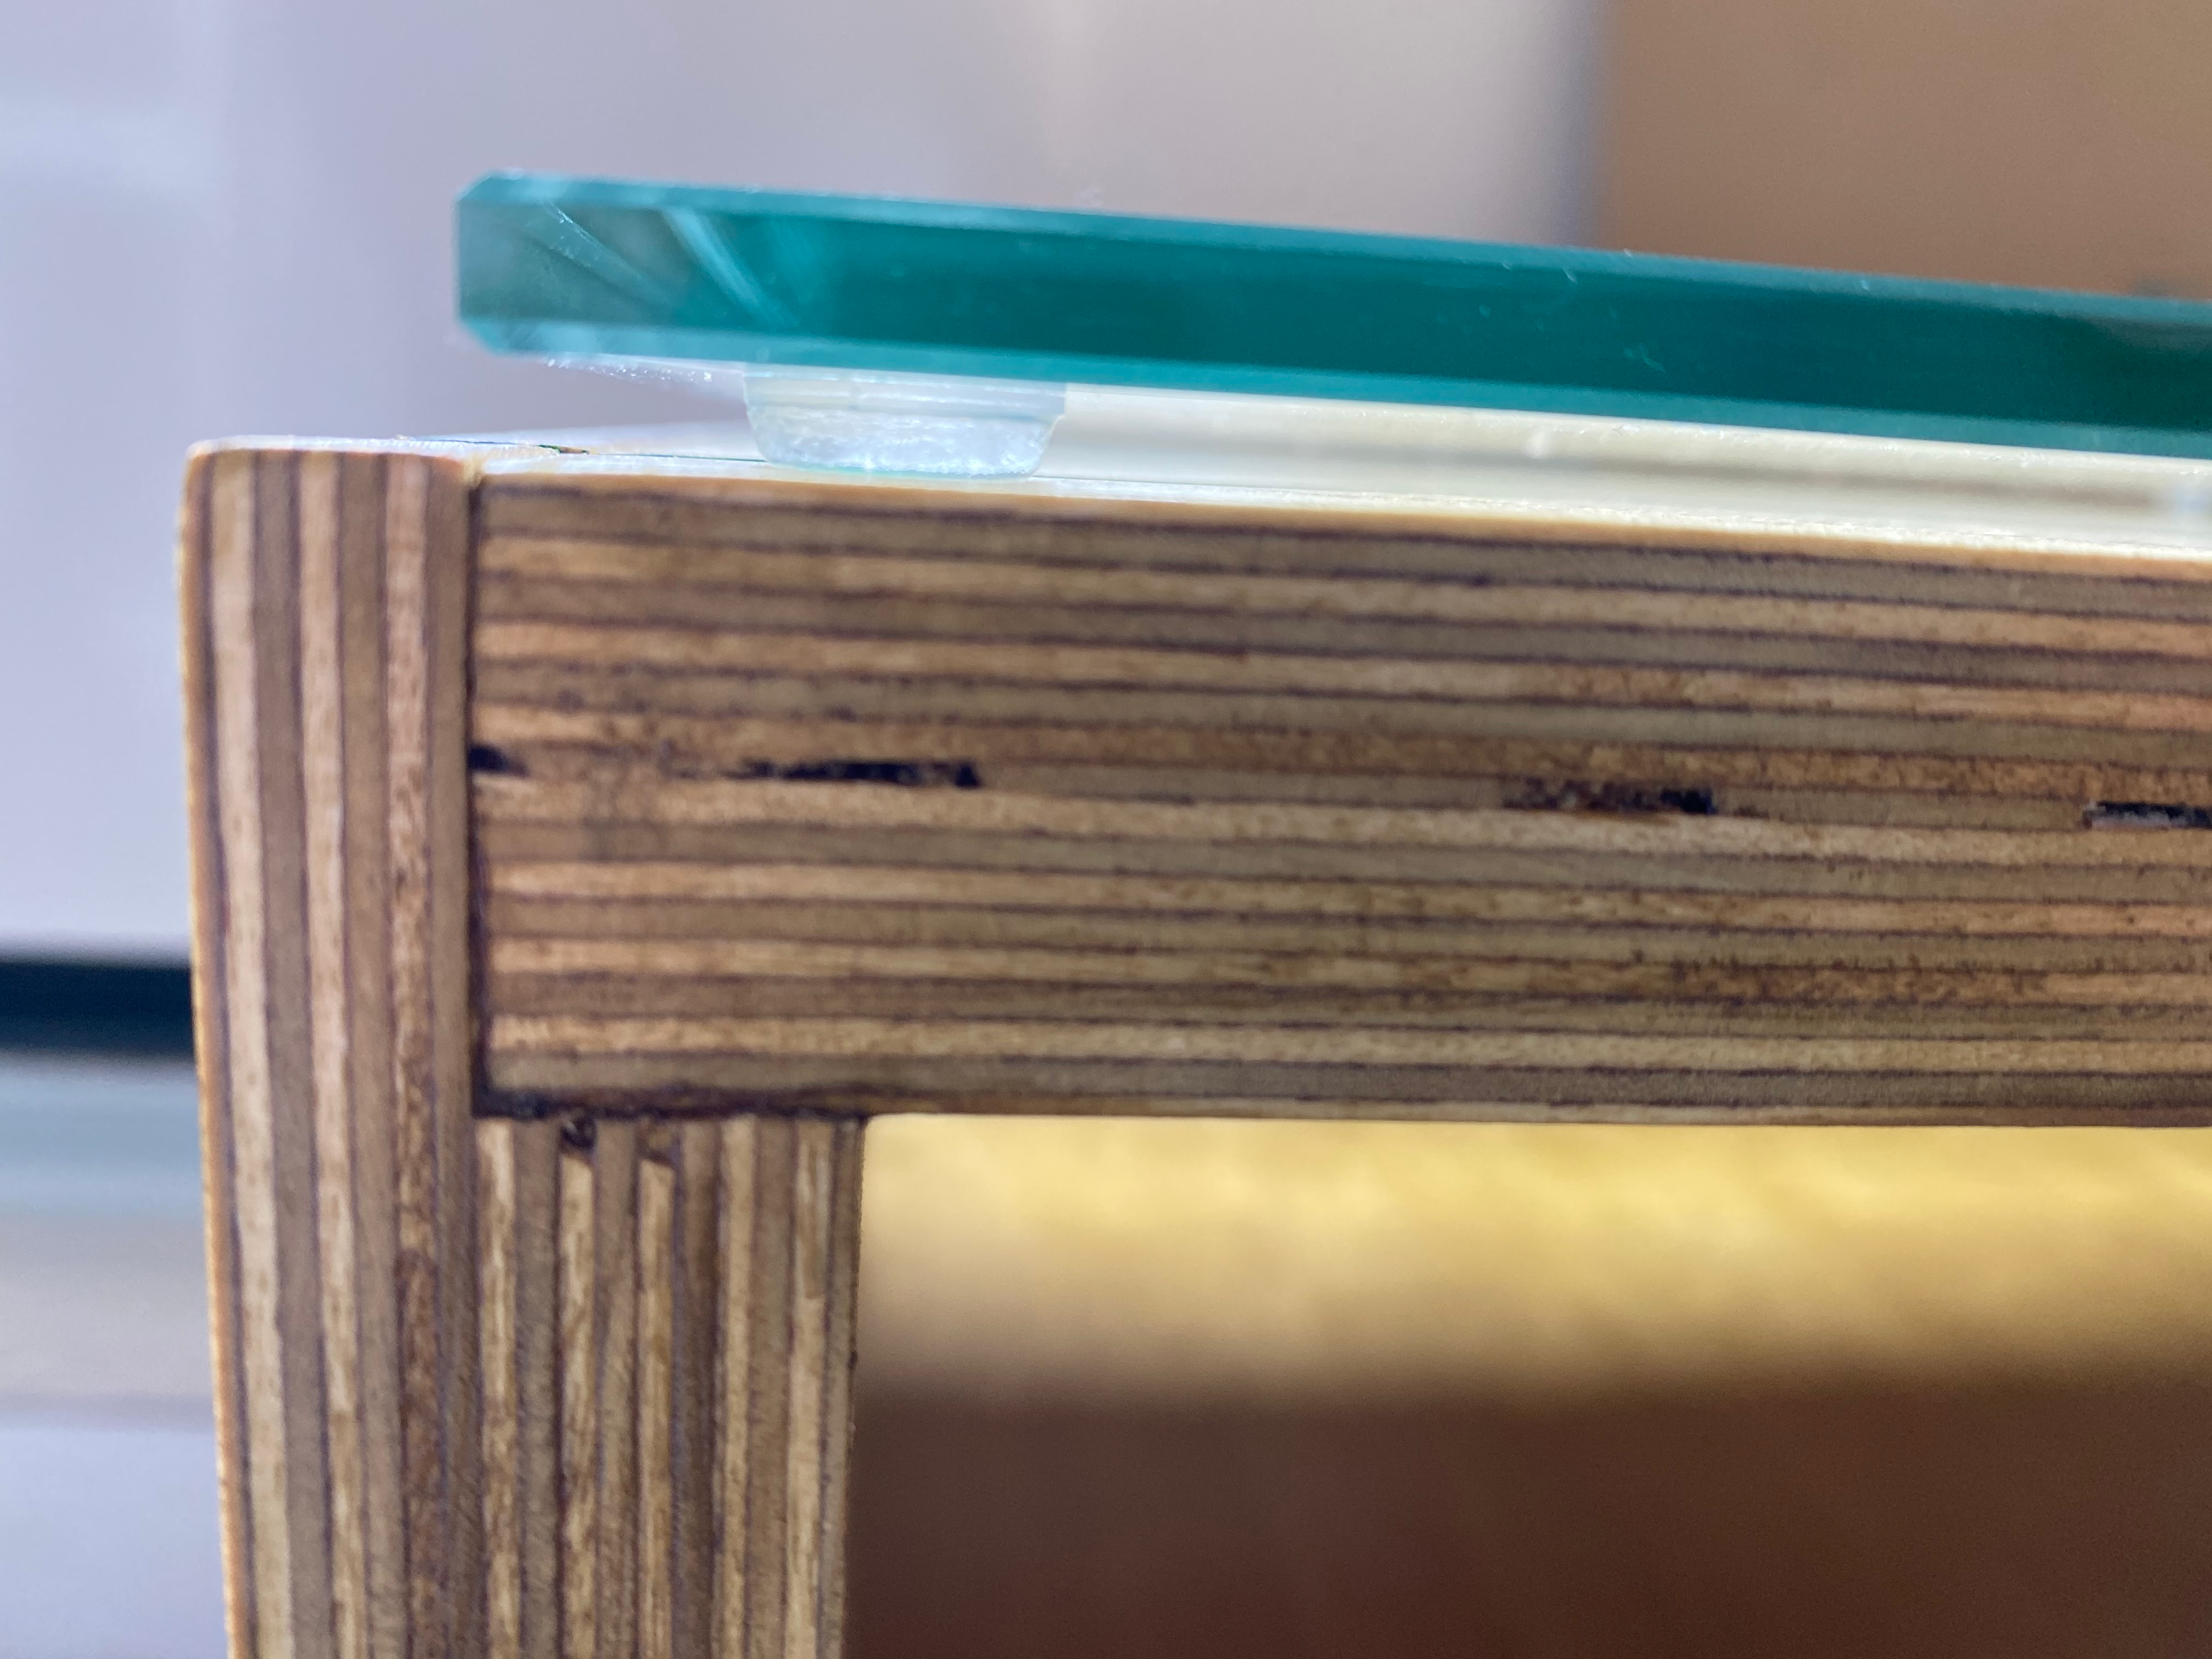
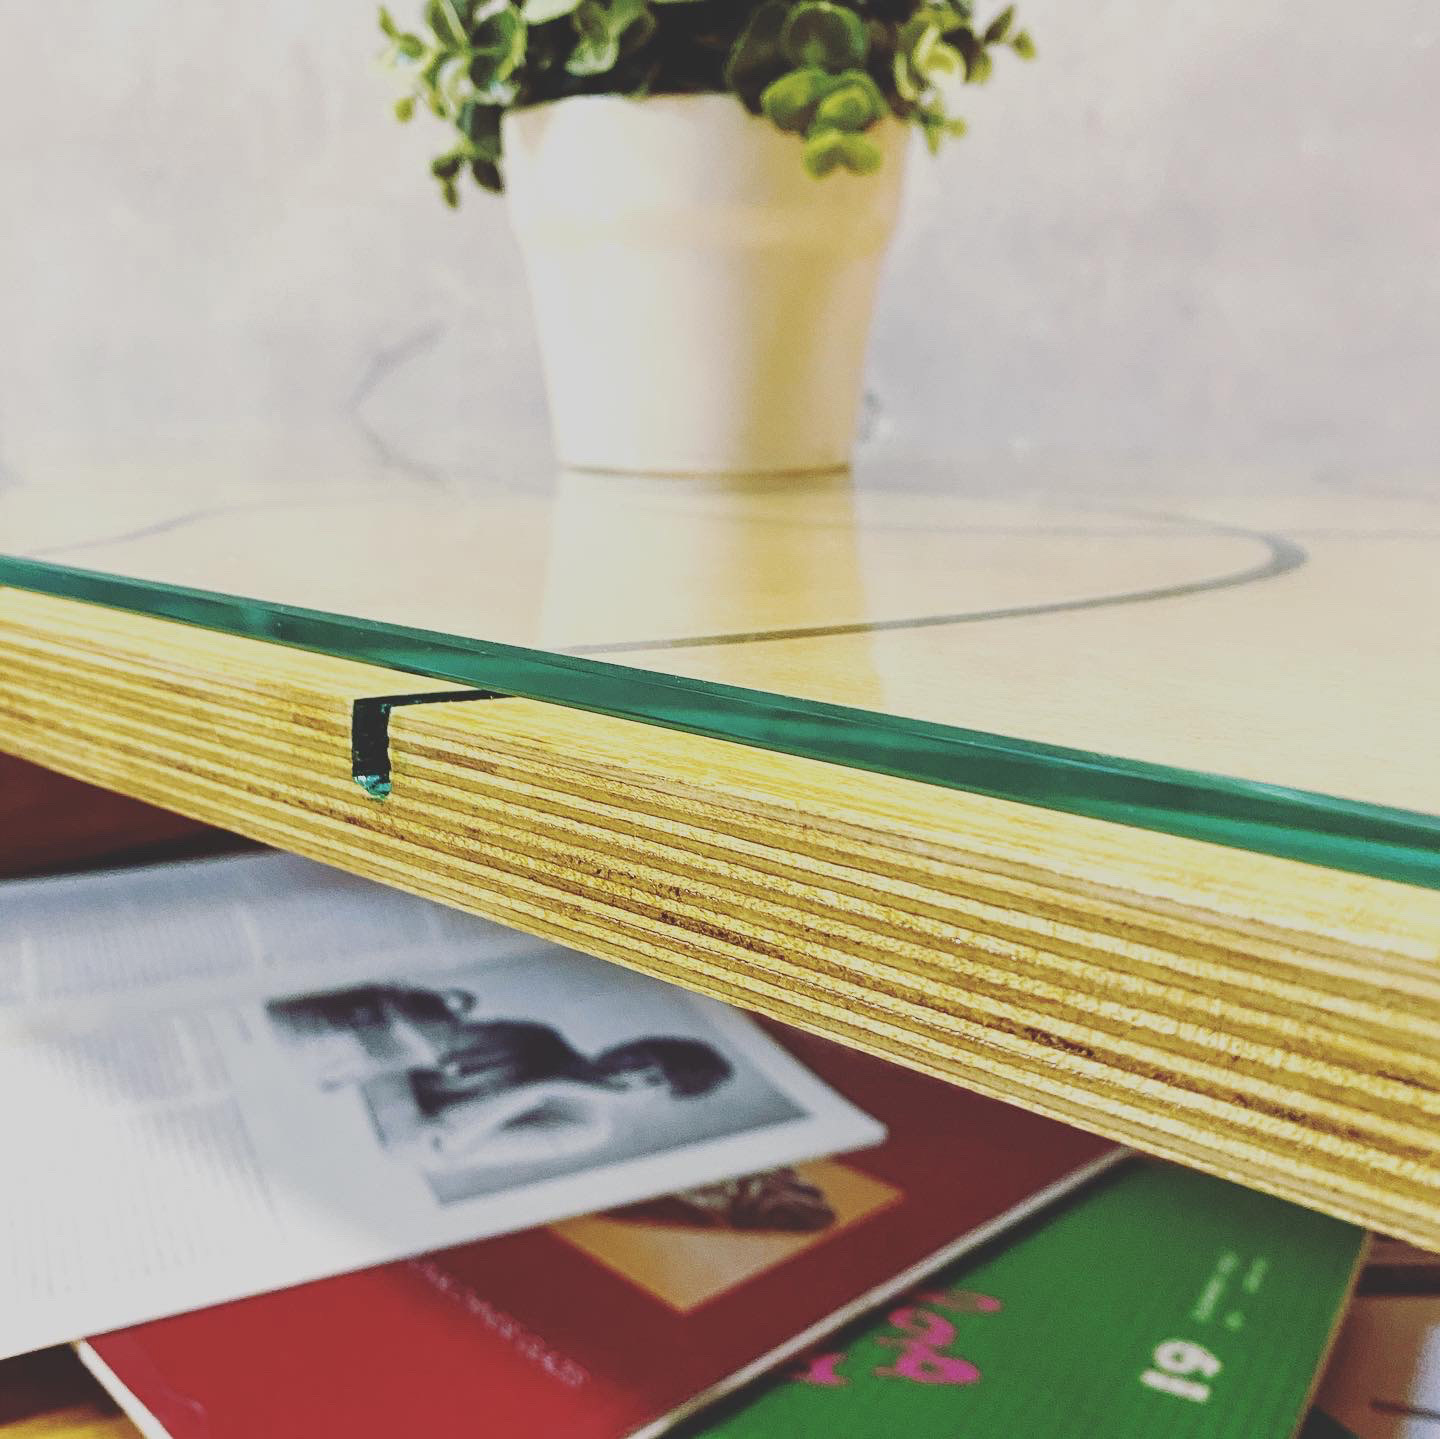
> Glass Top - this design features a removable glass top. This was to allow the piece to be cleaned and transported with ease. By having a removable top, it allows the channels to be cleaned effectively and wrapped protectively for transportation.
> Simplistic Shape - the simple shape of this design was purposeful so as not to distract from the surface pattern. The pattern is the key design element and so having this be the focal point is the most important consideration.
Blogs.evergreen.edu. 2021. Ergonomic Design - The Coffee Table. [online] Available at: <http://blogs.evergreen.edu/brookewalsh/the-coffee-table/> [Accessed 13 May 2021].


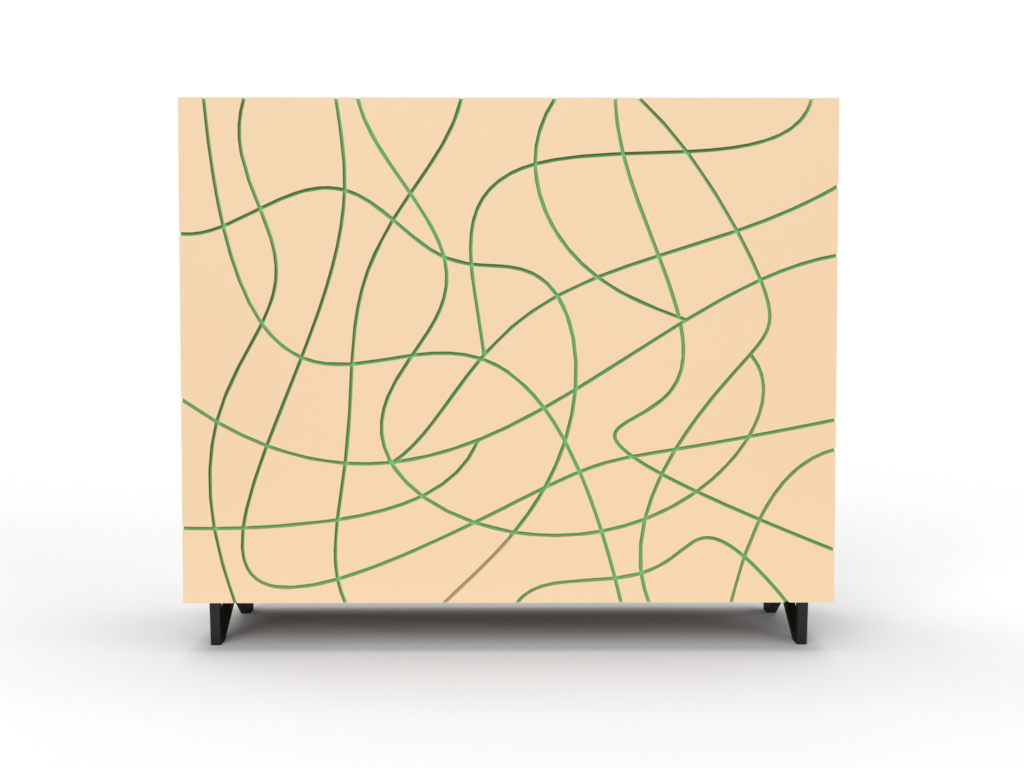
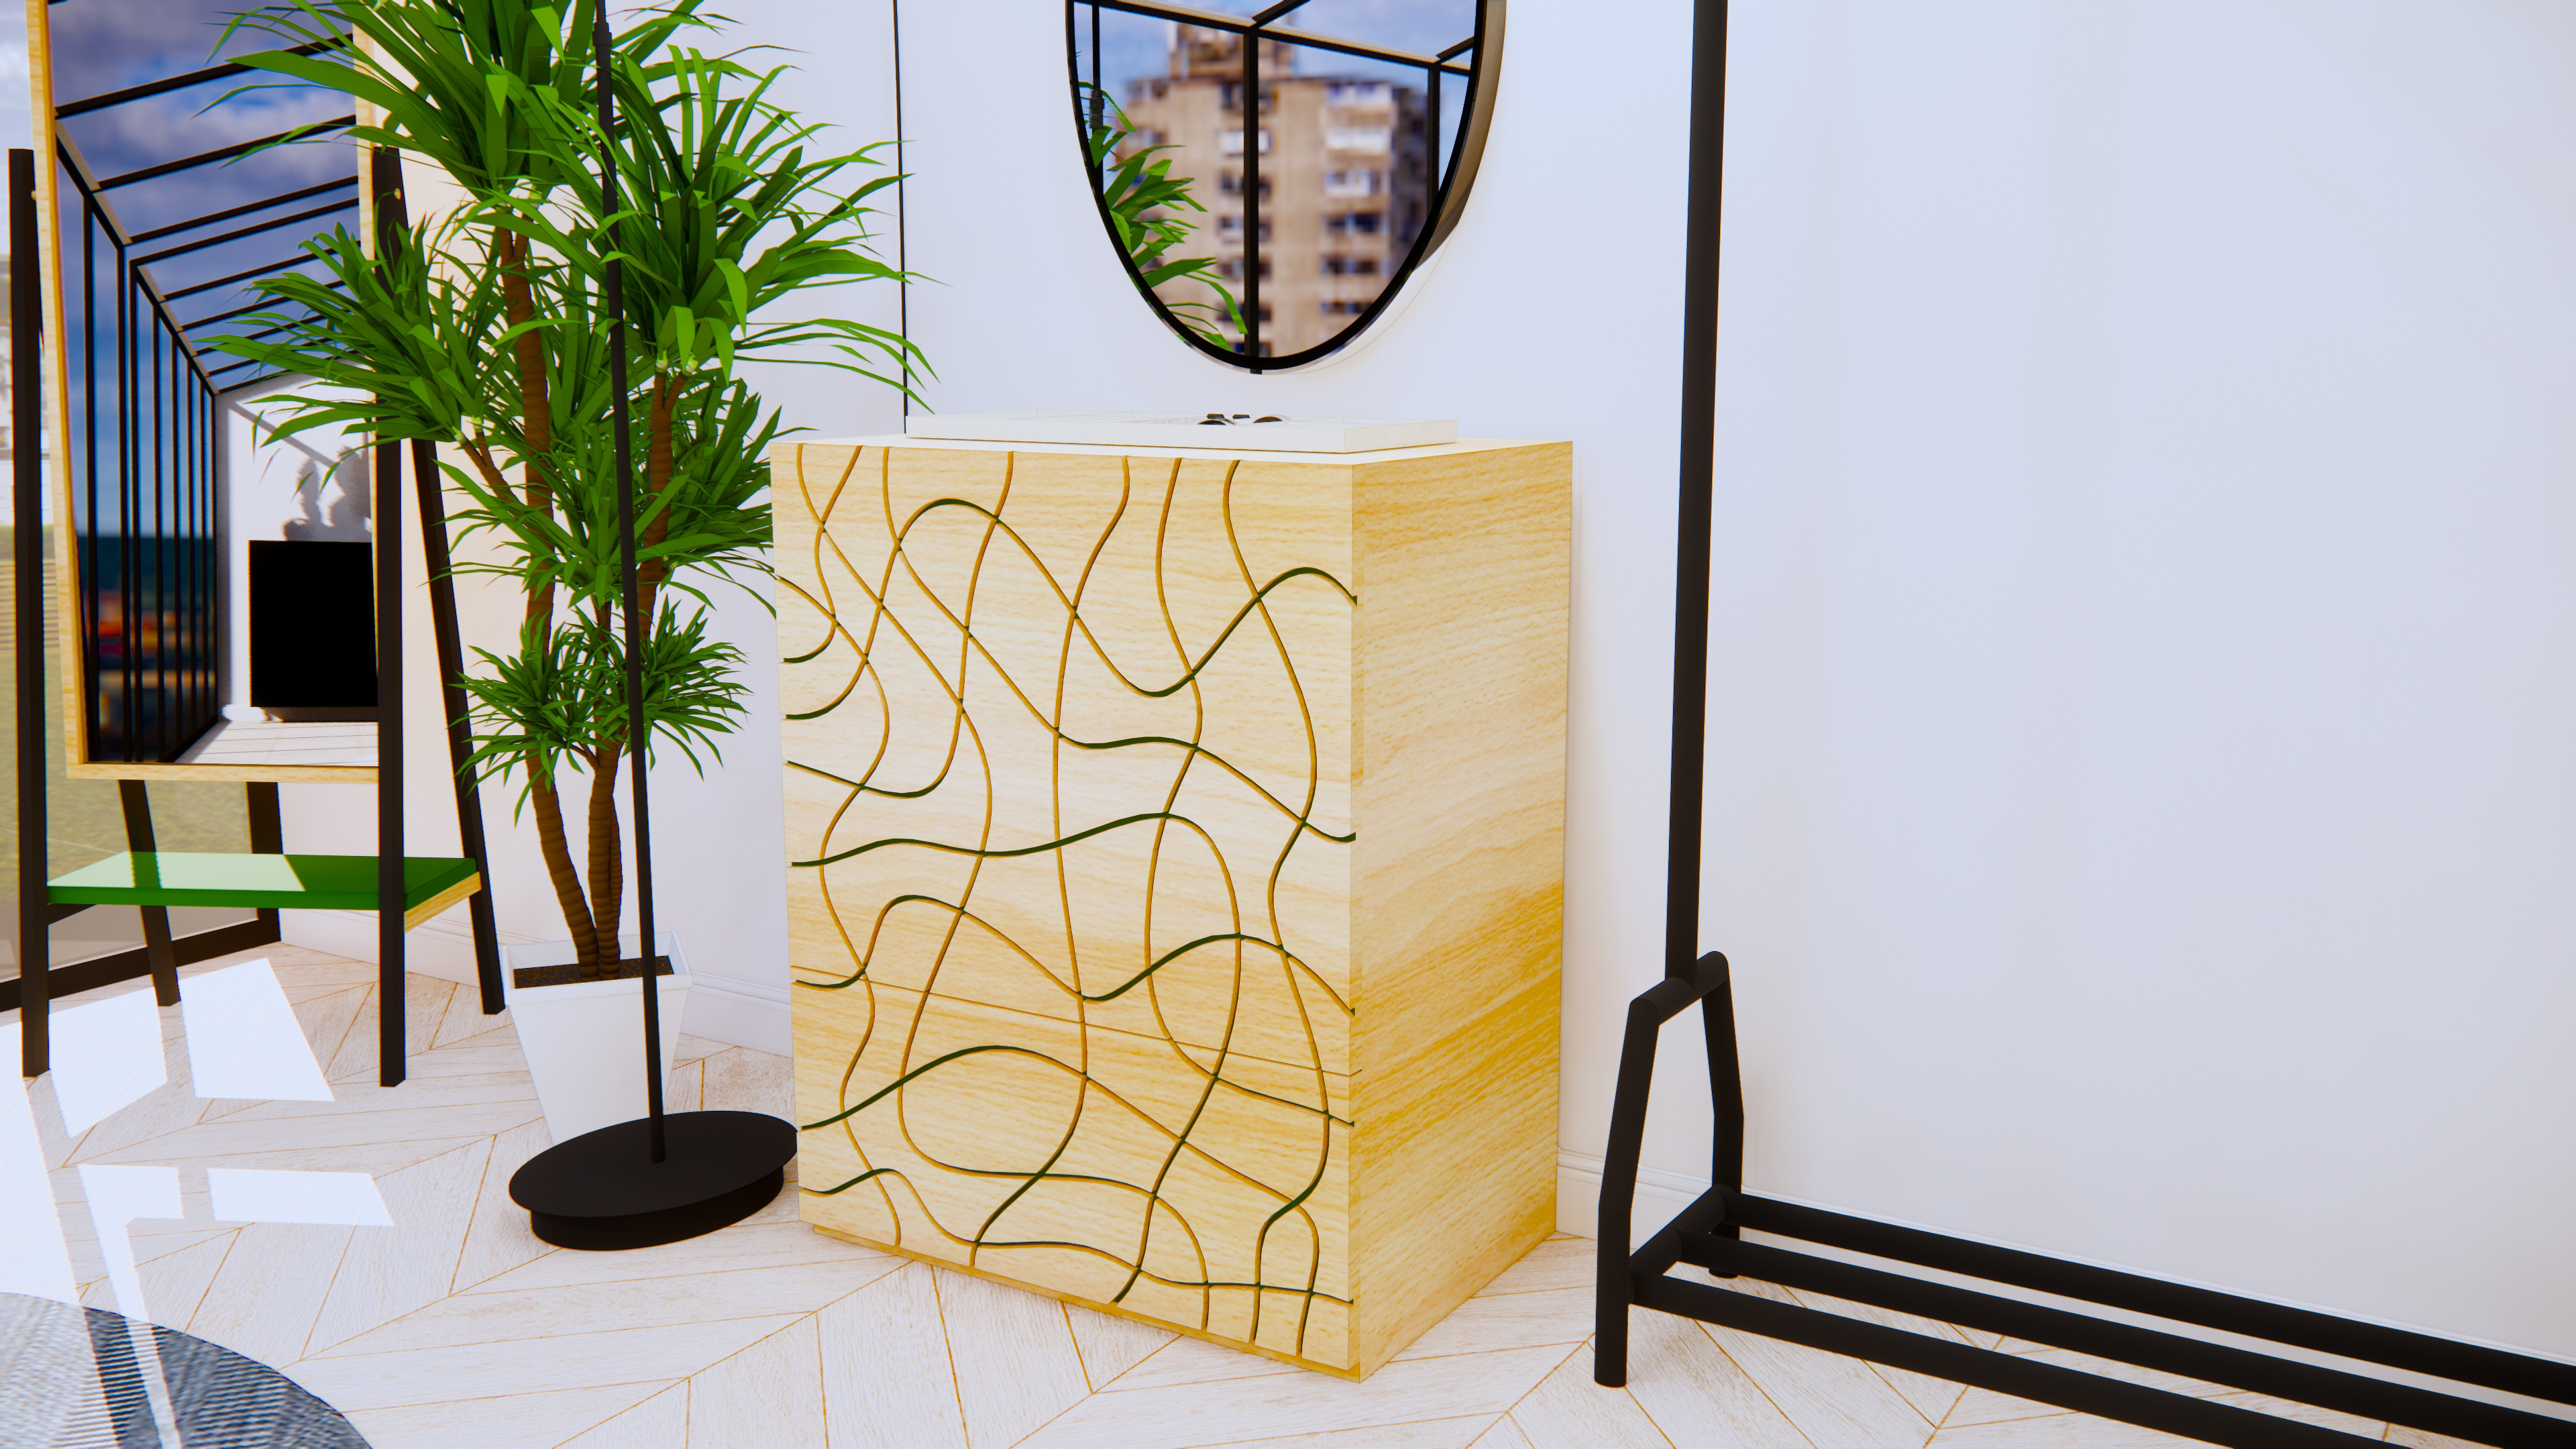
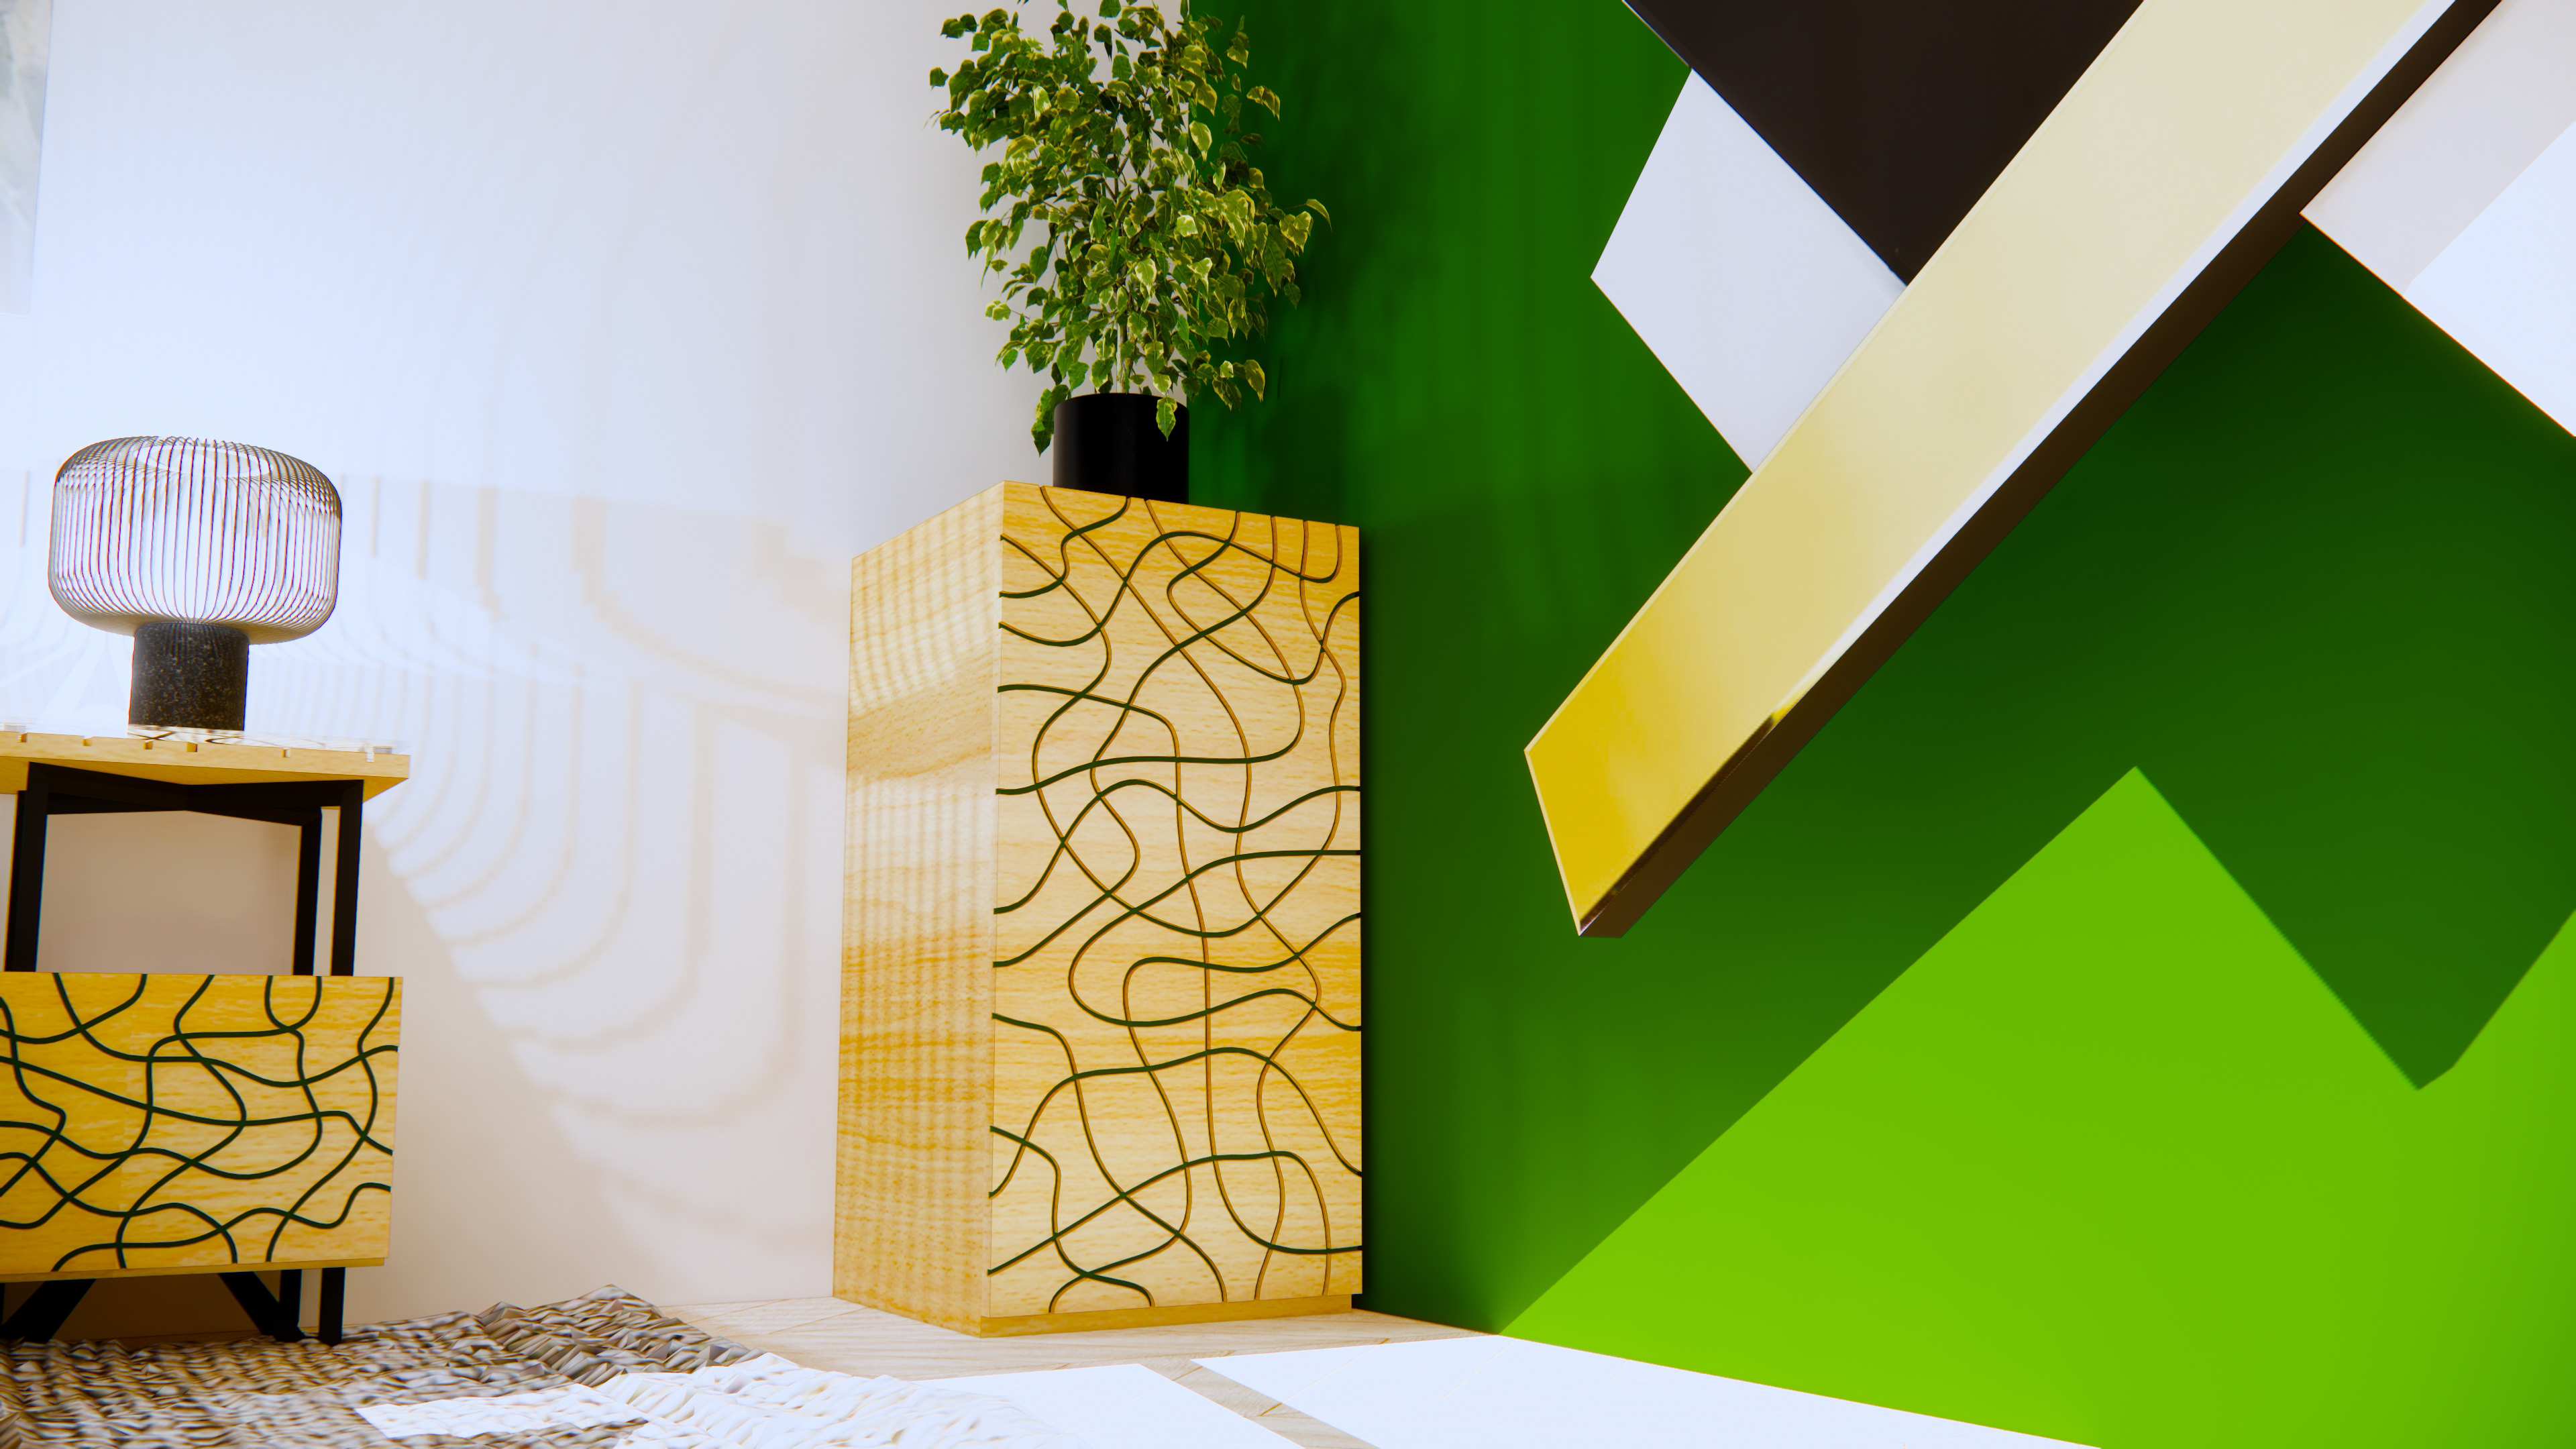
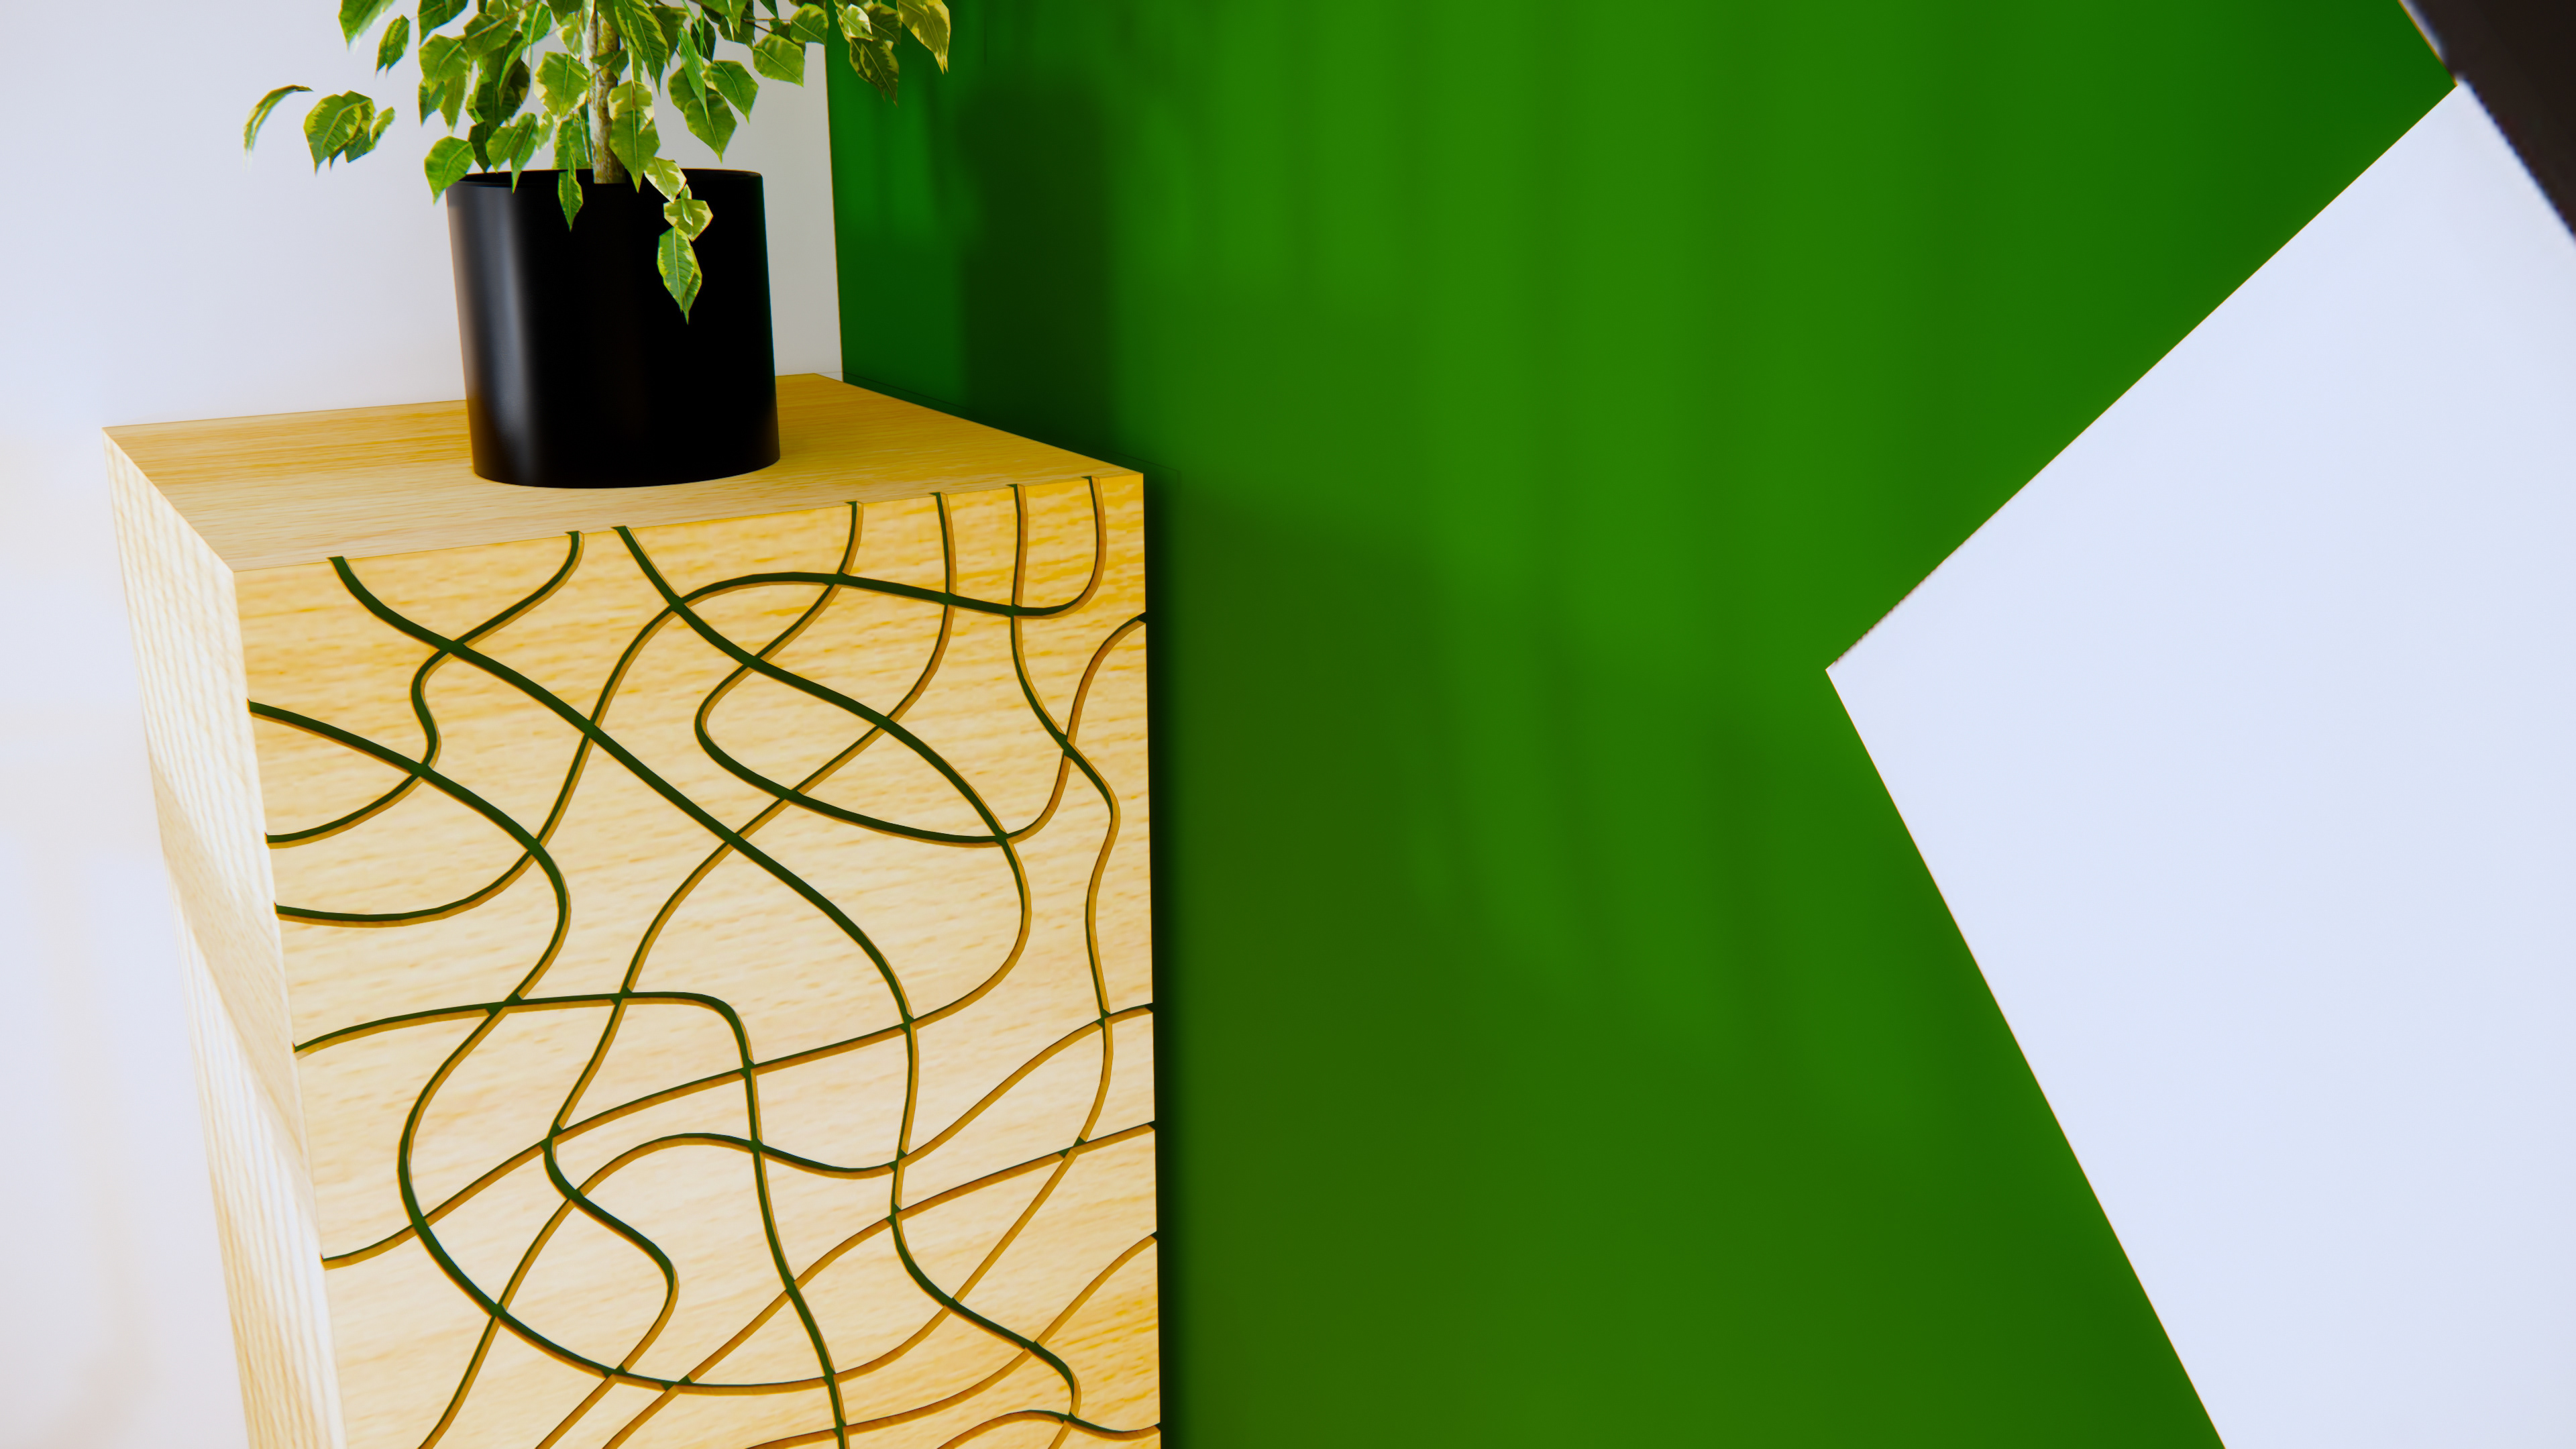
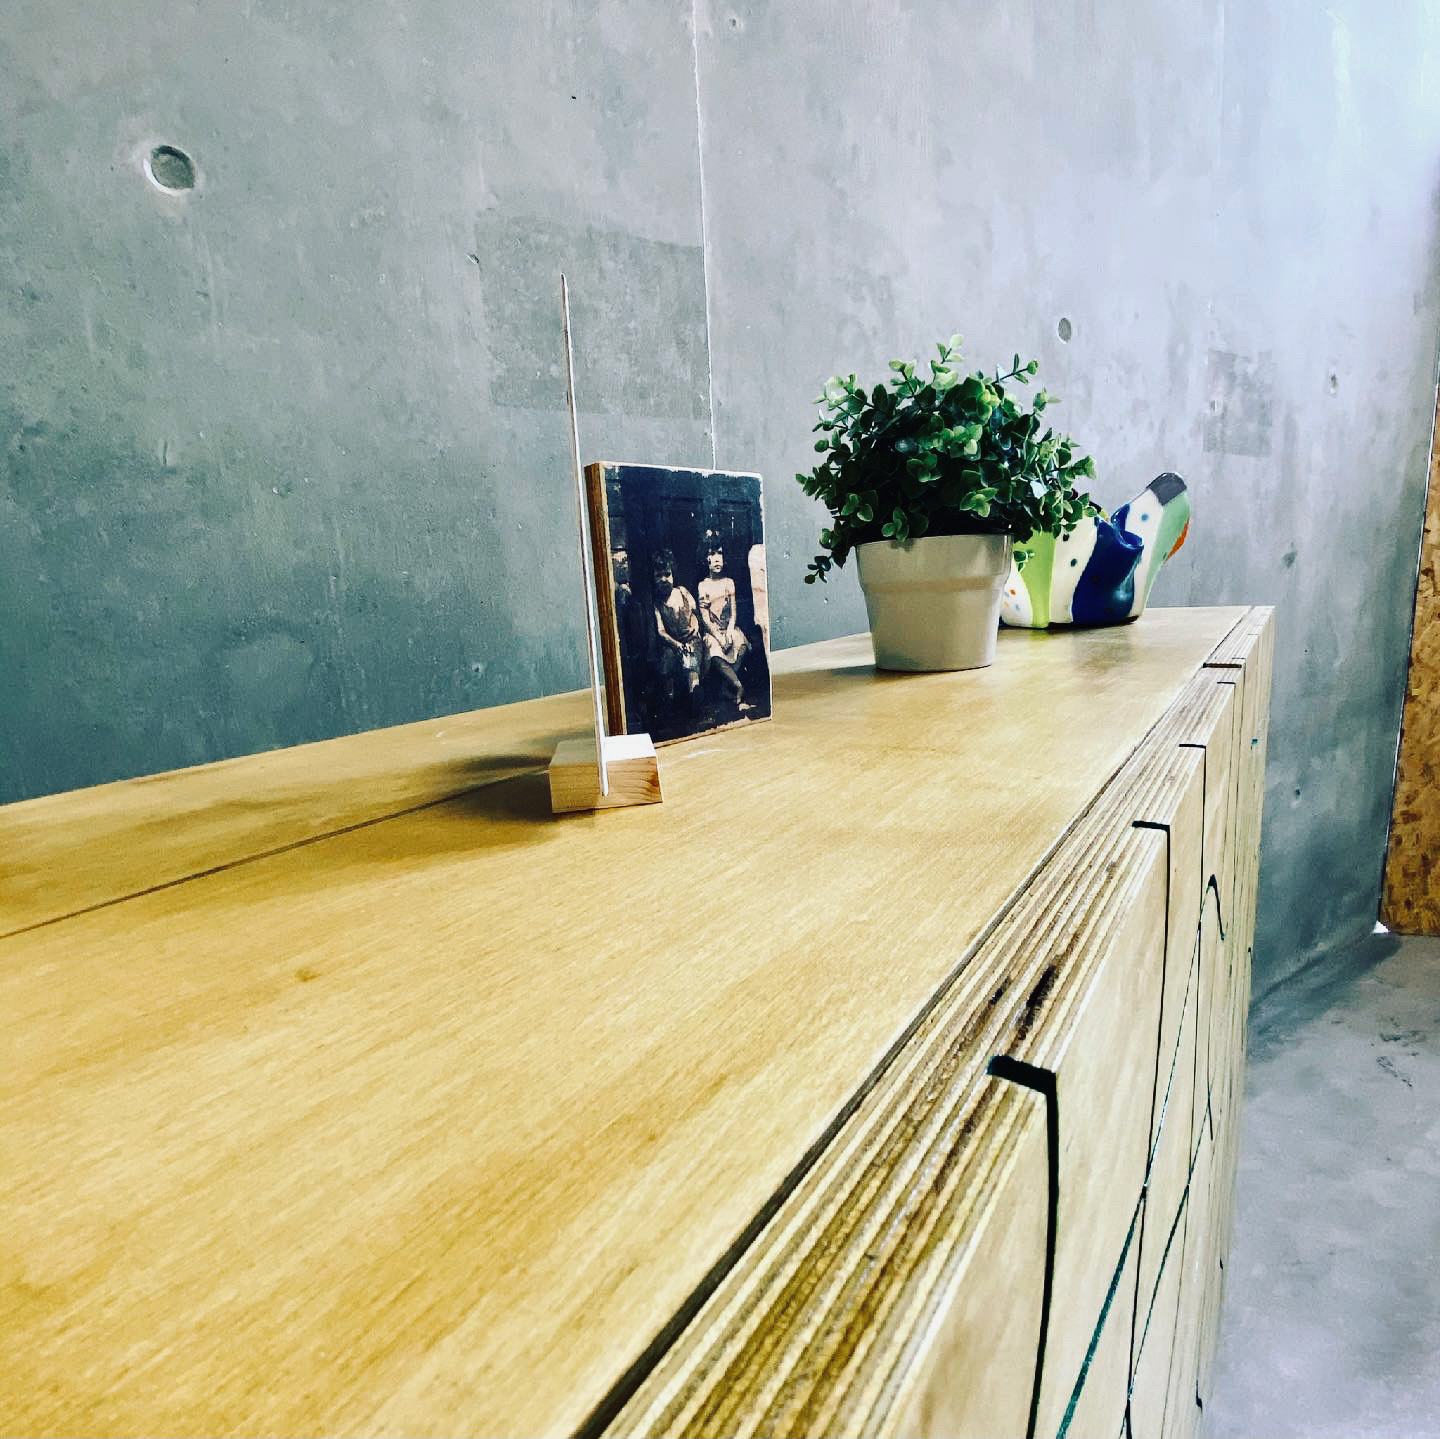
ASPIRE CABINET
> Mood Boosting Accents – this piece has the hope of improving mental wellbeing at the core of its inspiration. This is done through mood boosting colour and association with the relaxing nature of water.
> Simplistic Shape - the simple shape of this design was purposeful so as not to distract from the surface pattern. The pattern is the key design element and so having this be the focal point is the most important consideration.
> Higher Level - by lifting the piece off the ground, it not only allows for door clearance, but also allows the rather large piece to feel elevated. The heavy piece now seems lighter with the surrounding space allowing the lines to trail off in a way that stands out.


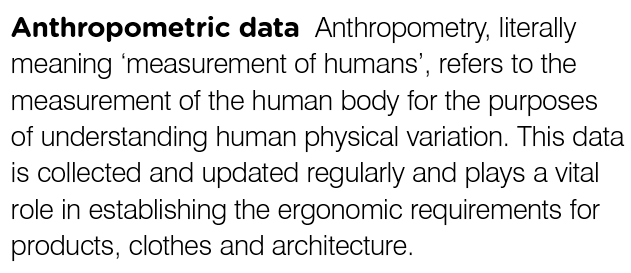
UNDERSTANDING THE ANTHROPOMETRICS AND ERGONOMICS
I have never particularly looked at these aspects of my work before, however this is the best way for me to understand the suitability and practicalities of my designs. First, I had to explore what these principles are and how they affect my work.
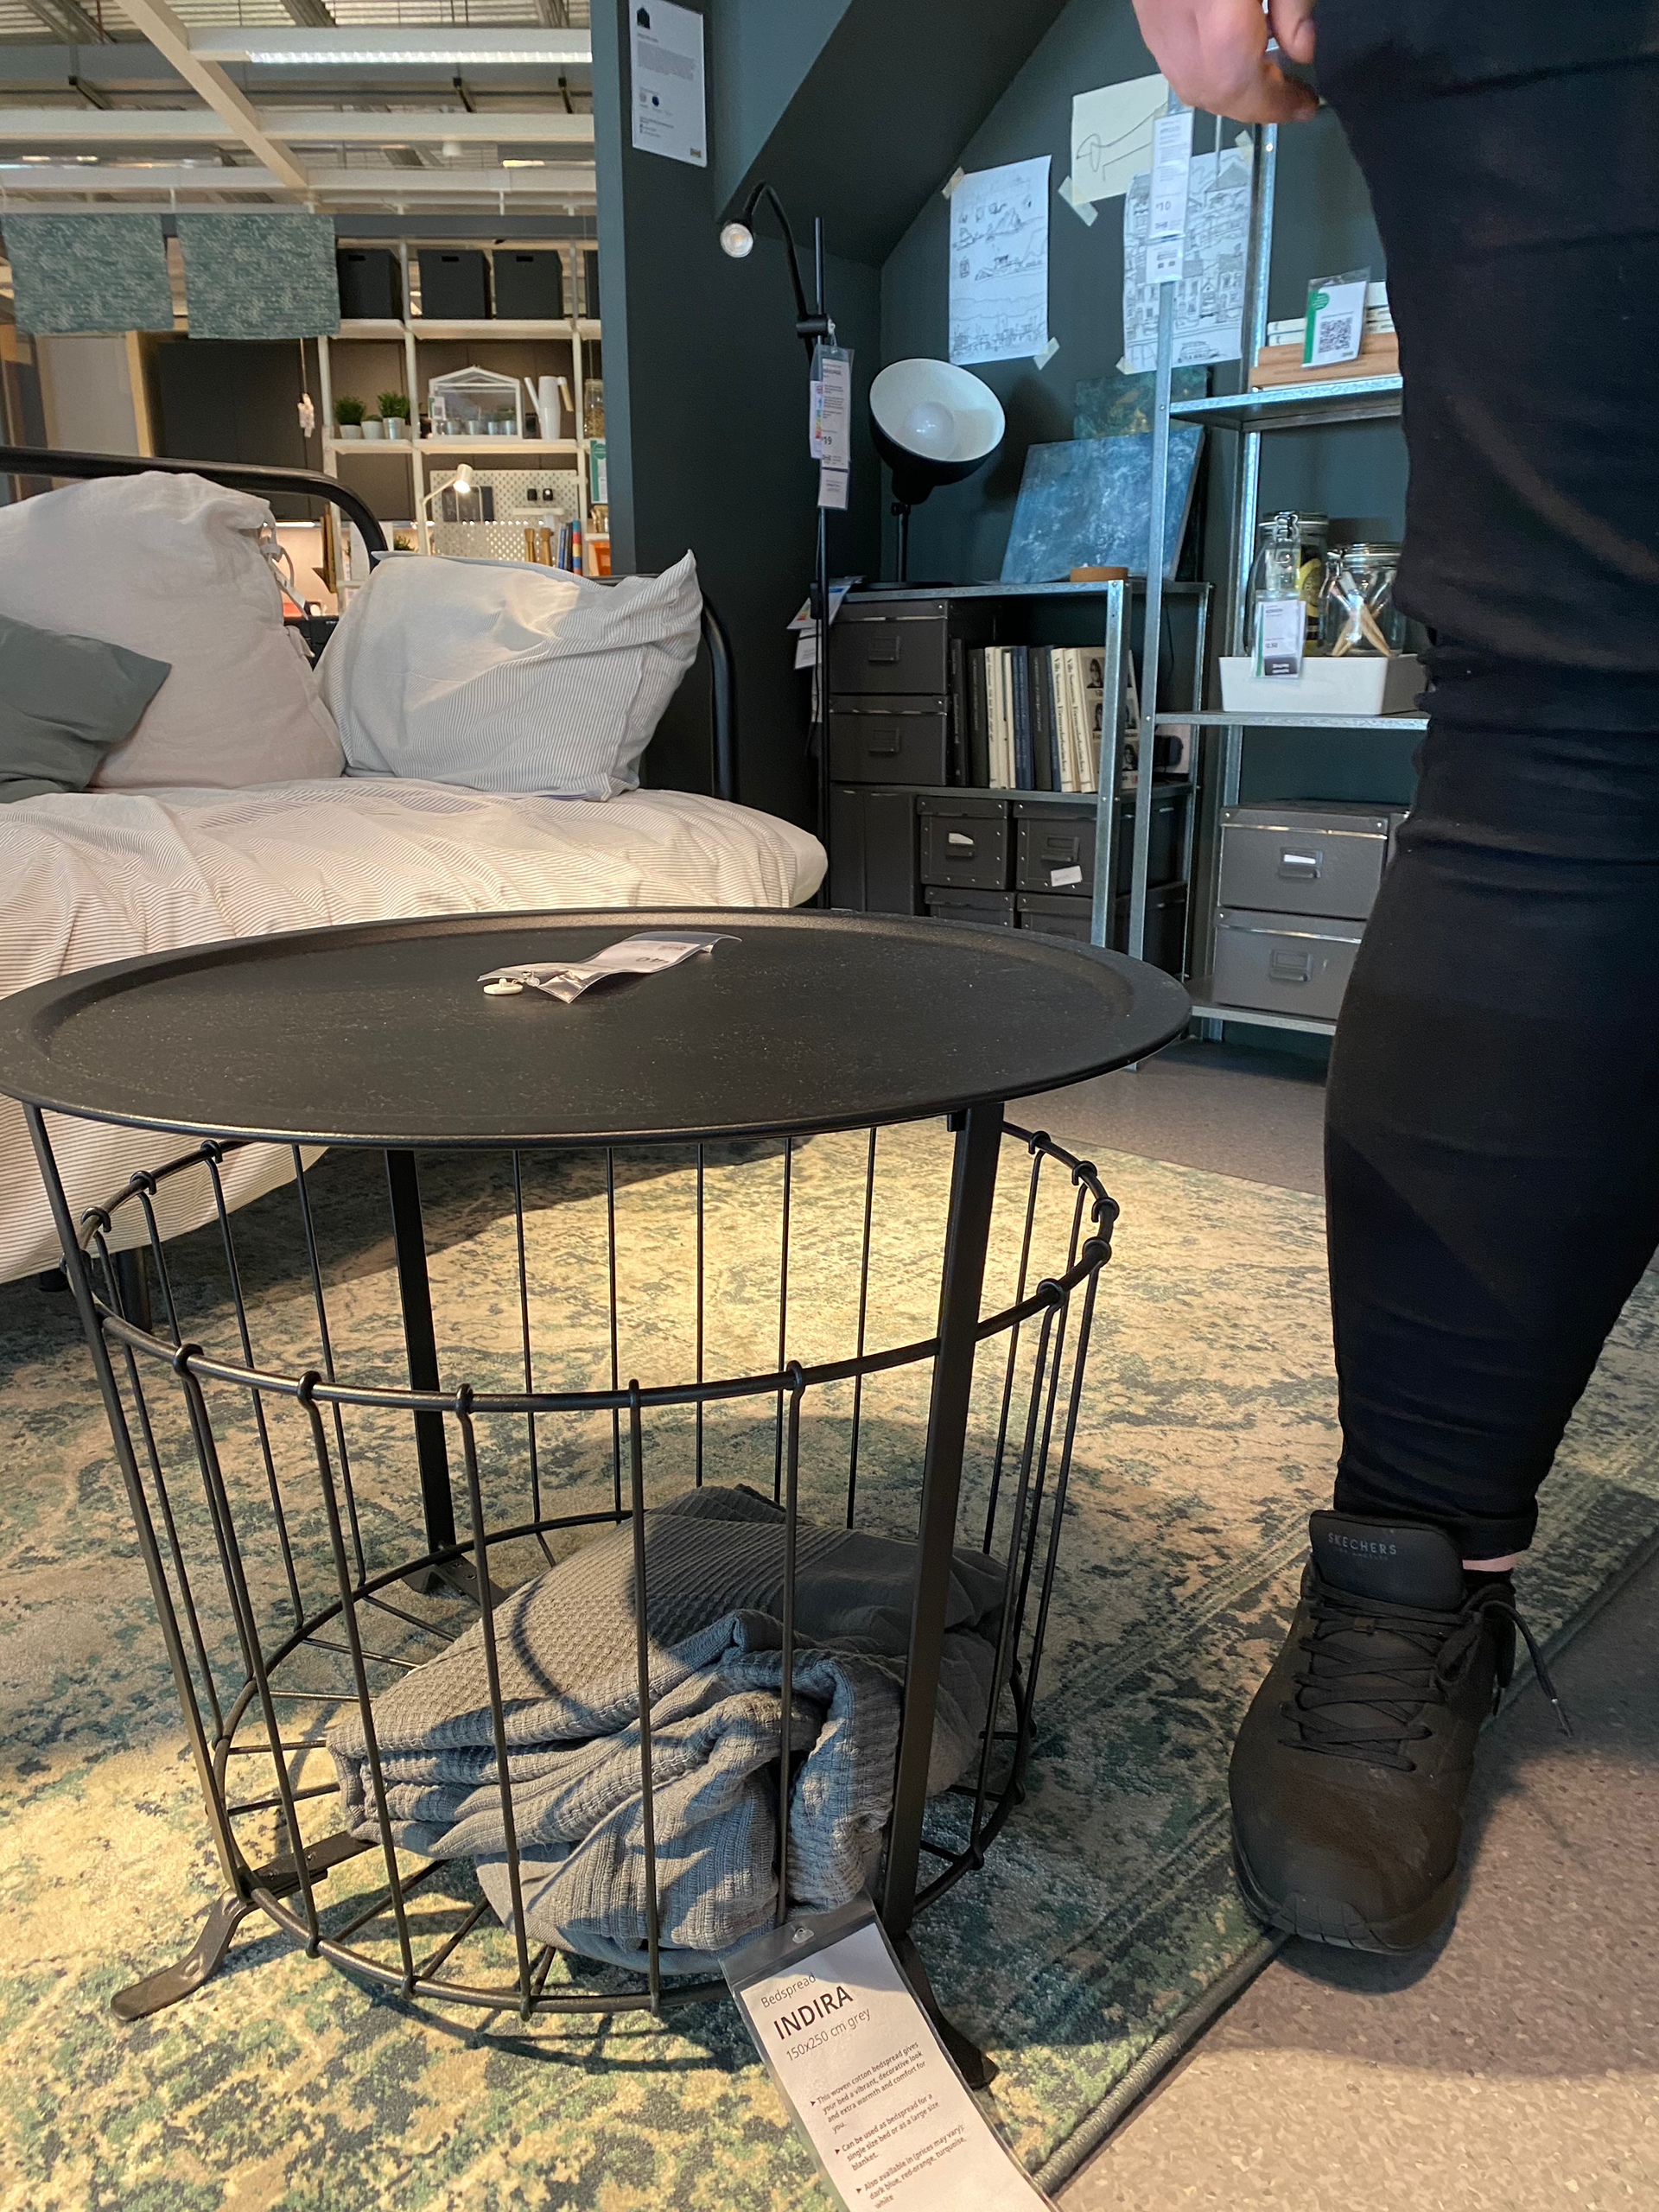
HOW DOES THE SIZE OF PRODUCTS DIFFER?
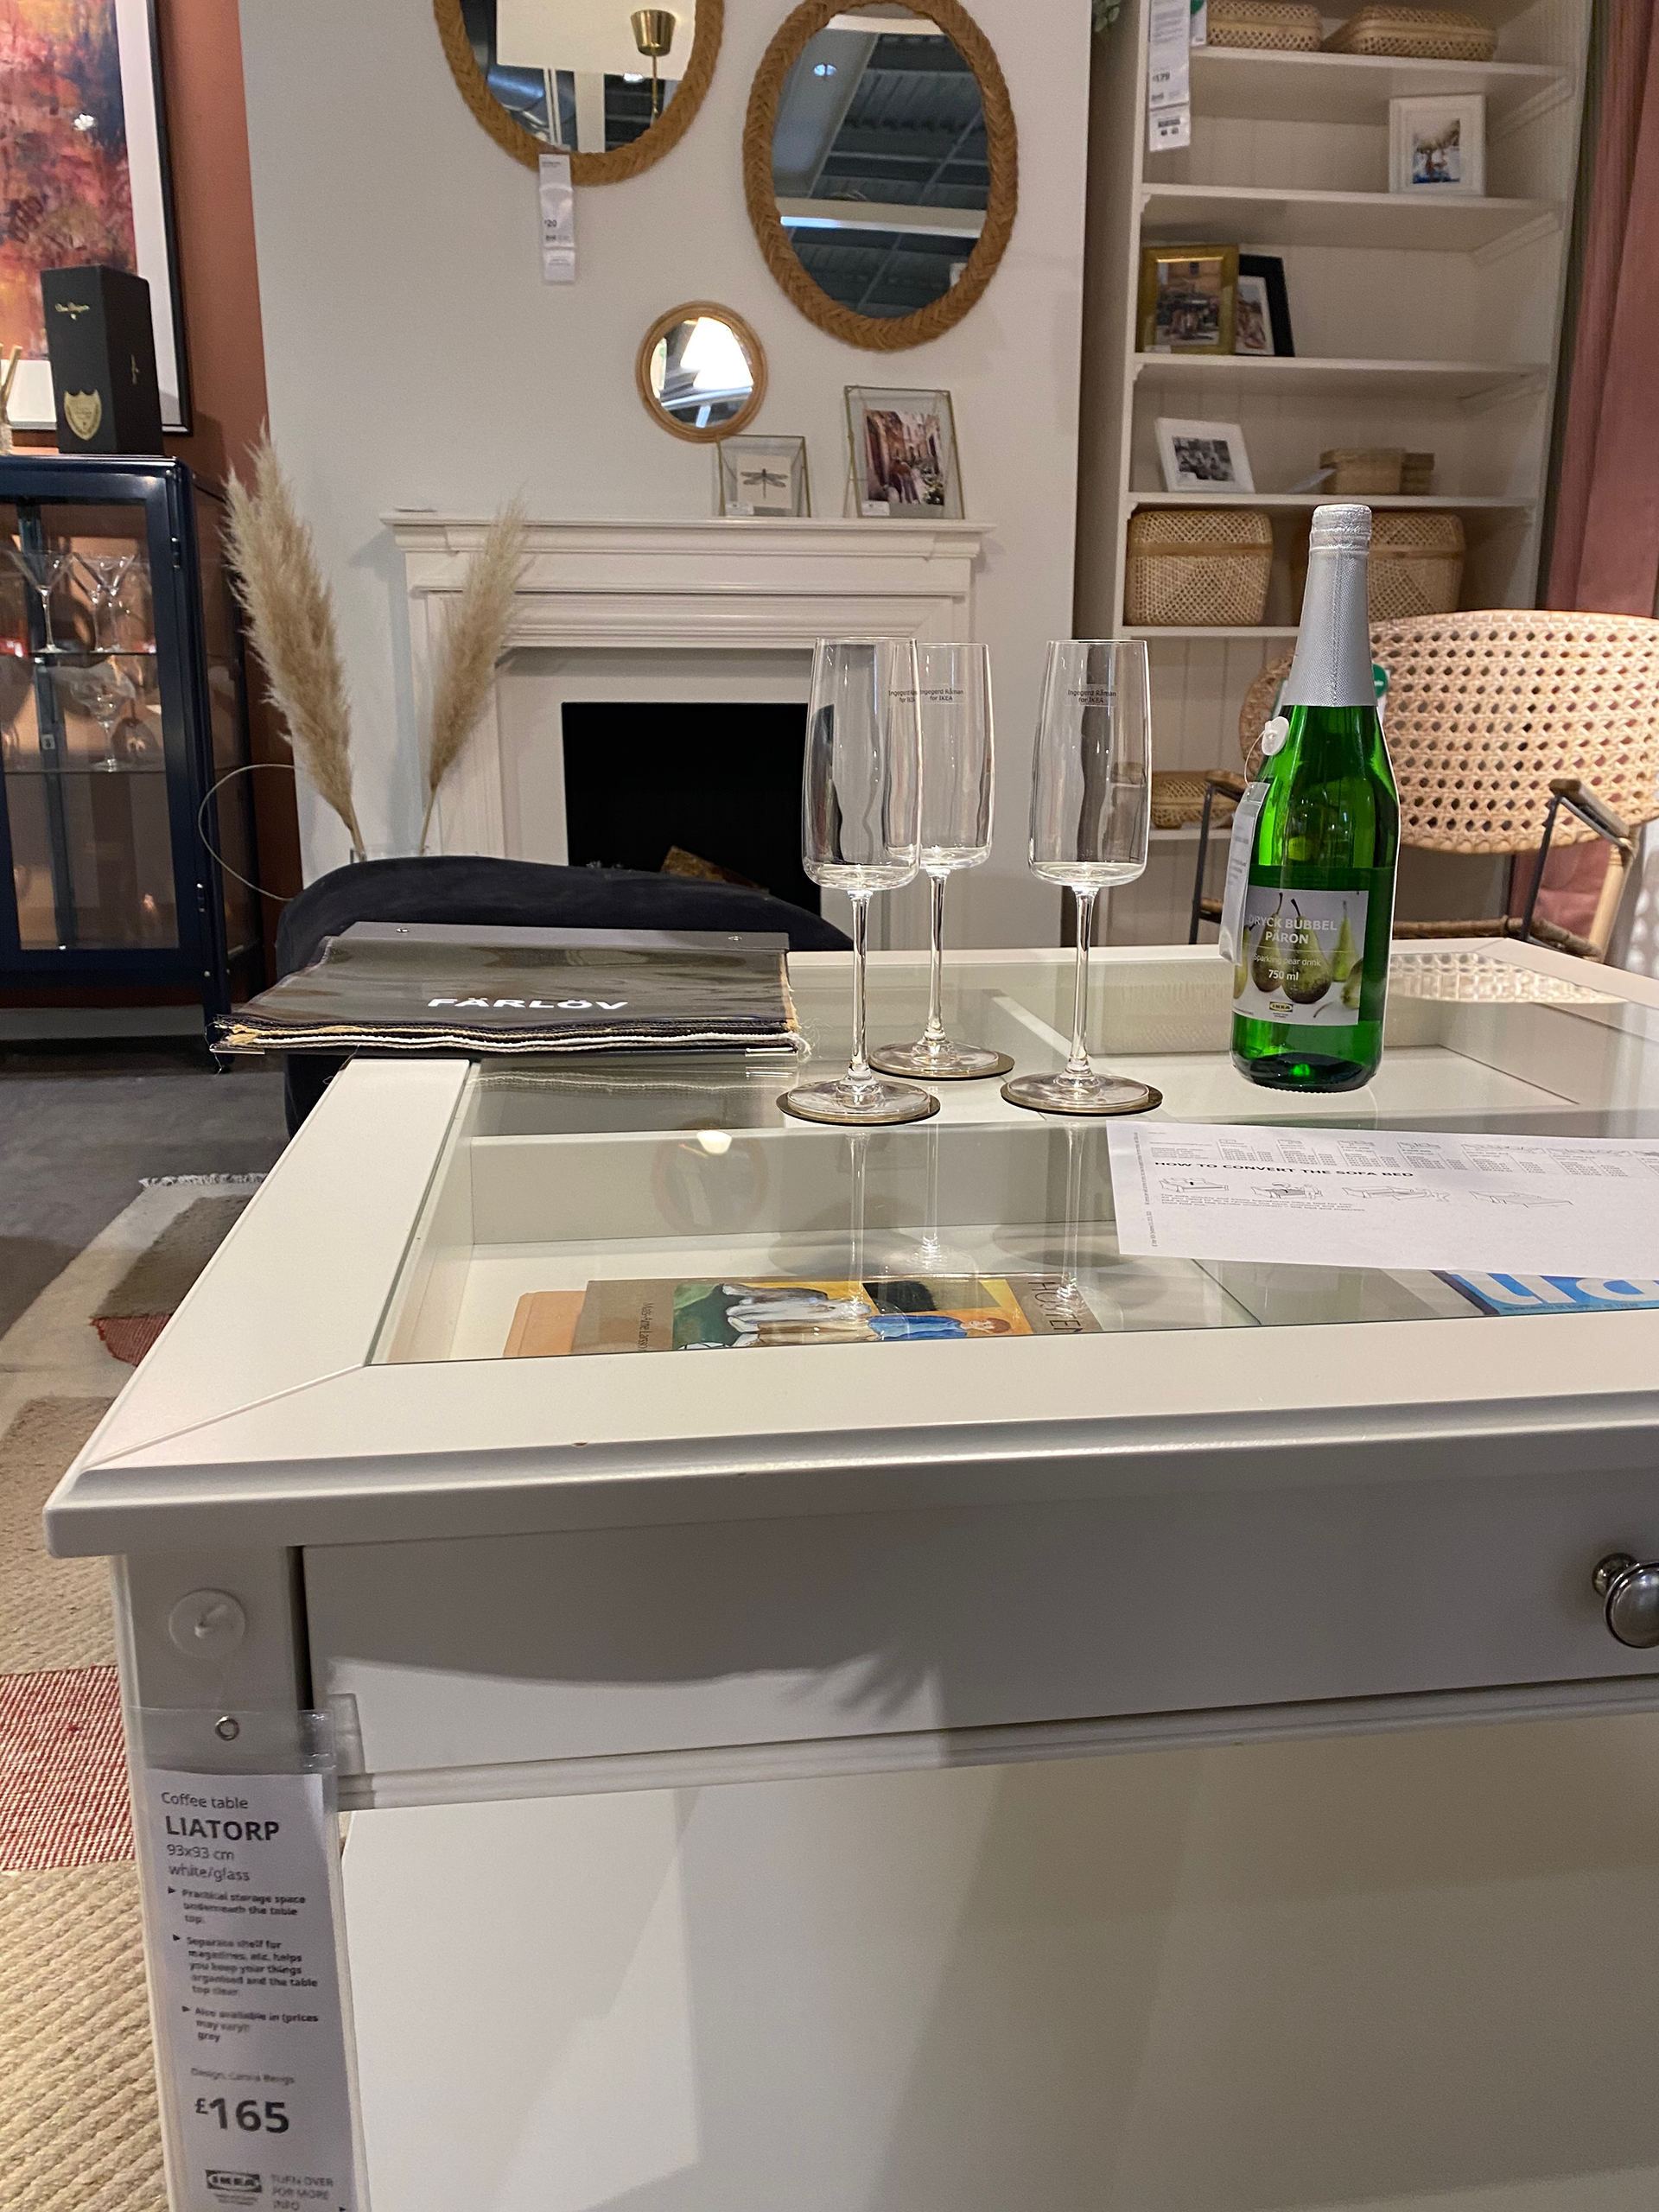
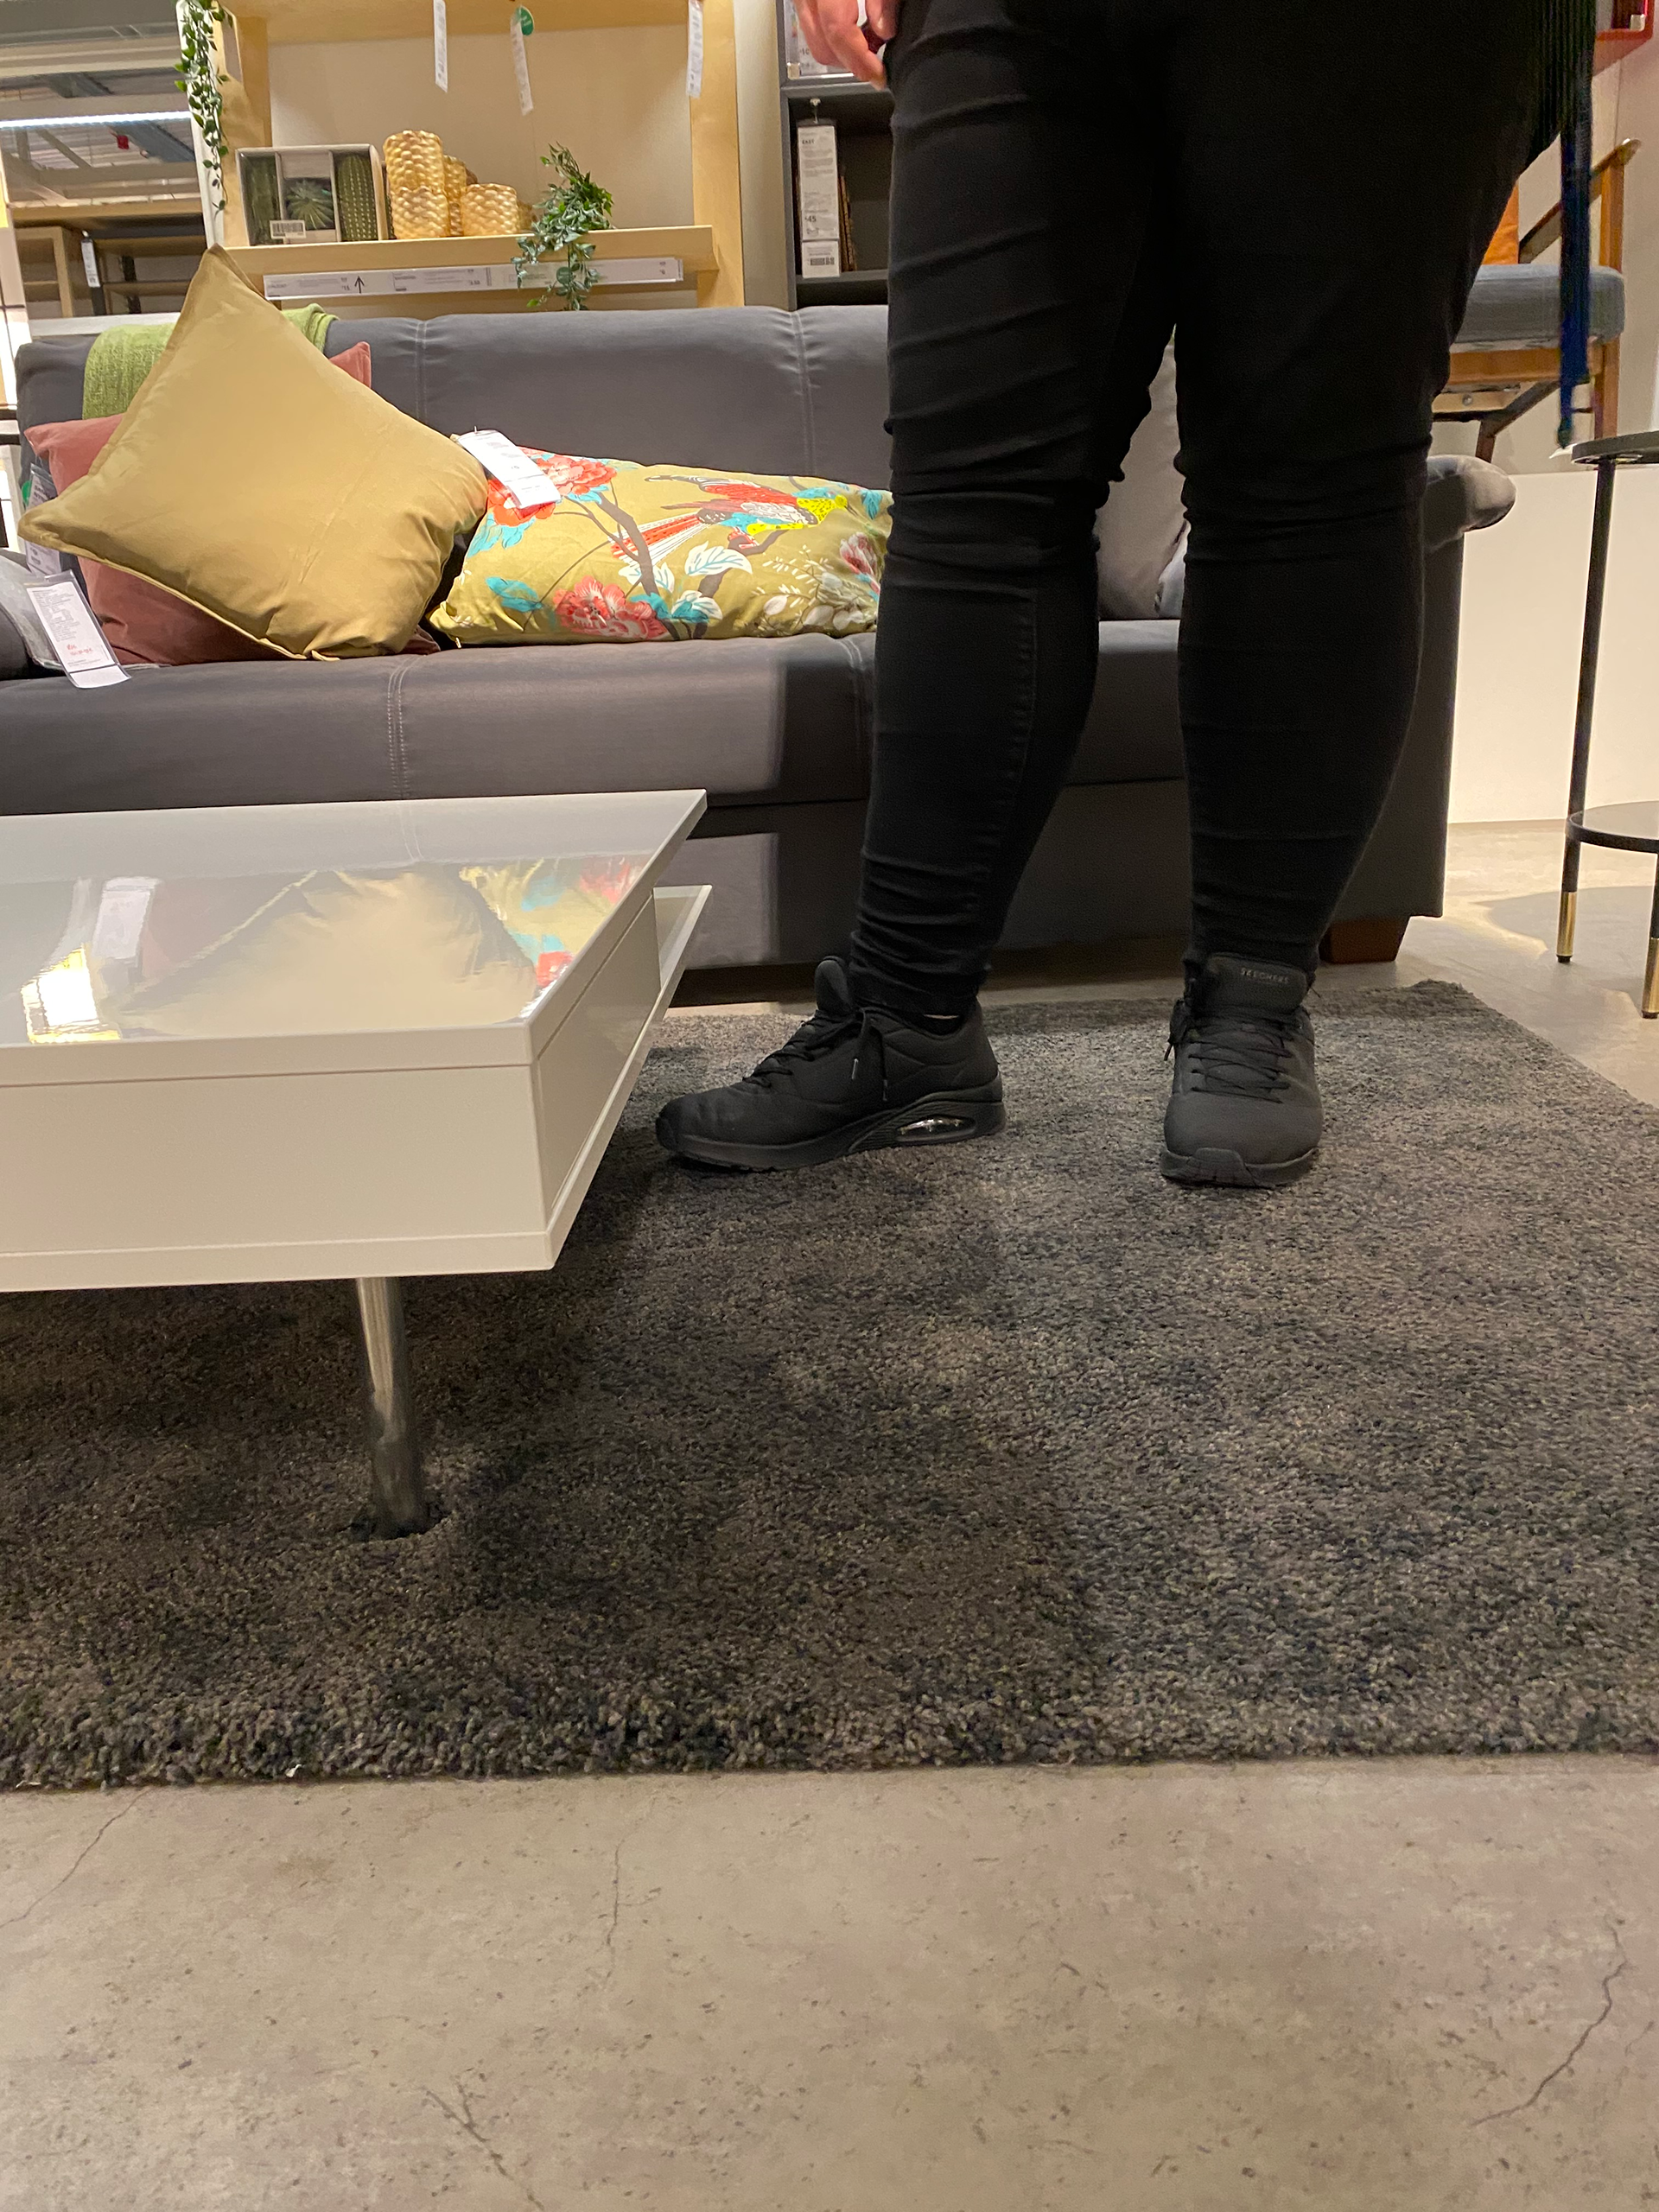
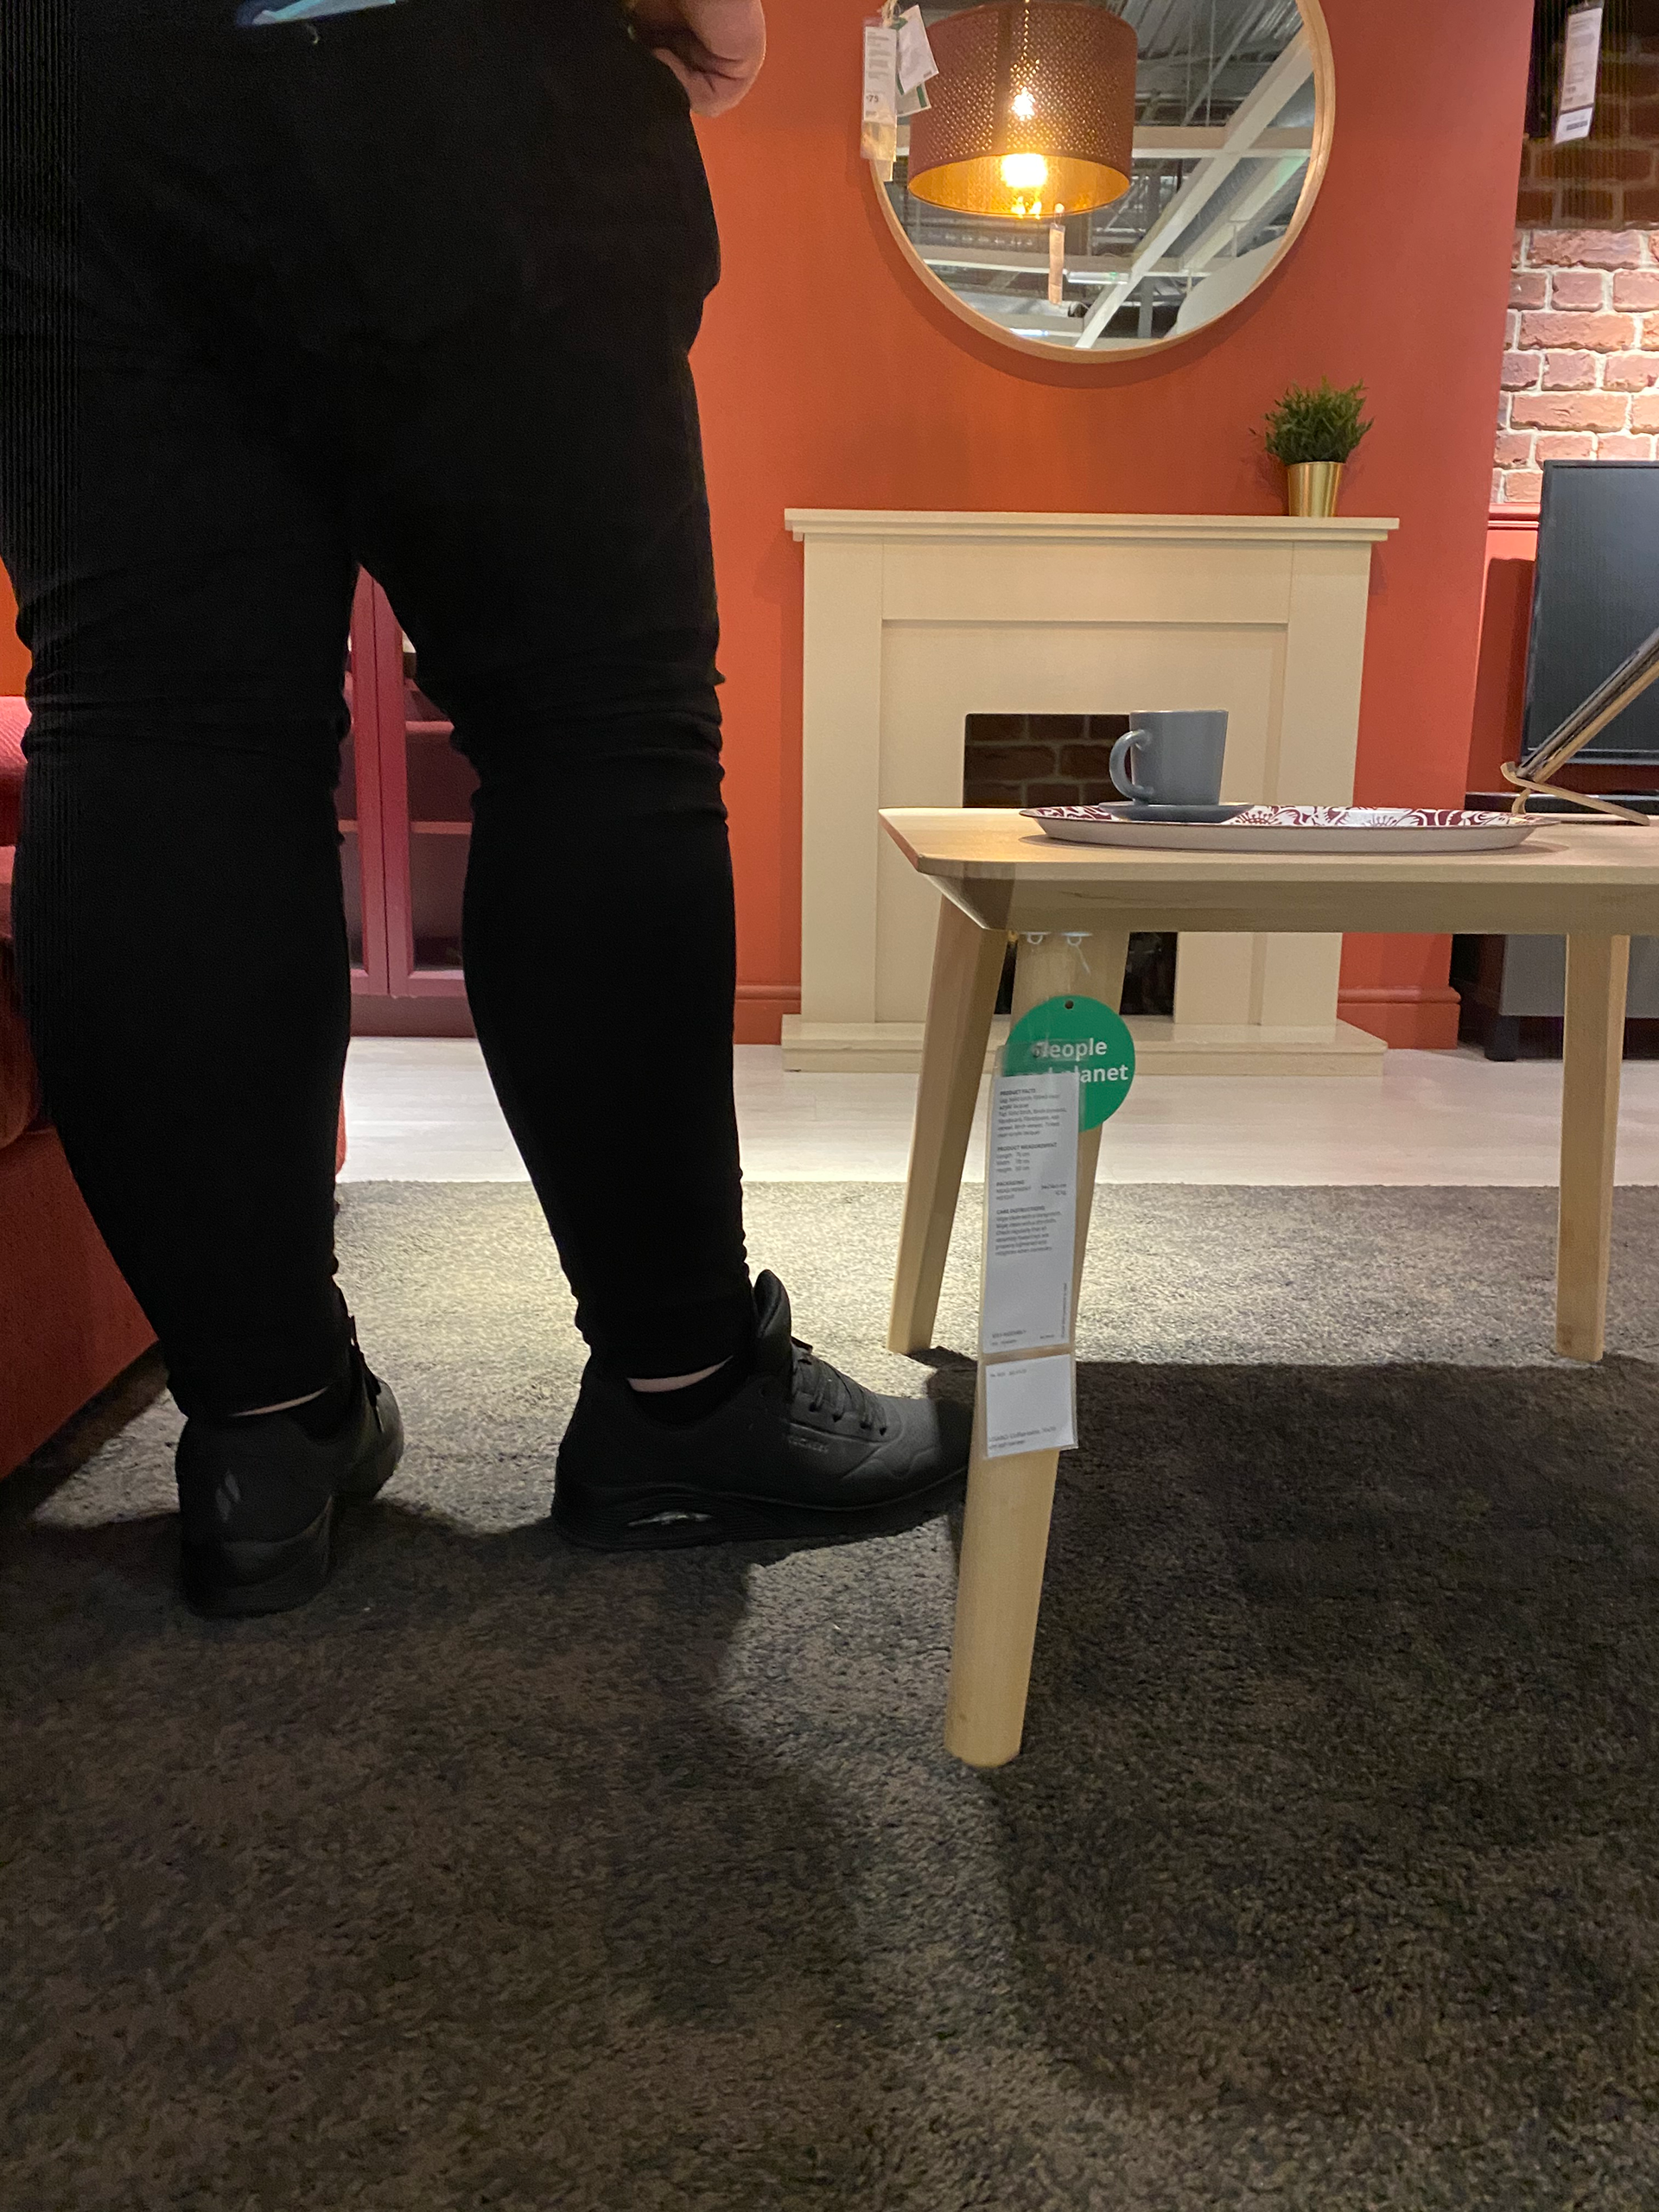
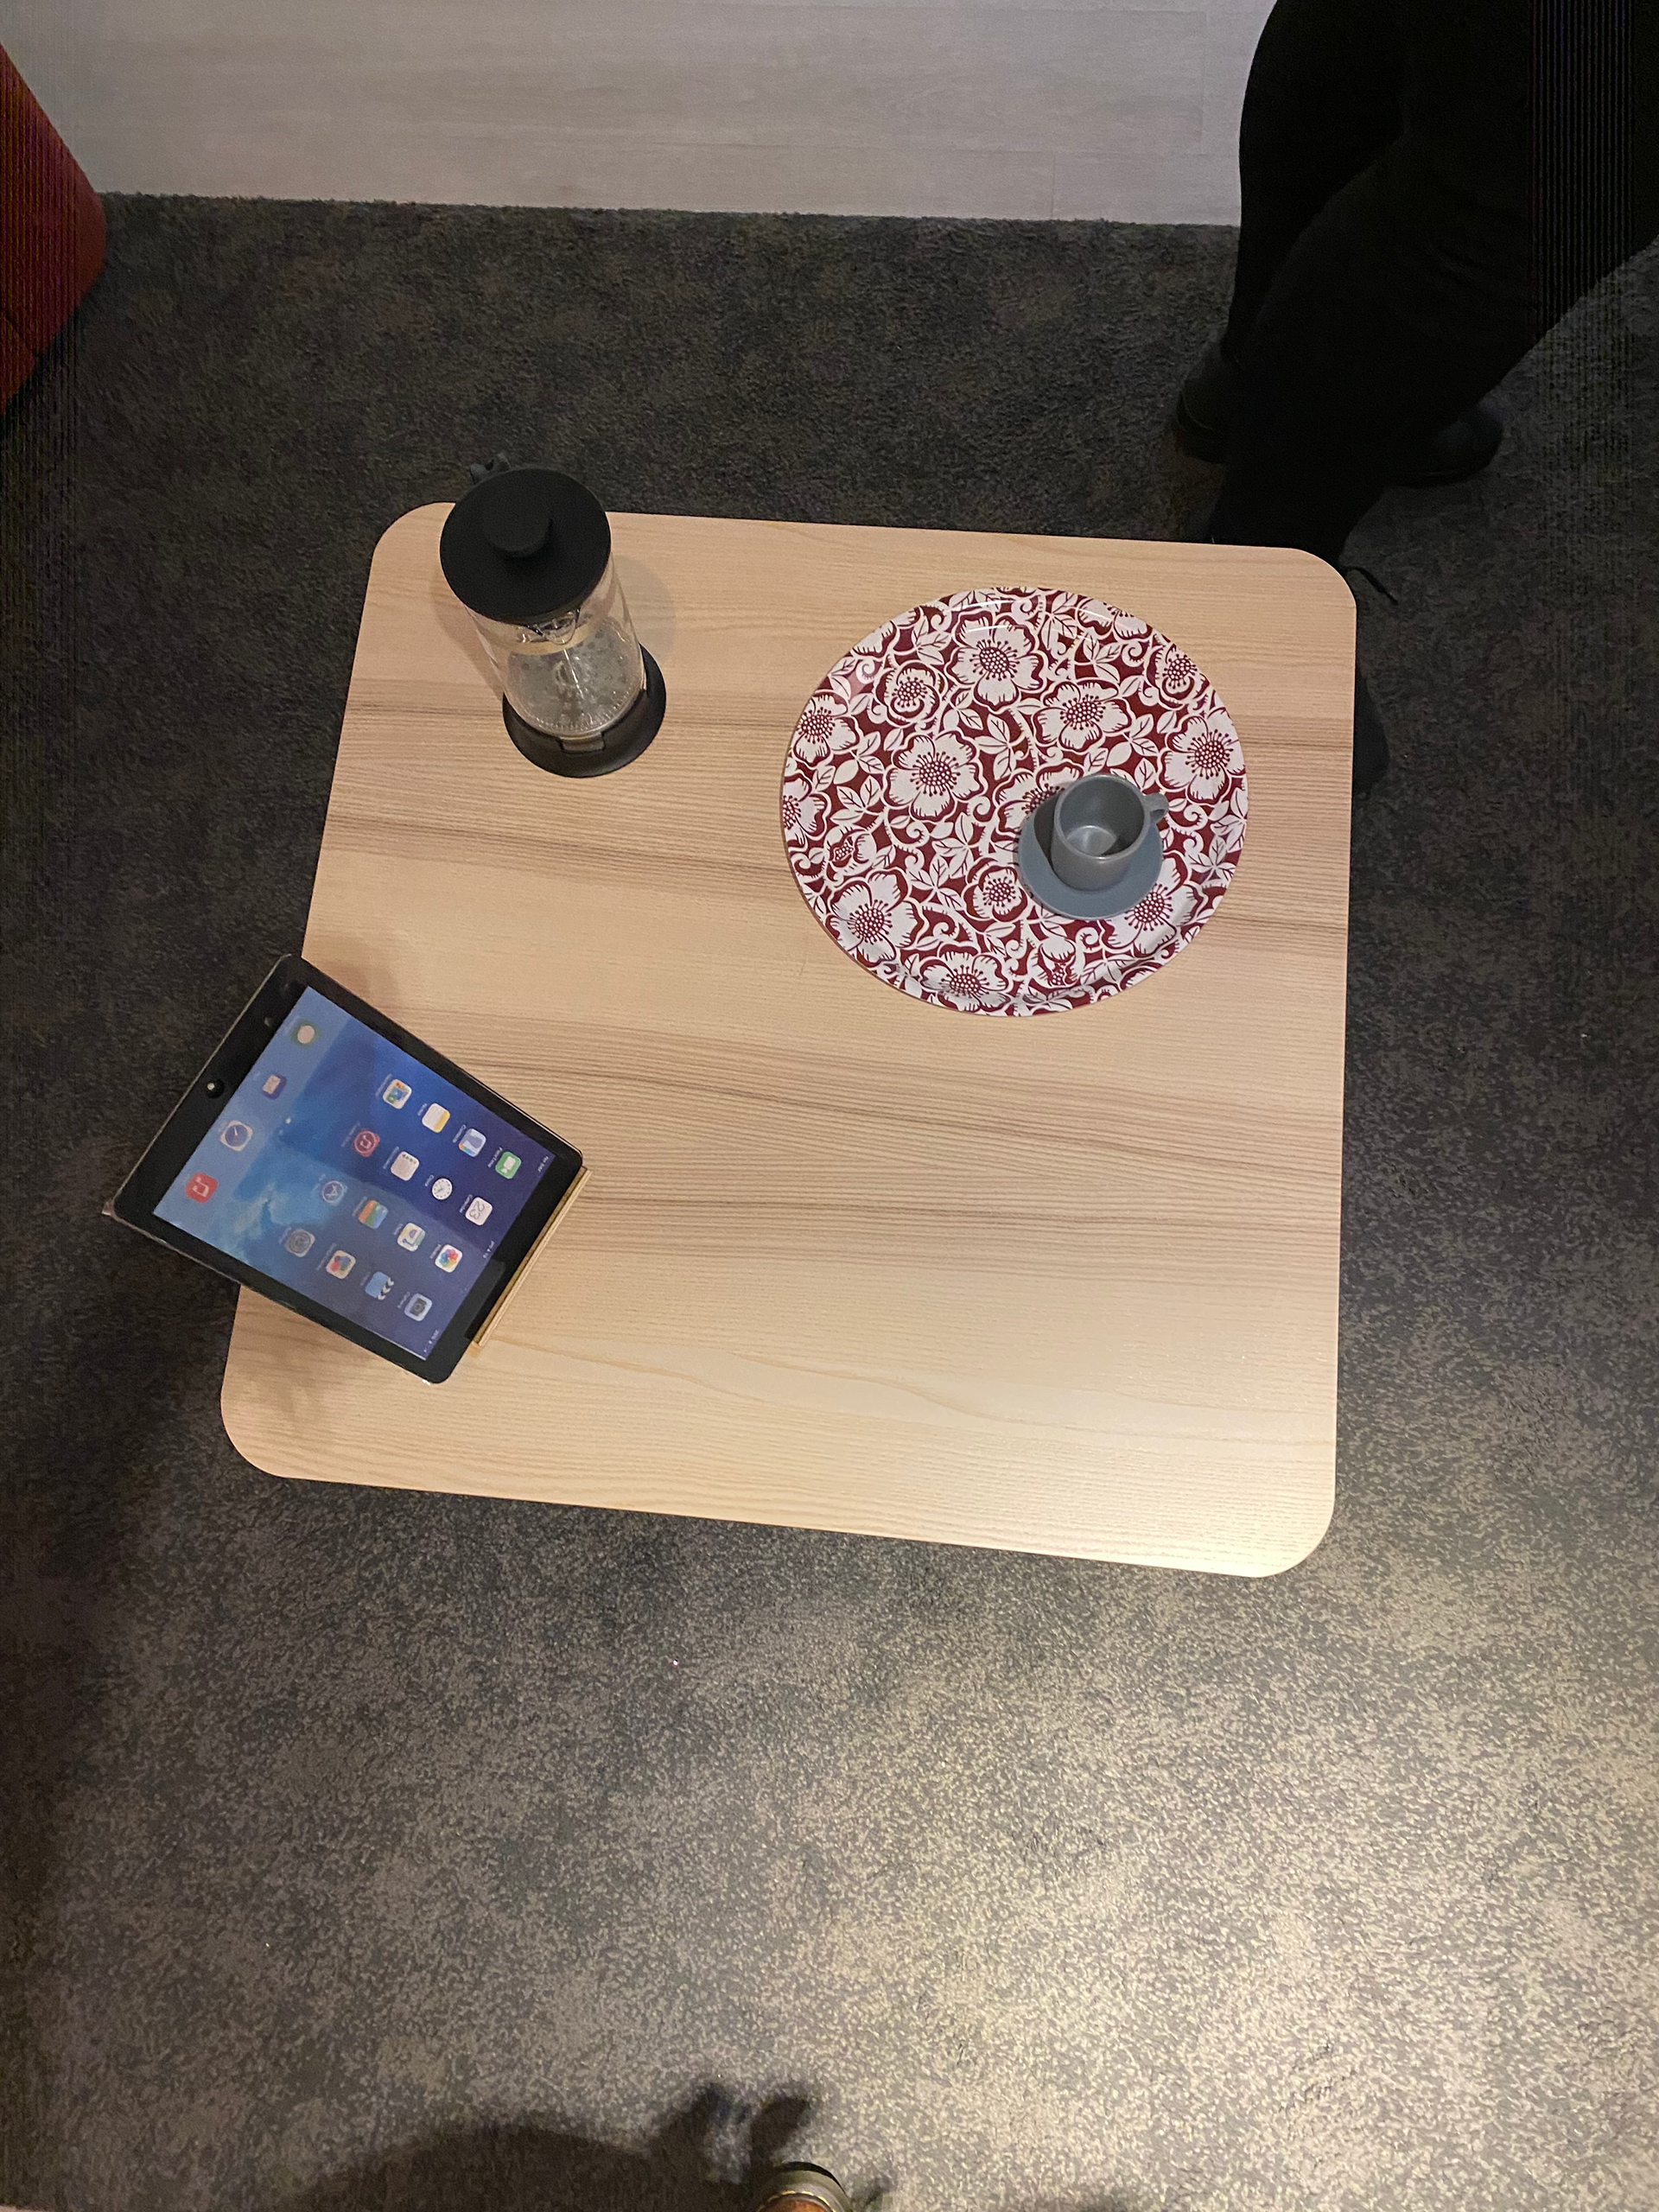
To understand what kind of variations there are in design I went to a show to record how the different items are intended to be used by consumers. Even though there are optimal heights and sizes for human use, as determined by any collated anthropometric data, it was interesting to see that there is such a vast variation between items. This did mean however that there is a sense that there isn’t a ‘one size fits all’ philosophy when it comes to modern design. By having so many different heights, shapes and sizes it truly does mean that there is something for all styles and intended uses.


To figure out if my designs are “usable” I collected the average dimensions of coffee tables and cabinets available on the market today. I collected the measurements of 7 items from 4 different retailors totalling in 28 different sets of measurements, this was so I could get a broad spectrum that is not determined or affected by any companies standardised dimensions. The companies featured are ranged between mid and high end. The two tables below show that the average dimensions are:
Coffee table - 800mm x 1058mm x 407
Cabinet - 416.36mm x 954.48mm x 1070.68
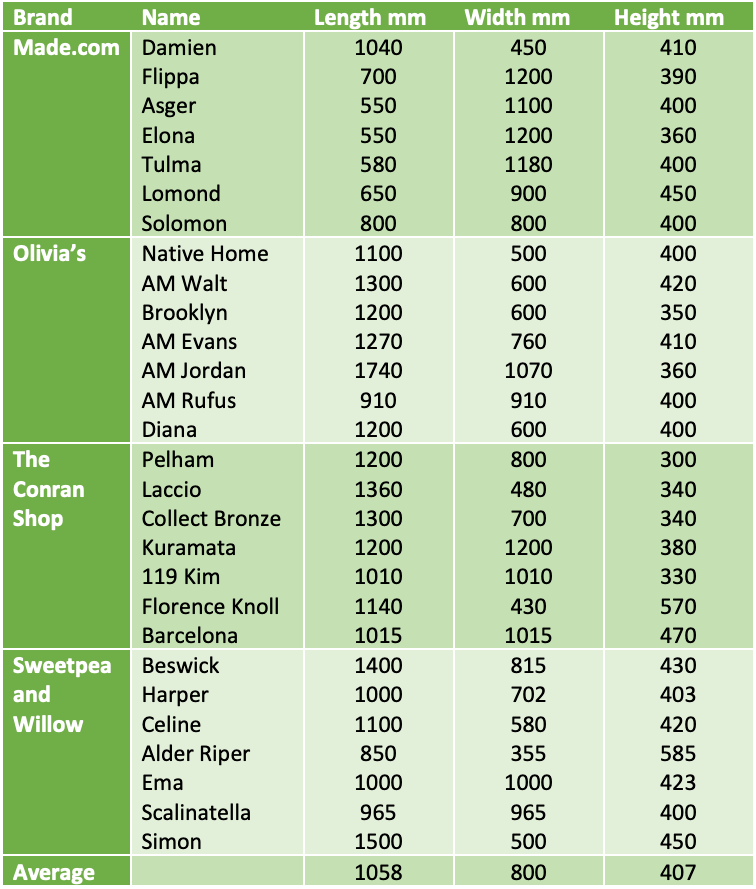
COFFEE TABLE AVERAGE
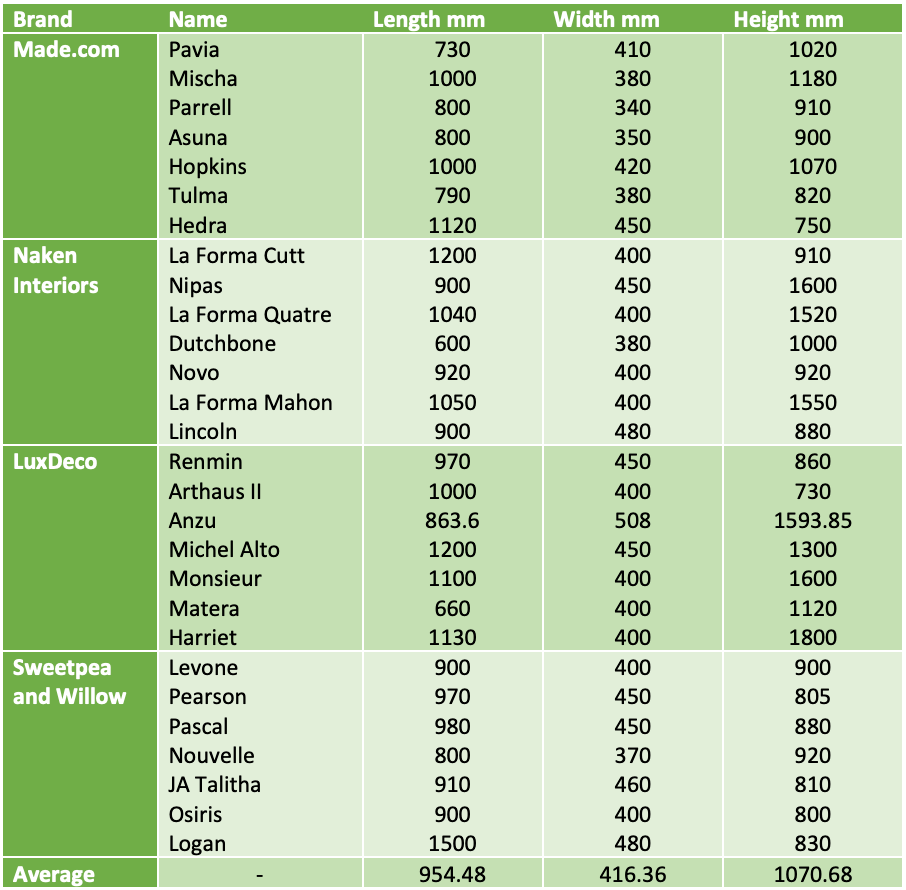
CABINET AVERAGE
If these are the average dimensions for these furnishings, then I need to decide if I want my pieces to conform to this or stand apart and make my pieces more unique. The dimensions of my pieces are:

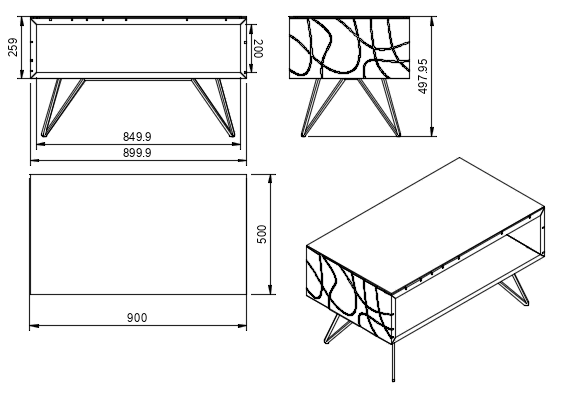
My measurements are not the same however they aren’t overly off. I believe that at these sizes the pieces would still be usable. One thing we found whilst looking at the different items in the show room was that quite often the coffee tables were too low, this is rectified on my design by having the piece higher. The hopes are that this will make the piece more appealing to those who are wanting a higher table. When it comes to the cabinet it is the length that is slightly differing, this is however, not something that is failing the design. I want the pattern to be bold and striking and having the piece this size should do that.
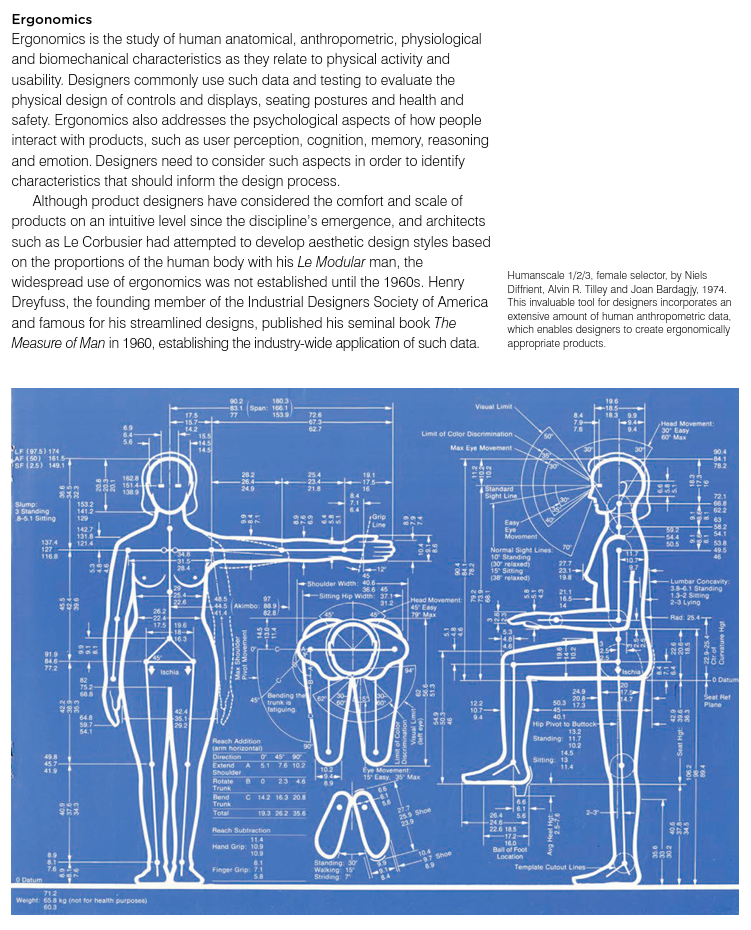
To get an even stronger understanding of my designs I generated some to scale drawings of my designs next to the proportions of Henry Dreyfuss’s human measurements.

COMMERCIAL ANALYSIS
To see if my designs are unique and profitable, I did an extensive exploration to see what the current market has to offer. I found several collections from low to high end retailors and designers. One has an orientation towards traditional tools and processes and the other is about batch production designs that are swapped out regularly. Both collections are similar to my mine in the sense that they have minimal aesthetics with clean lines and material relationships.
Wayfair - Brockville Collection (Low End)
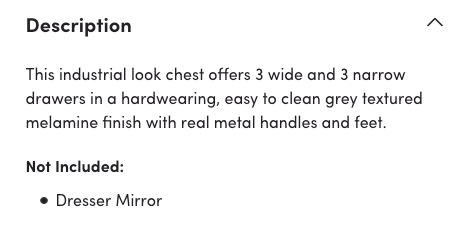
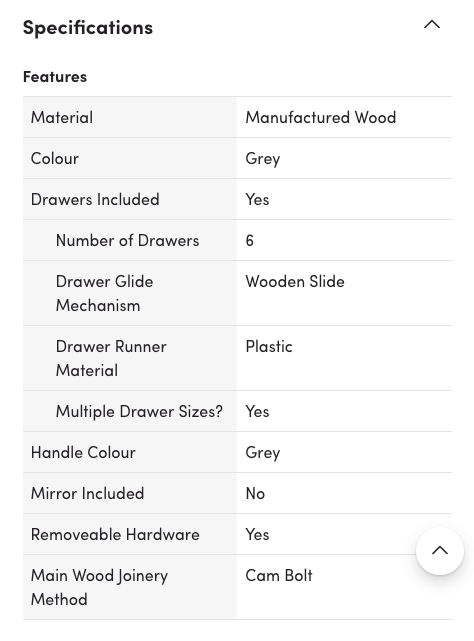
As a low end retailor, Wayfair’s products are extensive and afford aiming for maximum interest and customer satisfaction. This specific collection follows the current trends of grey surface finishes with metallic accents. The piece comes unassembled; however, this would allow for faster safer distribution and delivery. The material listed is manufactured wood, this most likely means some sort of plywood or veneered MDF/chipboard. This sort of material choice is popular among ‘fast furniture’- companies orientated towards the masses that are not made to last, they are trend orientated pieces that generally get changed out after a couple of years if not sooner. This combination of self-assembly and cheaper materials is reflected in the price. Looking closer at a particular piece I was able to get an understanding on the price attached to the item. The Brockville 6 Draw Chest is priced at £279.99, as this product will be made in bulk numbers it is easy to assume that even though the designs are on trend, they are able to keep the prices in a lower bracket by have minimal steps in production as well as self assembly, which will cut labour costs.
( https://www.wayfair.co.uk/keyword.php?prefetch=false&class_id=&keyword=brockville )
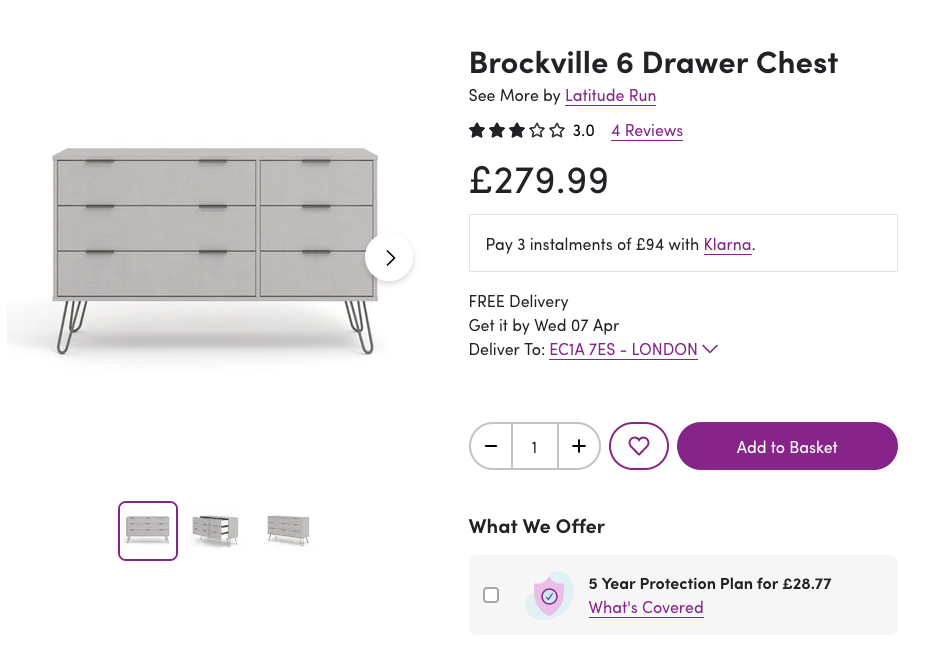

( https://www.wayfair.co.uk/furniture/pdp/latitude-run-brockville-6-drawer-chest-u002982860.html )
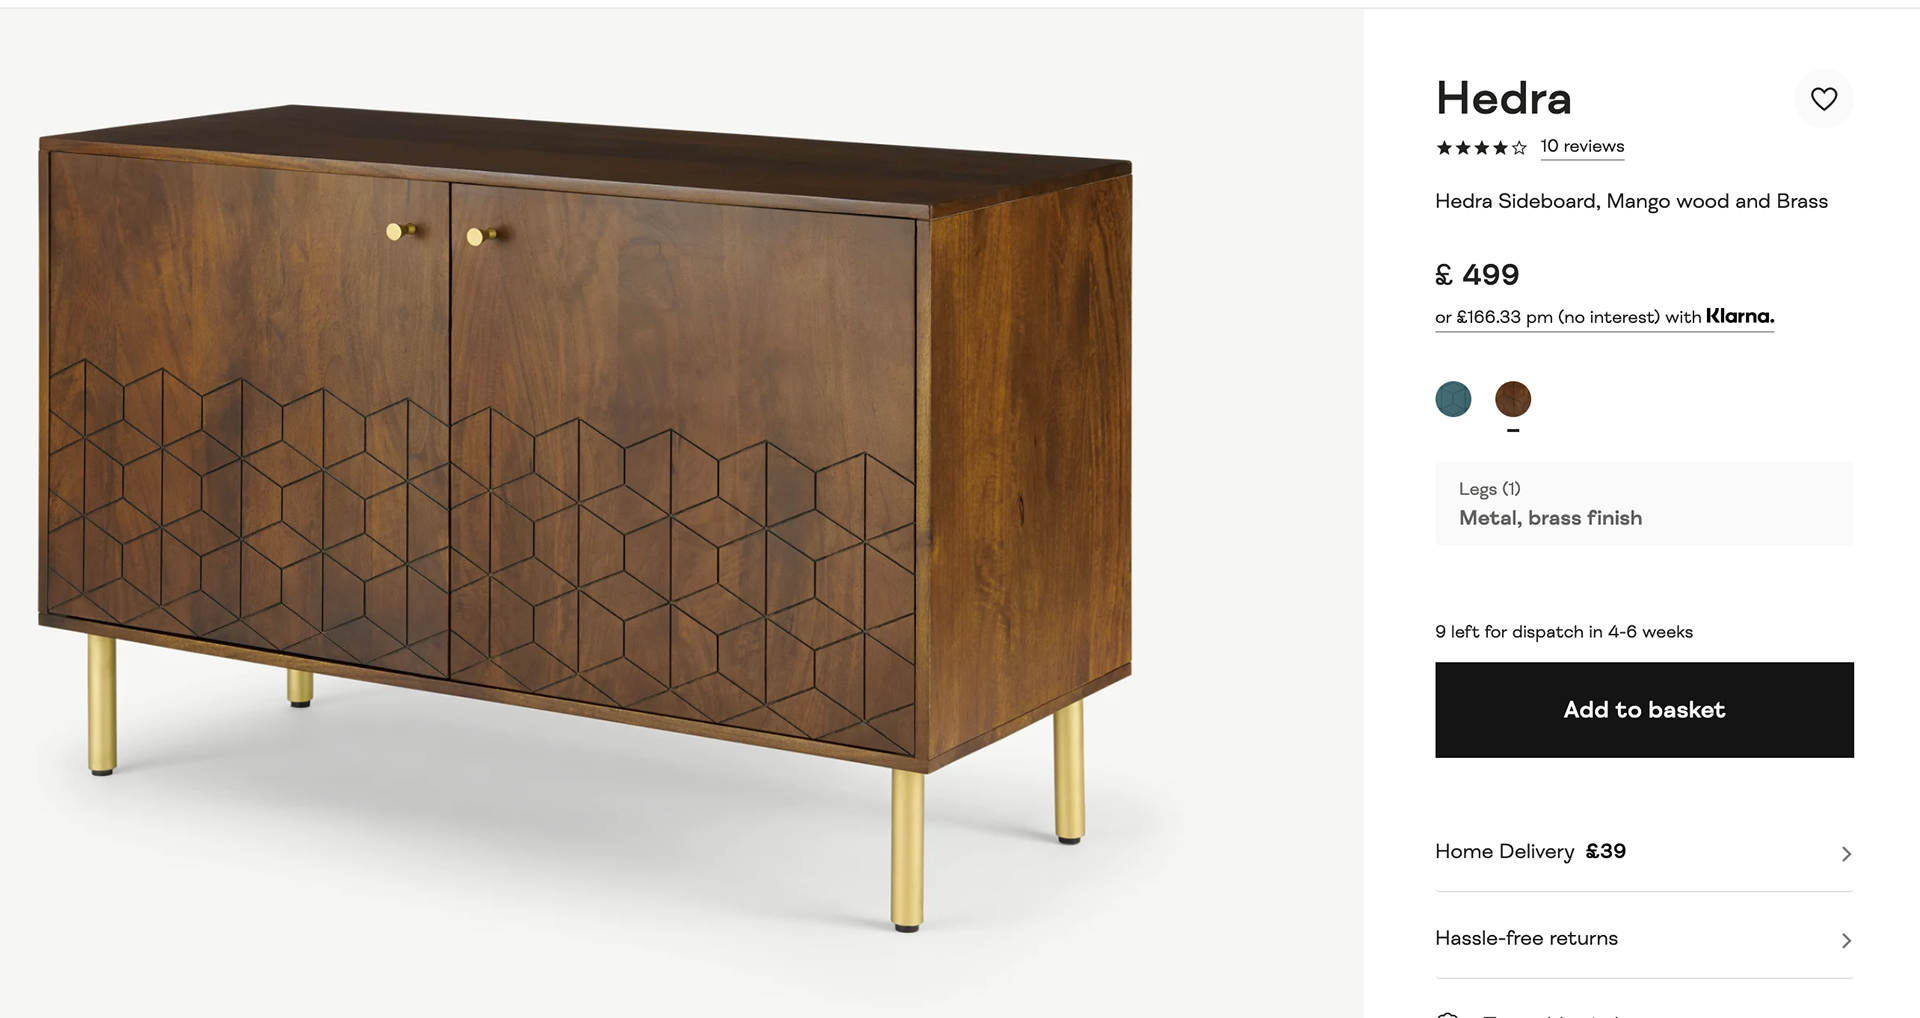
MADE.com - Hedra Collection
I would consider MADE.com to be between a medium and high-end retailor. Their pieces are made in batches to an extent; however, their materials tend to be better quality with more handmade elements. Their collections are updated regularly with new products and designer collaborations. The specific collection that I have chosen is their HEDRA collection. This collection features a geometric hexagonal pattern cut into the surface of mango wood. The strong colours of this collection work well to create a modern atmosphere that will work in any minimalist, industrial environments. The only form of assembly for buyers is attaching the legs; this does mean that extra steps will have been added for the production process, hence the reflection in the cost. One thing of note is that the cost of delivery is much higher; there are a number of things that will be the cause of this, such as the size of the assembled item, there may as well be more protection for the higher quality items, and finally there may be a higher insurance price for the transit of goods due to the value if the items.

( https://www.made.com/search/where/q~hedra )
Tikamoon - Liv Collection
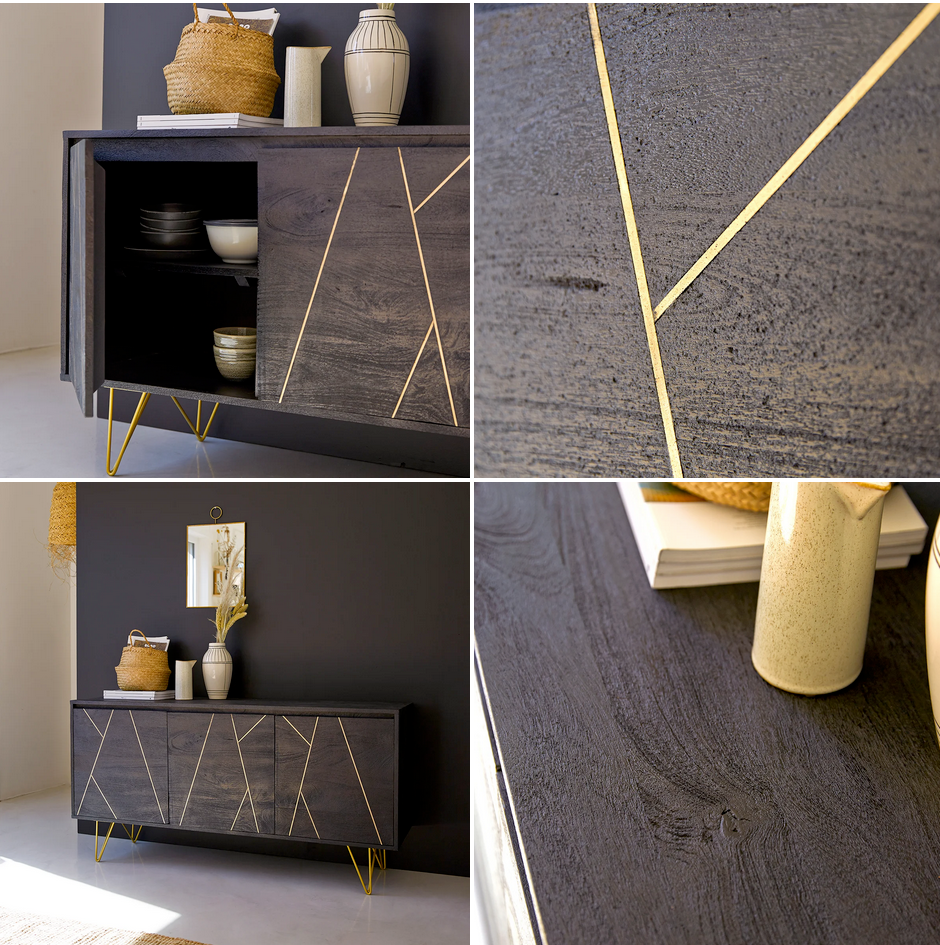
This is a company that hold authenticity and accountability at the centre of what they do. This means that they cover all stages of designing and production. This starts with solid wood materials and traditional craftmanship in associated workshops across Europe and Asia. All their materials are responsibly sourced with a sustainability plan in partnership with WWF and the FSC. Direct designing, making, and distribution, allows them to have complete faith in their pieces meaning they provide a 5-year quality guarantee. I specifically looked at their sideboard. This piece is similar in size to one of my designs and carries the traits of a channel detailing. The channel on this design is created using a metal inlay; this requires a higher level of craftmanship compared to the other designs I have looked at. And so, it is clear to see this reflected in the price. This is most definitely a higher end design brand that has thoroughly thought out their goals as a business and commitments to their industry.
( https://www.tikamoon.co.uk/collection-liv-13-145.htm )

(https://www.tikamoon.co.uk/art-liv-solid-mango-sideboard-2347.htm)
BATCH VS. HANDMADE
There is no argument that both styles of production have their merit. Traditional making of furniture has proven to stand the test of time when taken care of specially, however batch production is more open to fluctuation and change. Many lower end retailors work to match the trends and finishes that are popularised by consumer trends. As this is an ever-changing attitude the items produced tend to be of lower quality, so people replace them more regularly. There is a similar phenomenon in the fashion industry; low quality garments are made to only last the season ready to be replaced with the next trend. The idea of “Fast Fashion” can be adapted to “Fast Furniture”. However, the are some practices of machined production that can be used to enhance the pace and ease of handmade works. By generating designs that can be produced with both new and traditional techniques, you can have the precise work with the assurance of being able to spot any flaws and additional details.
In previous projects I have purely had a focus on hand processes and not given much thought to other means of making. For this project I wanted to explore the other side to modern making that involves fabrication and contractors. There are many reasons for this choice including new experiences to prepare myself for the industry and necessity. Due to the pandemic, I have had to shield. This means that I have been unable to use the facilities at the university and find other ways to get my work done.
Necessity and curiosity have given me the chance to get some industry experience which may give me an advantage come graduation. By doing this now I can see what I necessary for this type of production and how I need to adapt my modelling skills to make them dispersible to fabricators.
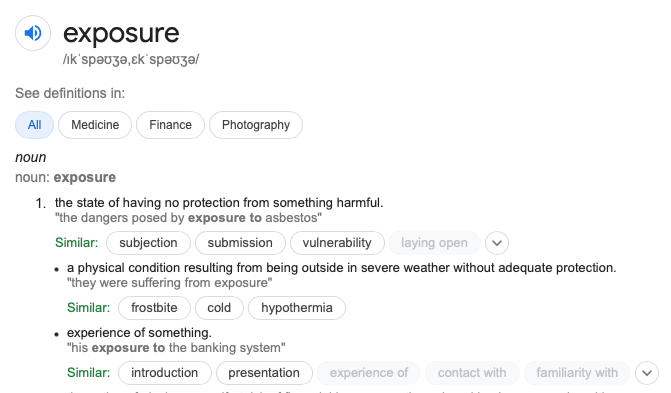
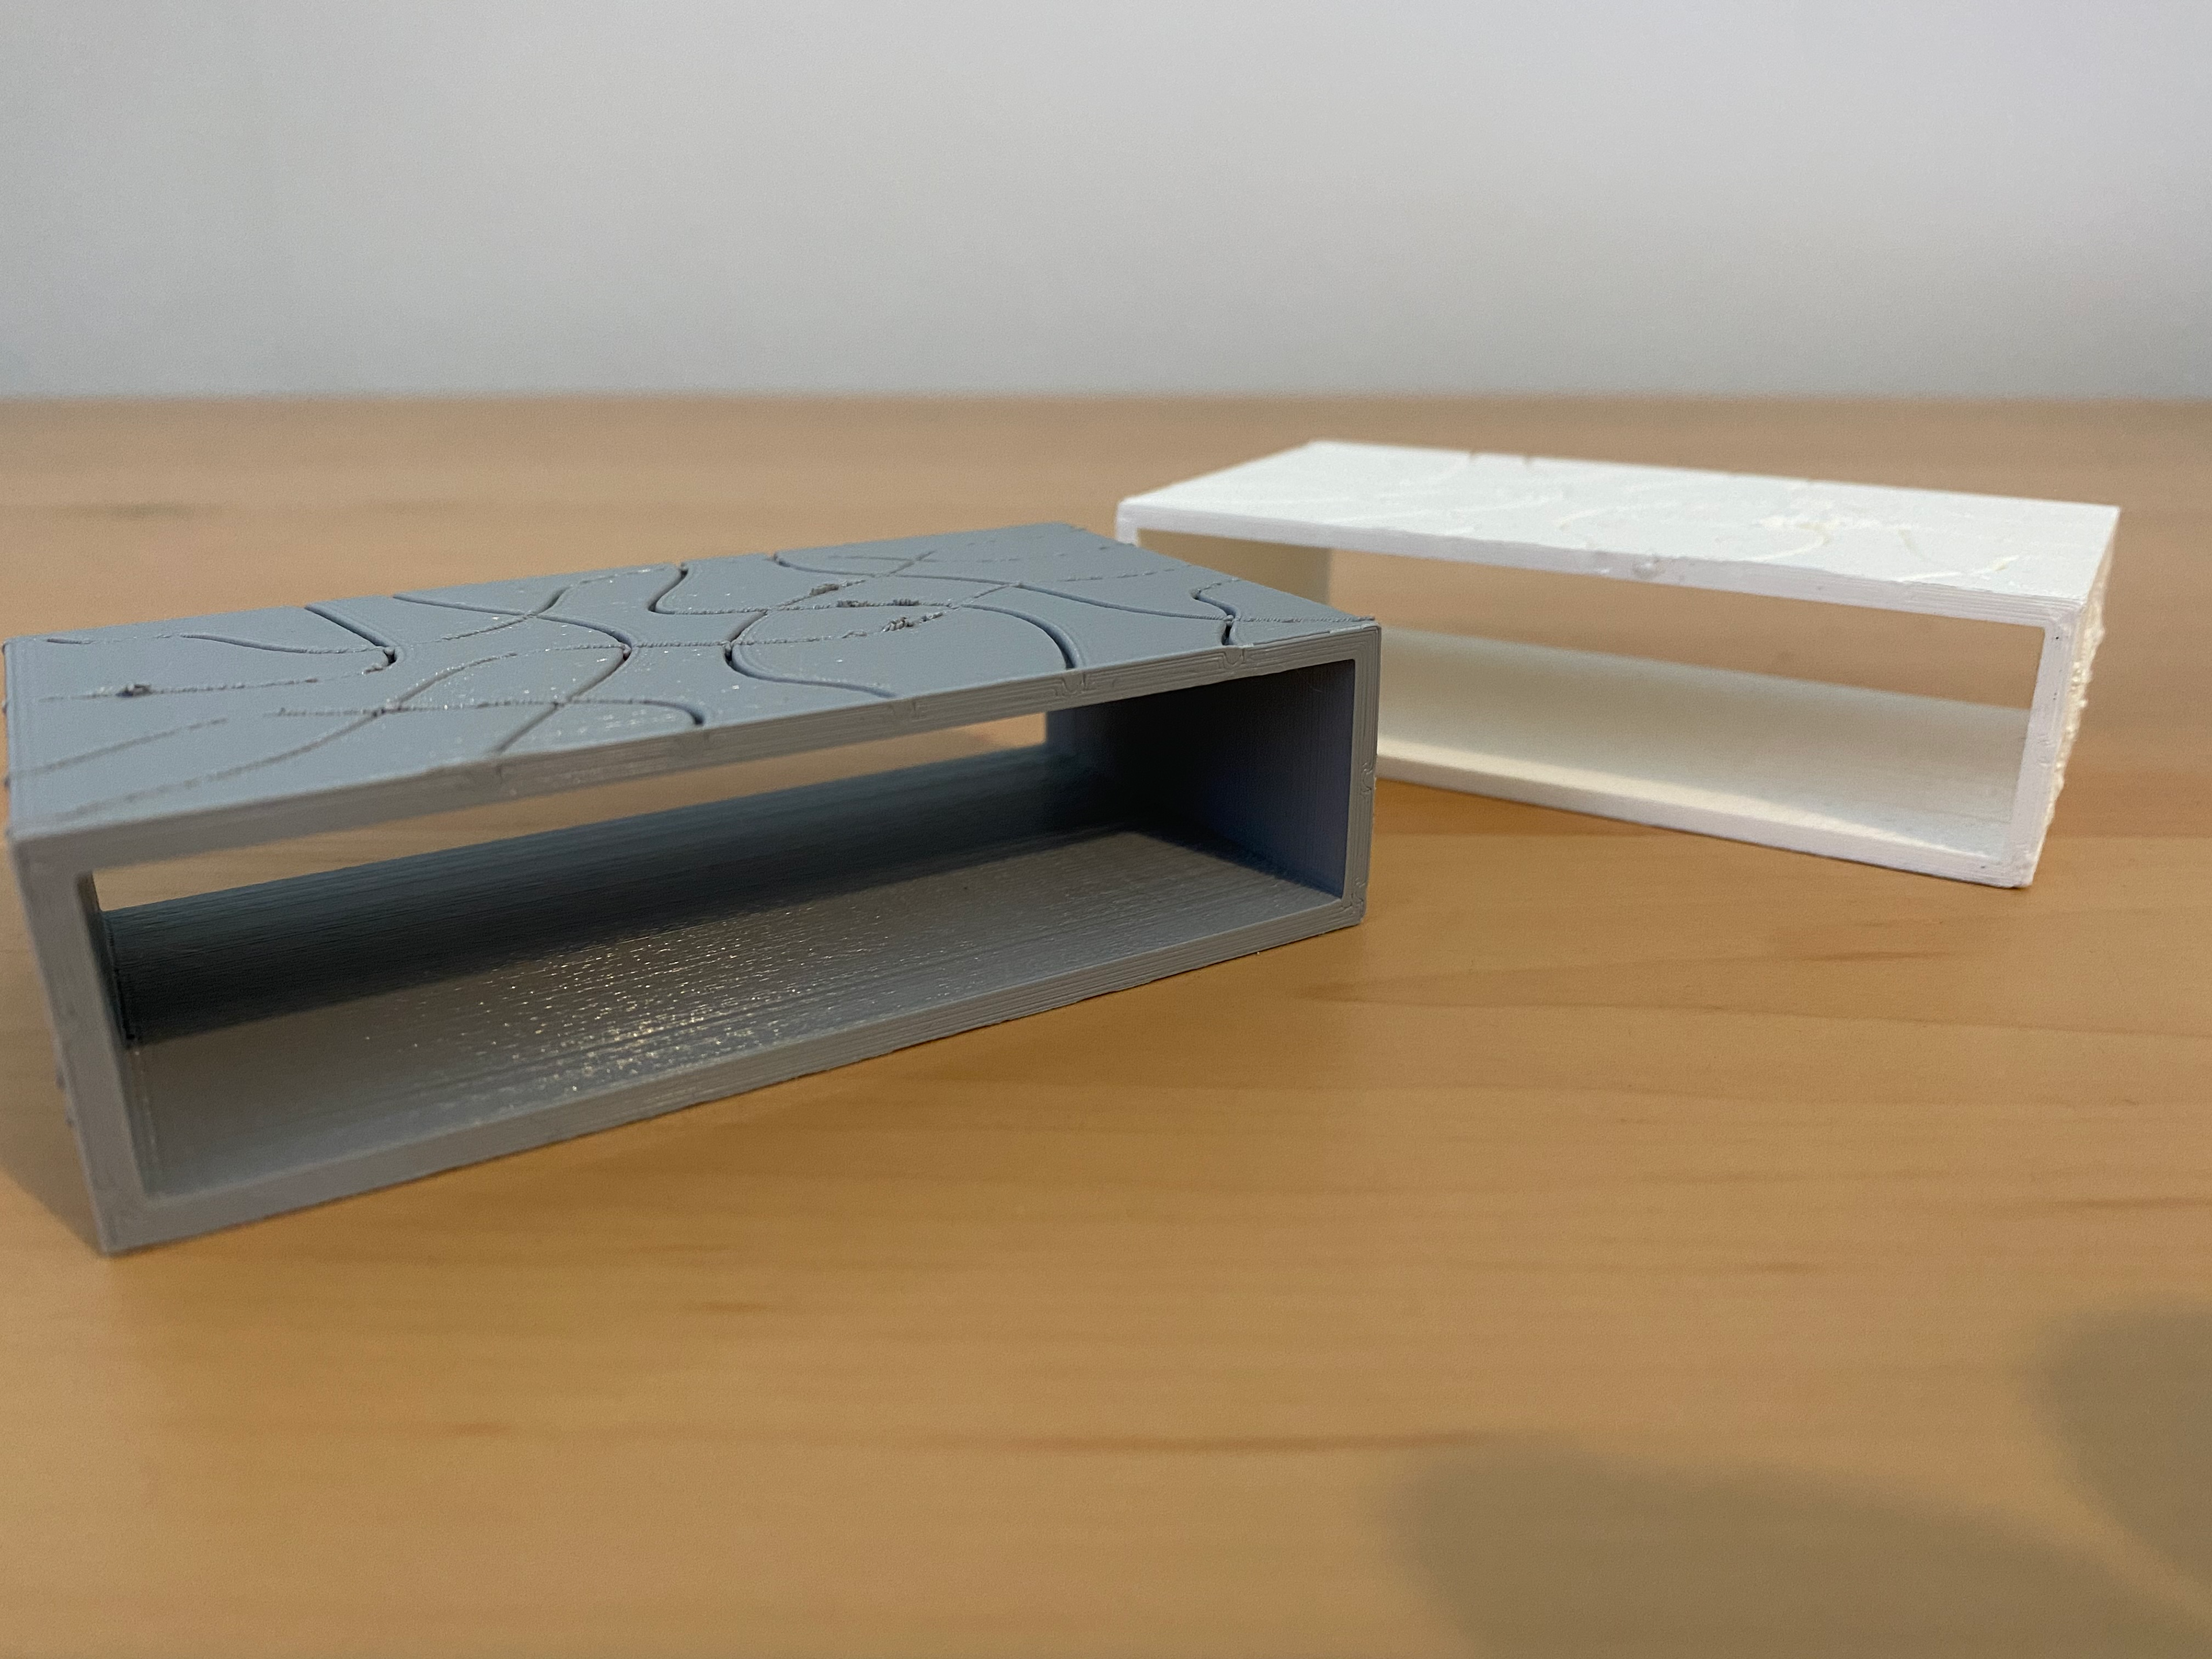
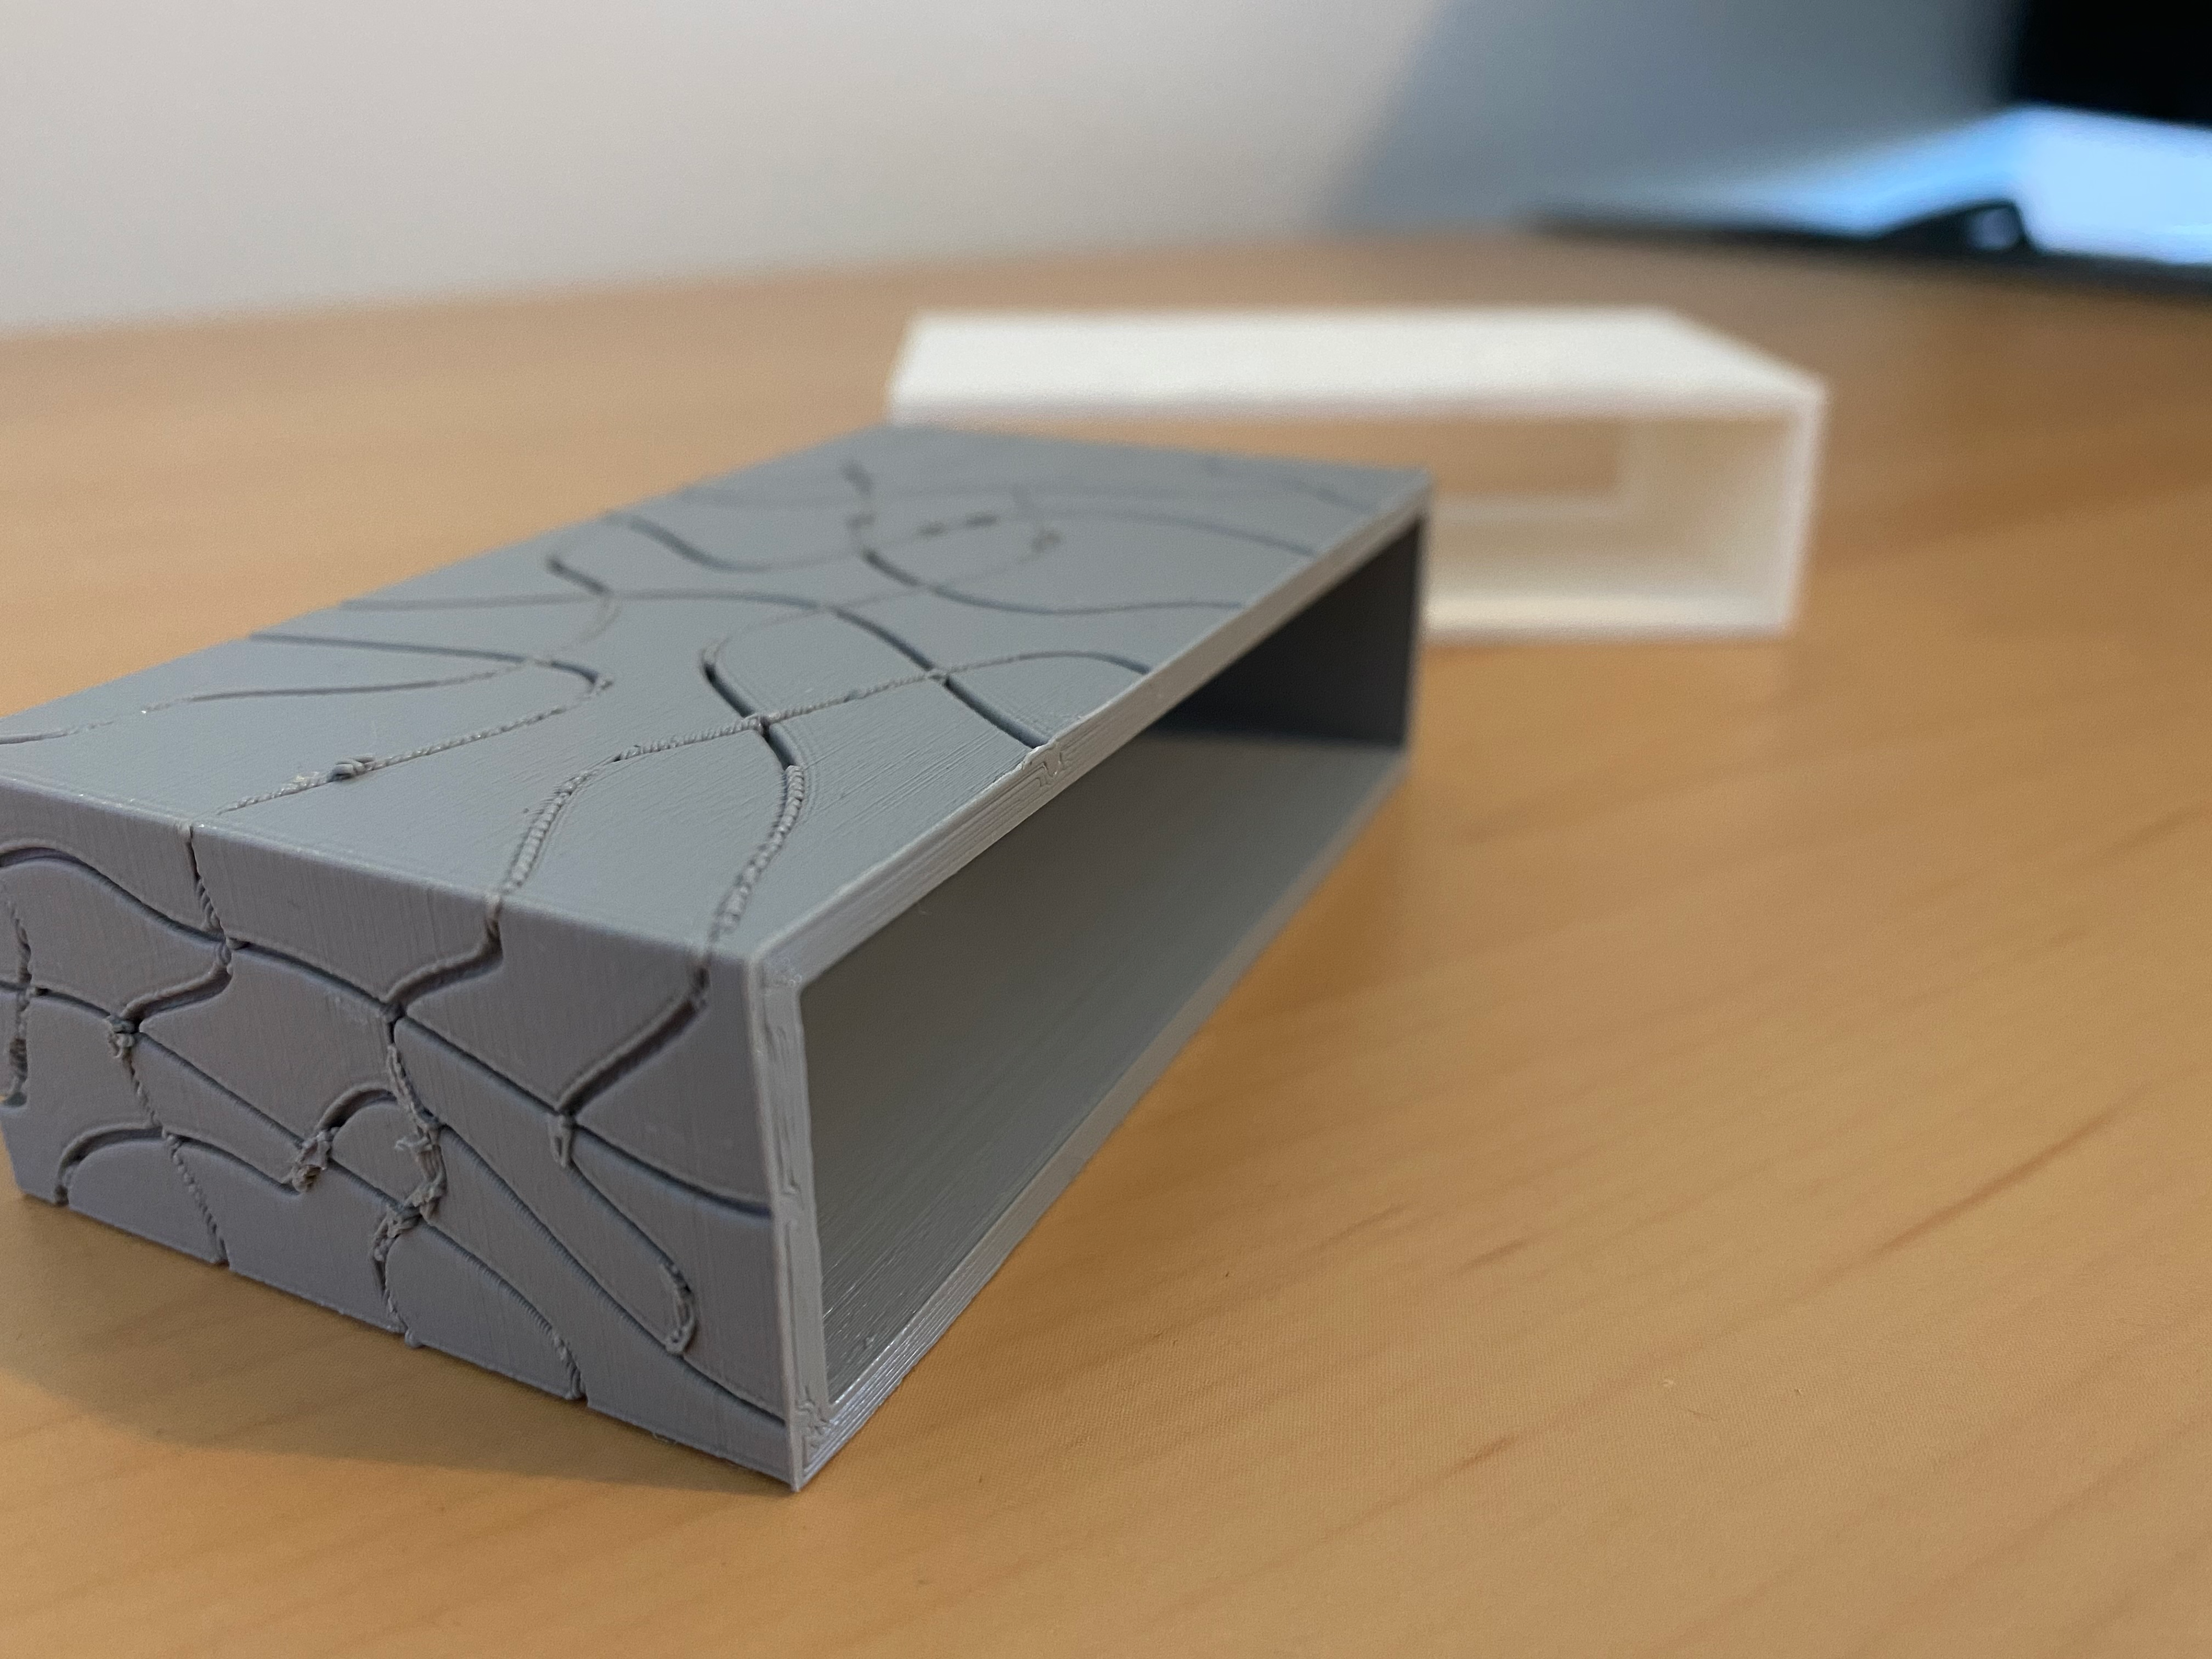
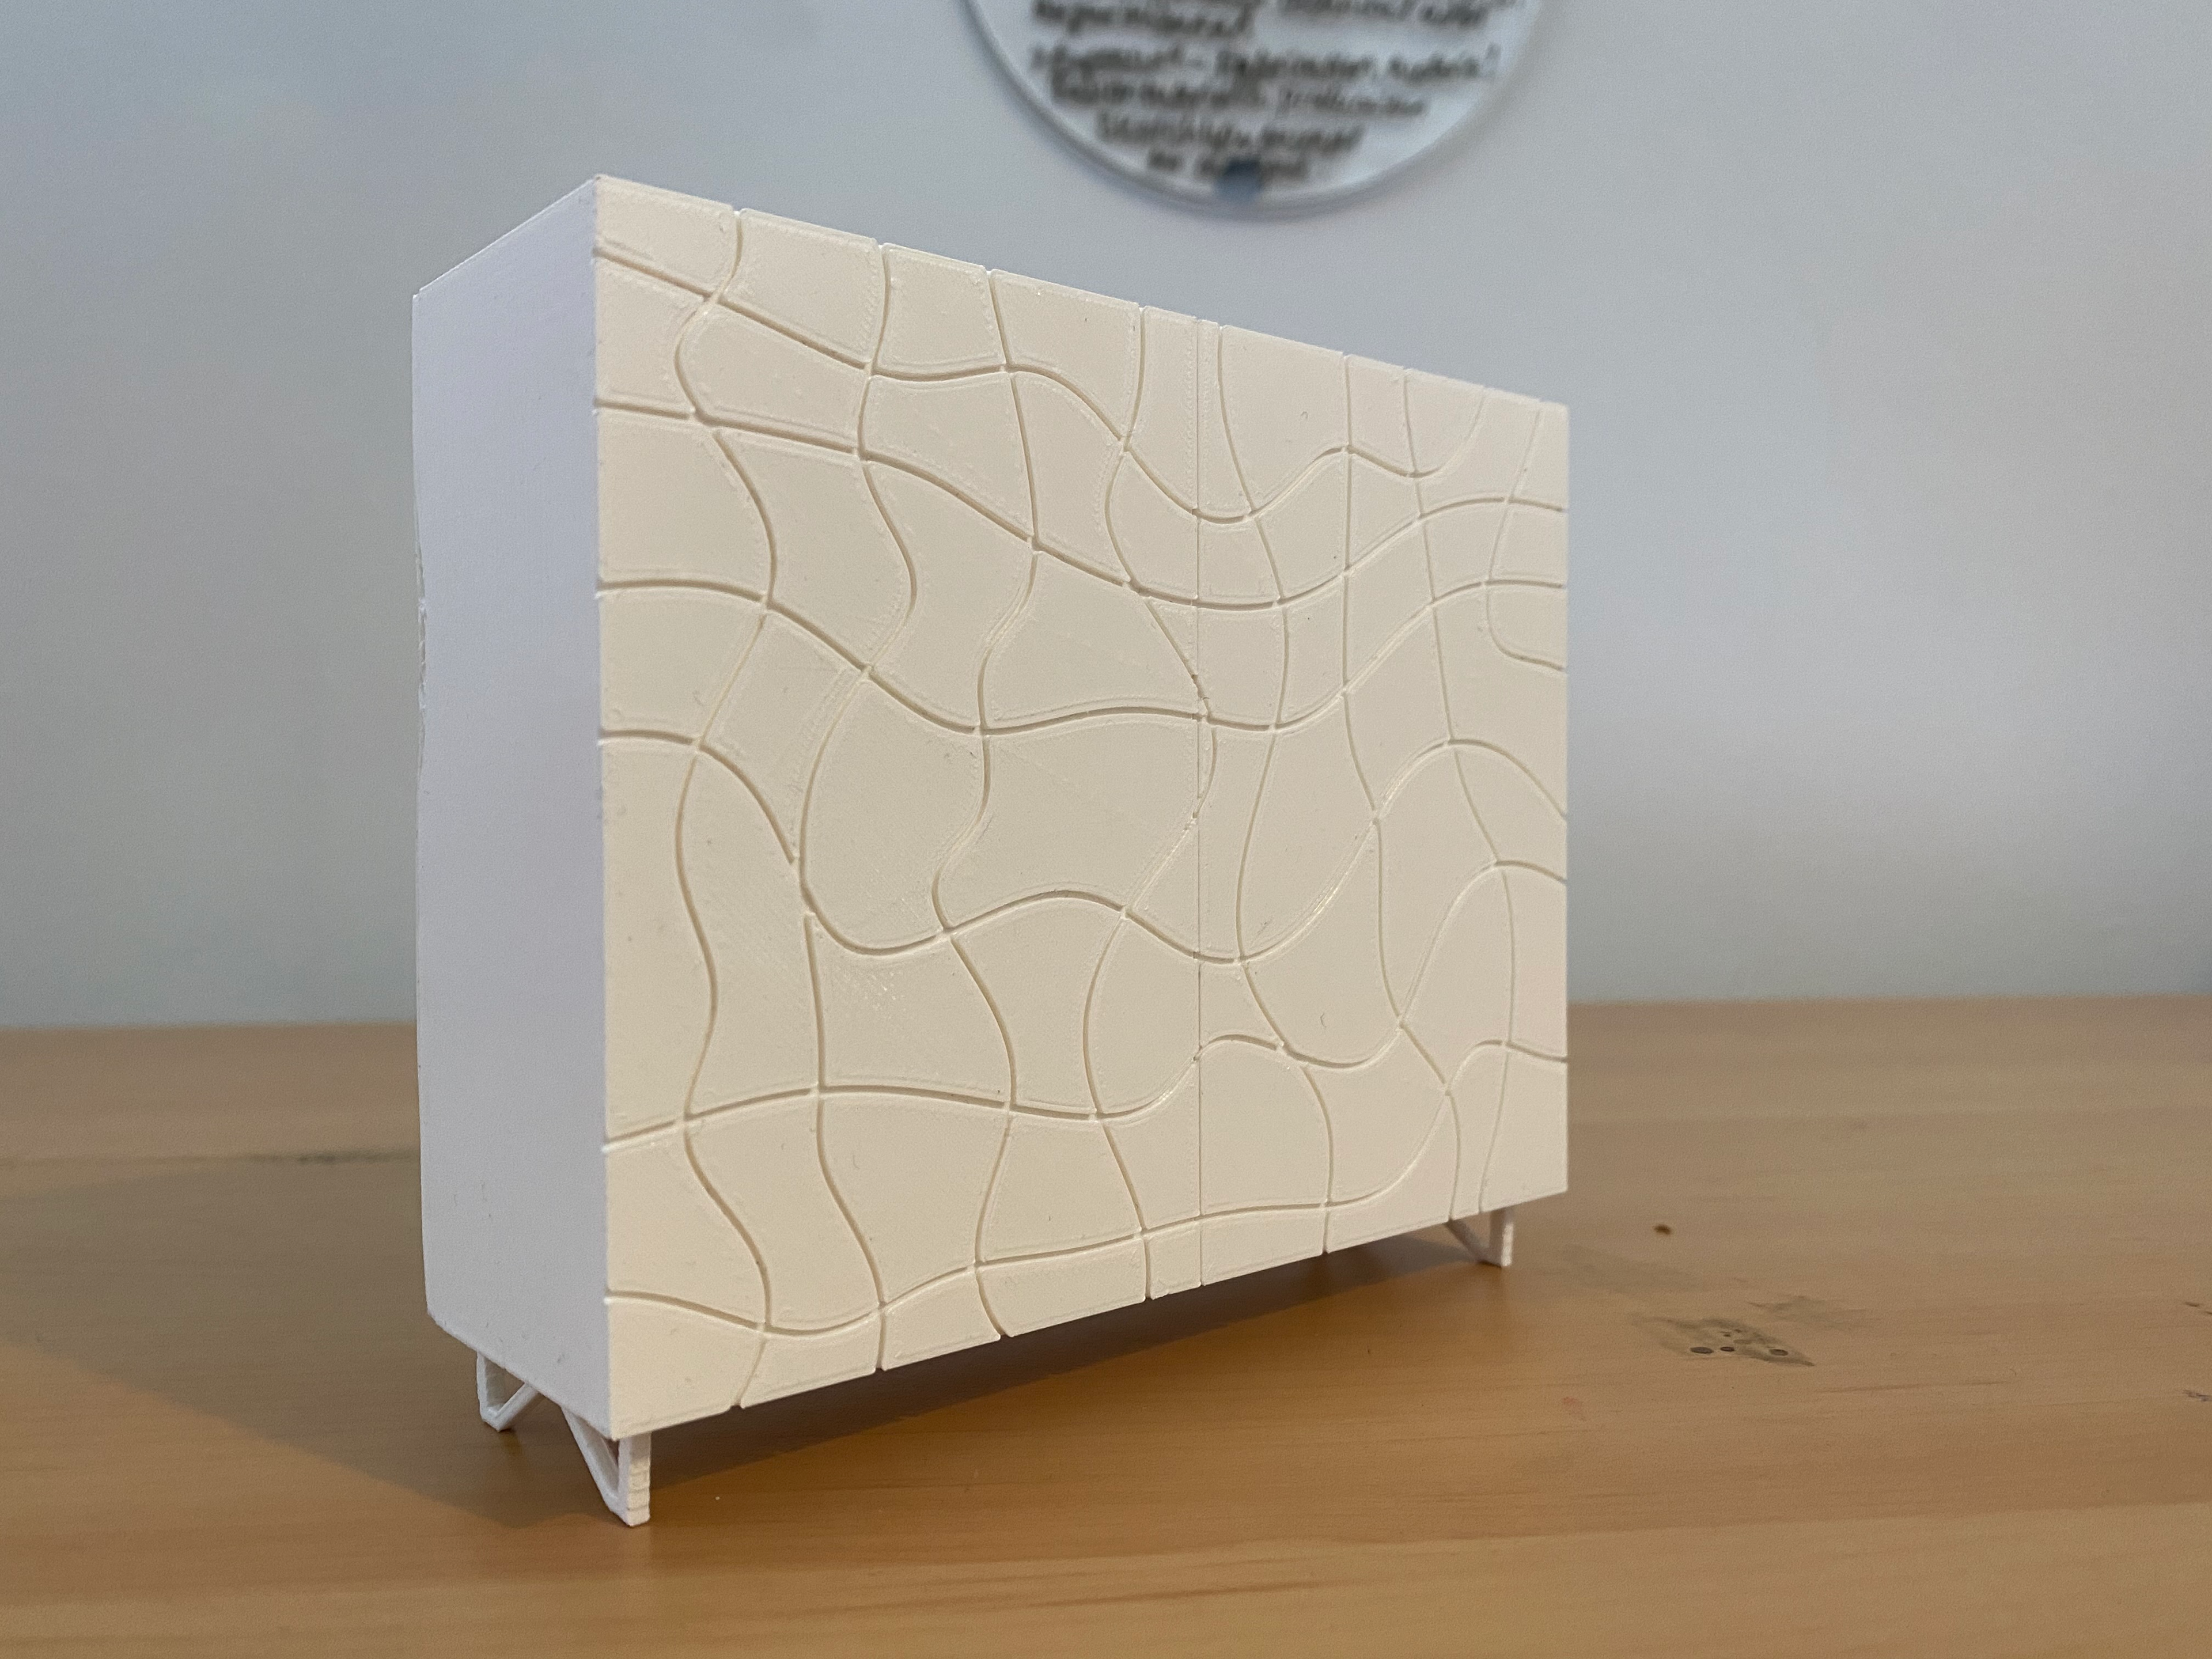
To understand the proportions of the pieces I tried to model them. I started by laser cutting the pattern as I thought this would allow for the material properties to also be displayed. However, it was very difficult to keep the spacing of the pieces consistent. So, it was then recommended to me that 3D printing would be the best way to showcase the pieces in a way that is positive and proportionate. These two 3D models are very good at providing an understanding about the presence of the pieces as well as the relationship between them.


PRODUCTION
I plan to go for a machined start to production. This is due to my inability to access workshops. This means tat not only I do not have to worry about not only cutting long strips of wood in a very small garden but I know that the pieces will be accurate and so it will eliminate any time that will be taken up with triple checking and mistake cuts. This is also an opportunity to expose myself to how a designer- fabricator relationship is developed and any potential challenges this might produce.
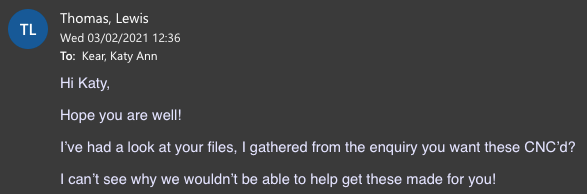
One of the unique aspects of CSAD is the FabLab. The professional fabrication centre is an open access service that works with creatives and designers to realise their design and prototyping dreams. As a student there generally isn’t much contact with the service I'm told, however, I thought this is an unprecedented time and I need help to realise my designs.
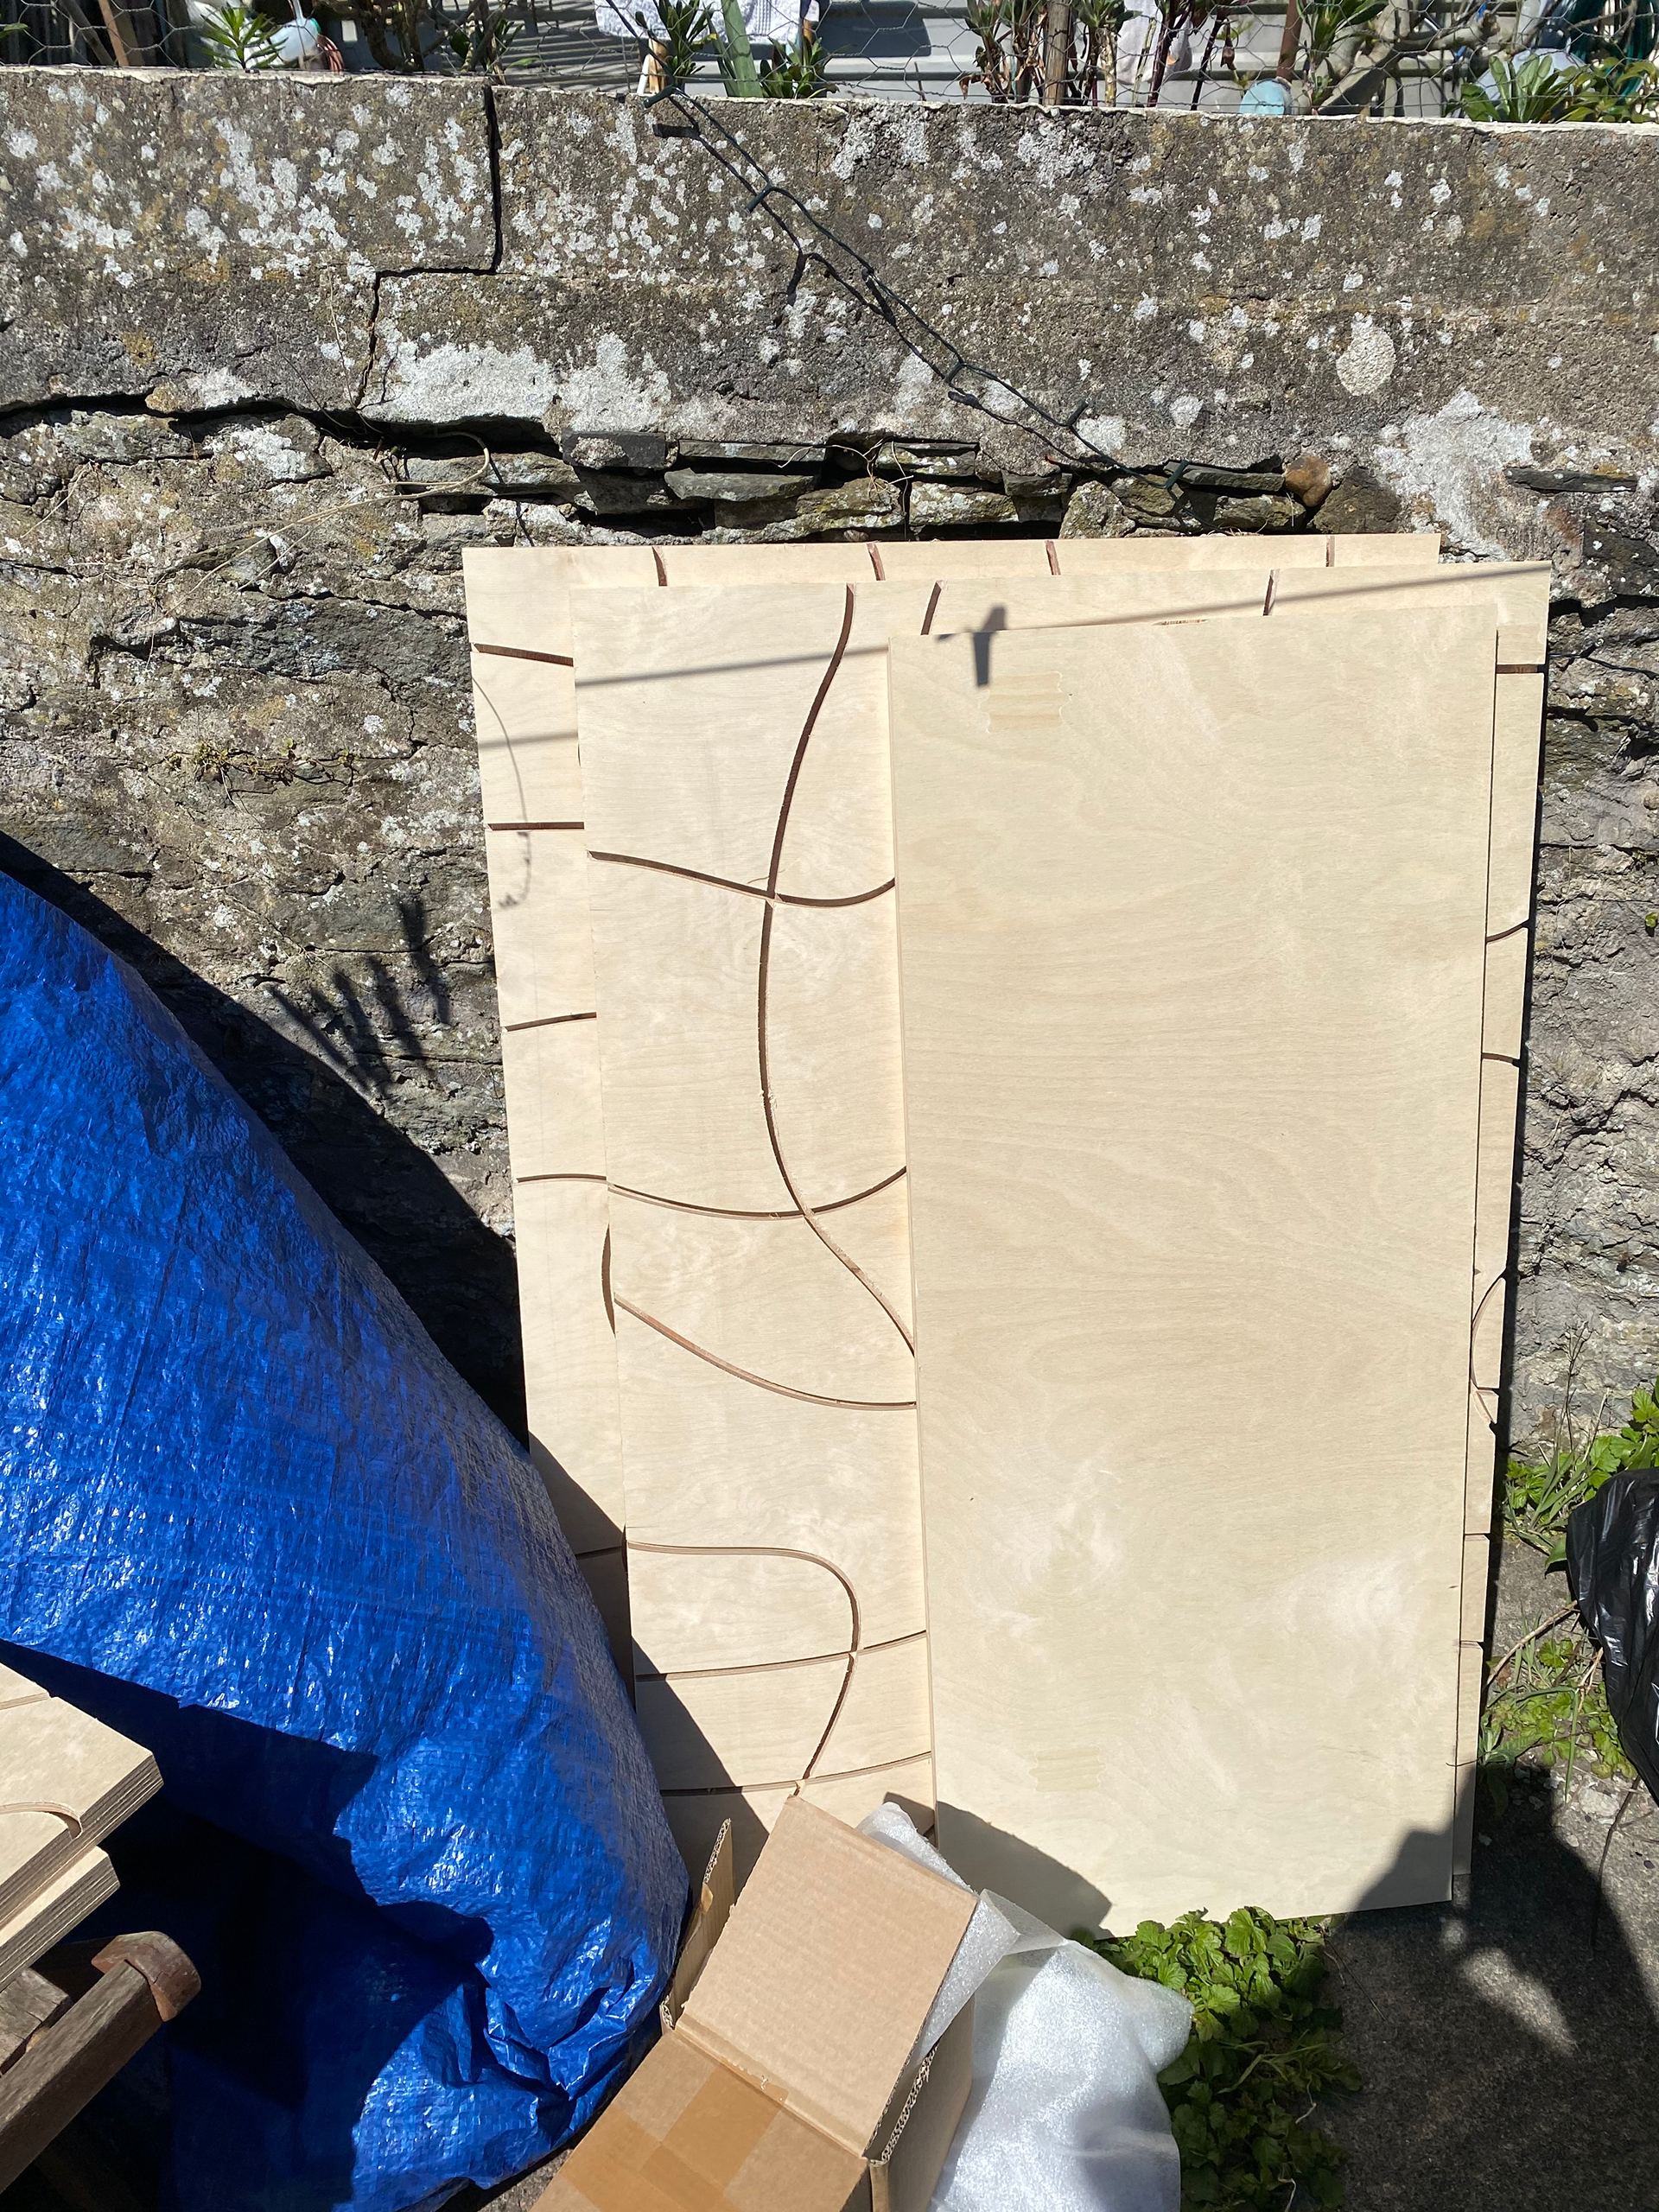
I took the chance and filled out their online enquiry form. They were very supportive of my request and even offered to help with developing my CAD skills as a way off giving back to the university. The only charge incurred for me was for materials. The total price will be £240 for 3 sheets of 2440x1220x24mm birch faced ply. This covers both pieces that I have chosen, but only for the wooden elements. The fixings and glass will need to be ordered. But I still needed to find someone to manufacture the metal work. After contacting Dallas, he recommended to me that I look into some alumni- Vamp Industries, who said they would look over my designs and see what they could do!!

I collected information on the material to create a profile for quick reference:
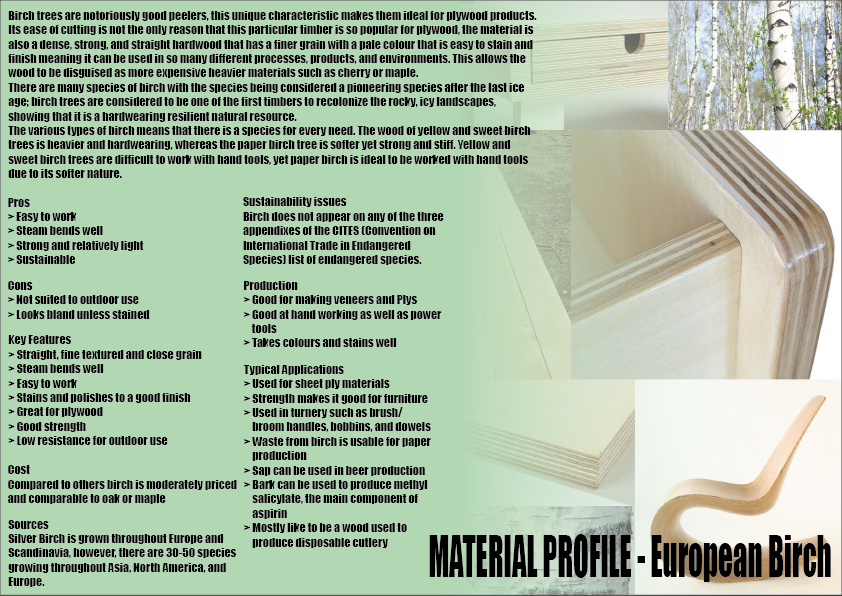
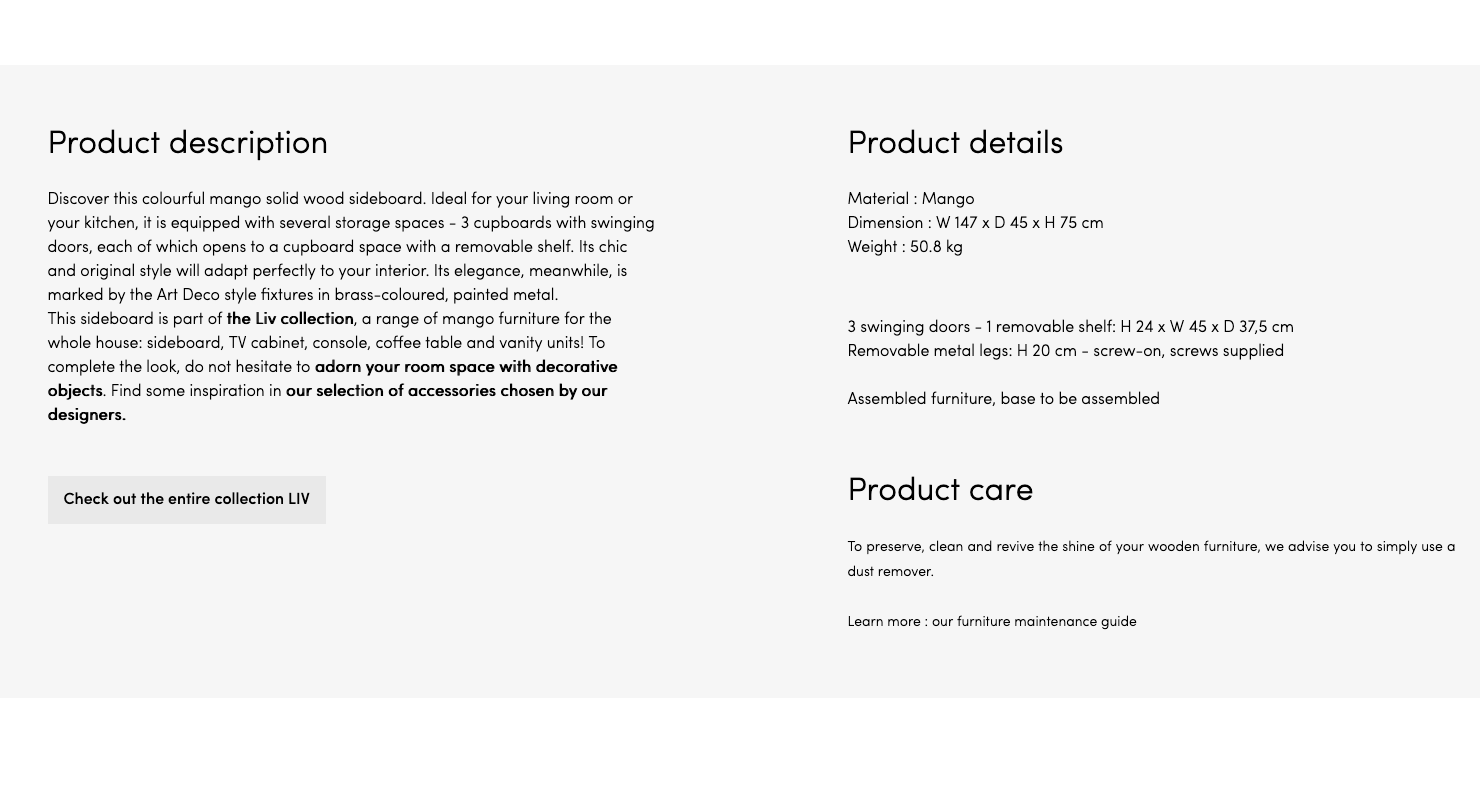
The understanding I established with fablab was that they would cut the sheets and I would only pay for the material costs. This to me sounded like a good deal as they would do the labour as part of their work with the university, however, it felt like my work kept getting pushed back, which meant that all of my work was coming to a halt.
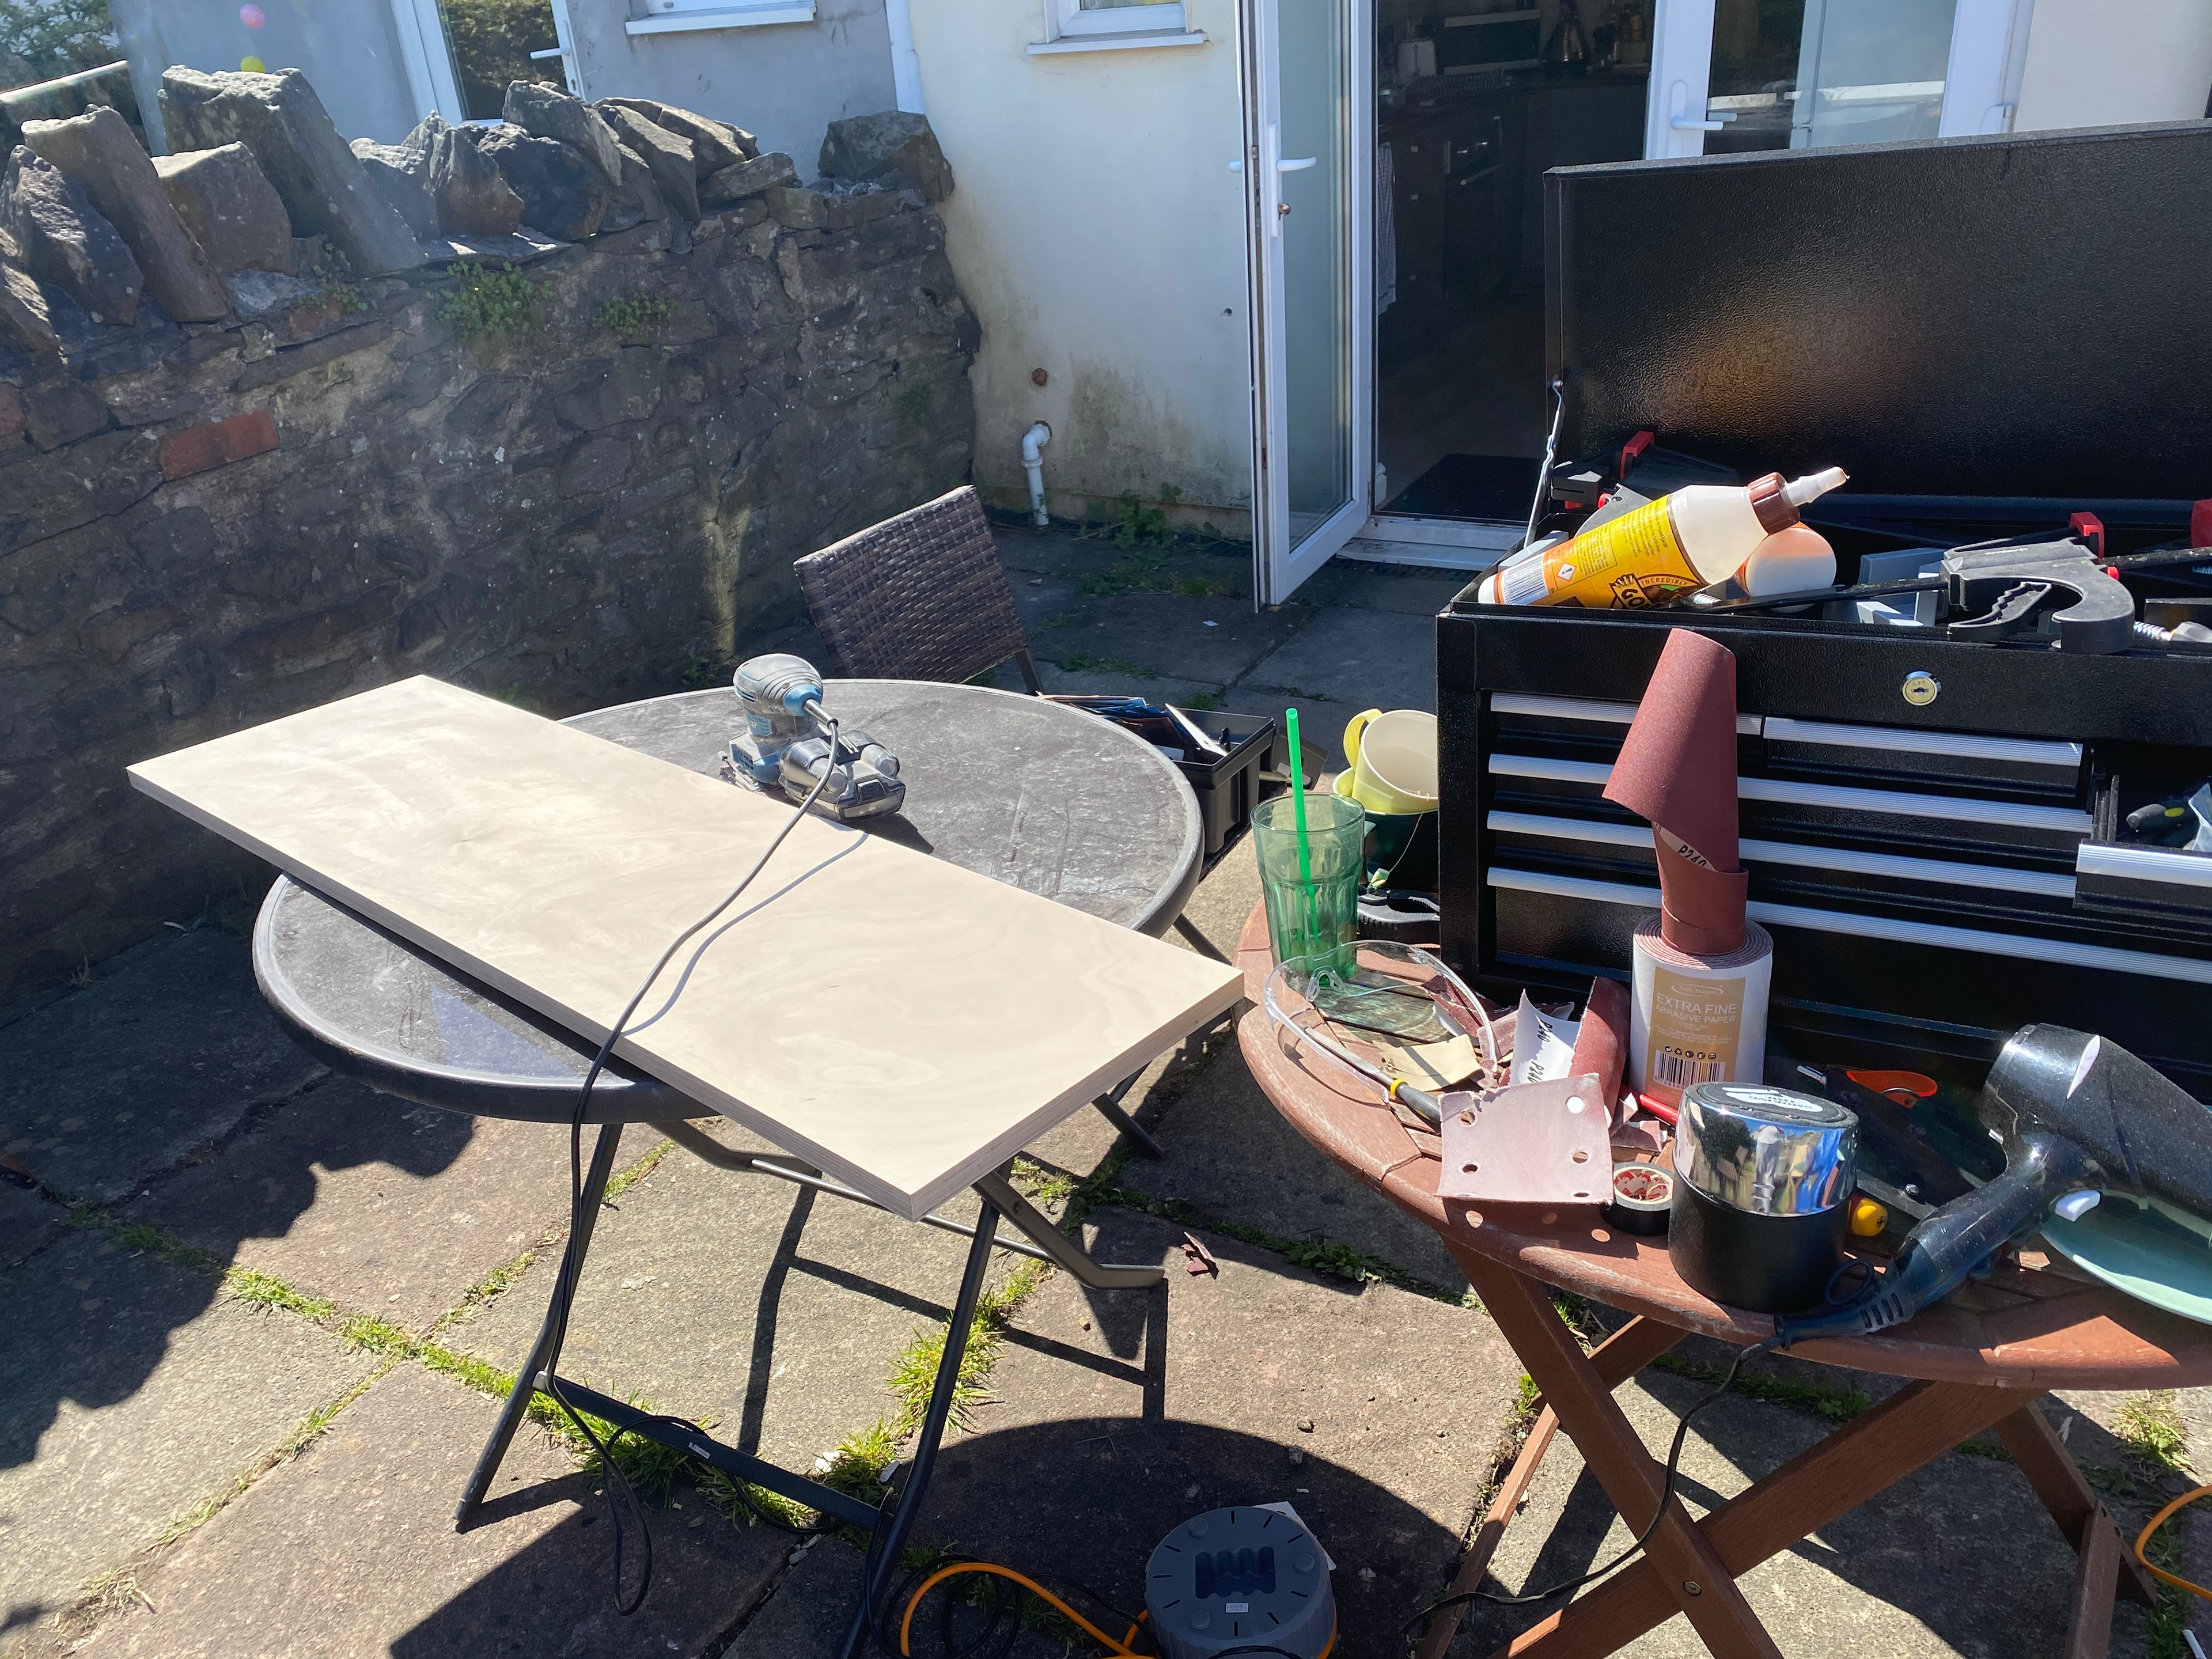
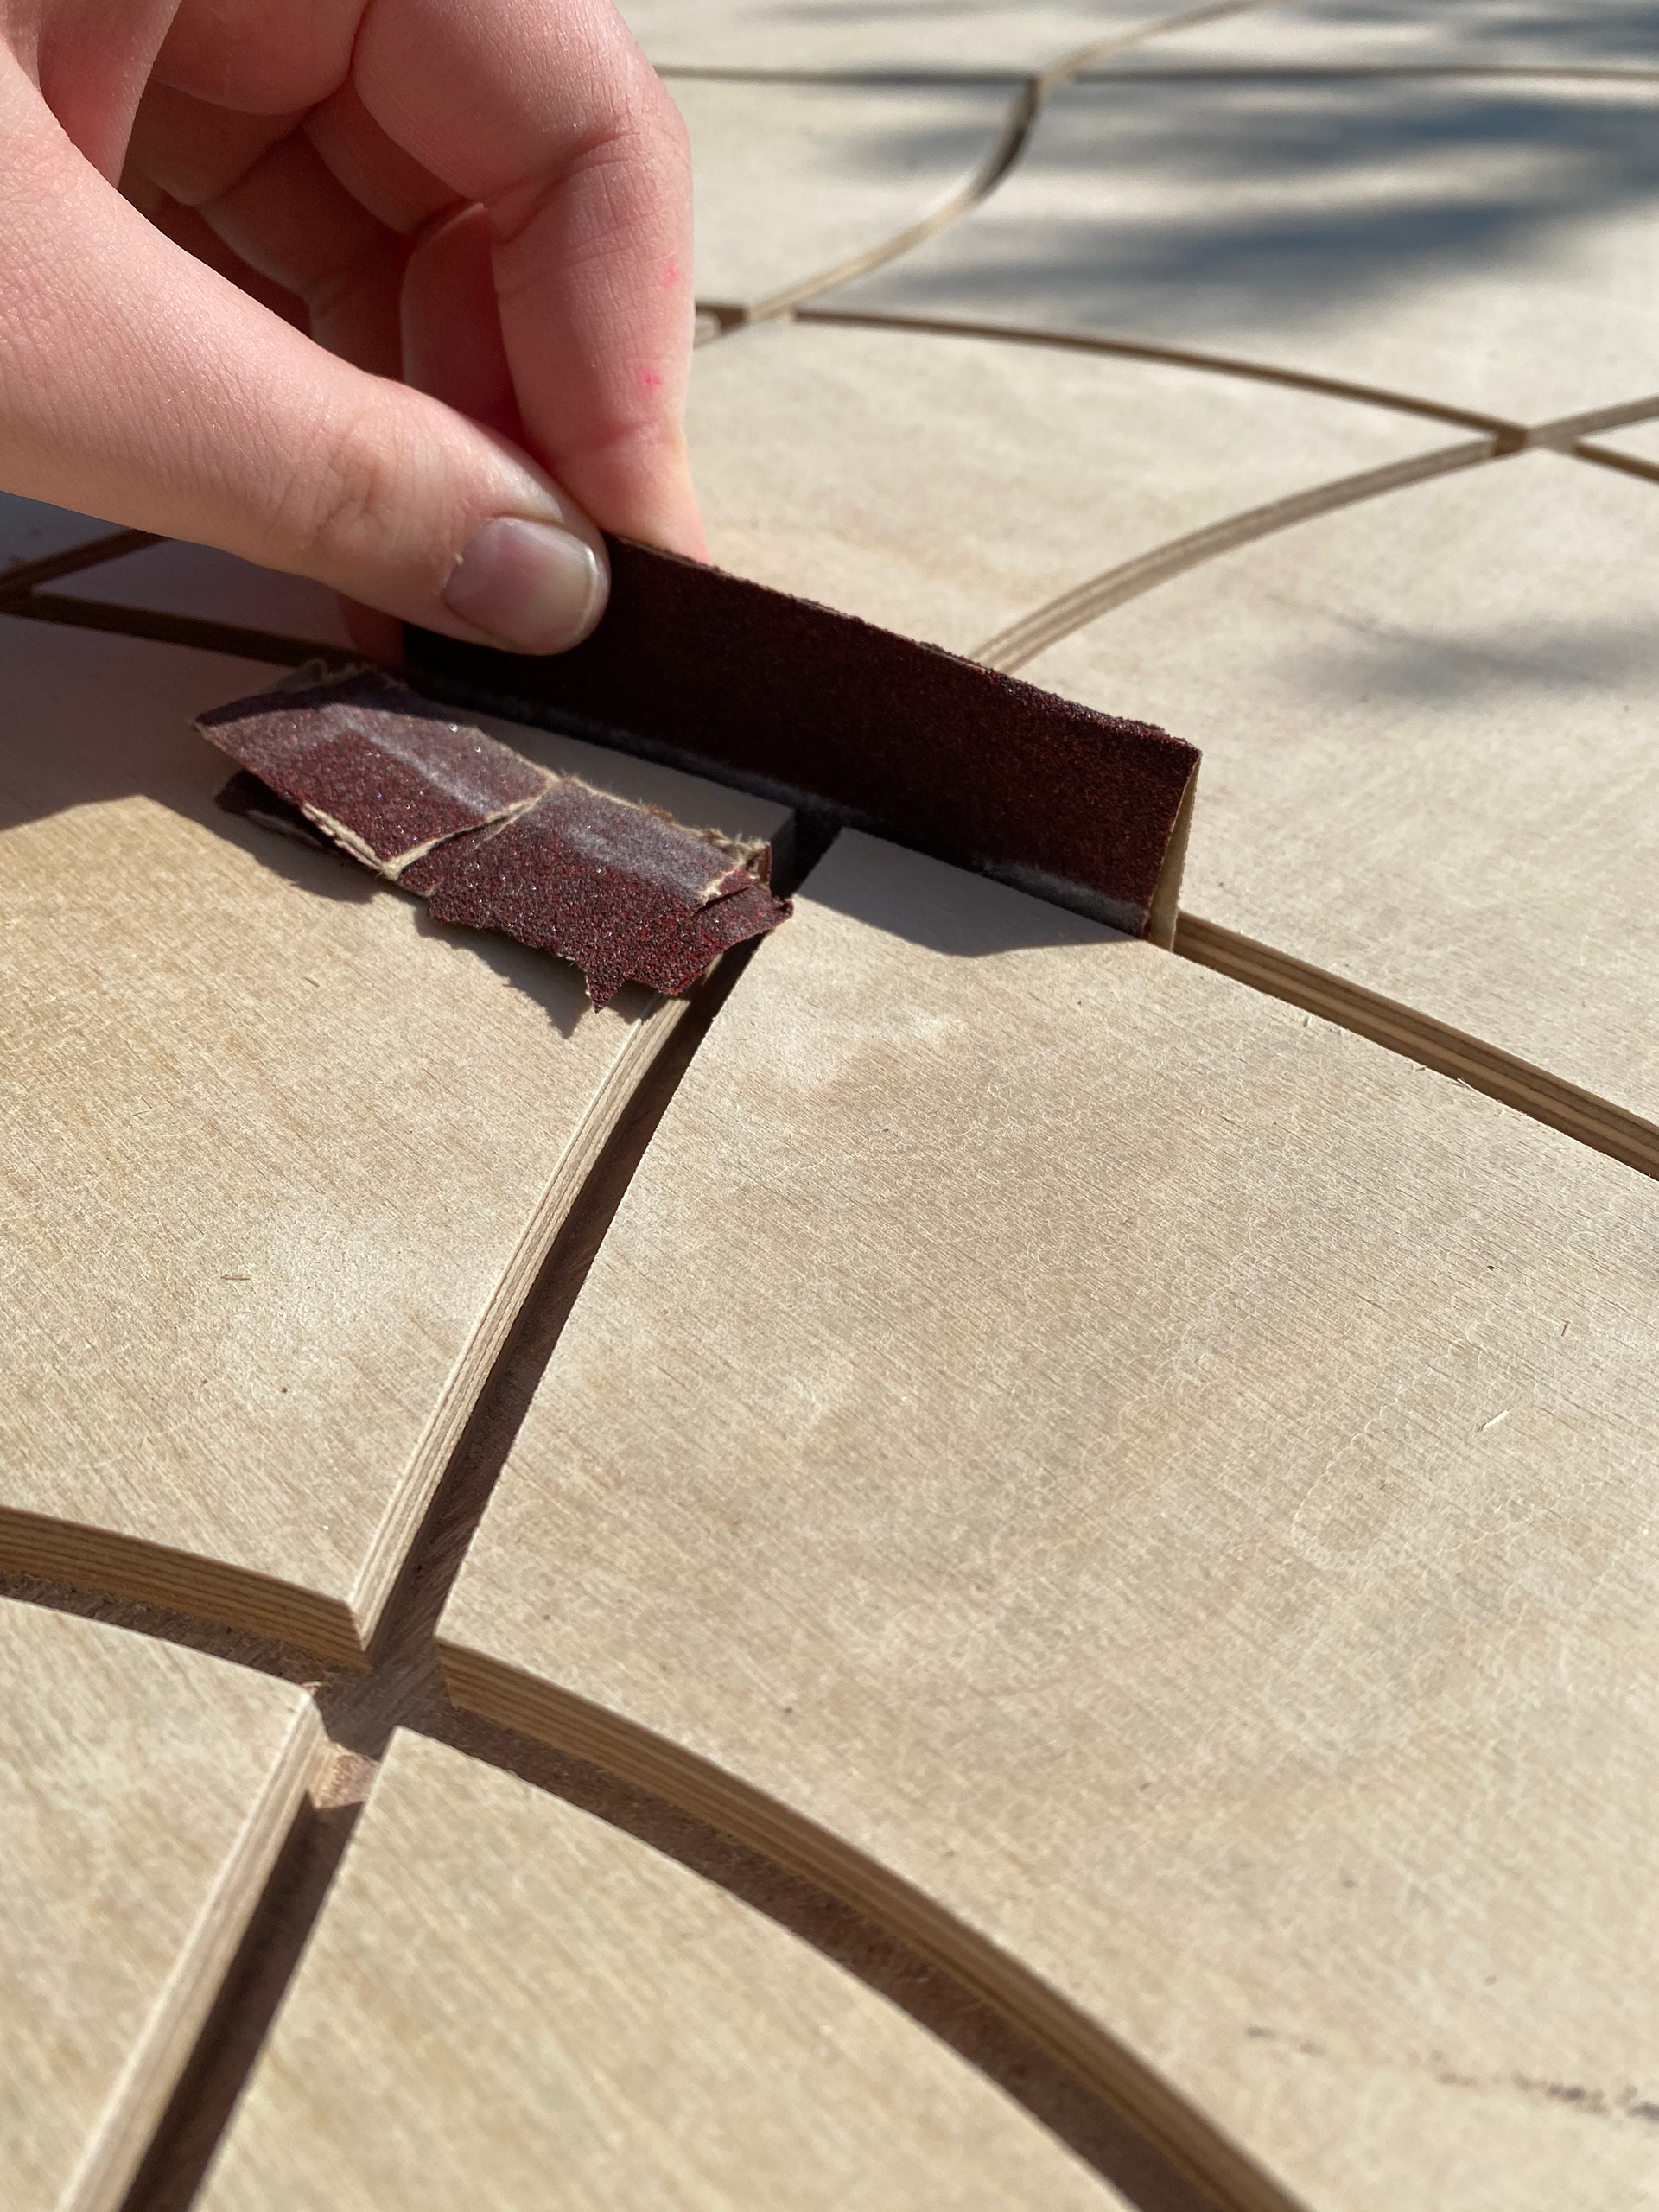
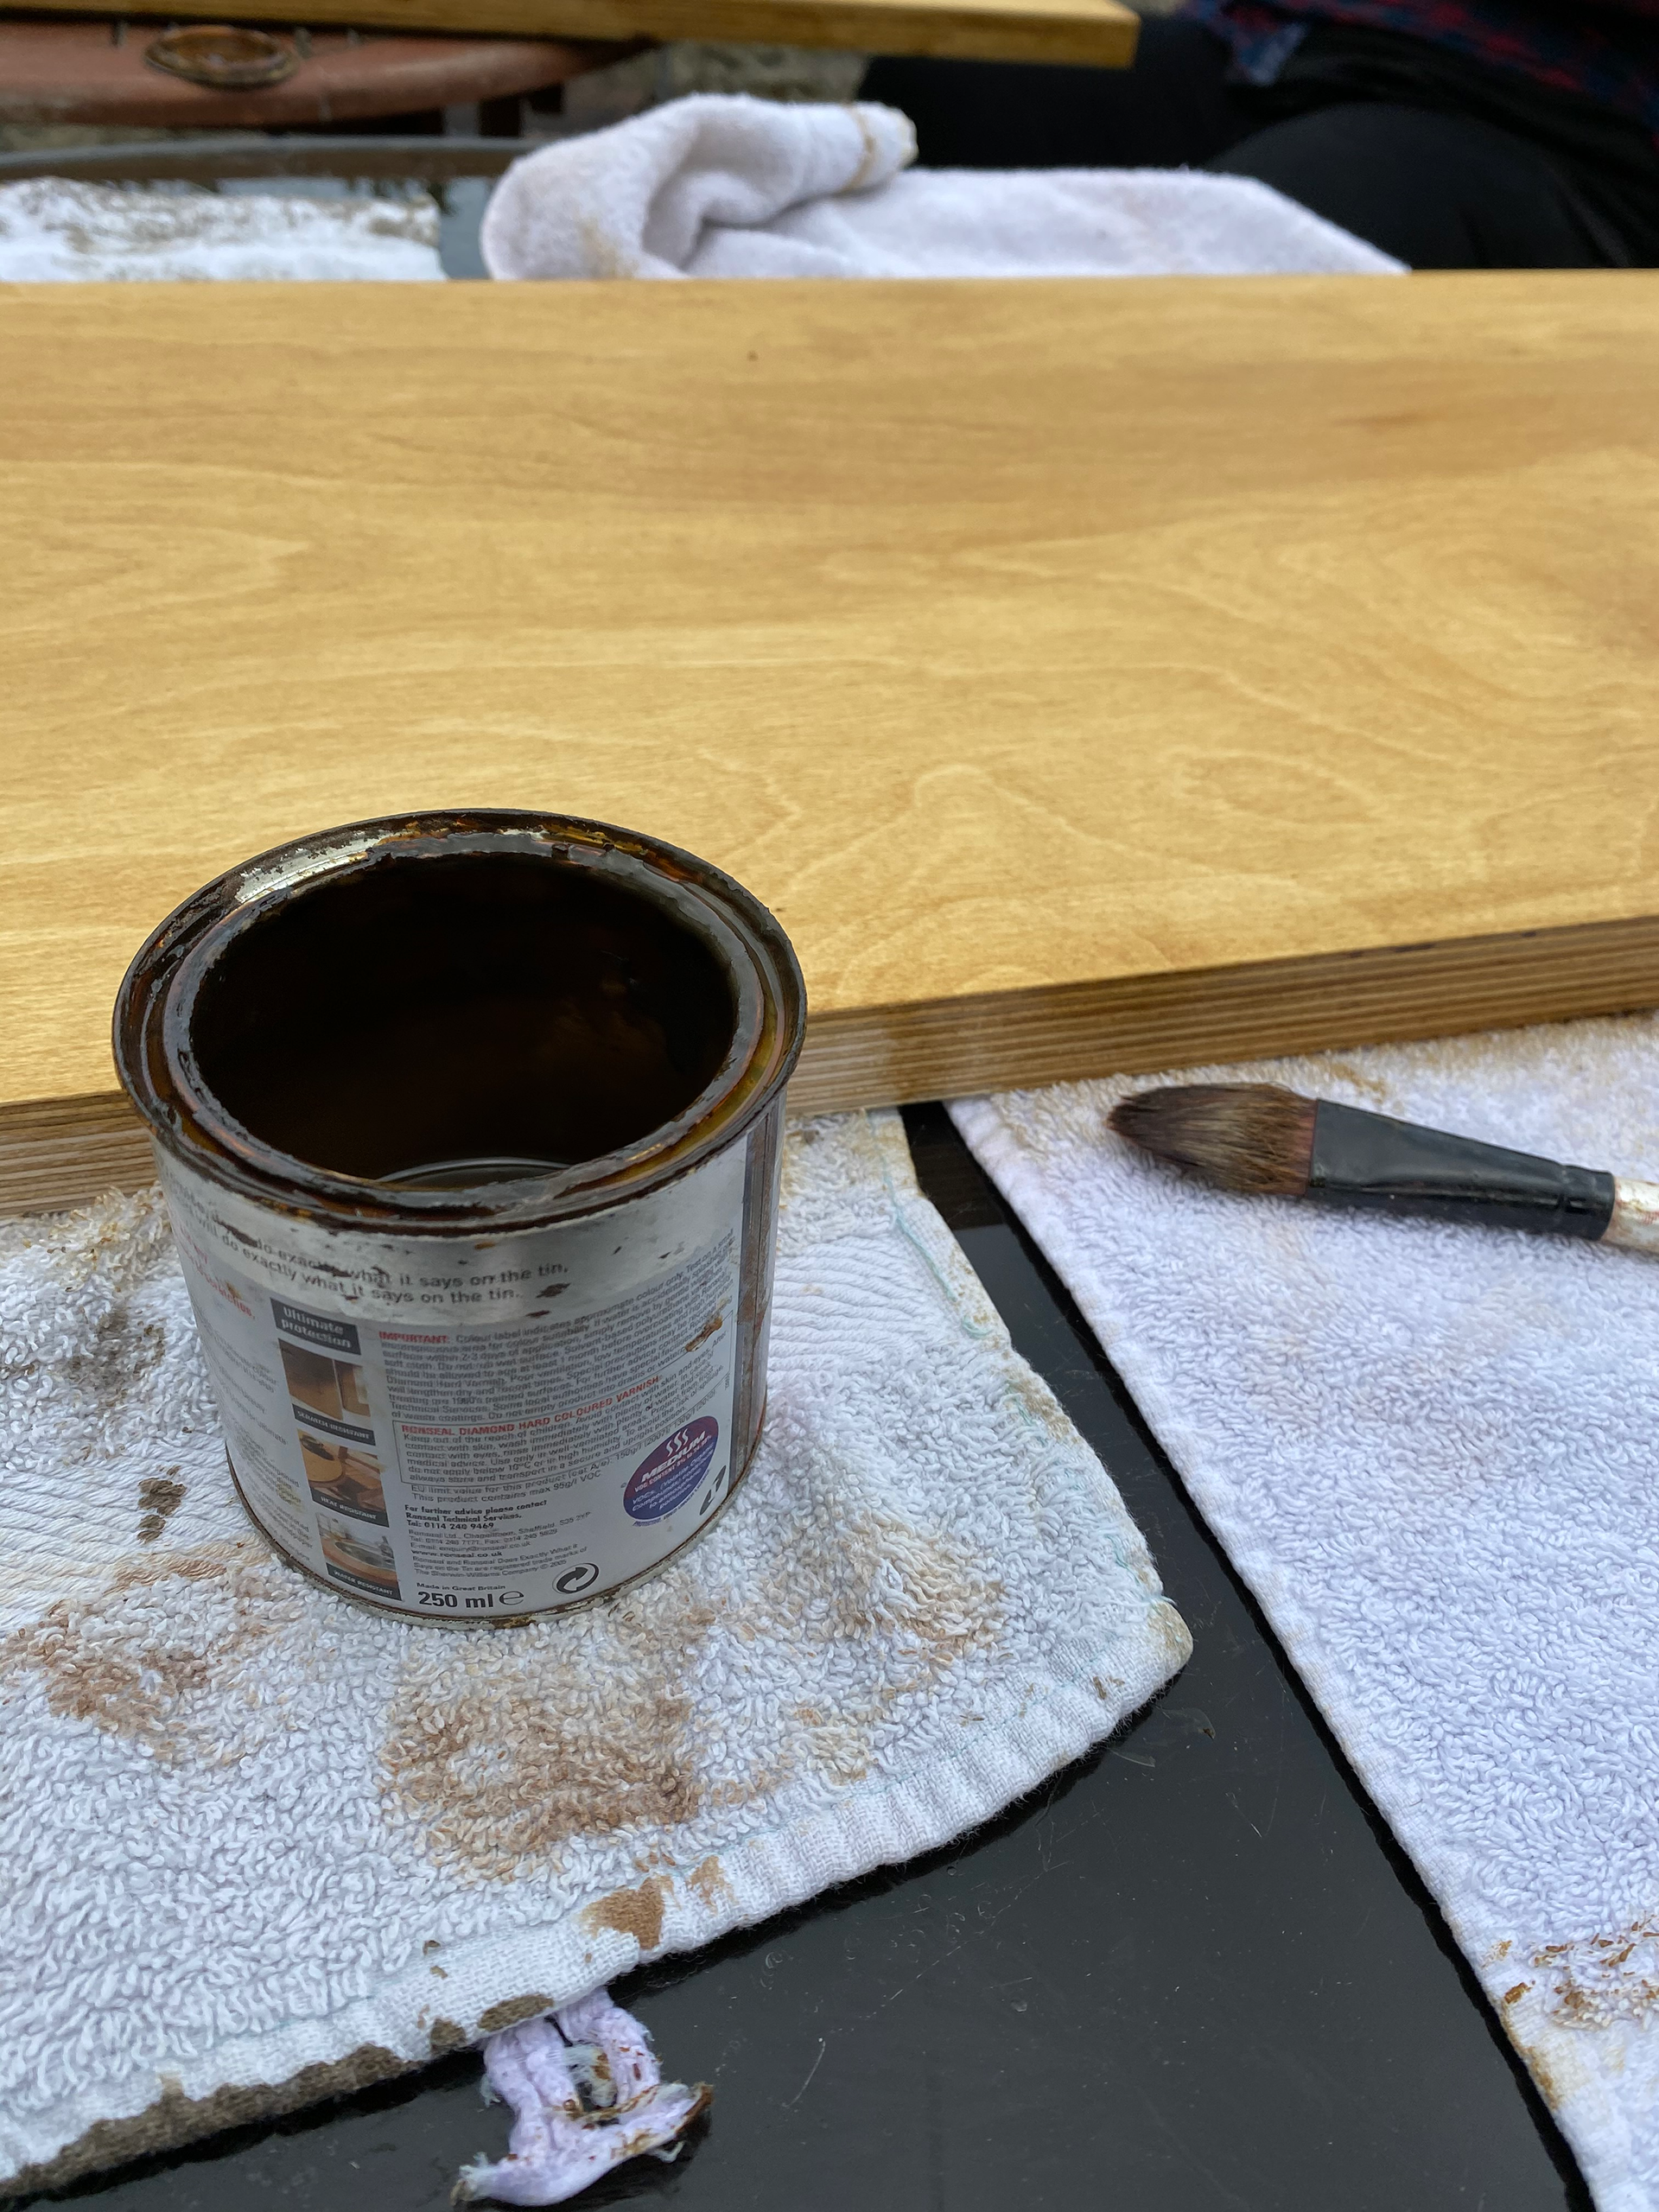
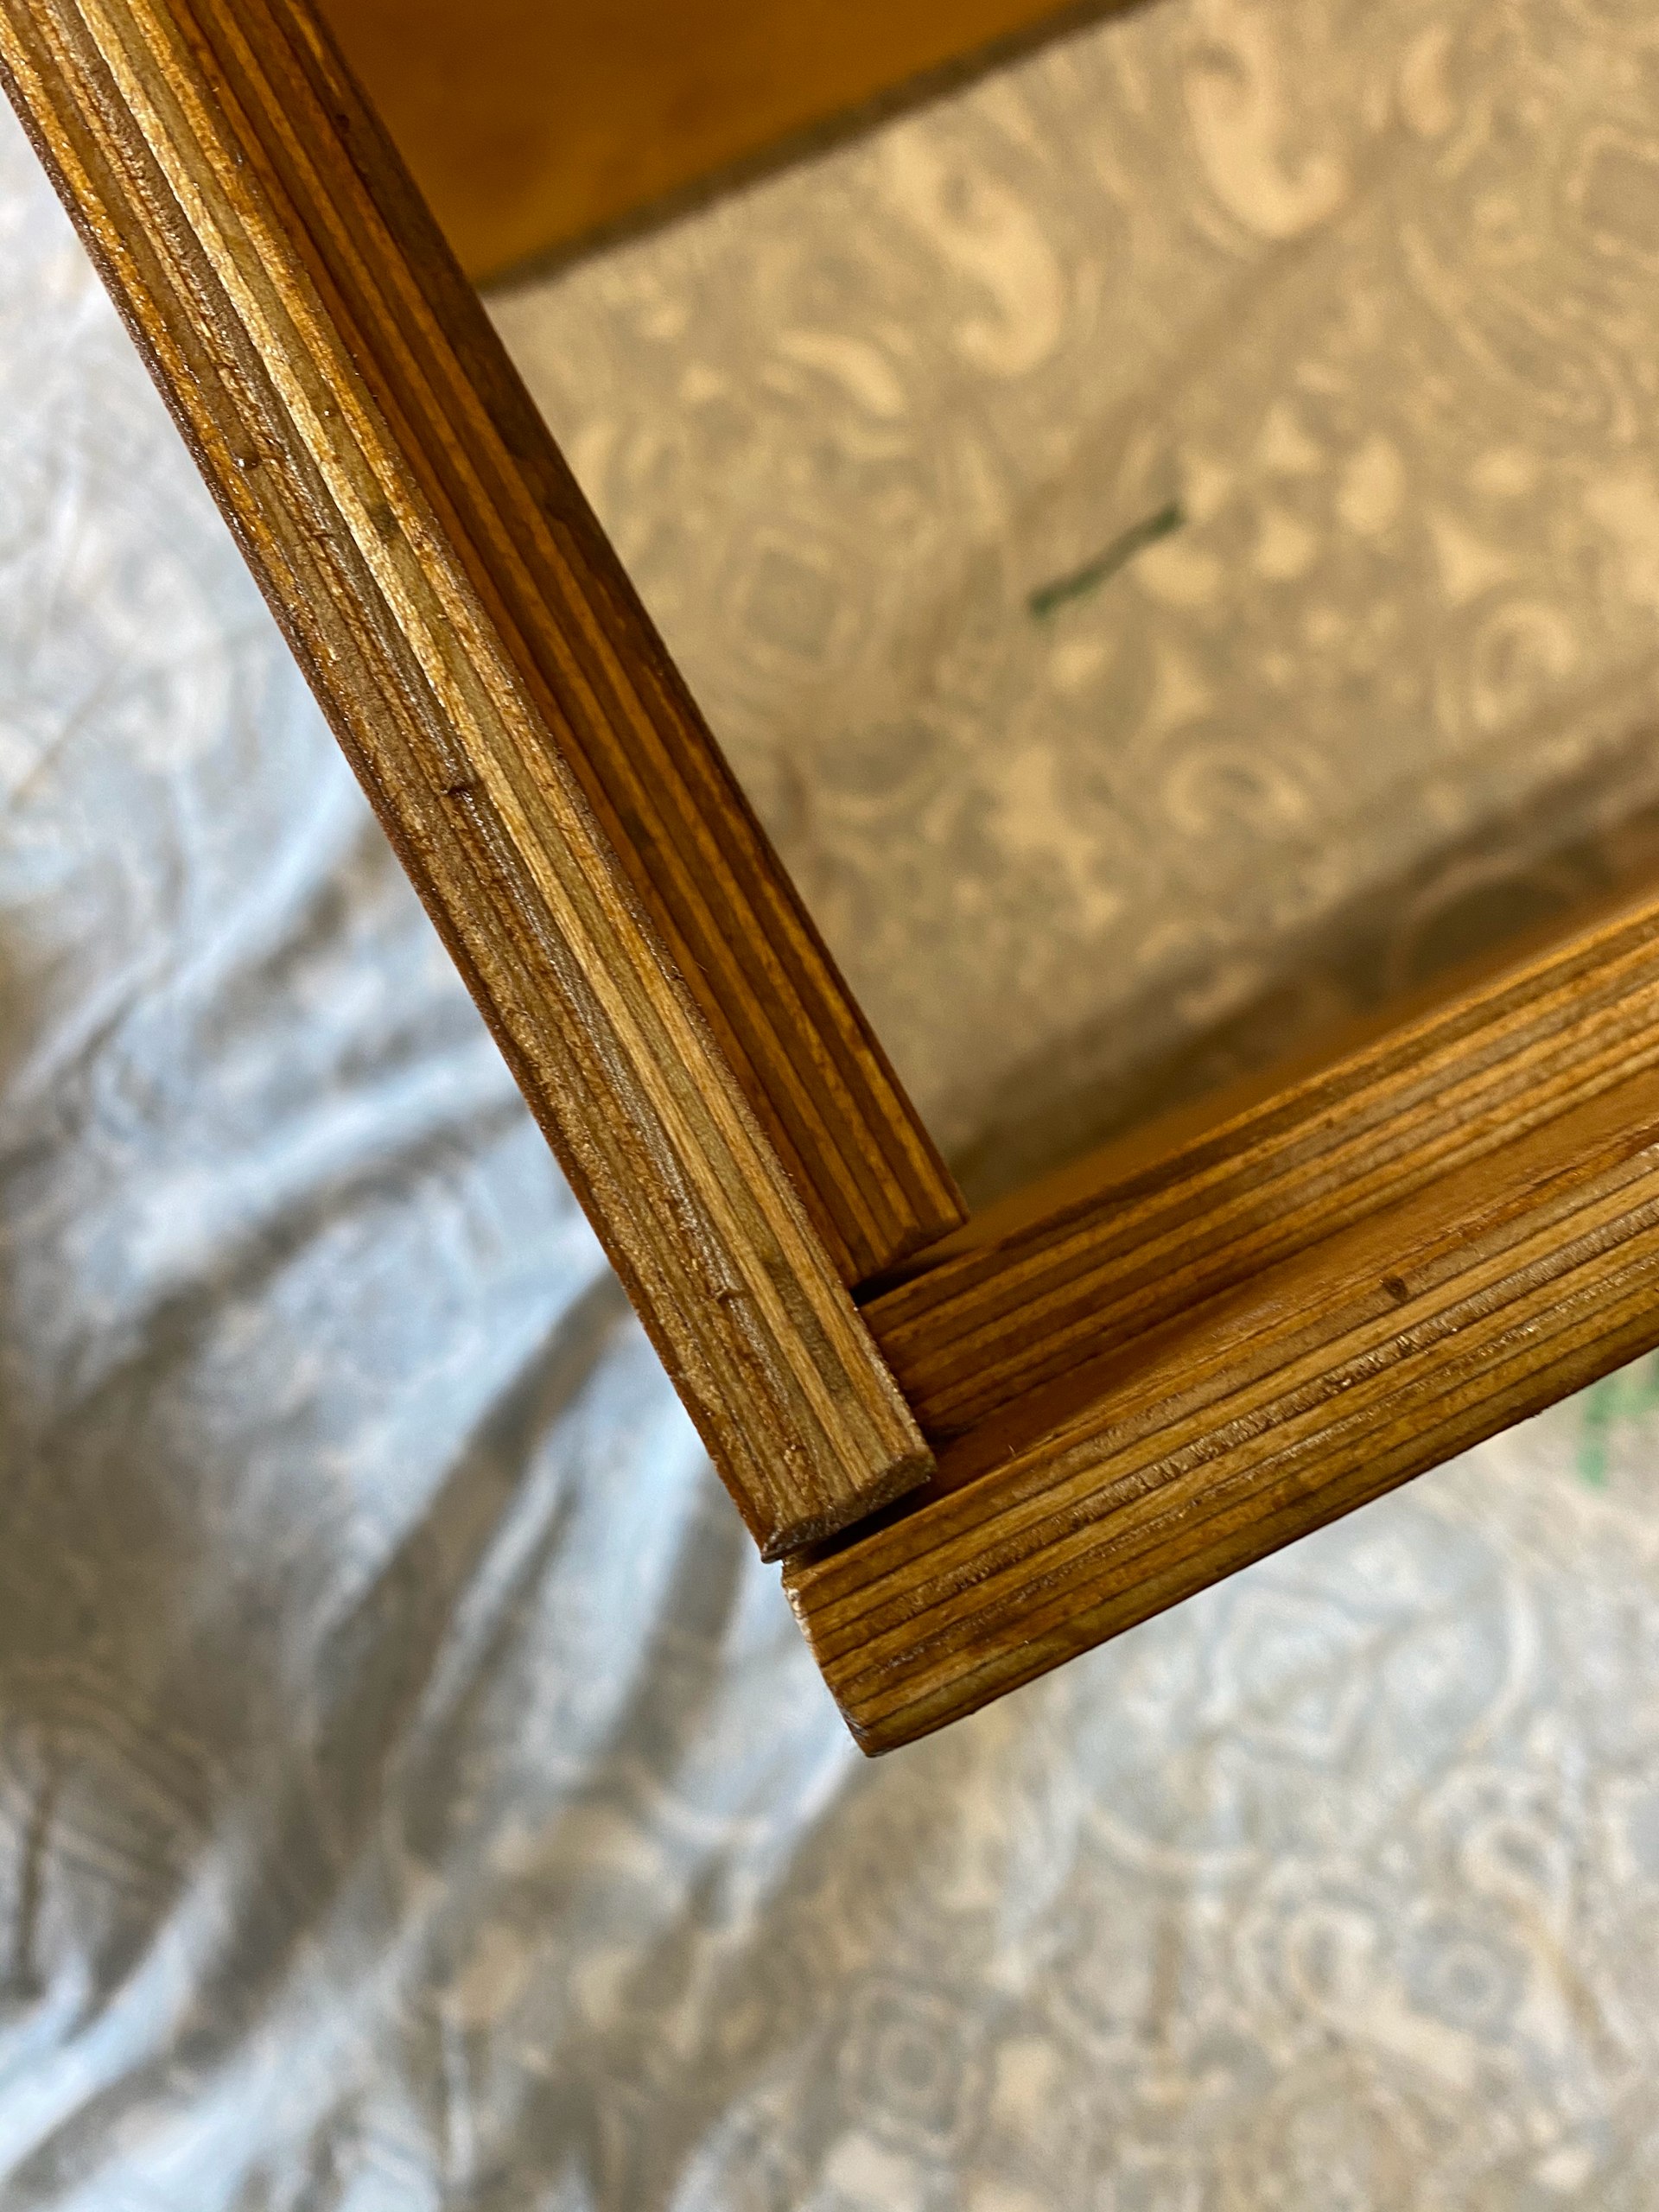
I didn’t get the machined materials until easter, the problem that this created was the university was closed for the holiday. Which meant I still didn’t have access to the facilities I needed. However, at this point I knew that the initial work would be about sanding and the odd bit of filing. So, I started the drawn-out process of sanding all the individual pieces to then move forward with the varnishing.

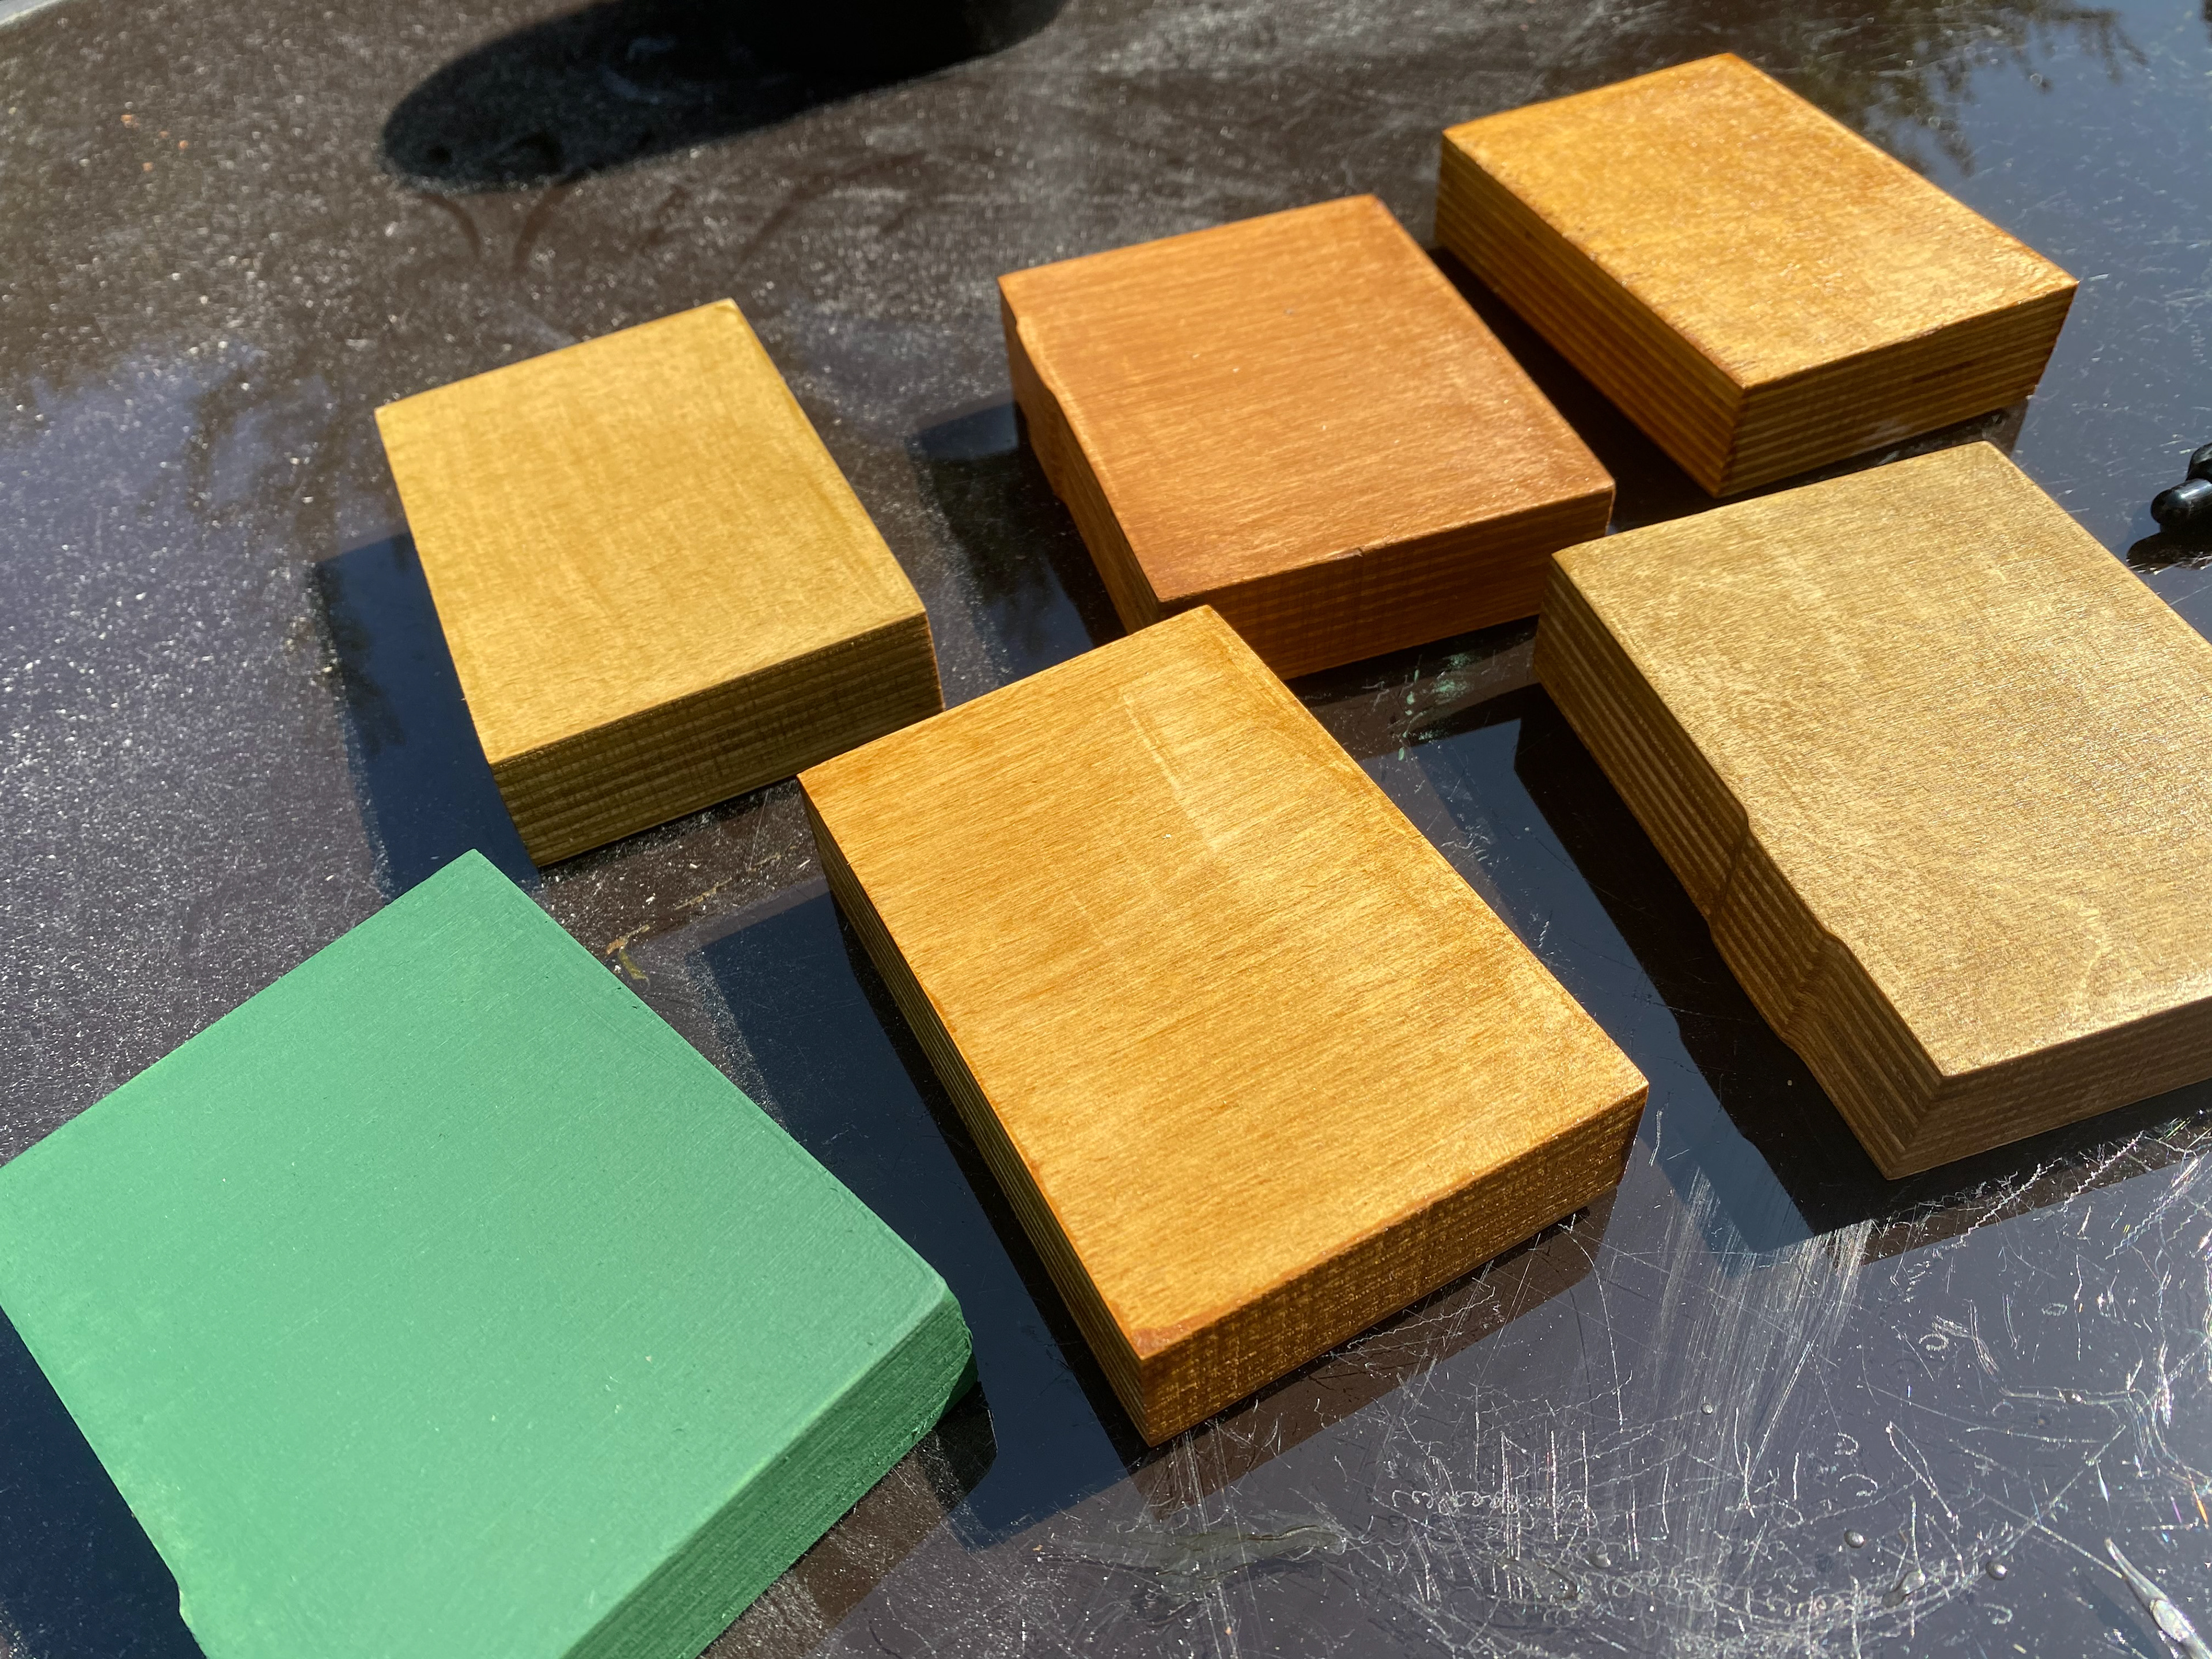
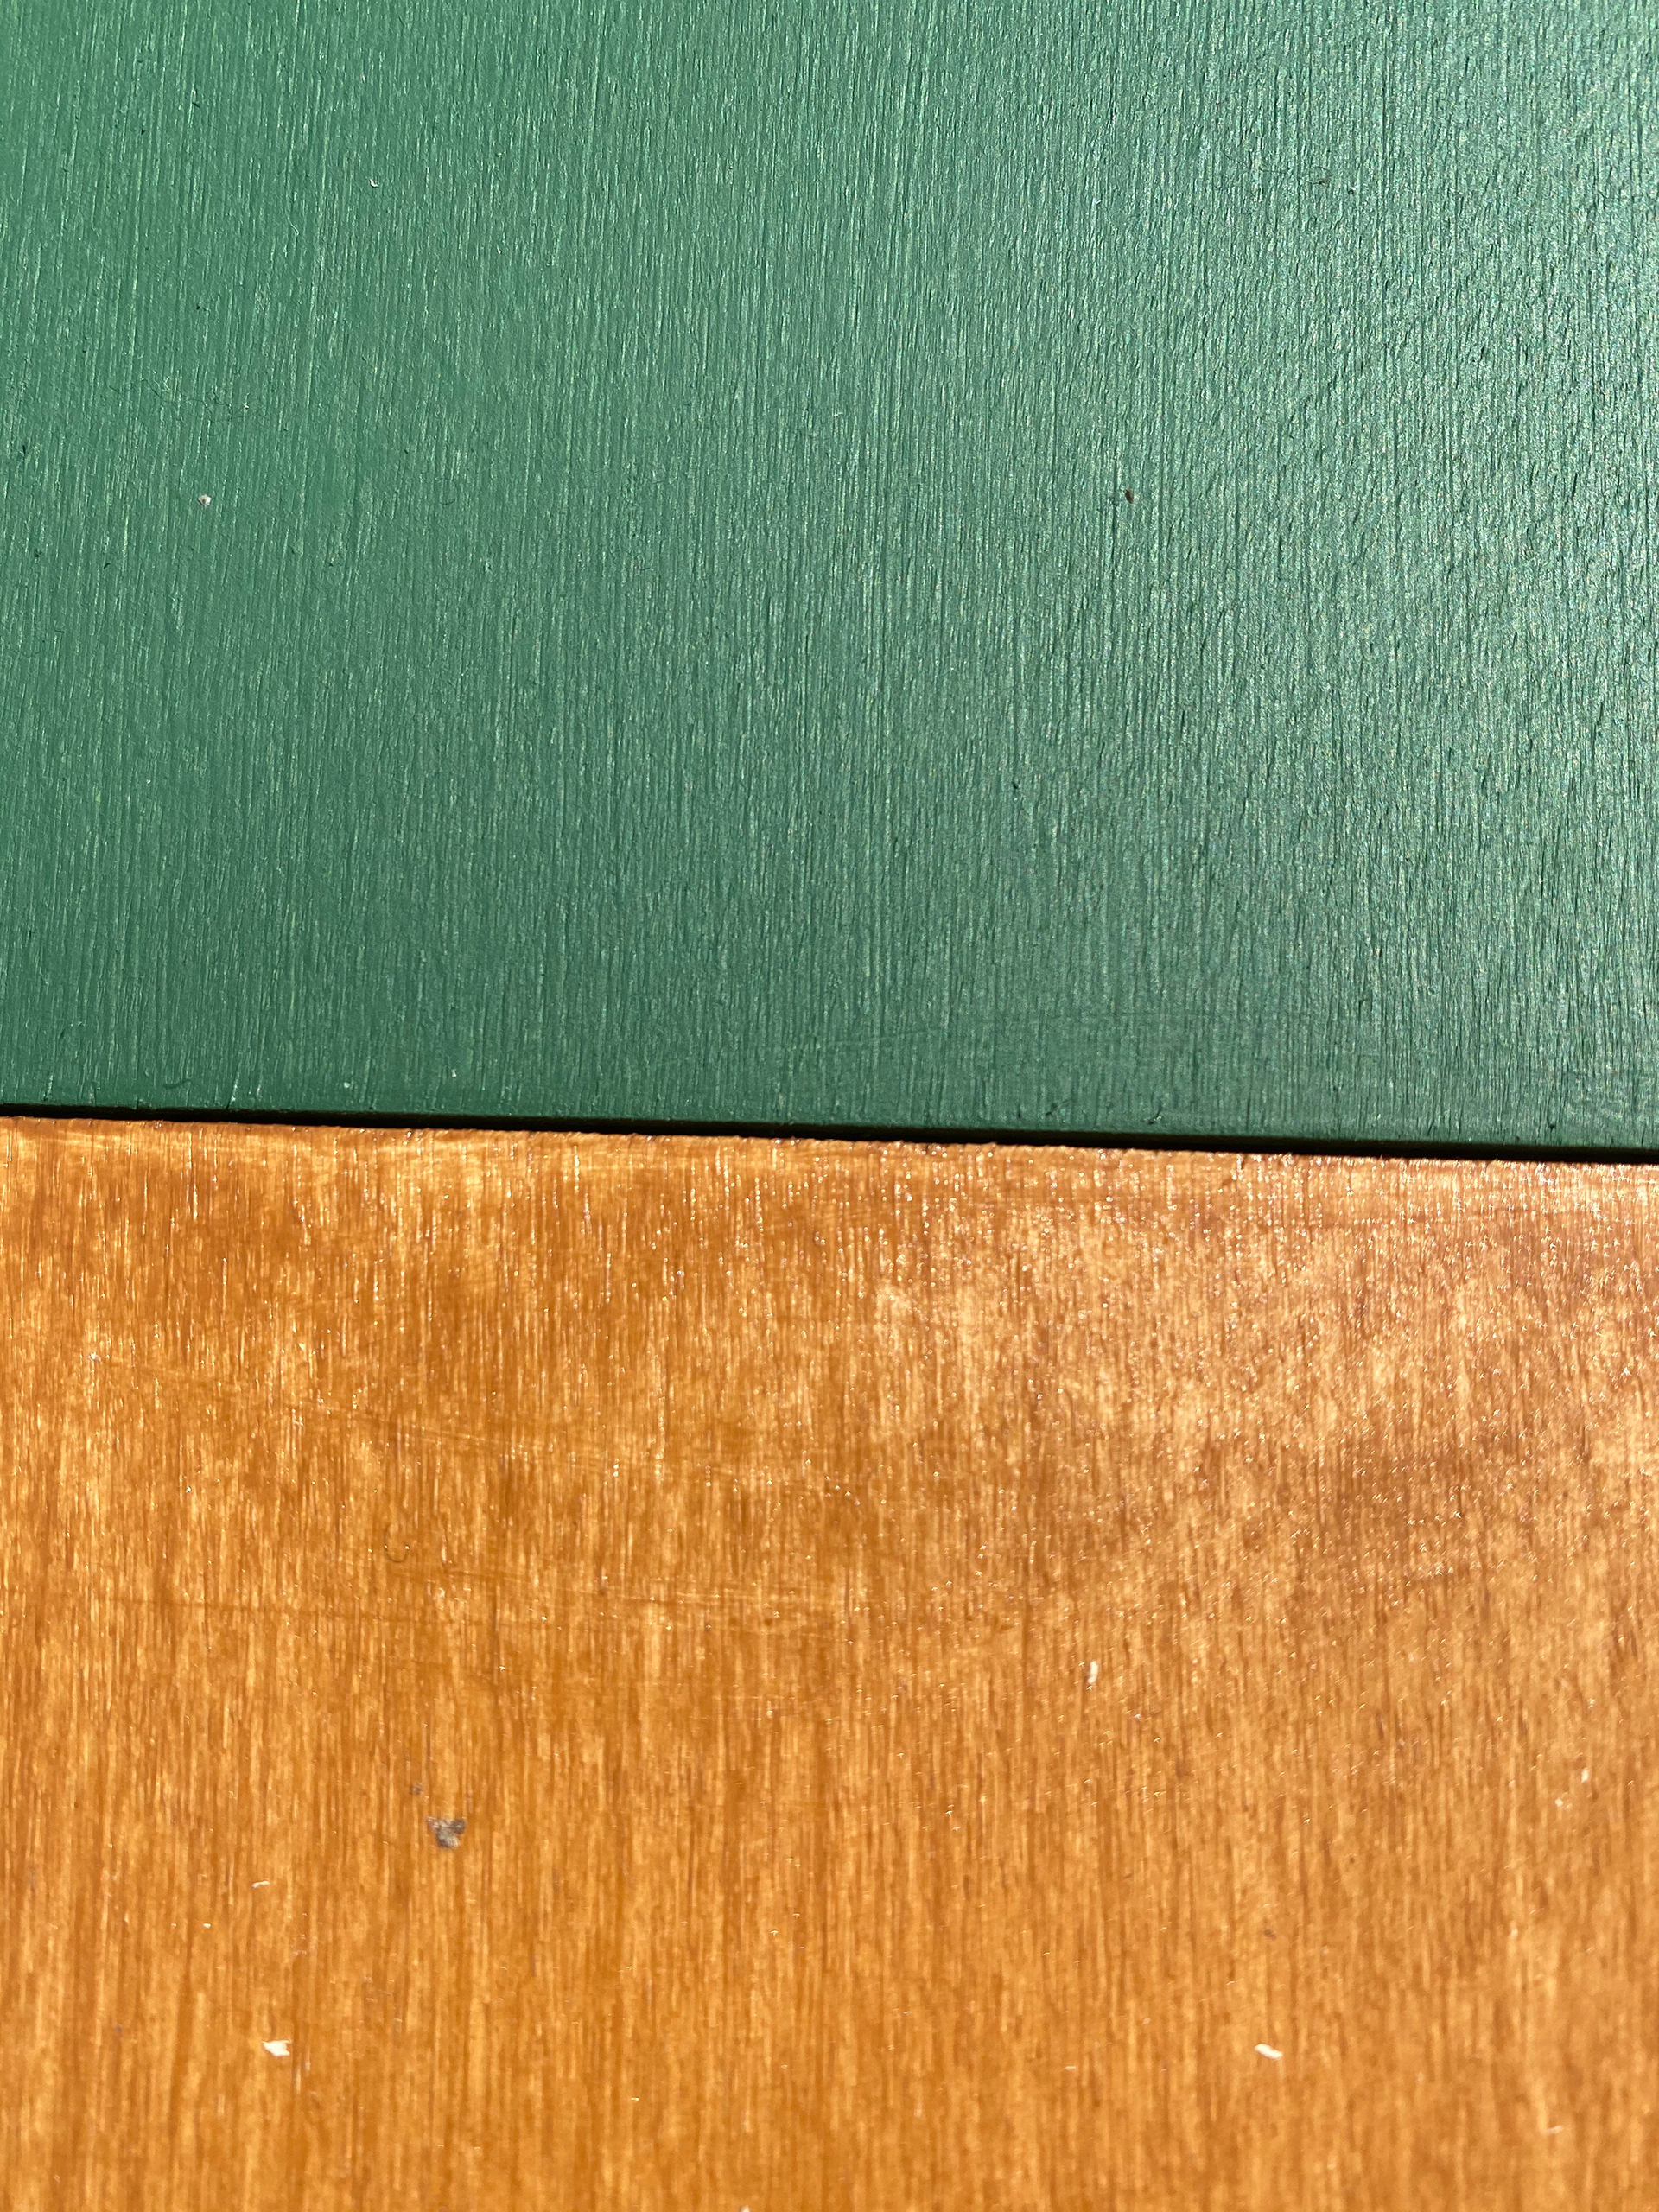
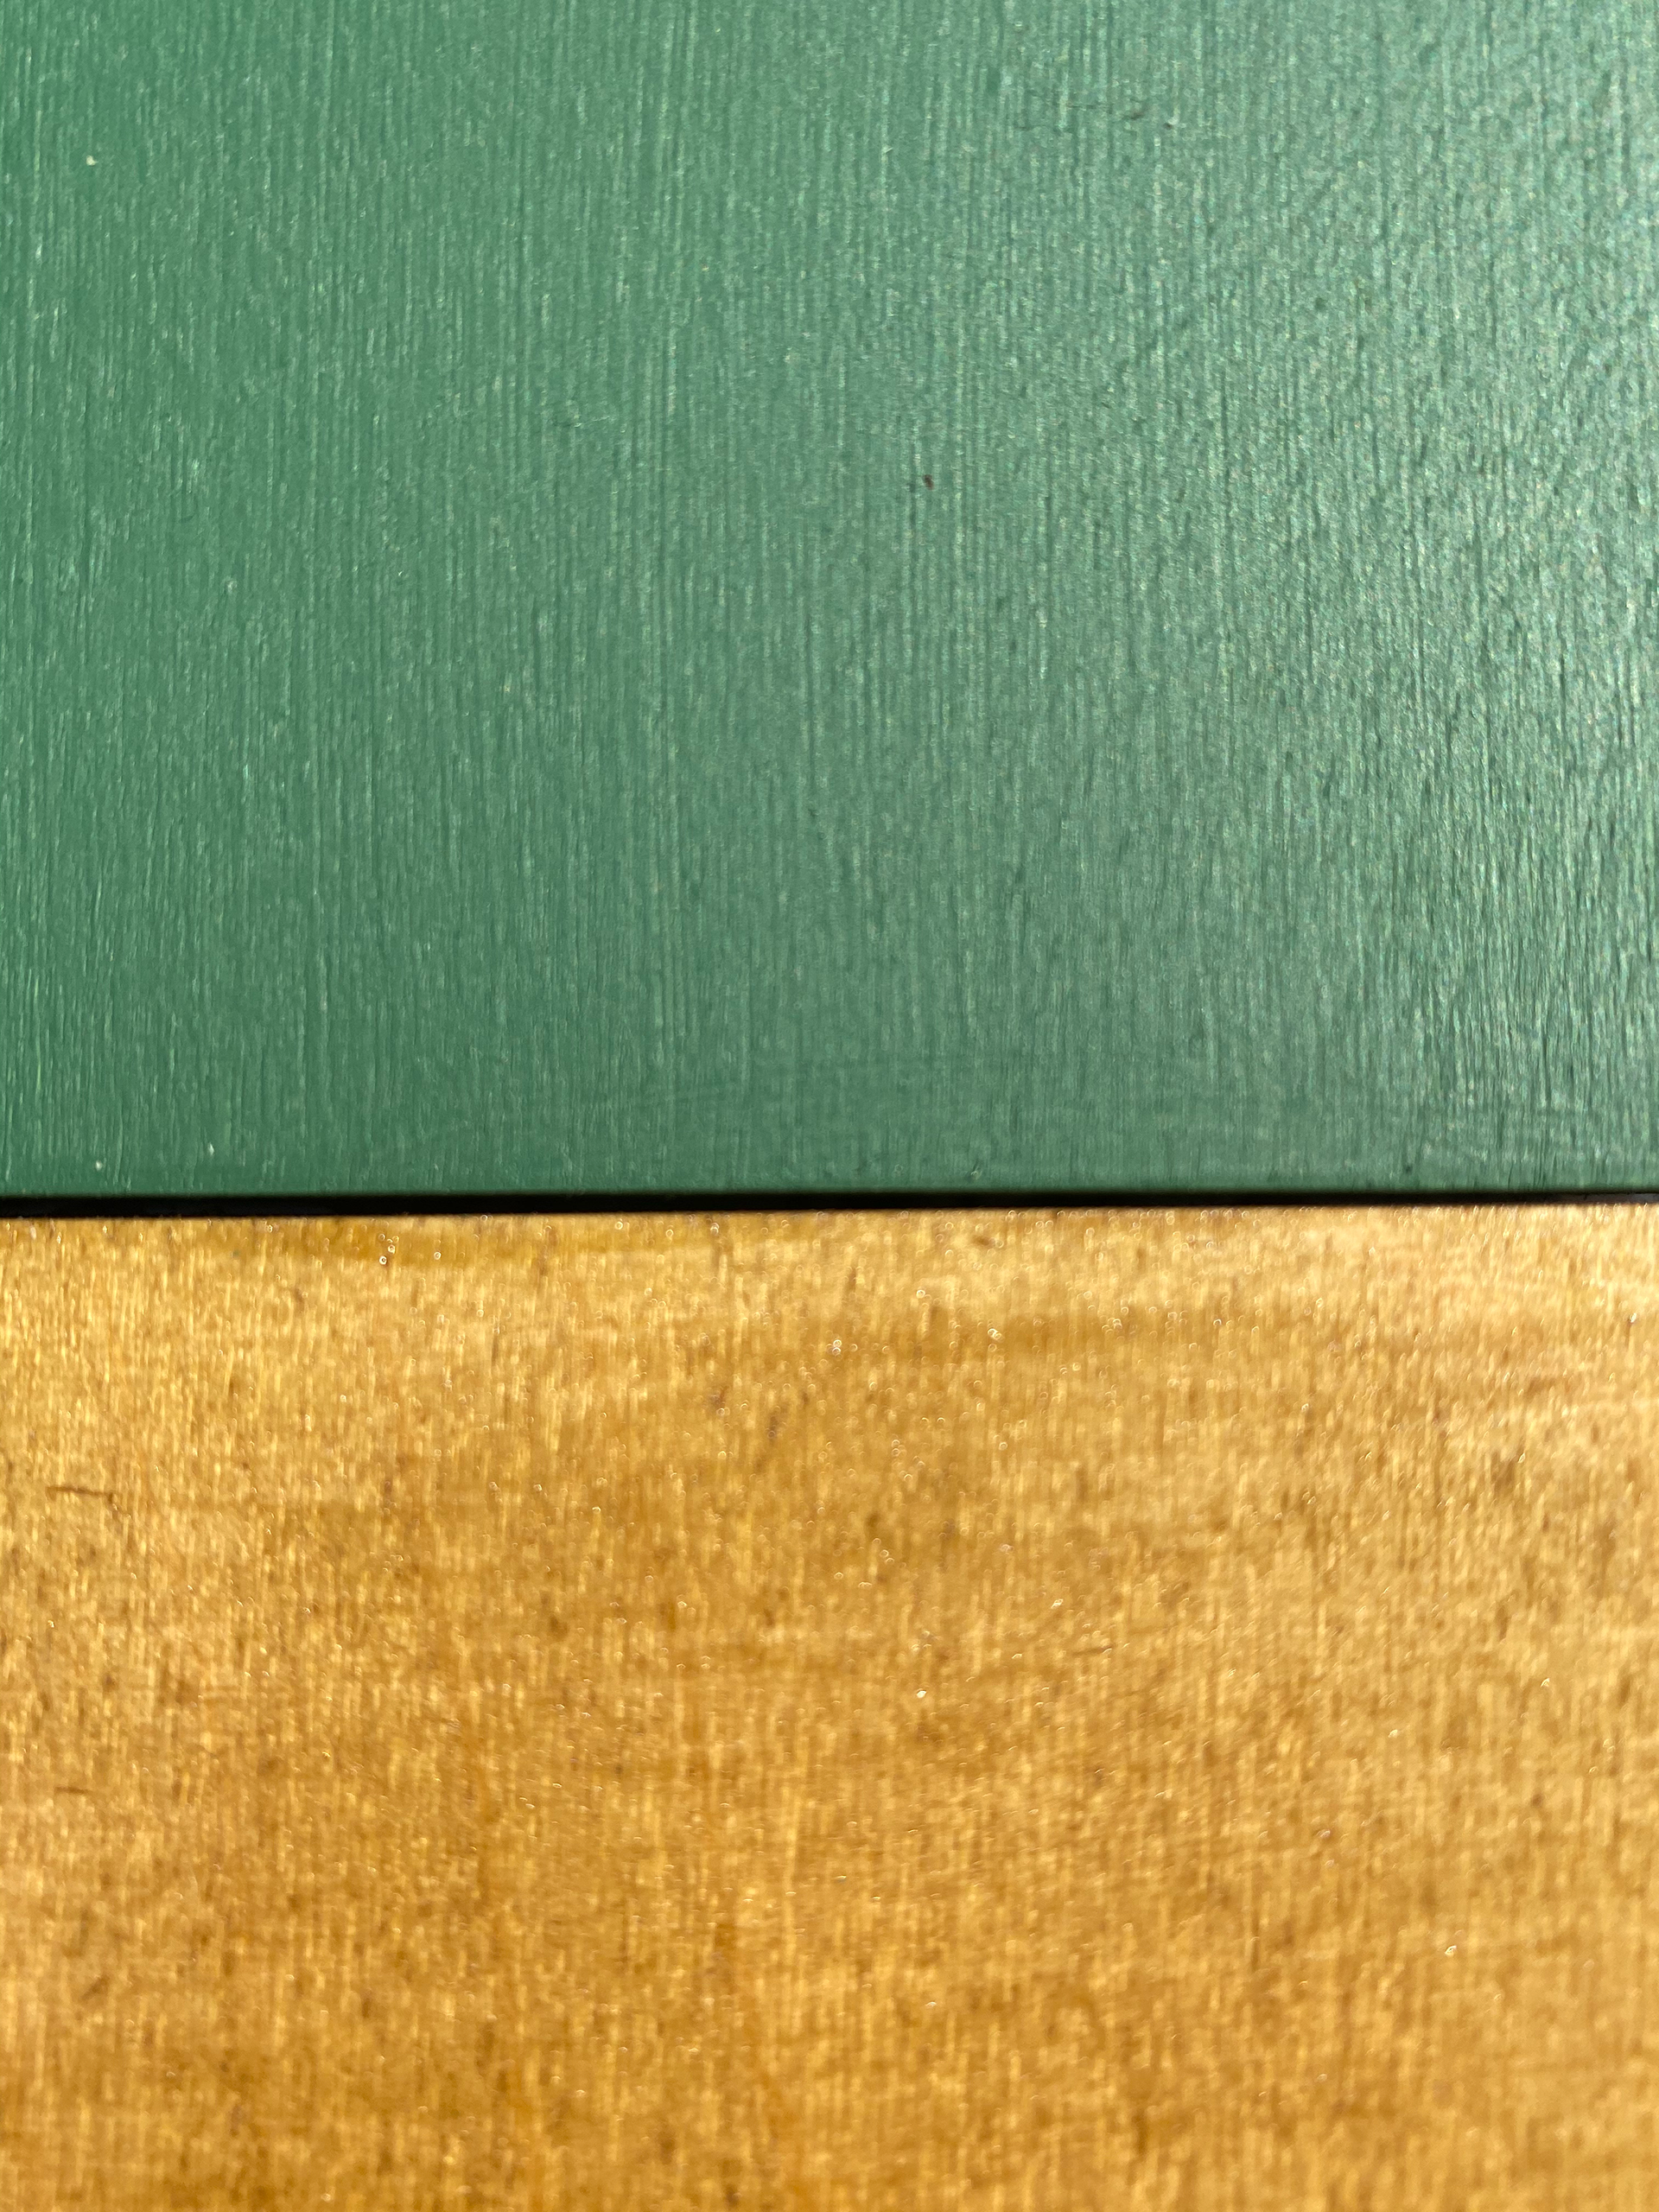
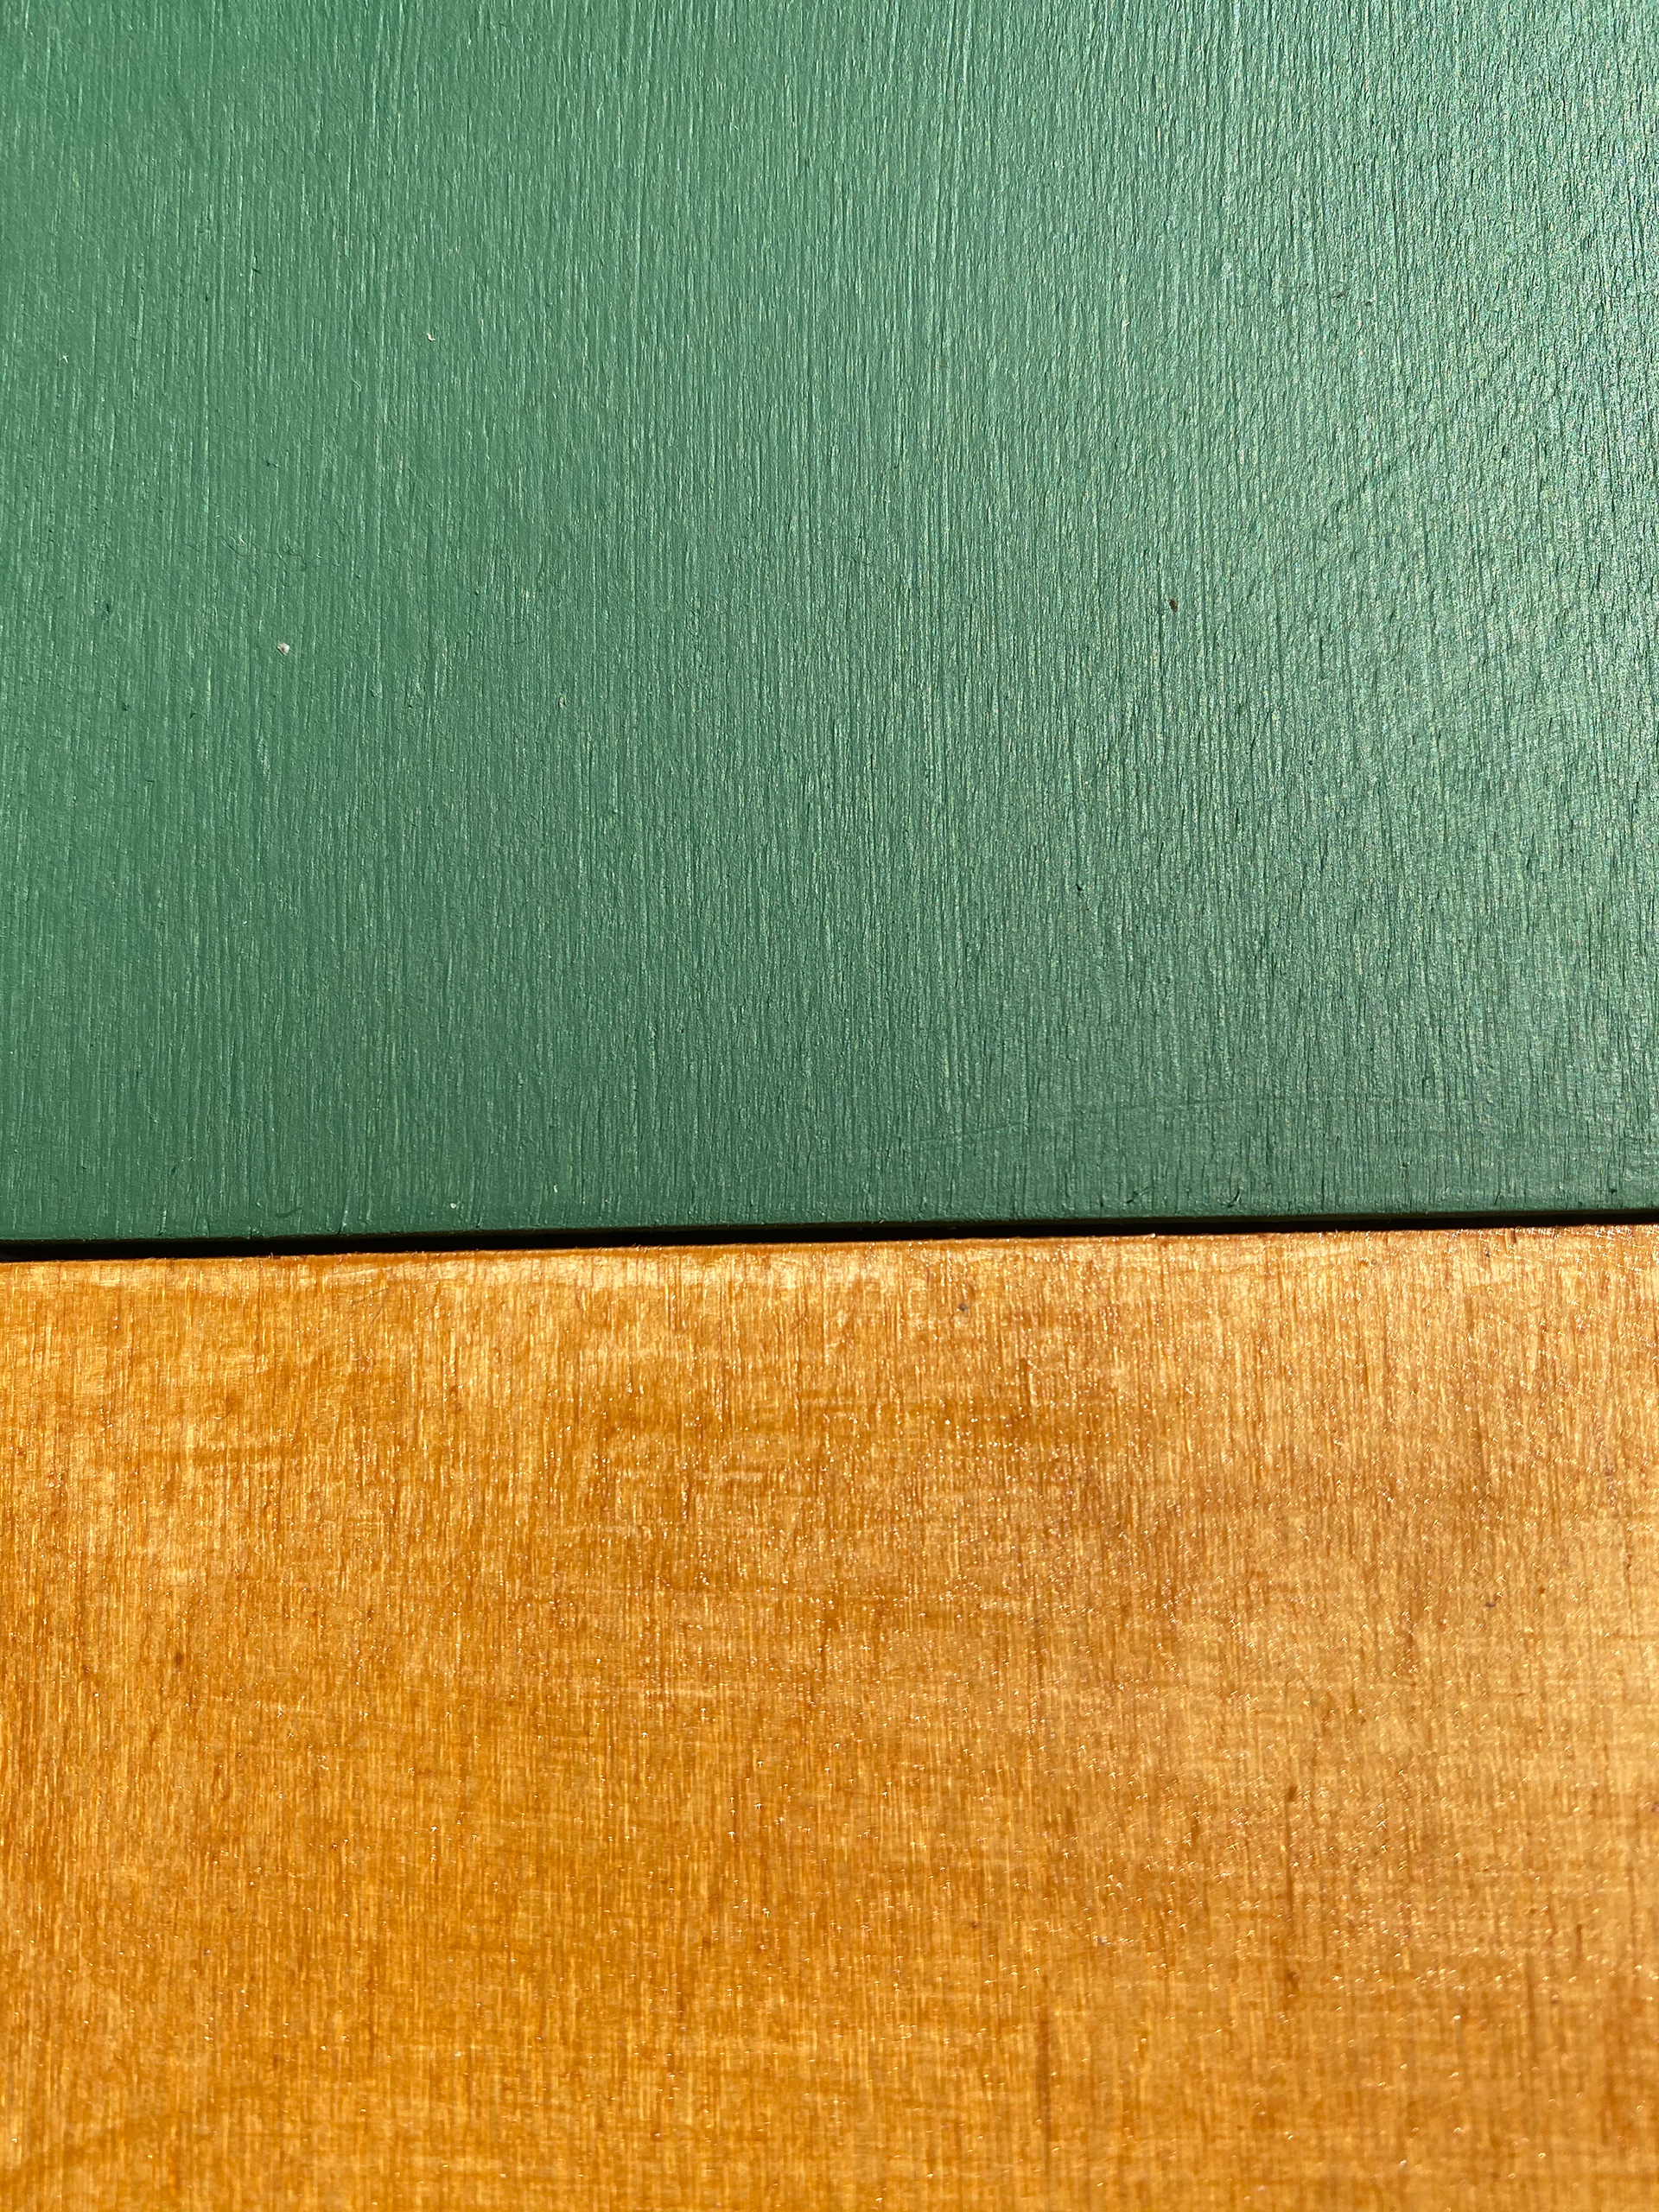
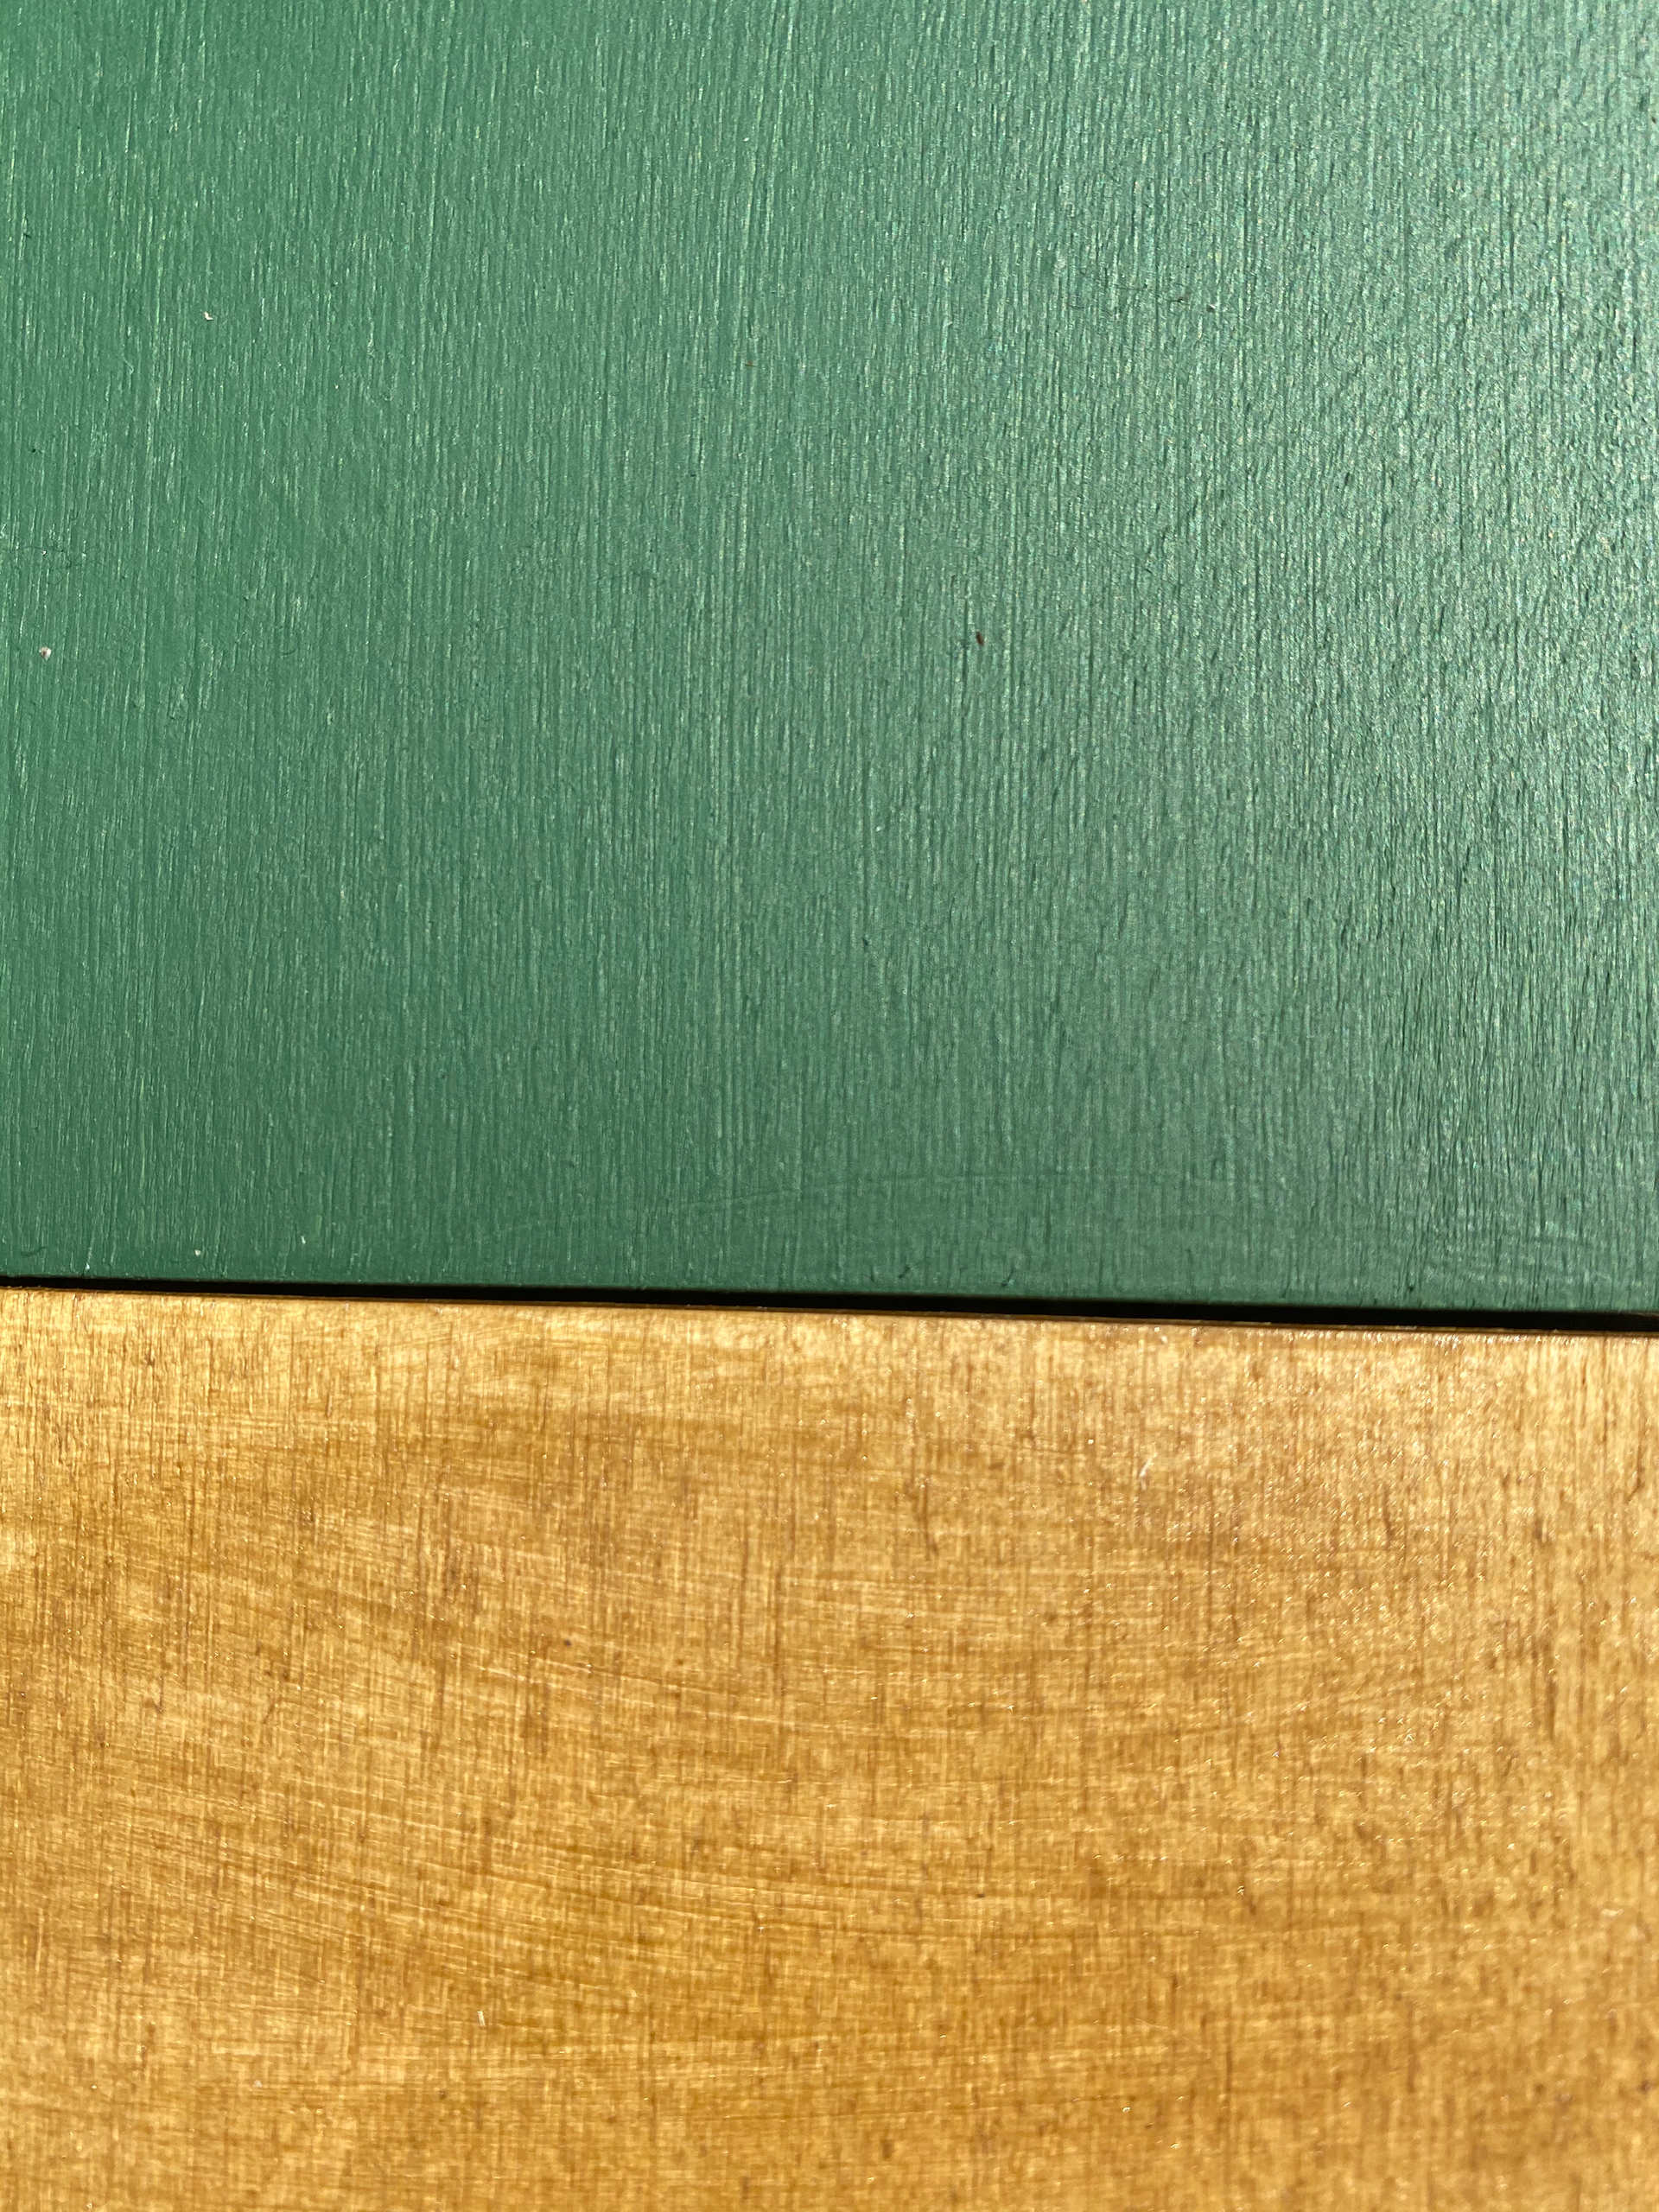
For the varnish I wanted to choose a finish that wasn’t too orange or too dark. I feel that too orange a shade would clash with the shade of green I have chosen. I did decide to go with a gloss finish however as I thought this would help with the travel of light; this is something that I want to consciously decide as the pool inspiration point is highly reliant on the refraction of light.

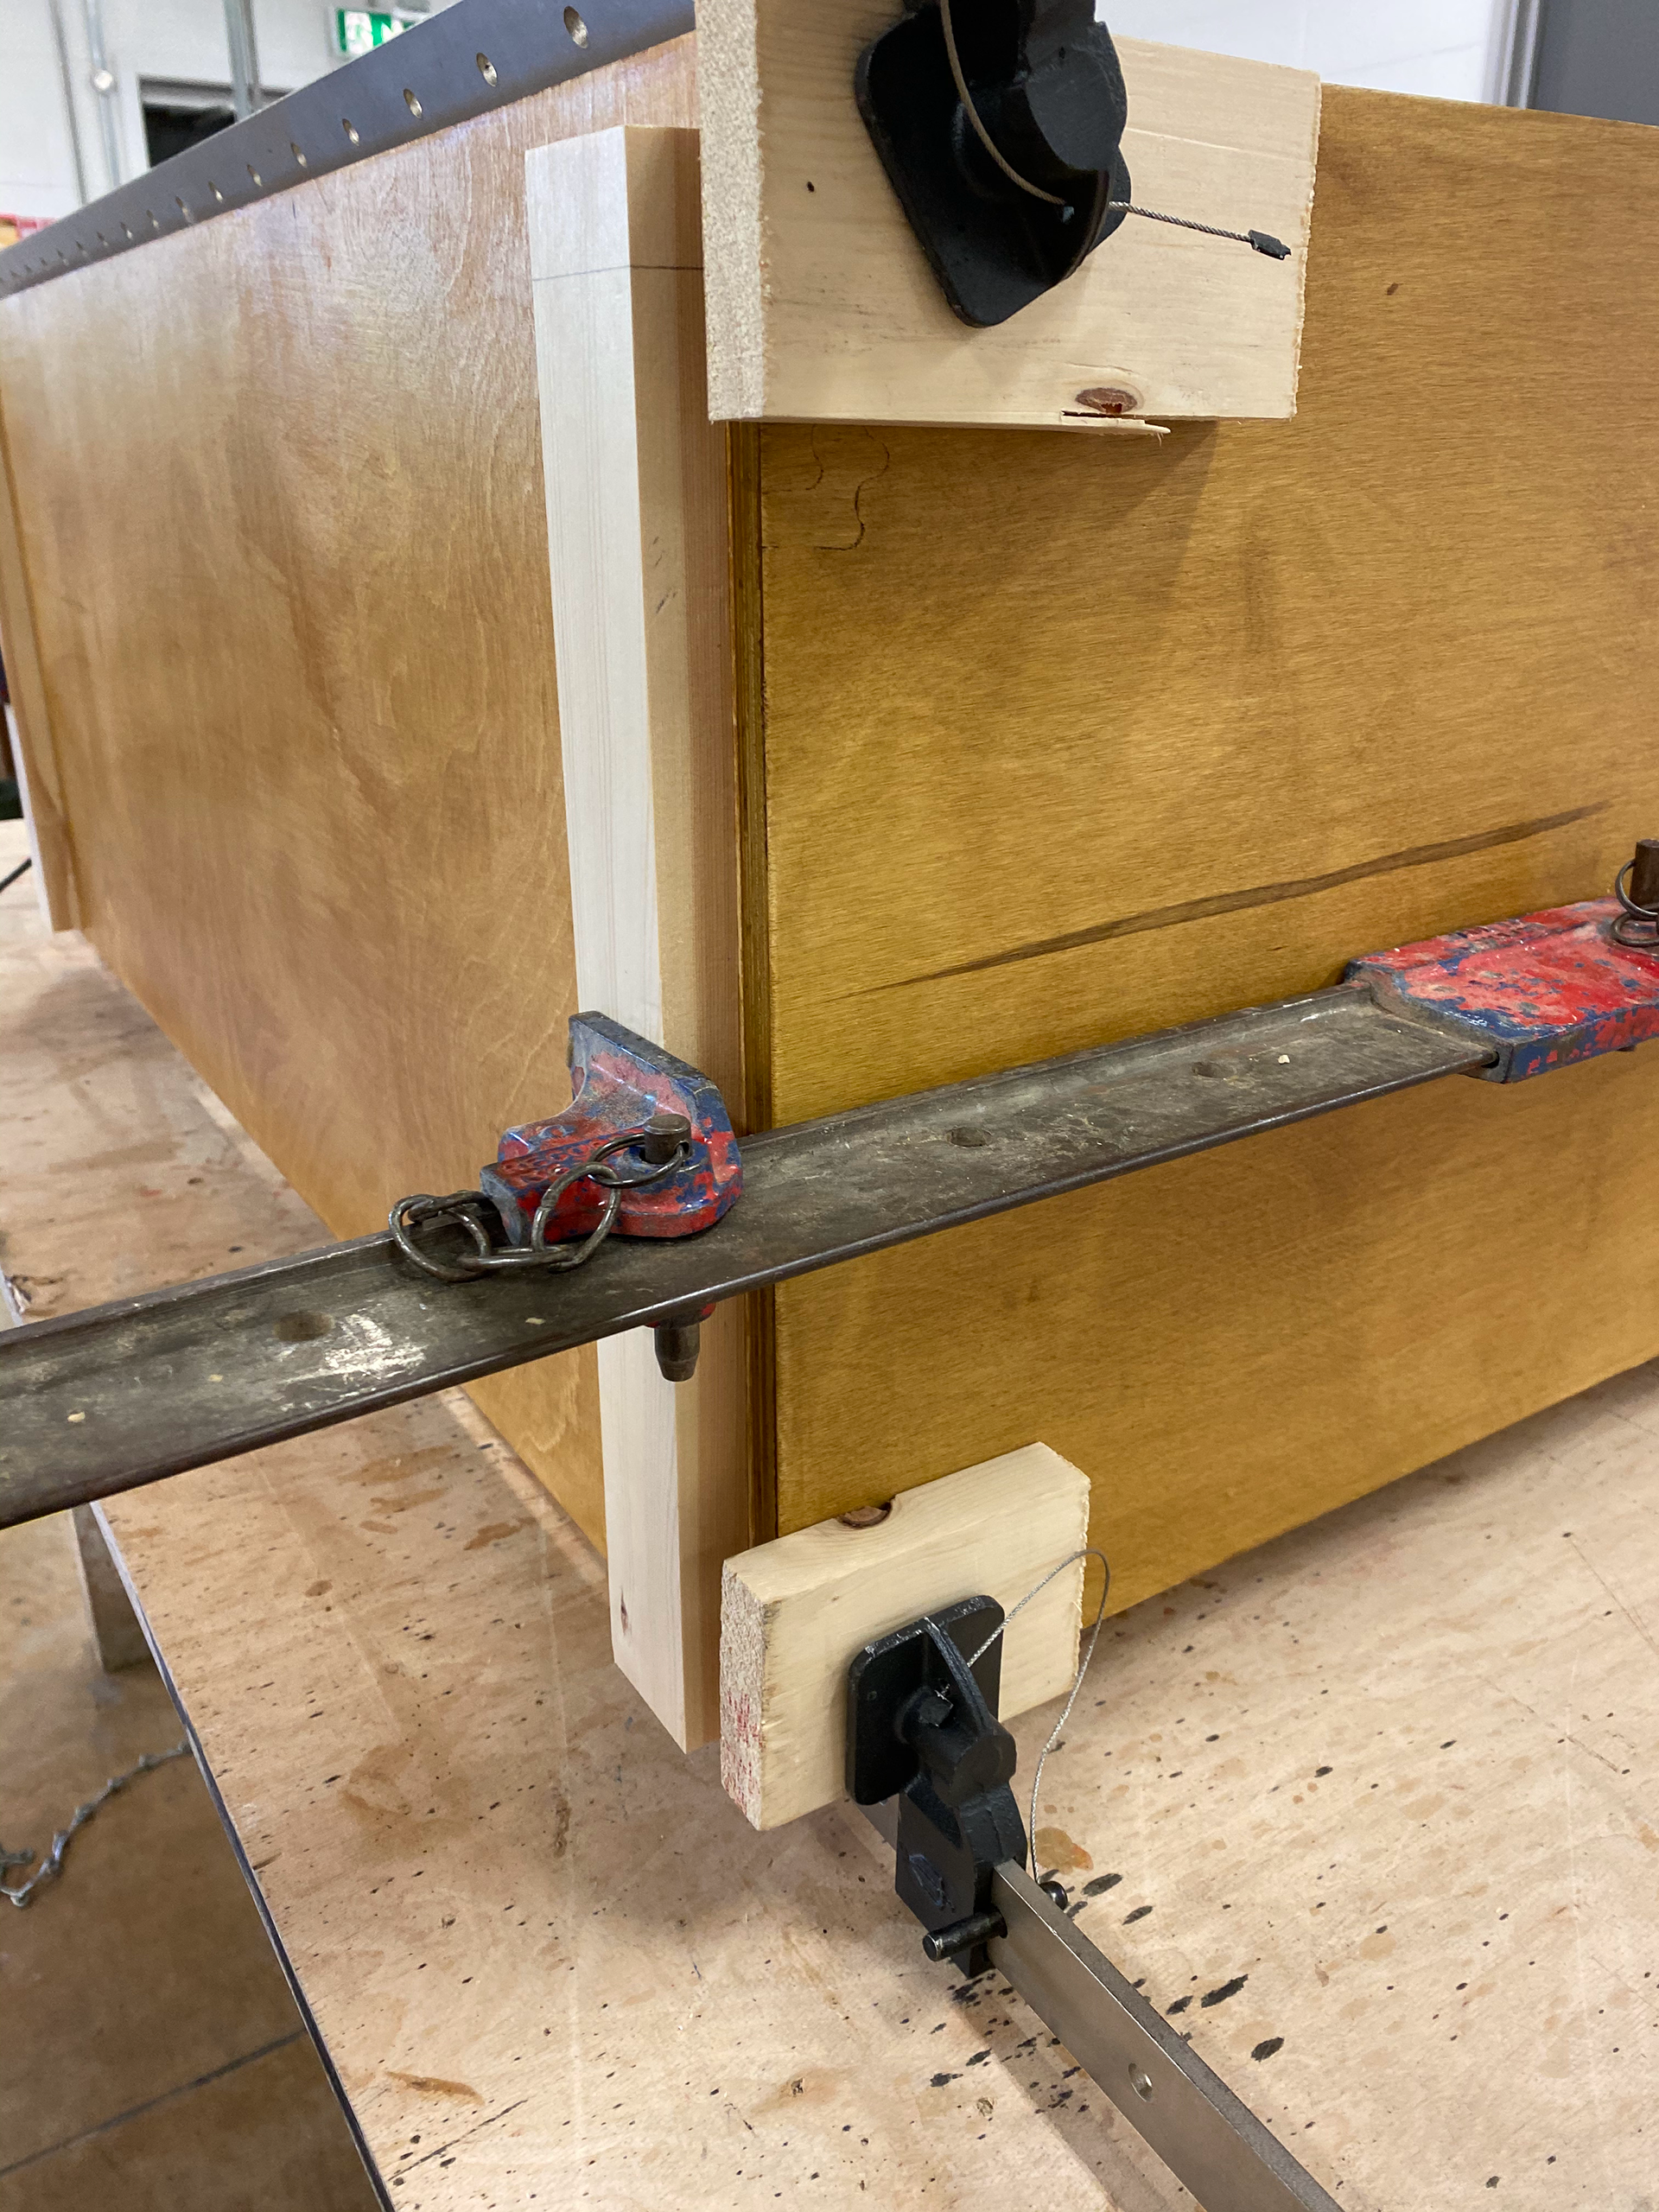
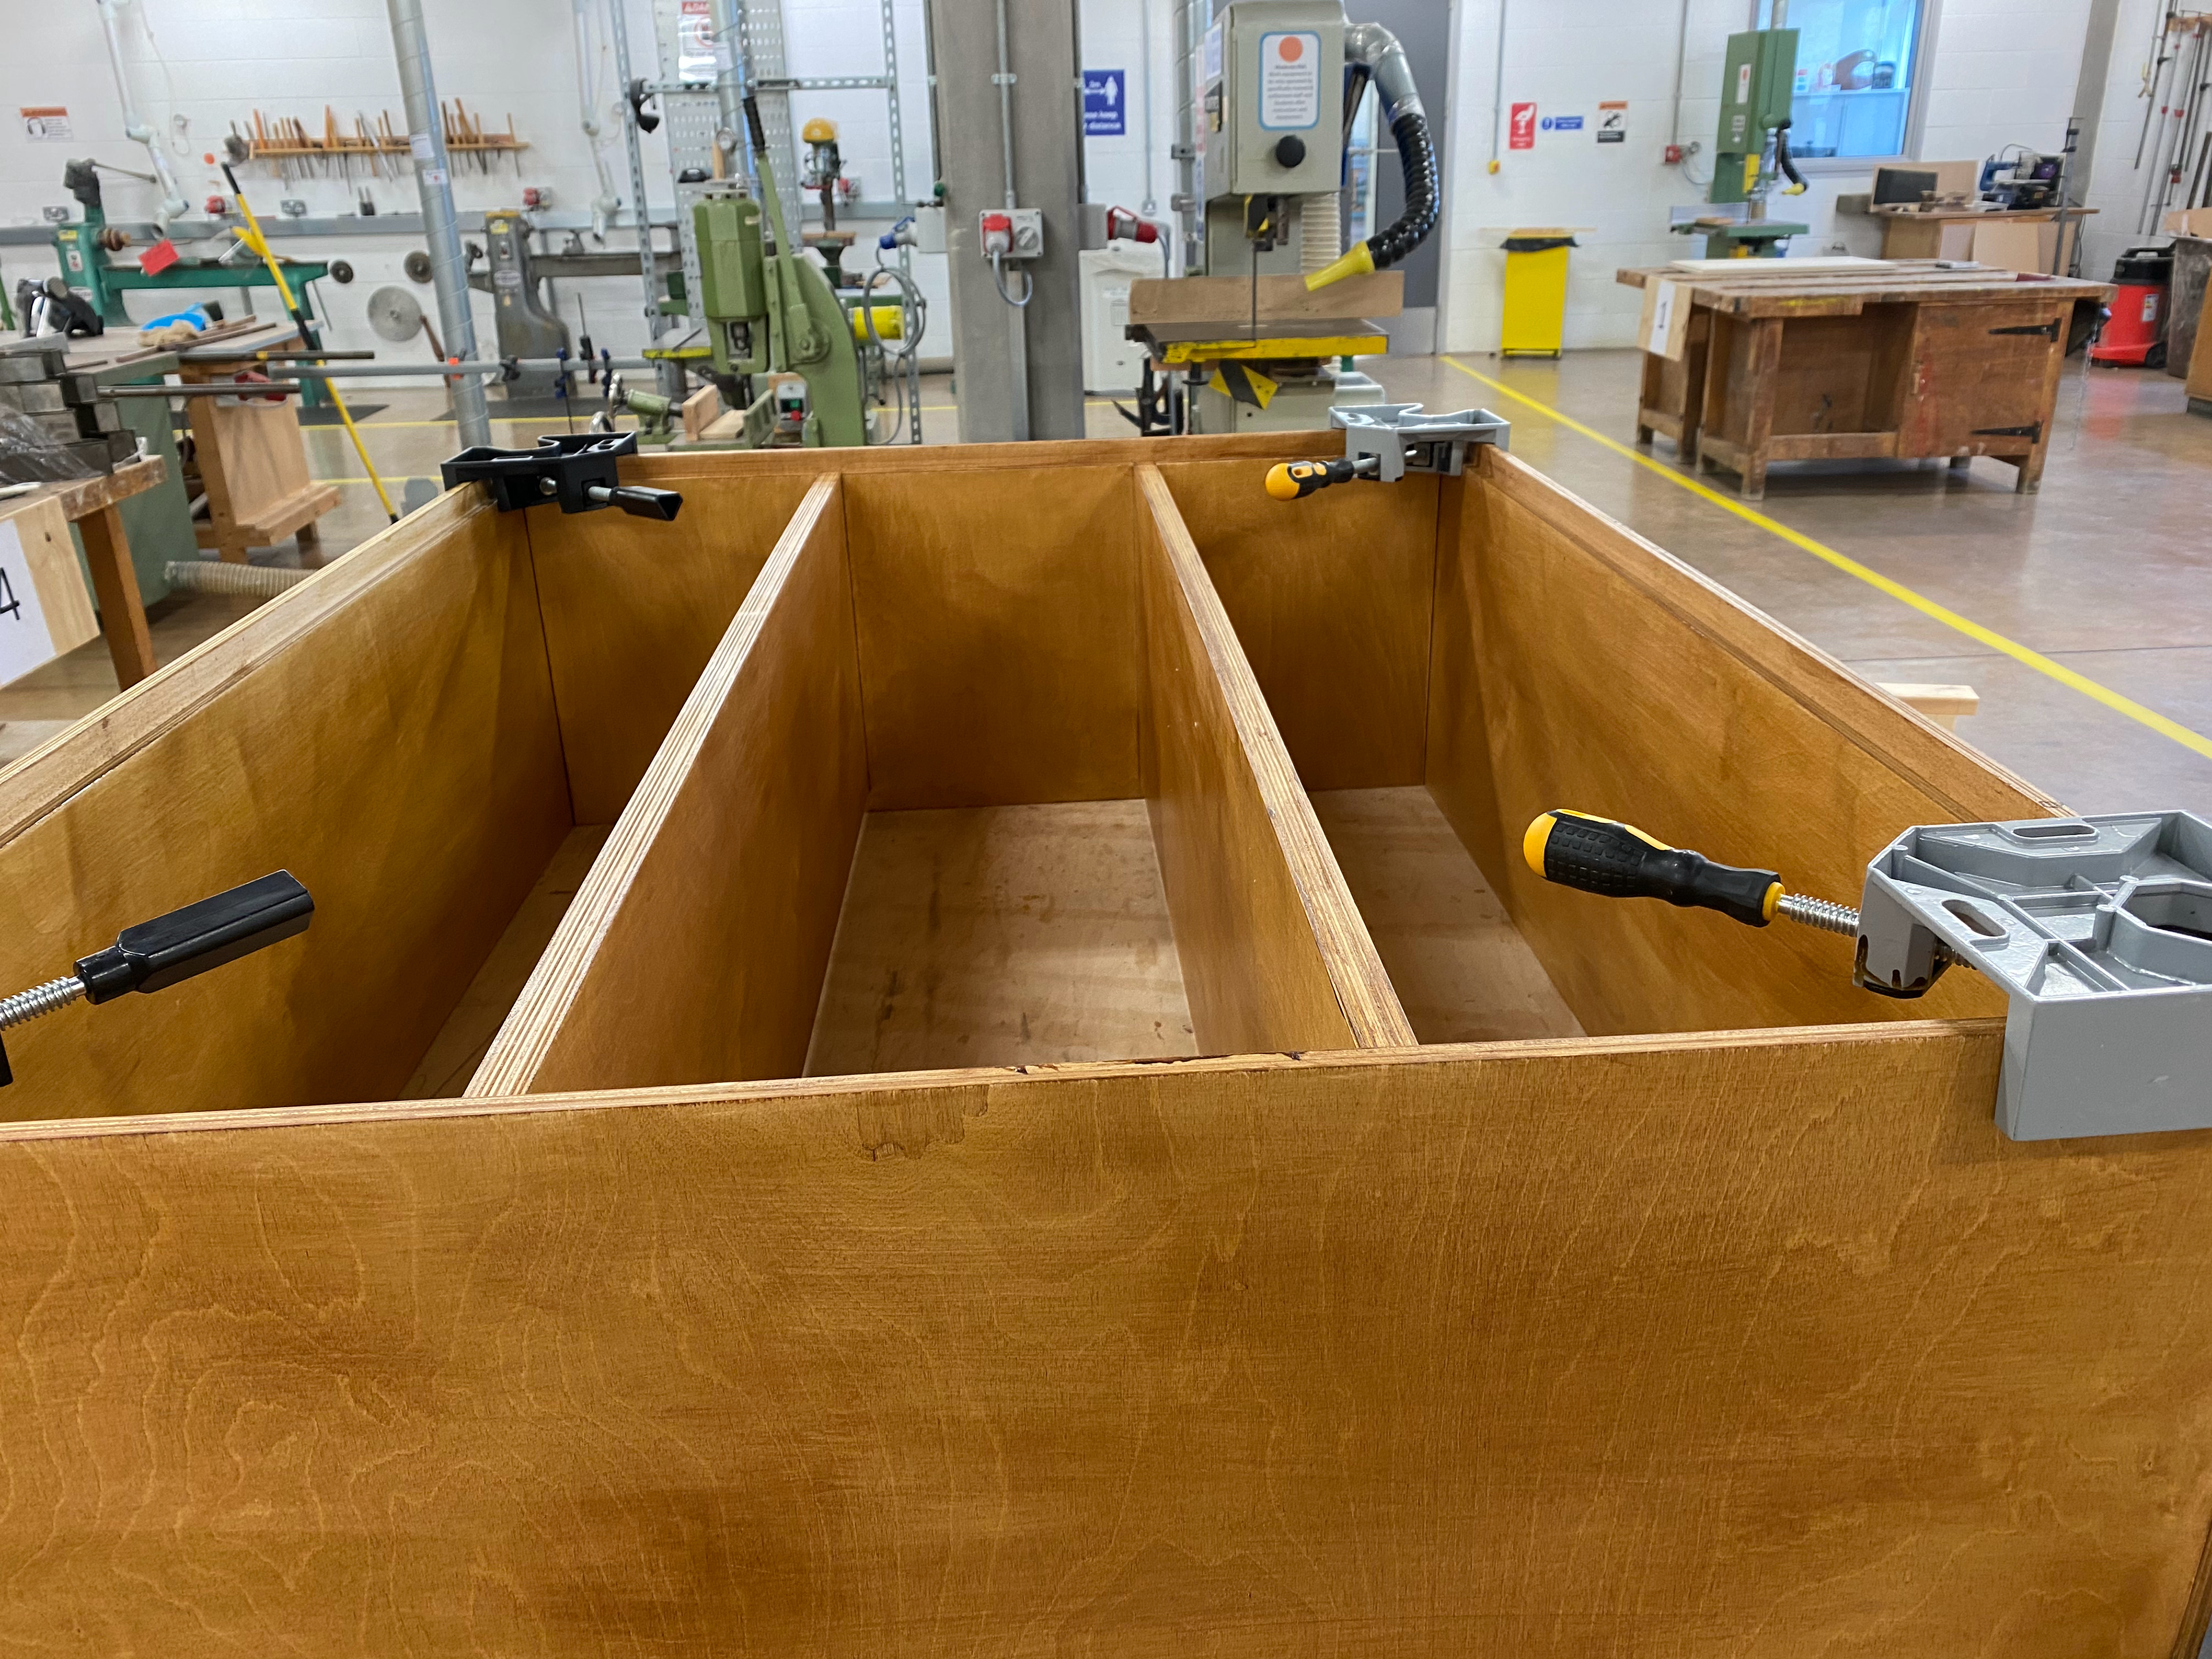
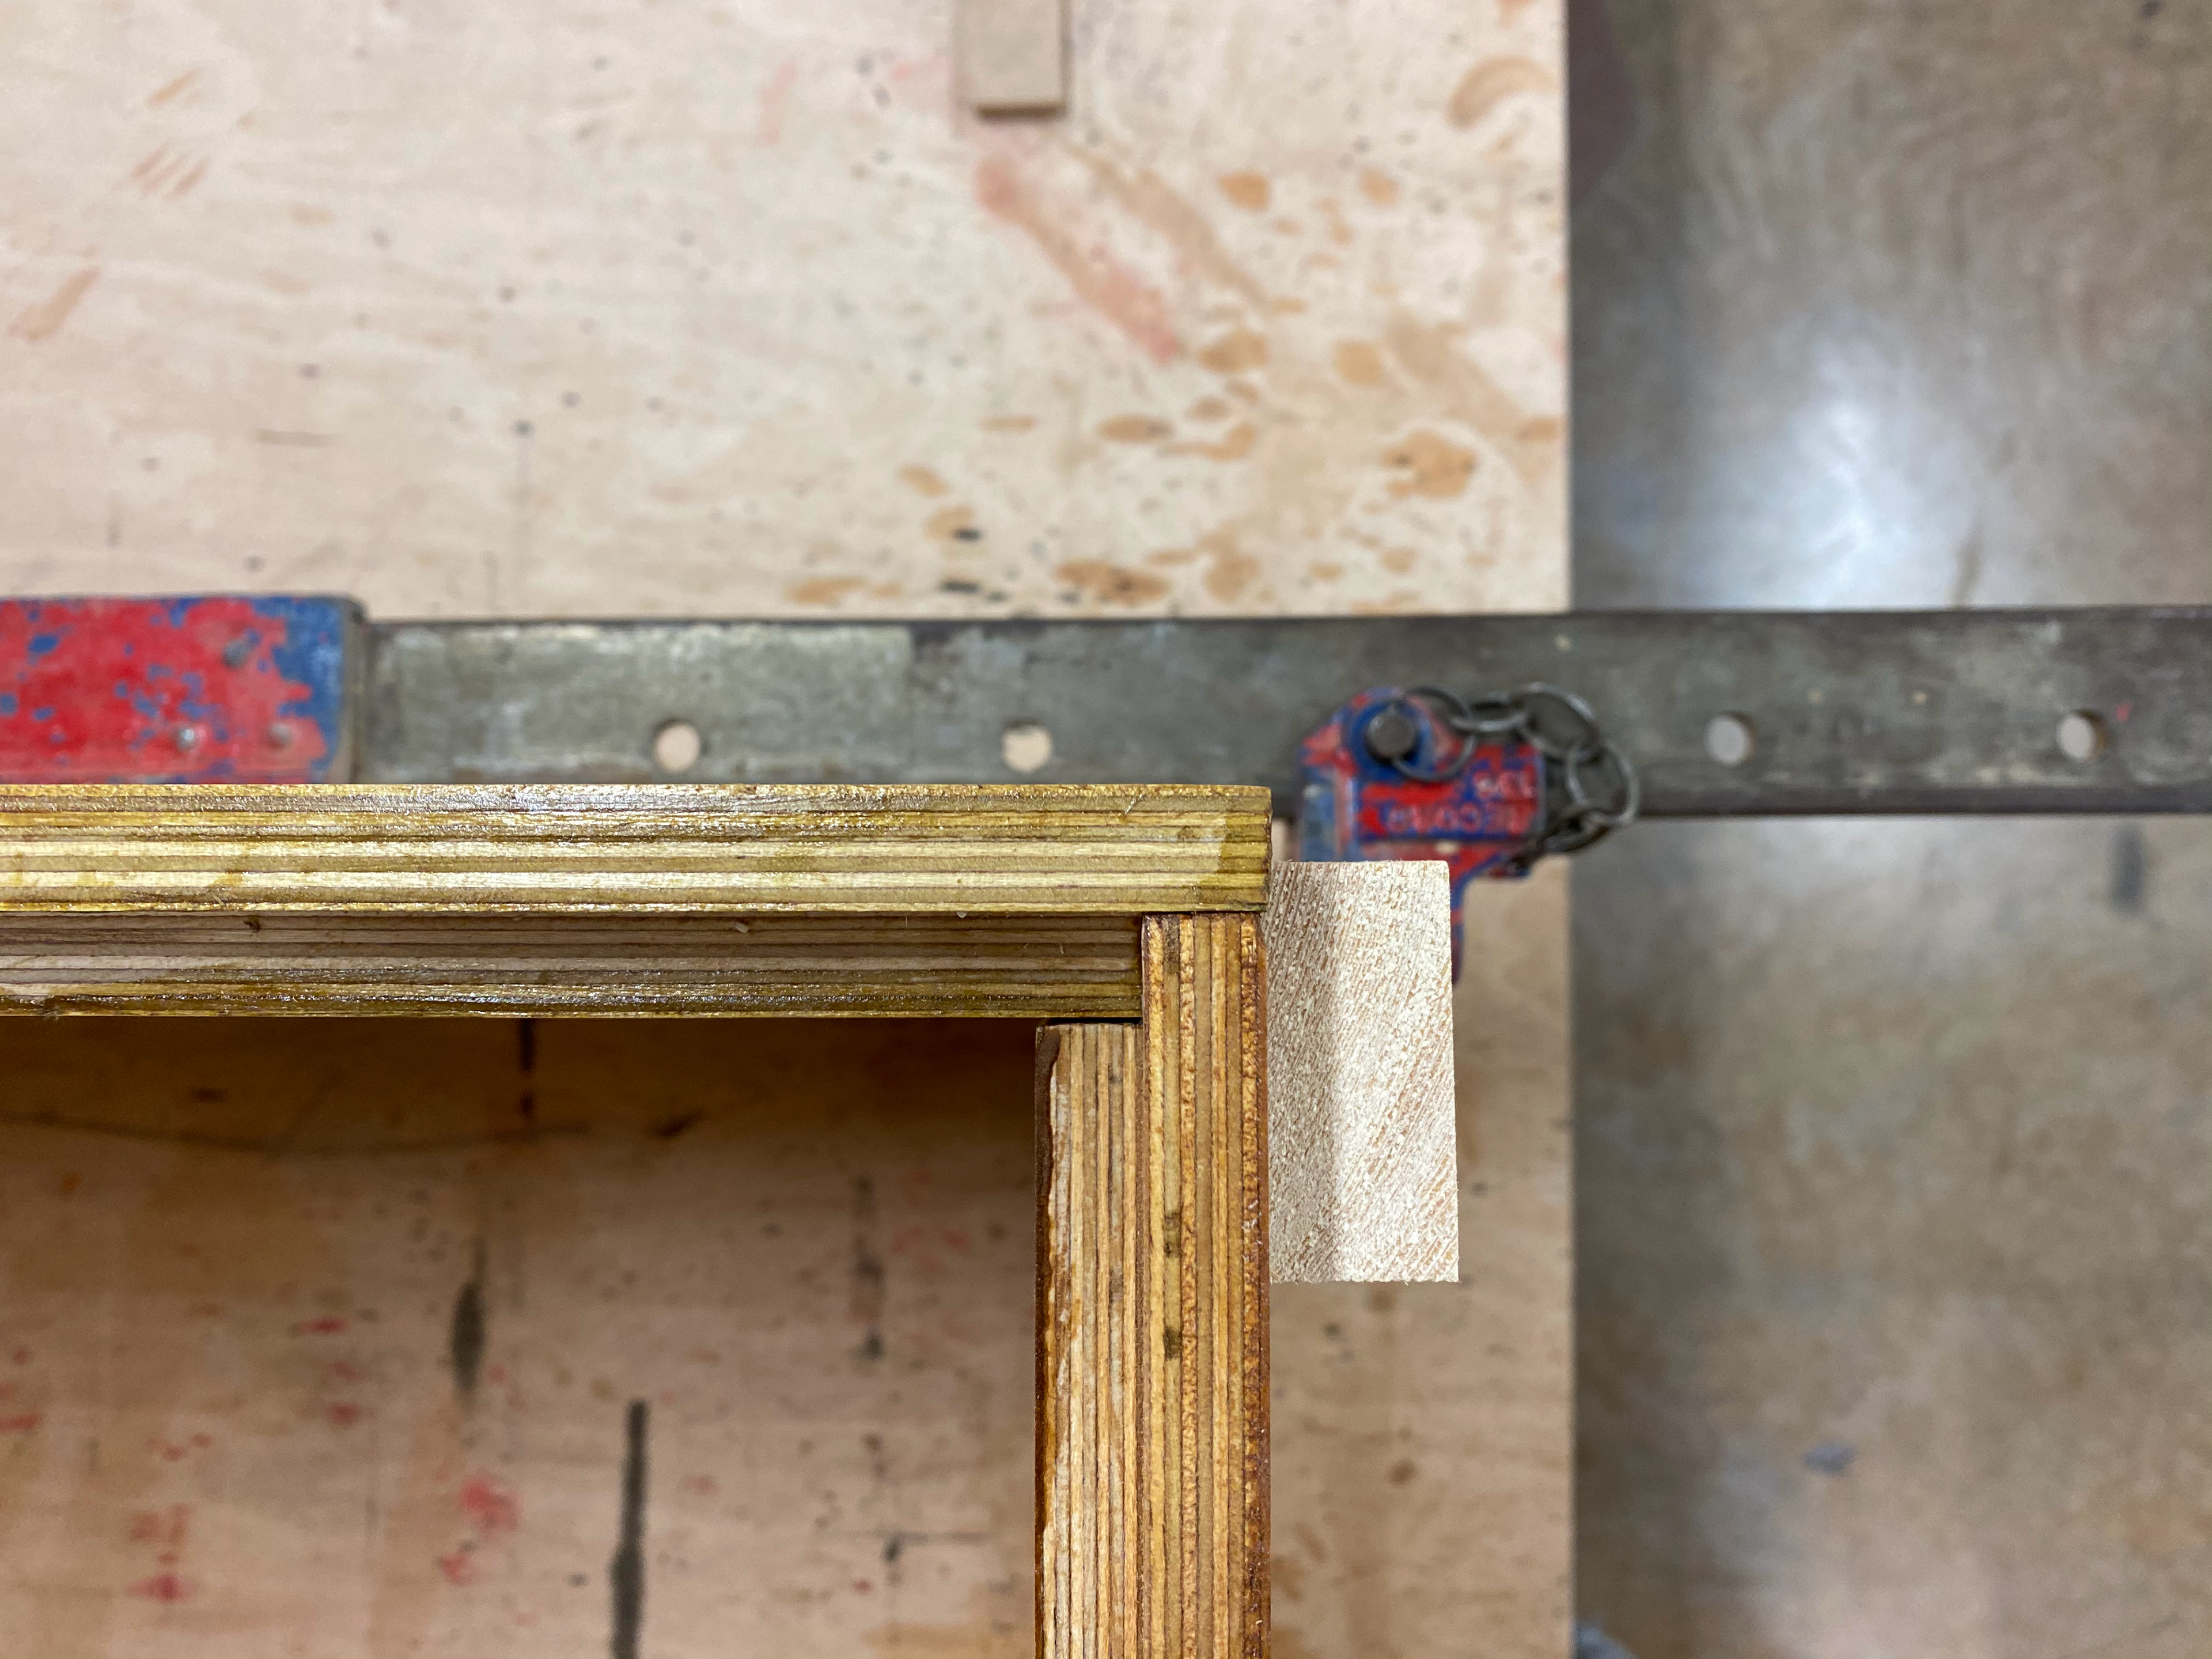
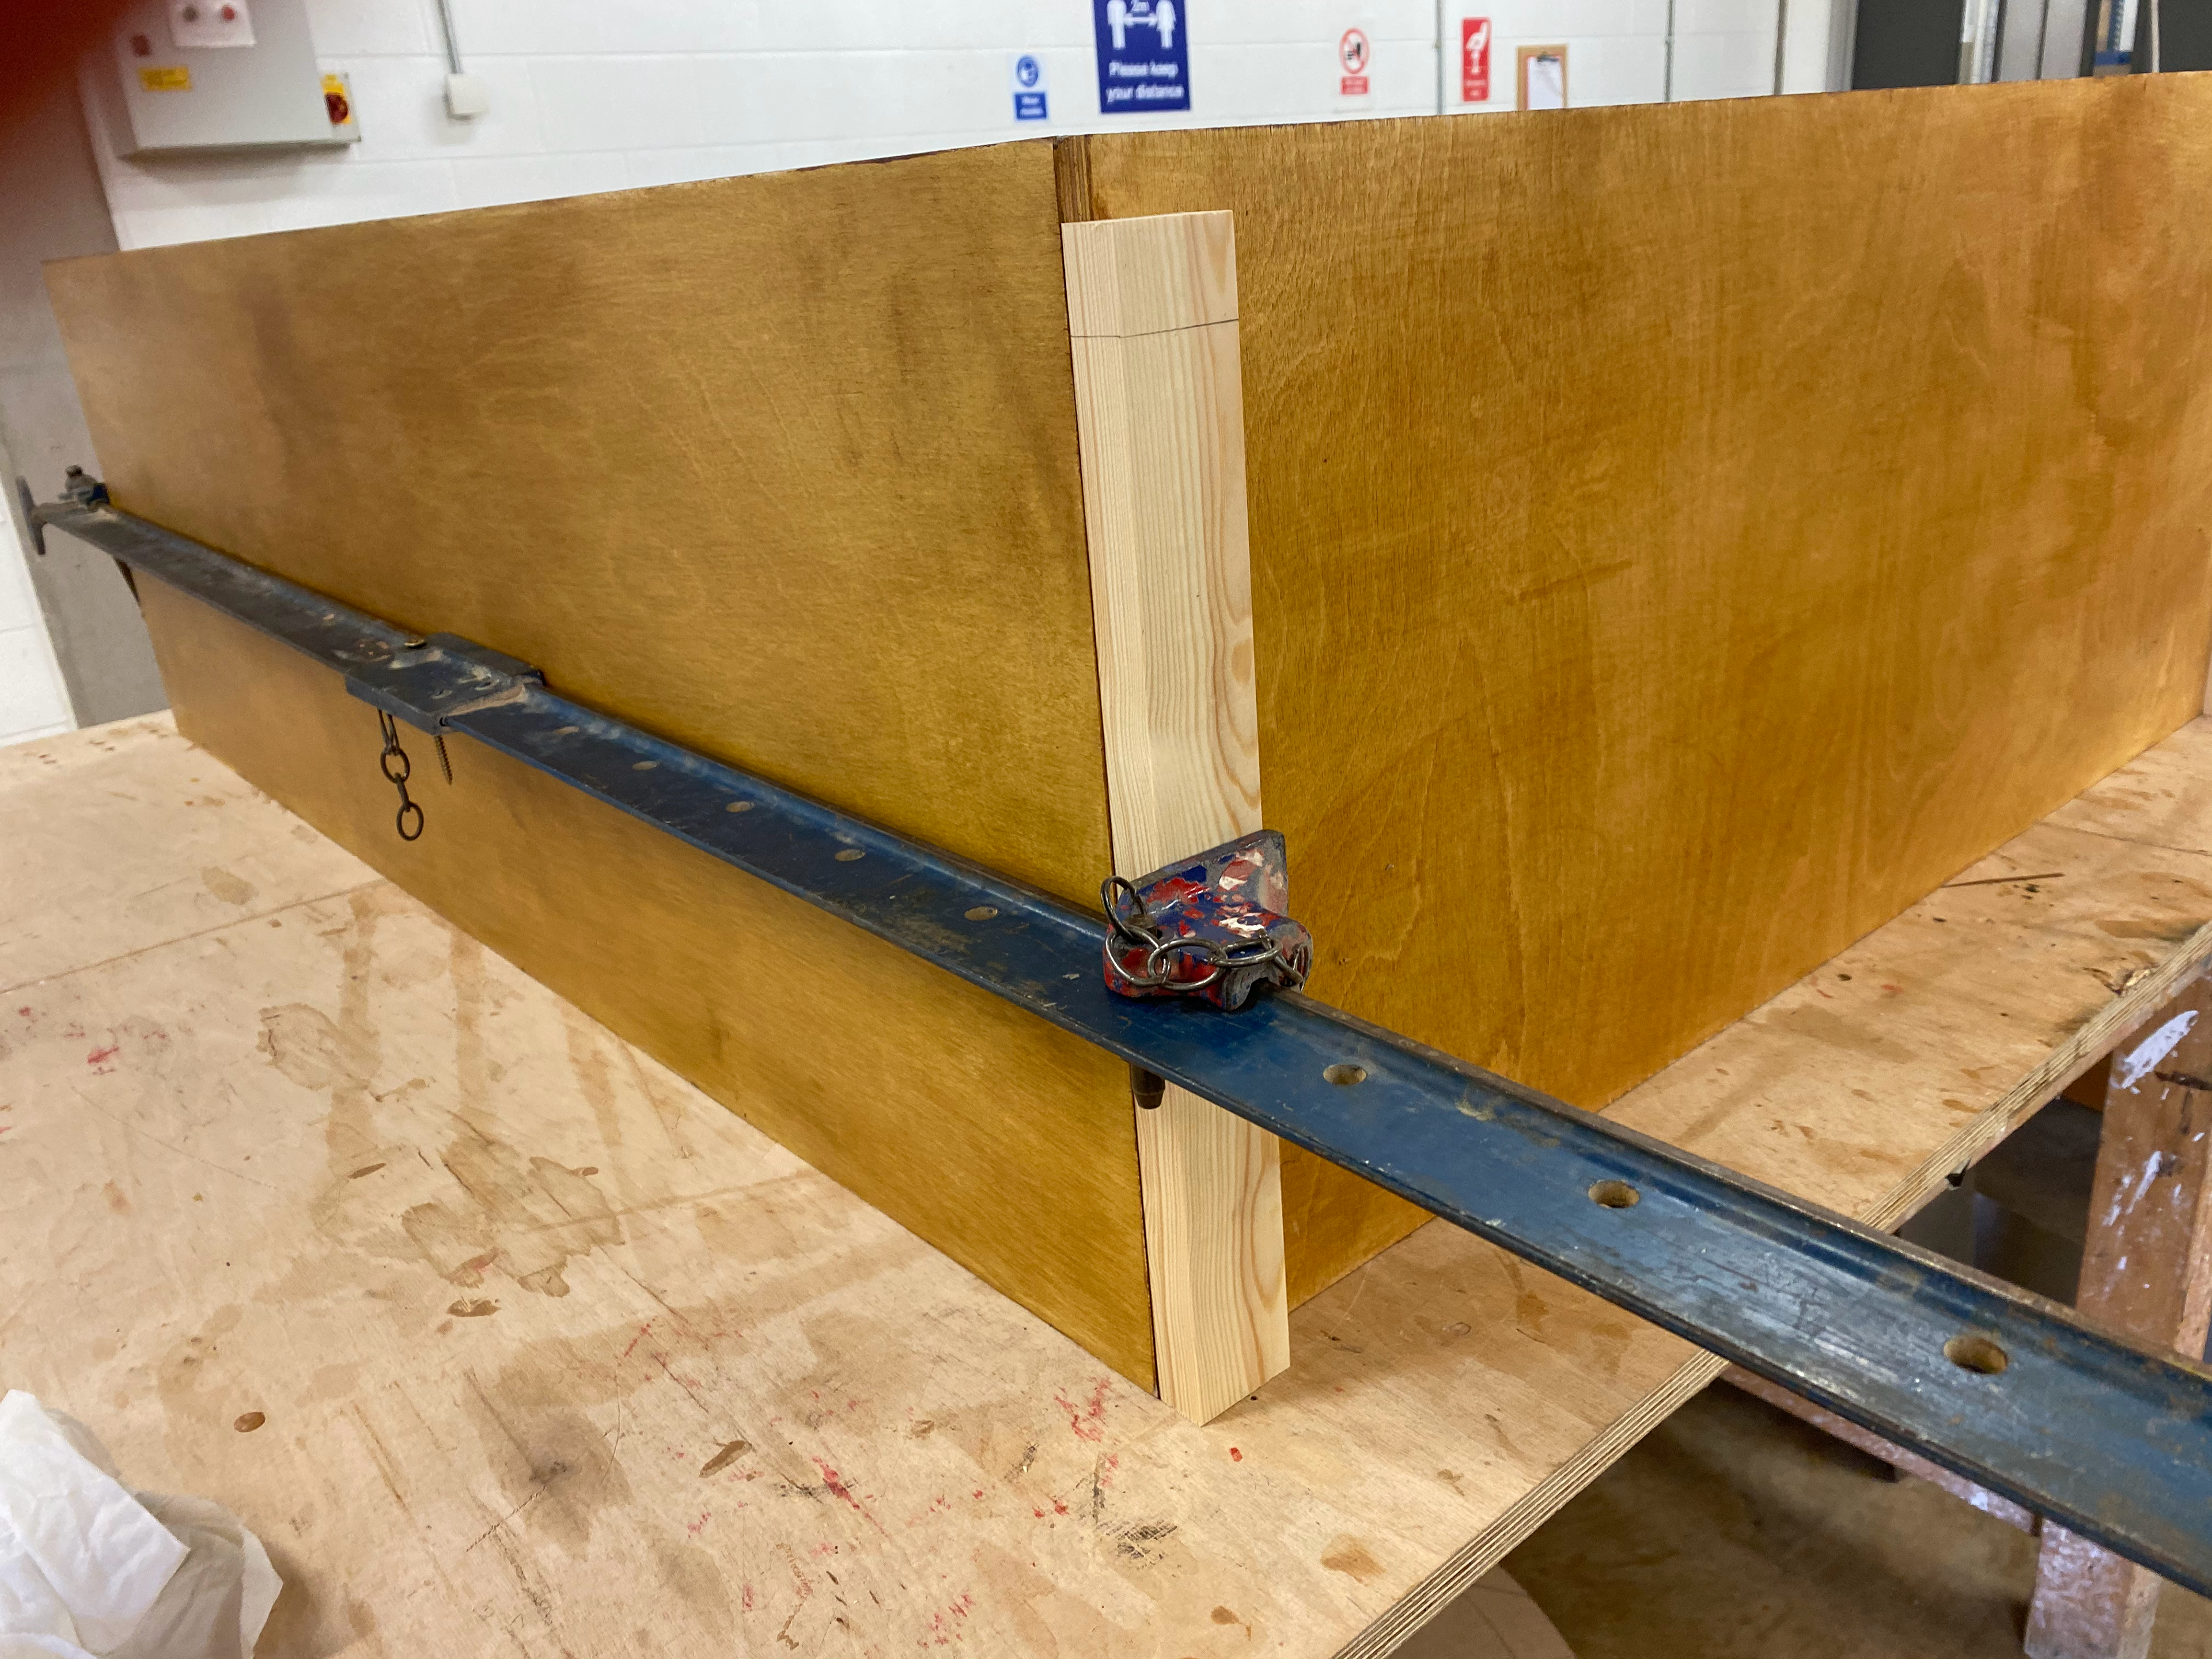
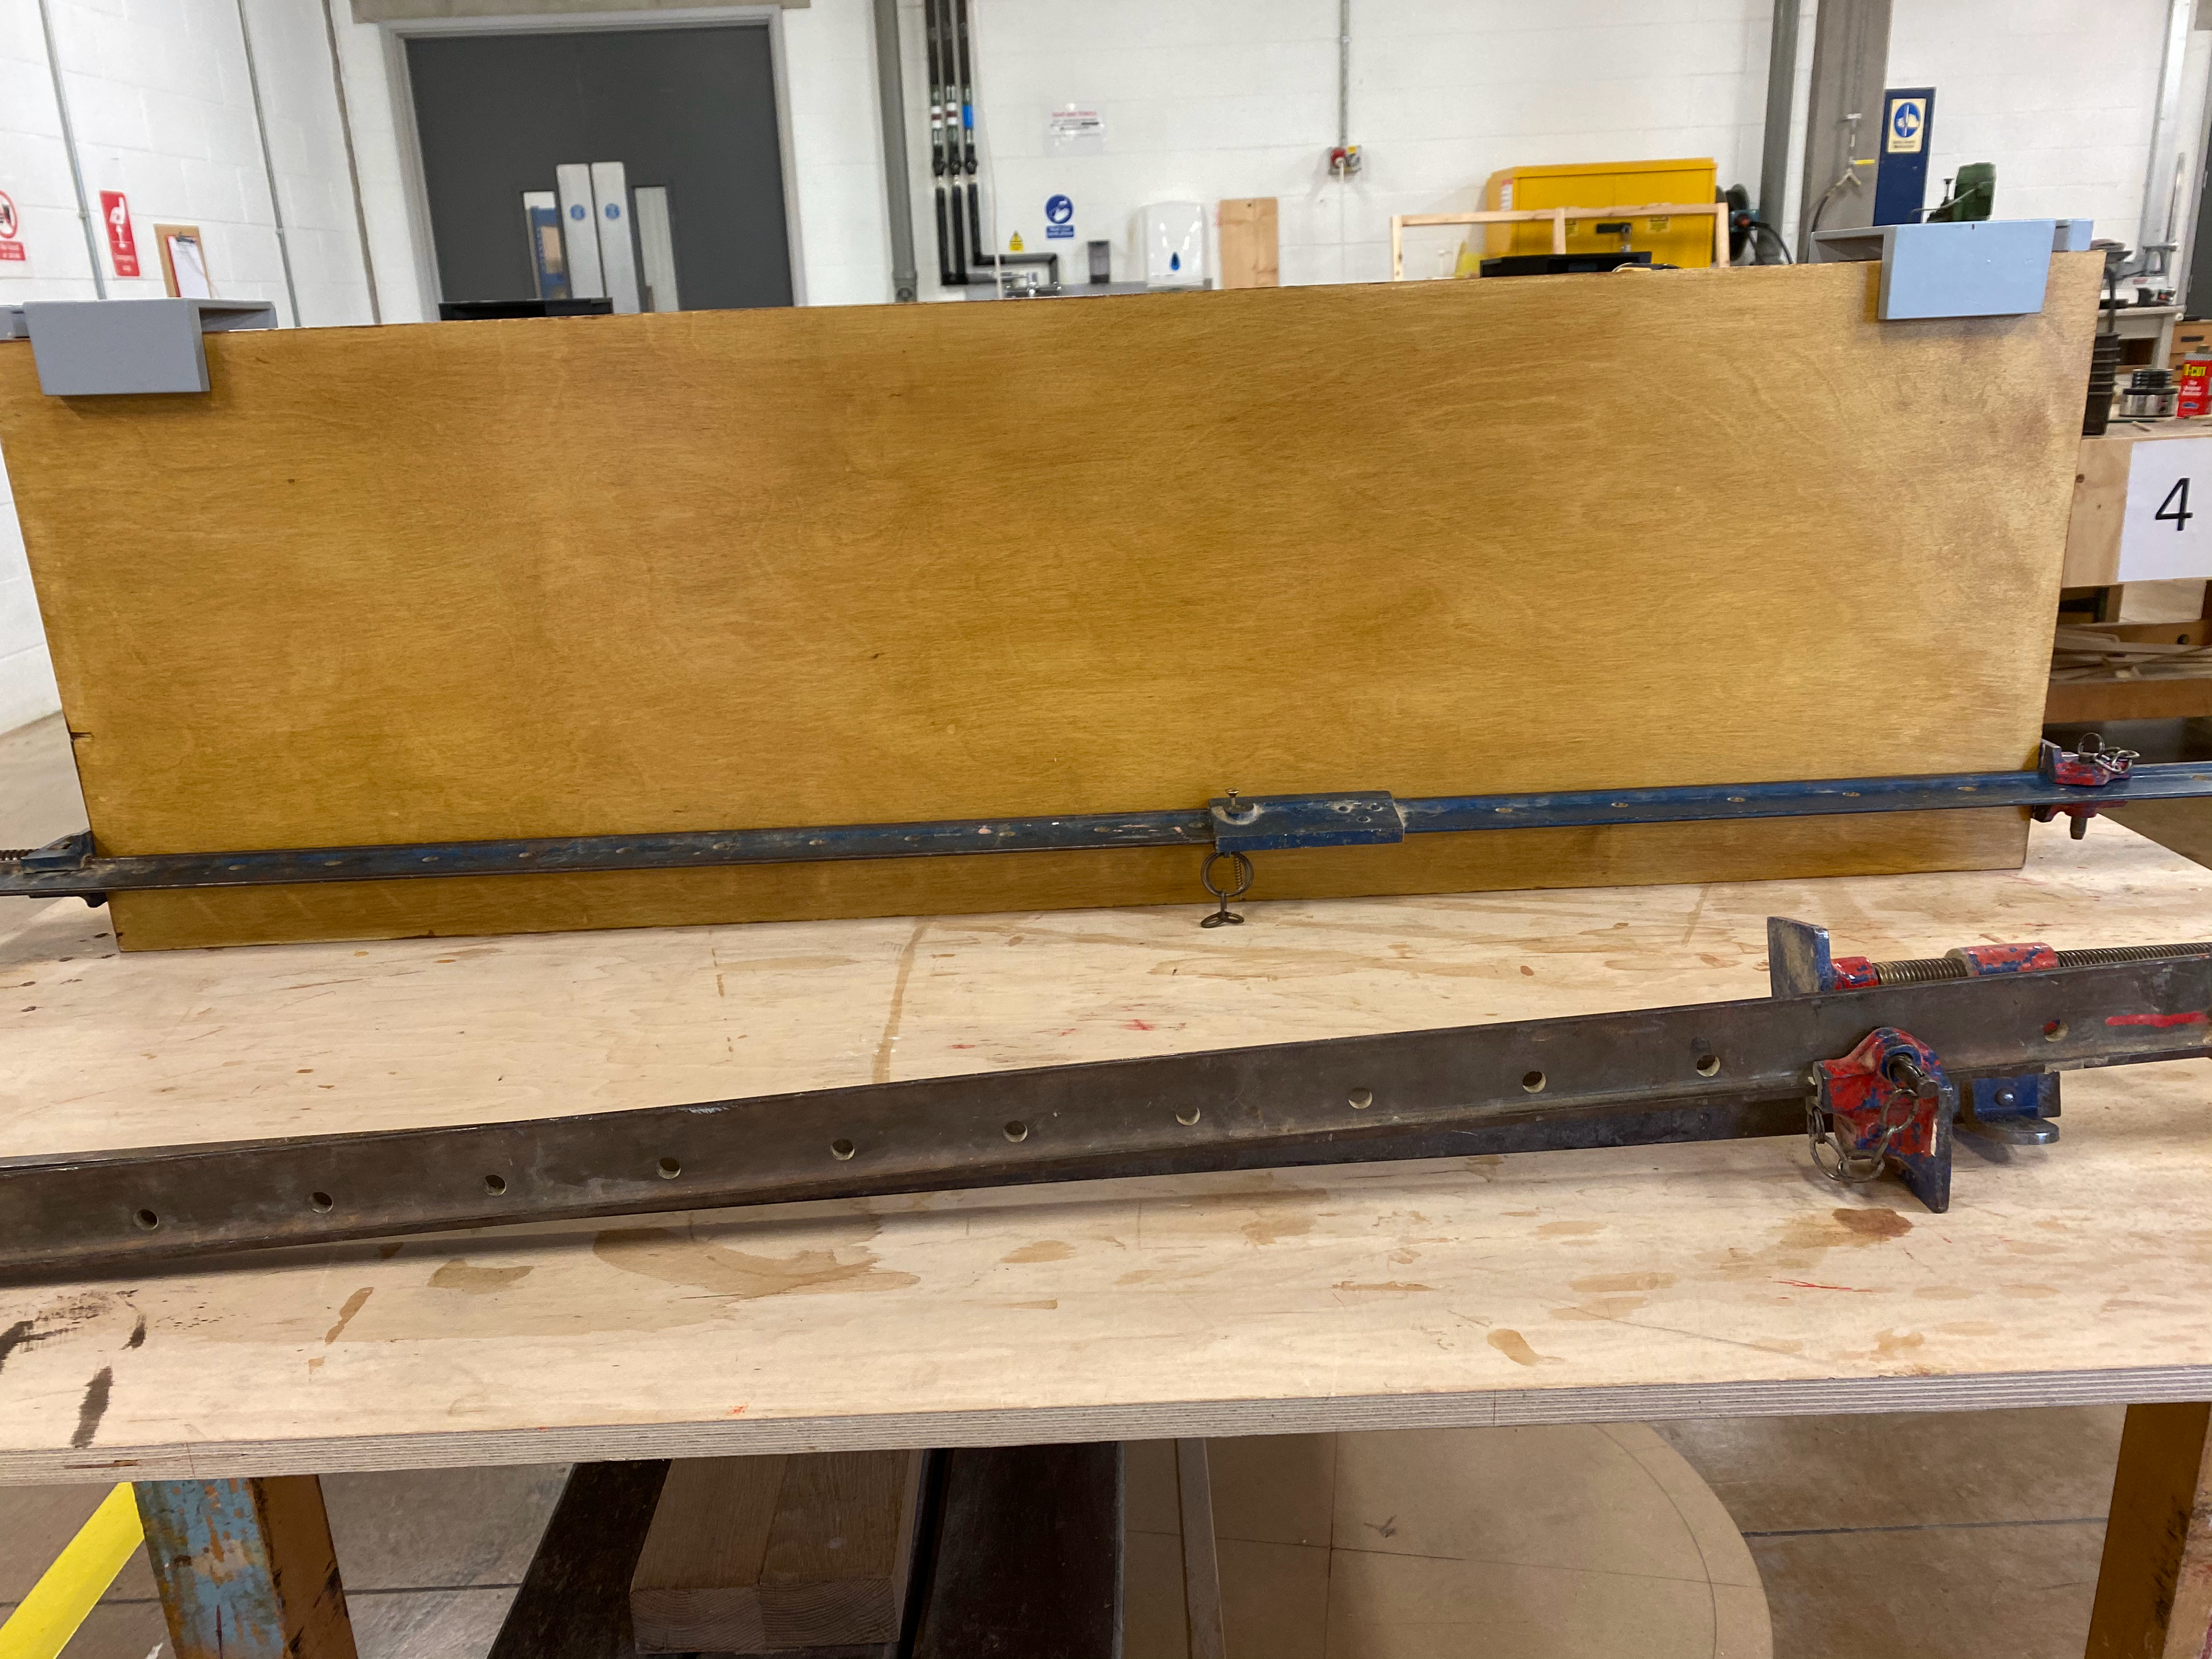
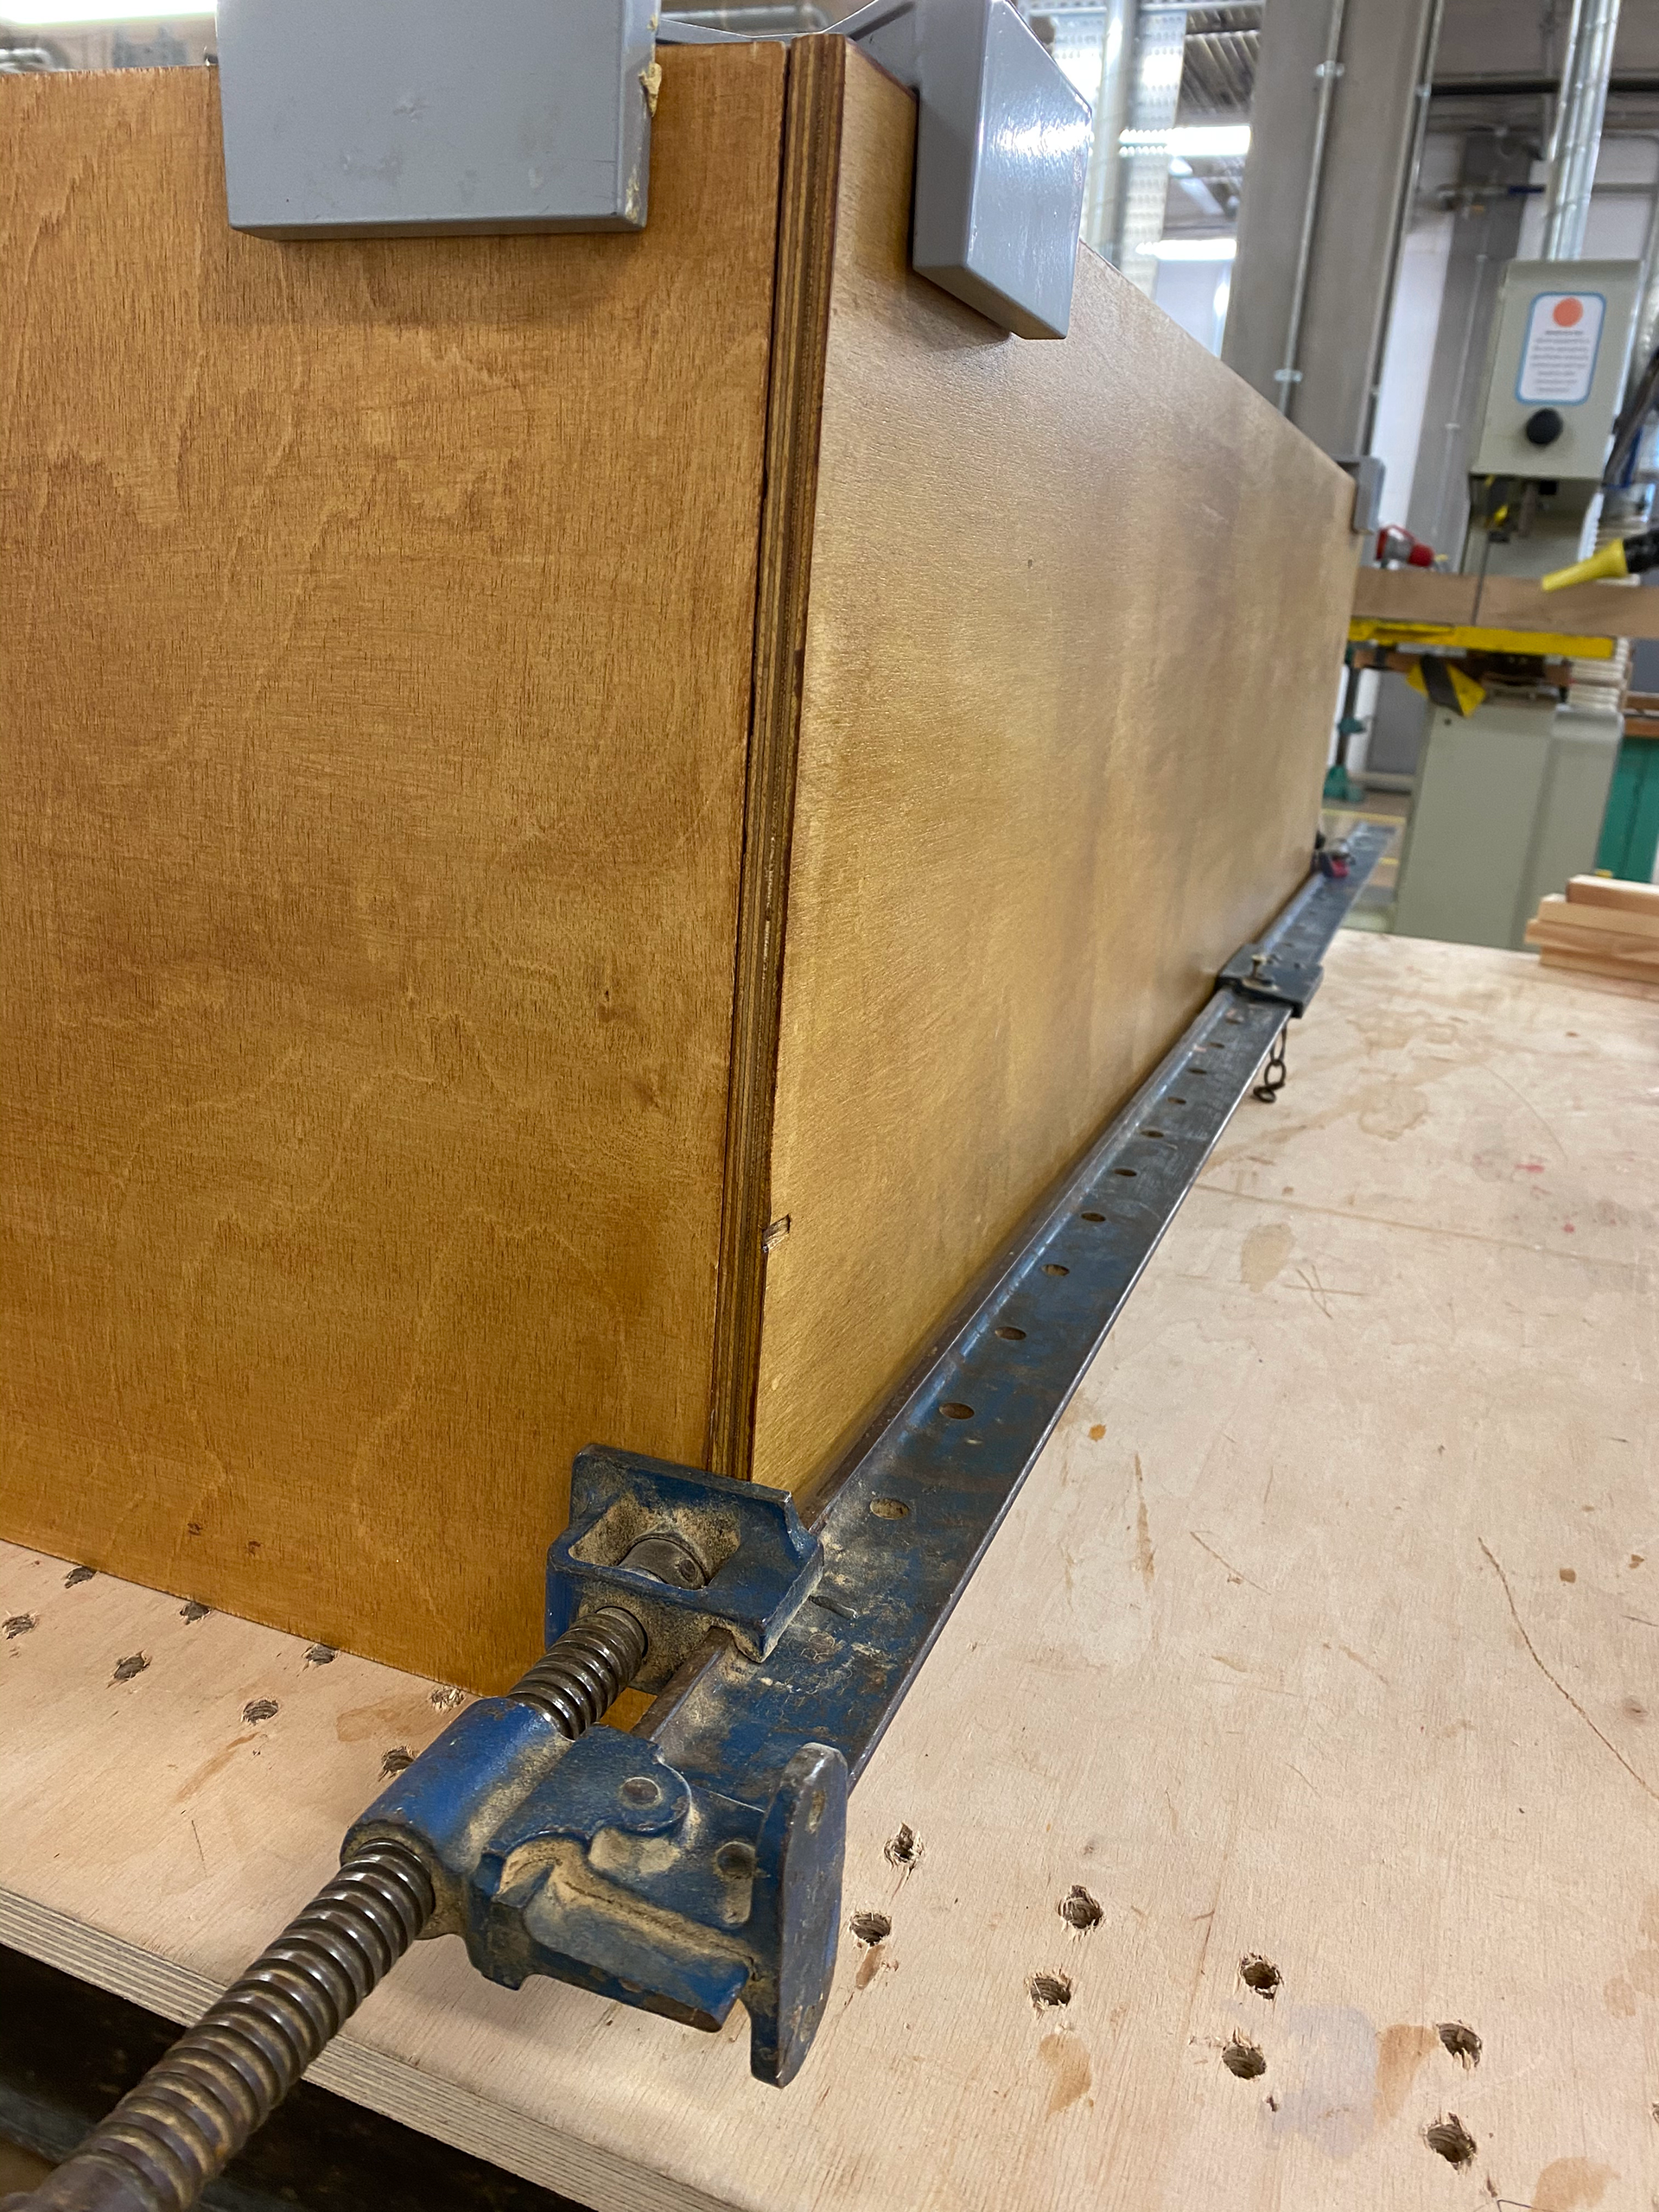
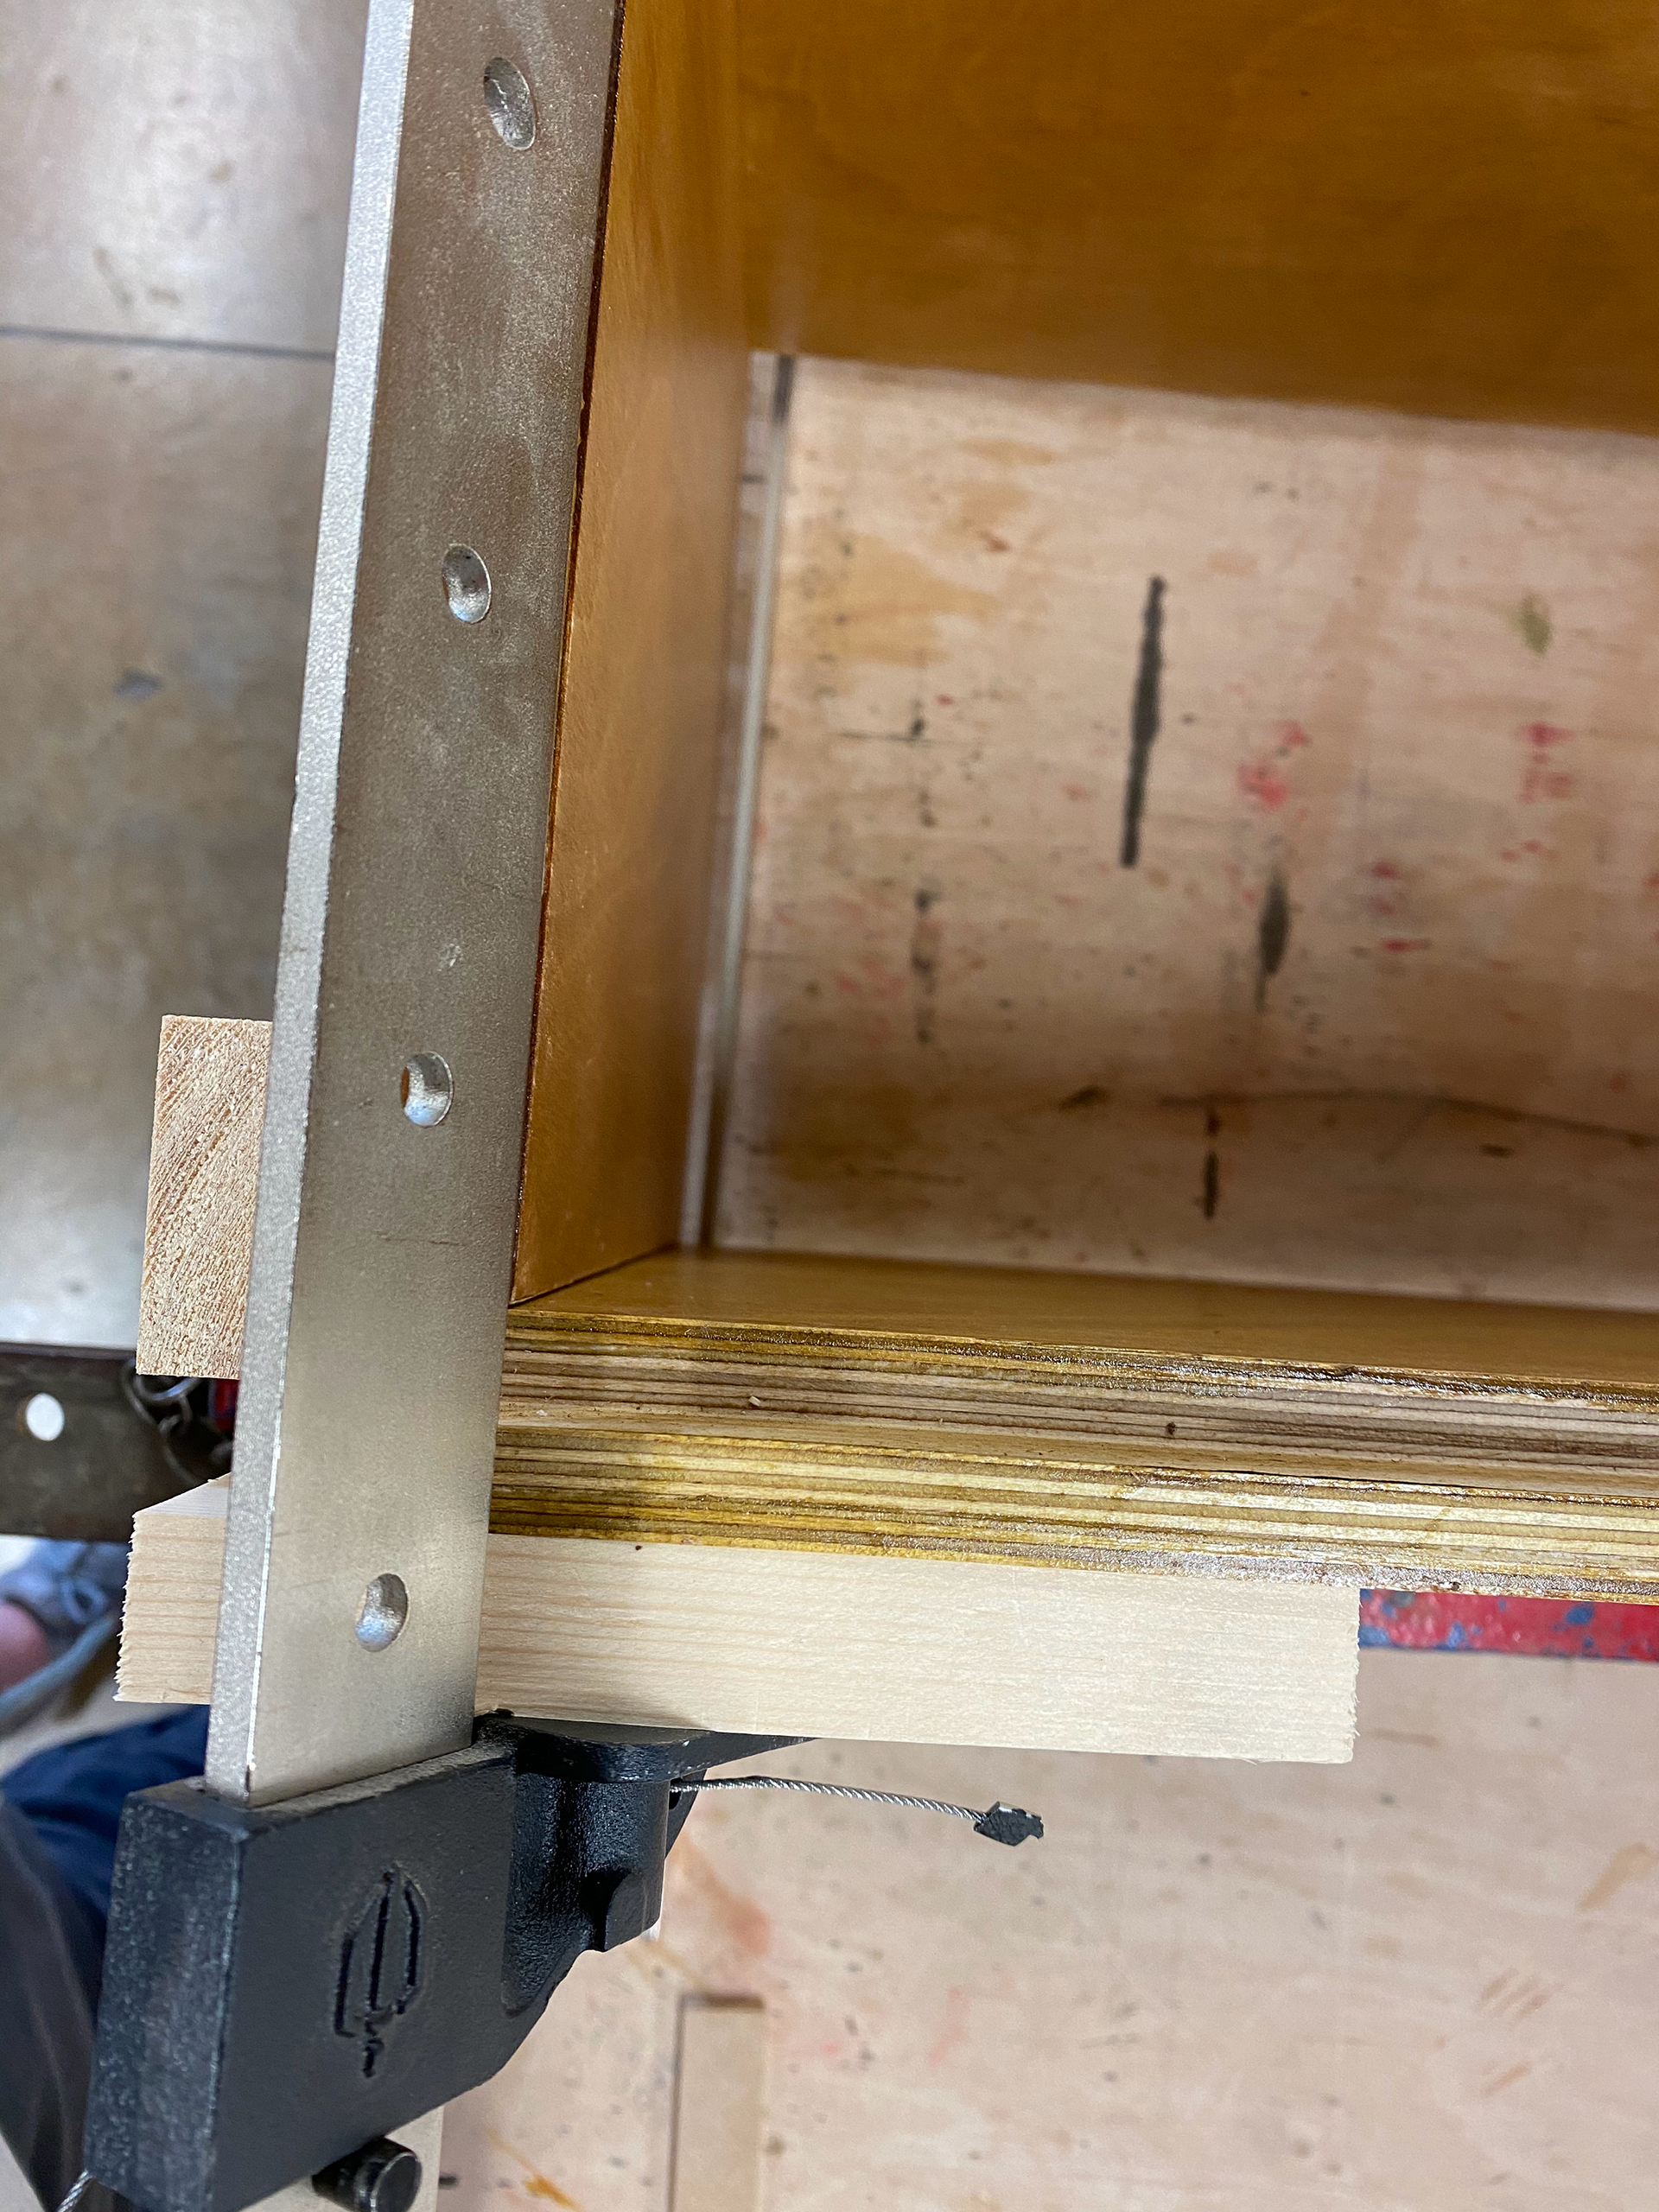
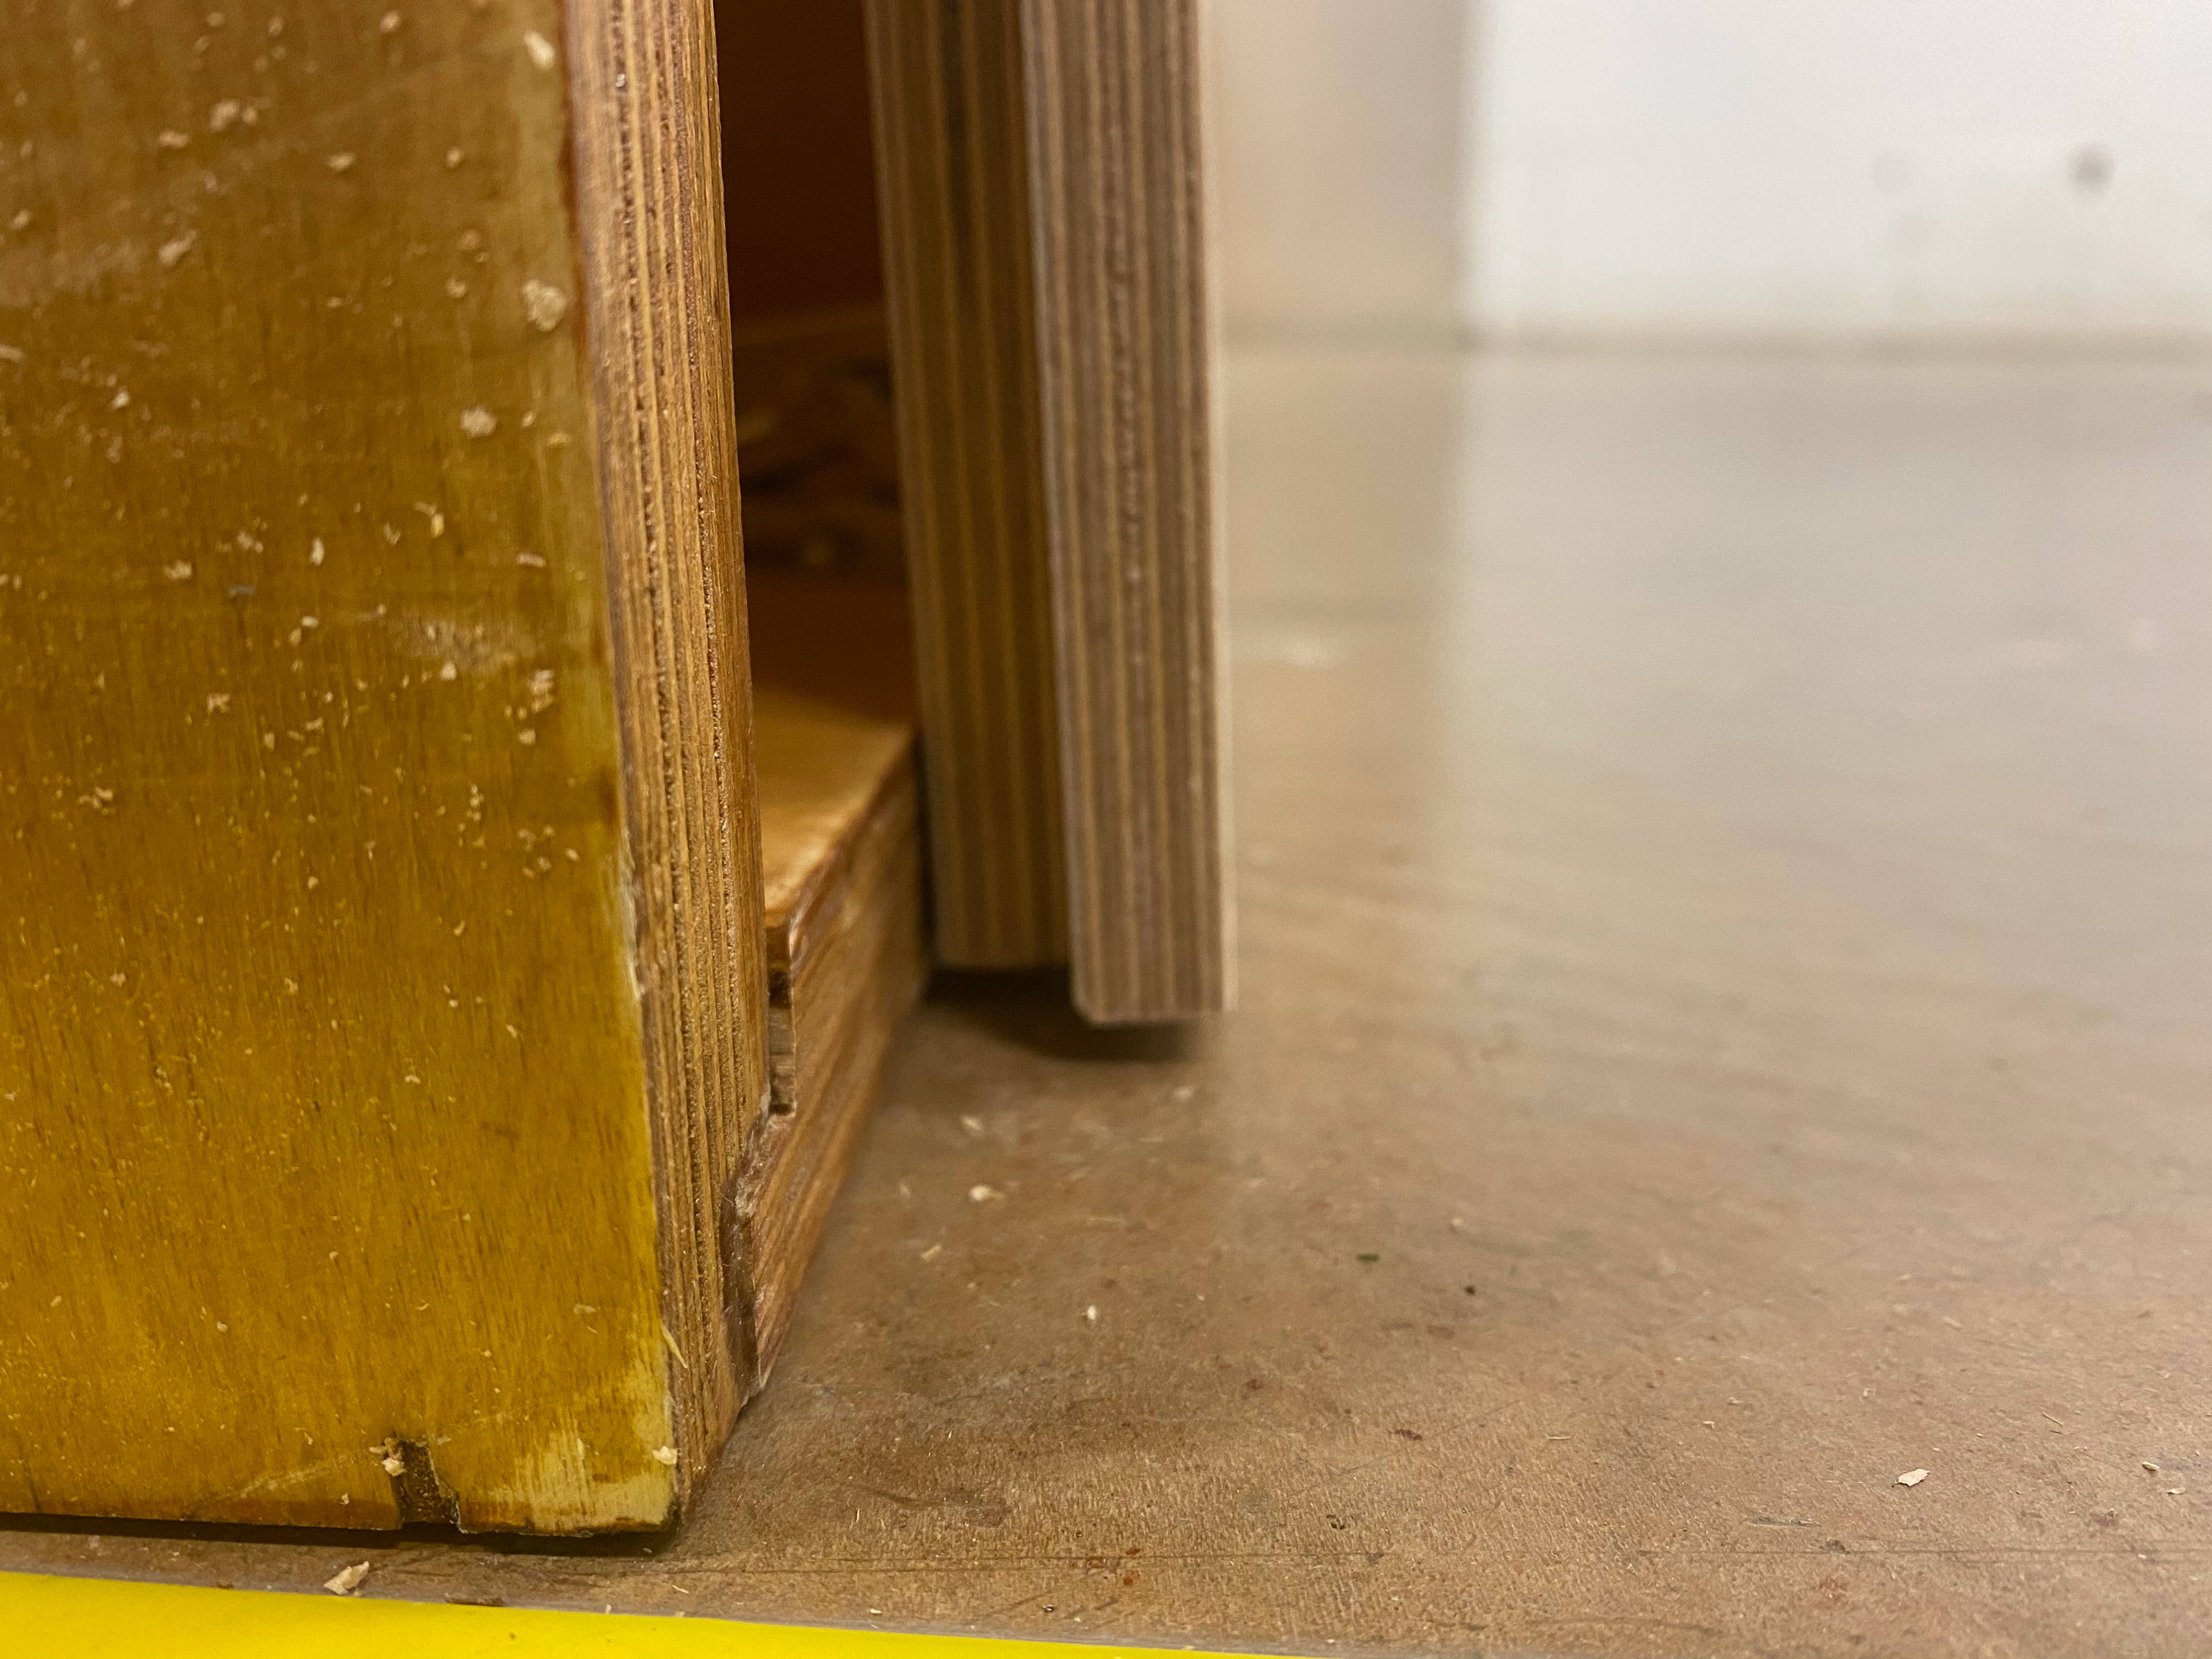
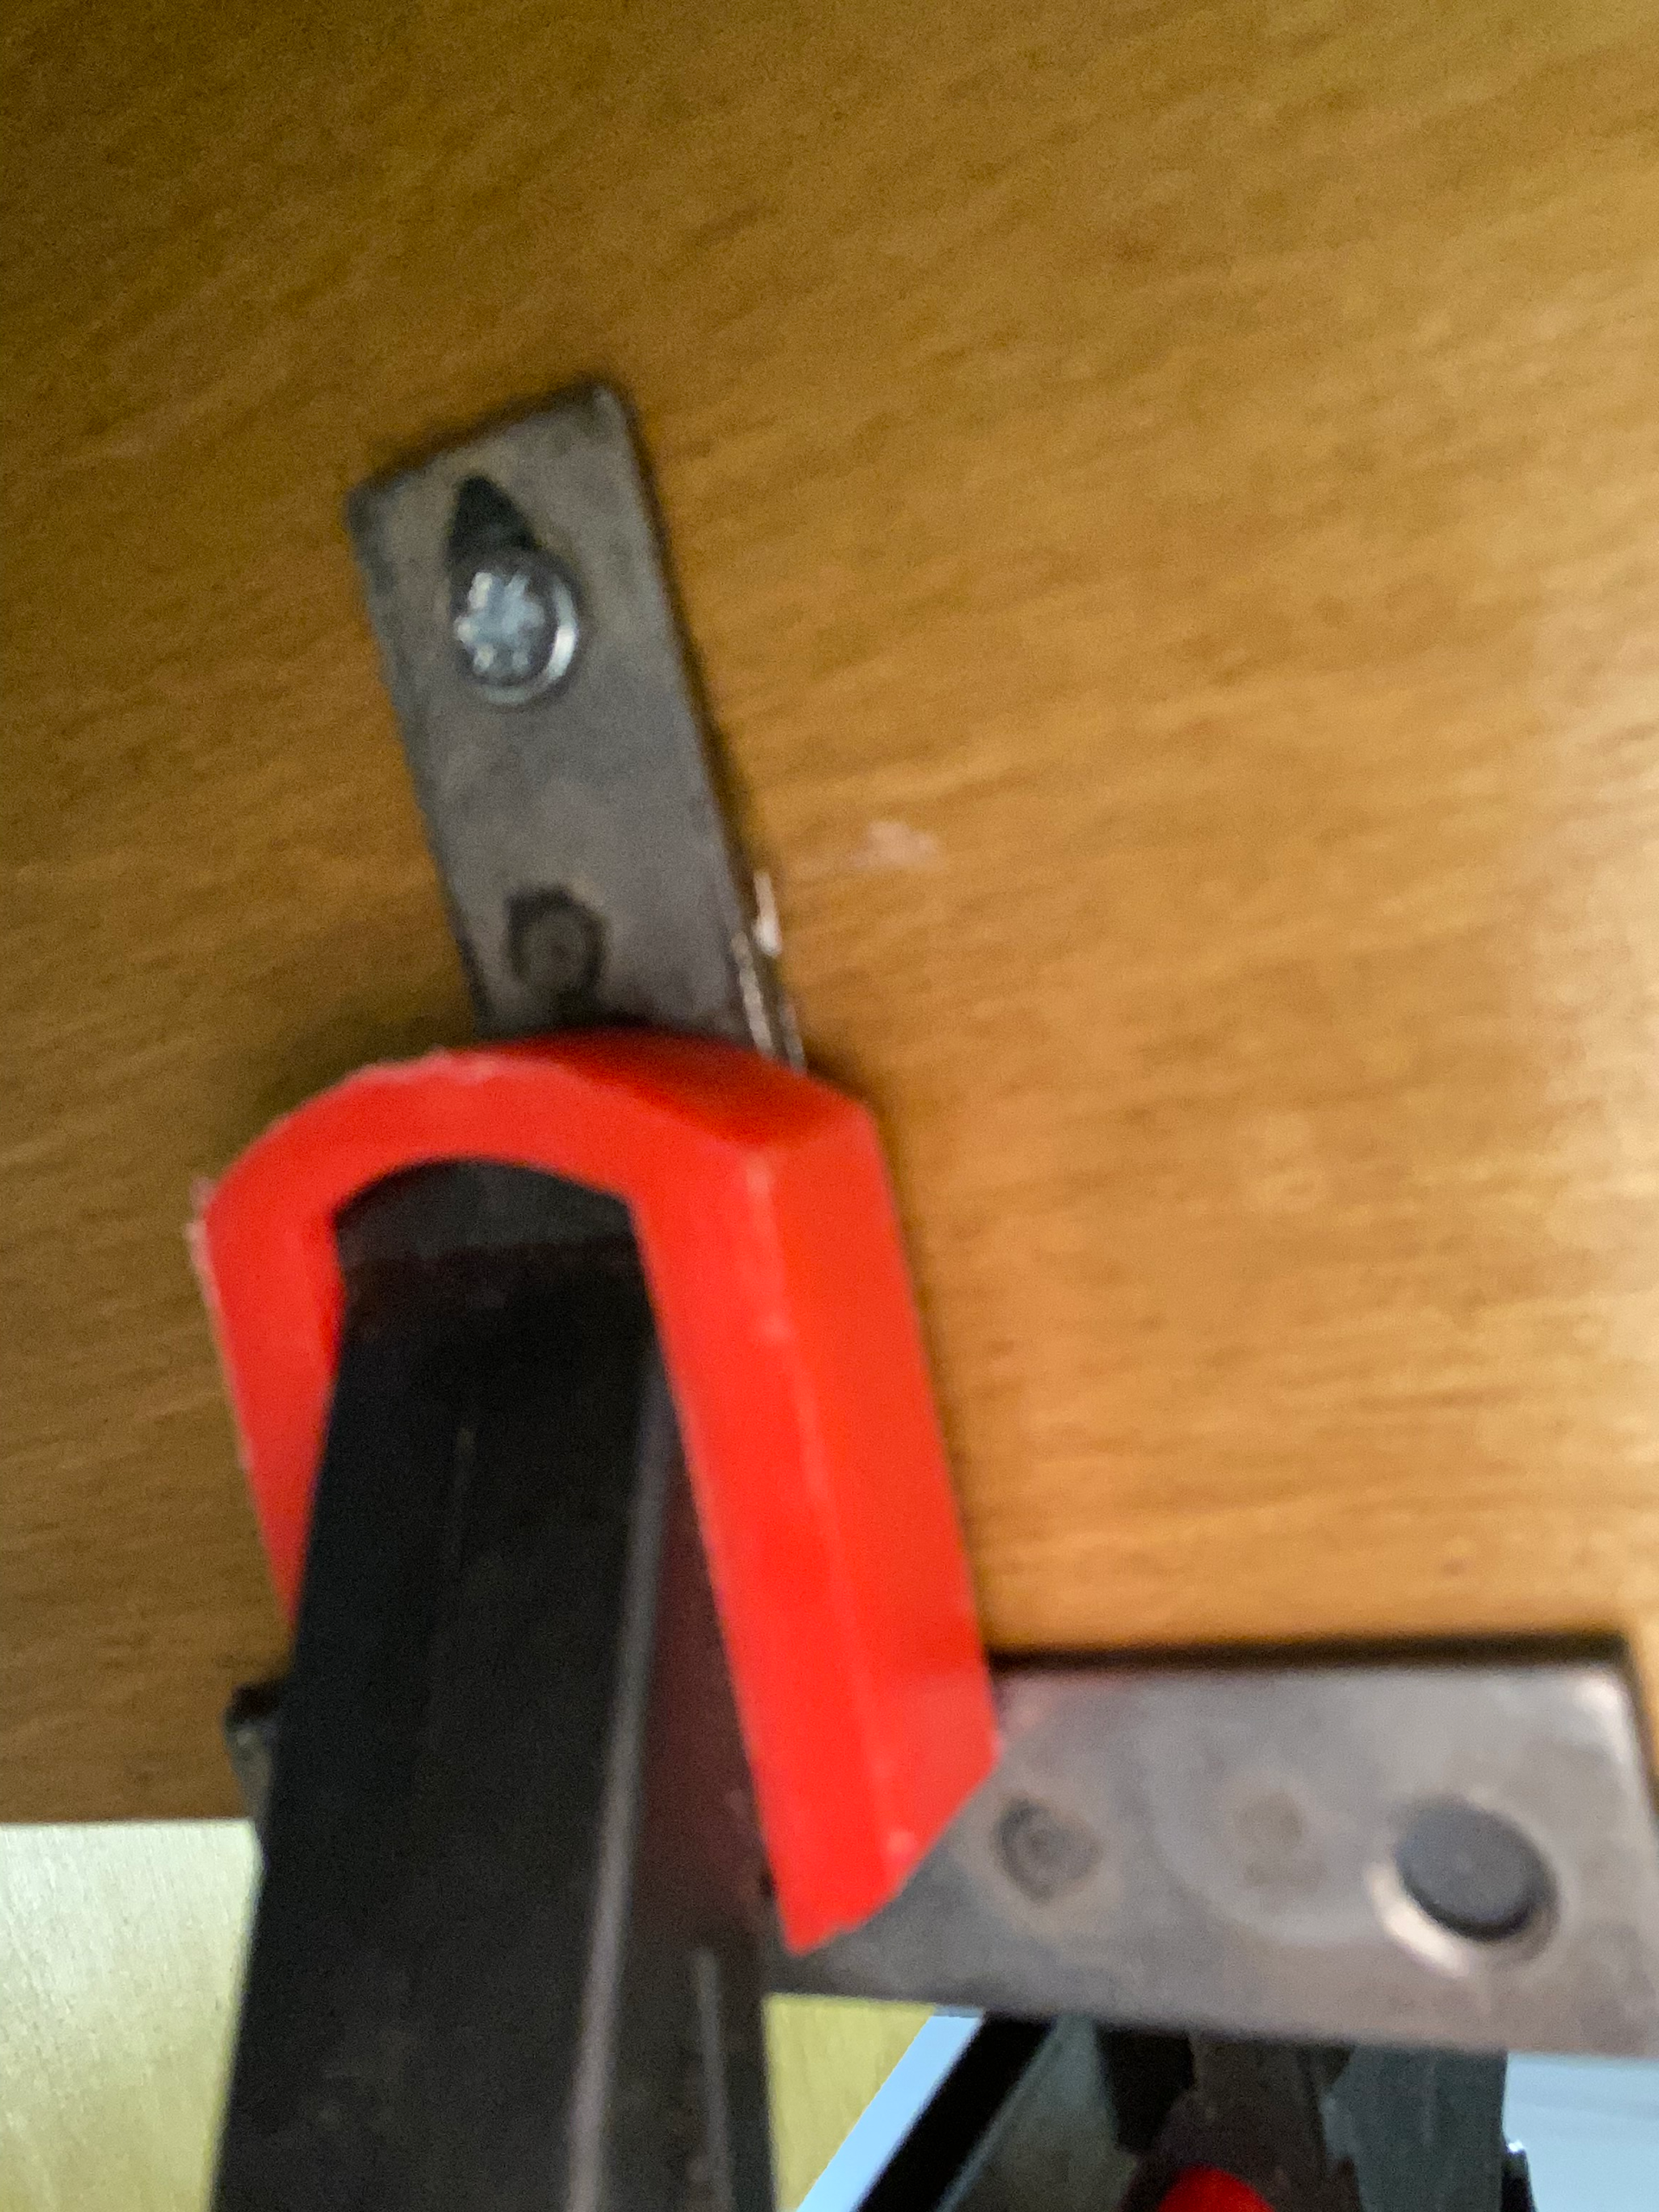
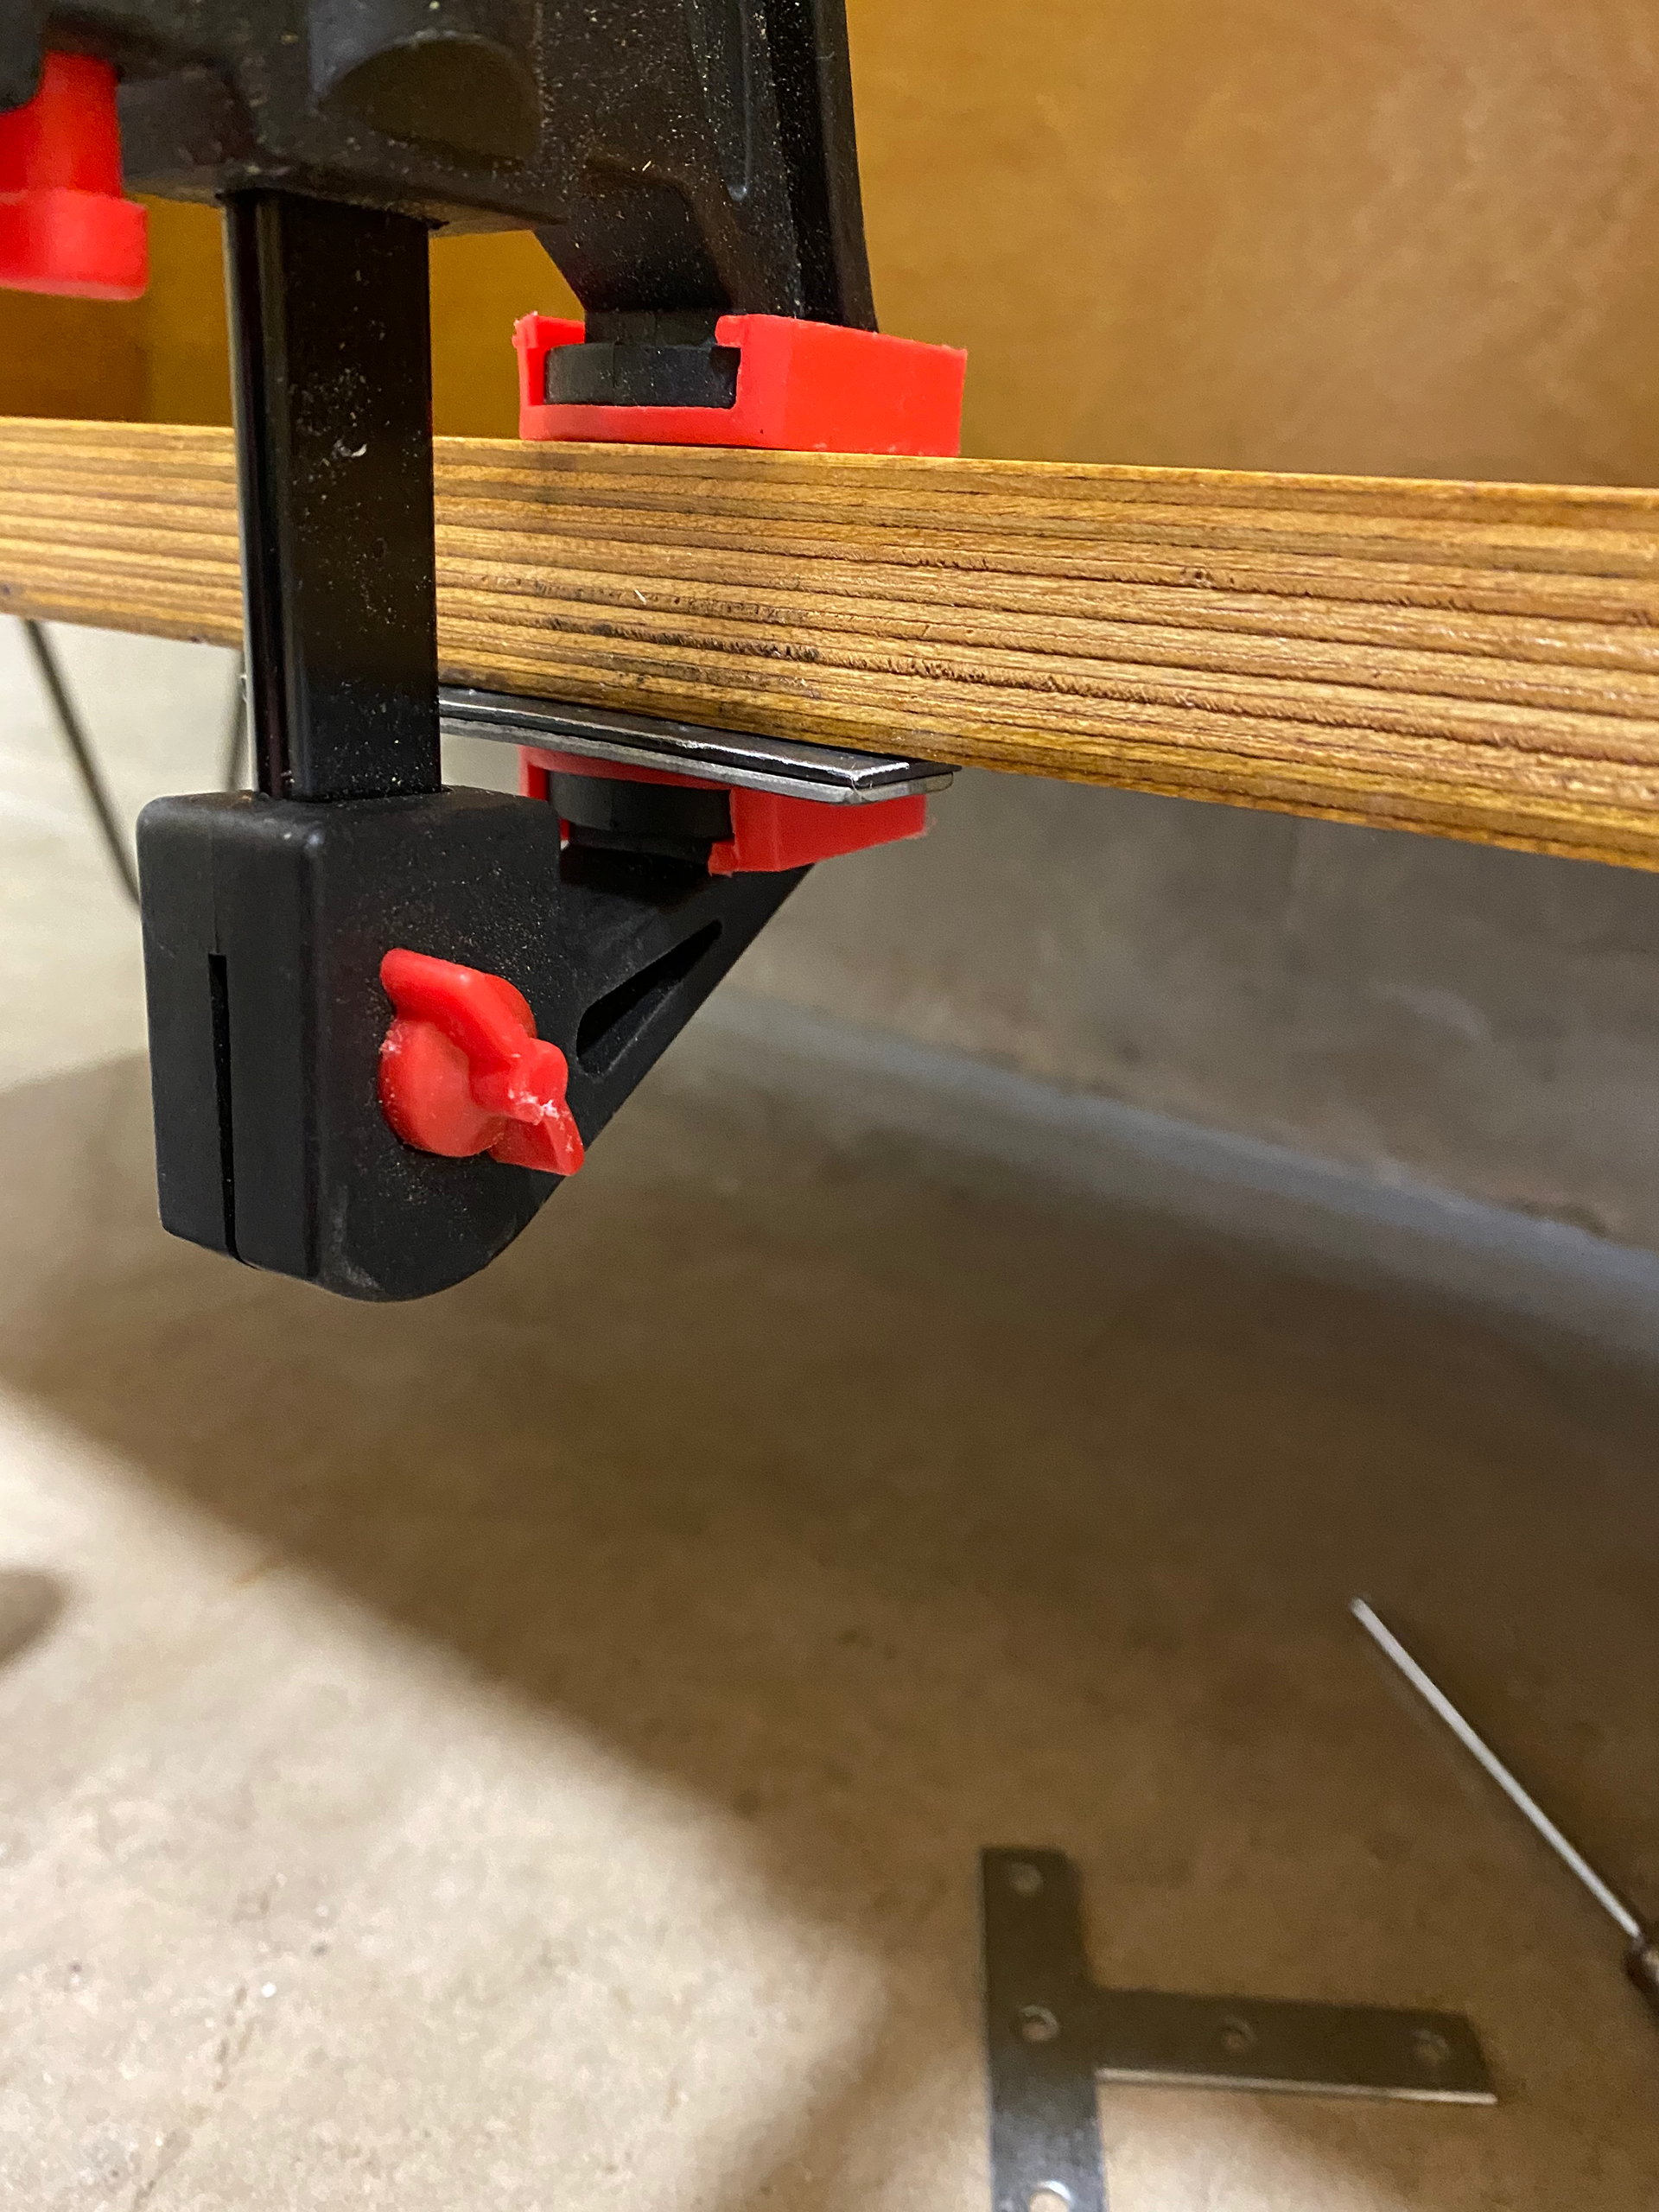
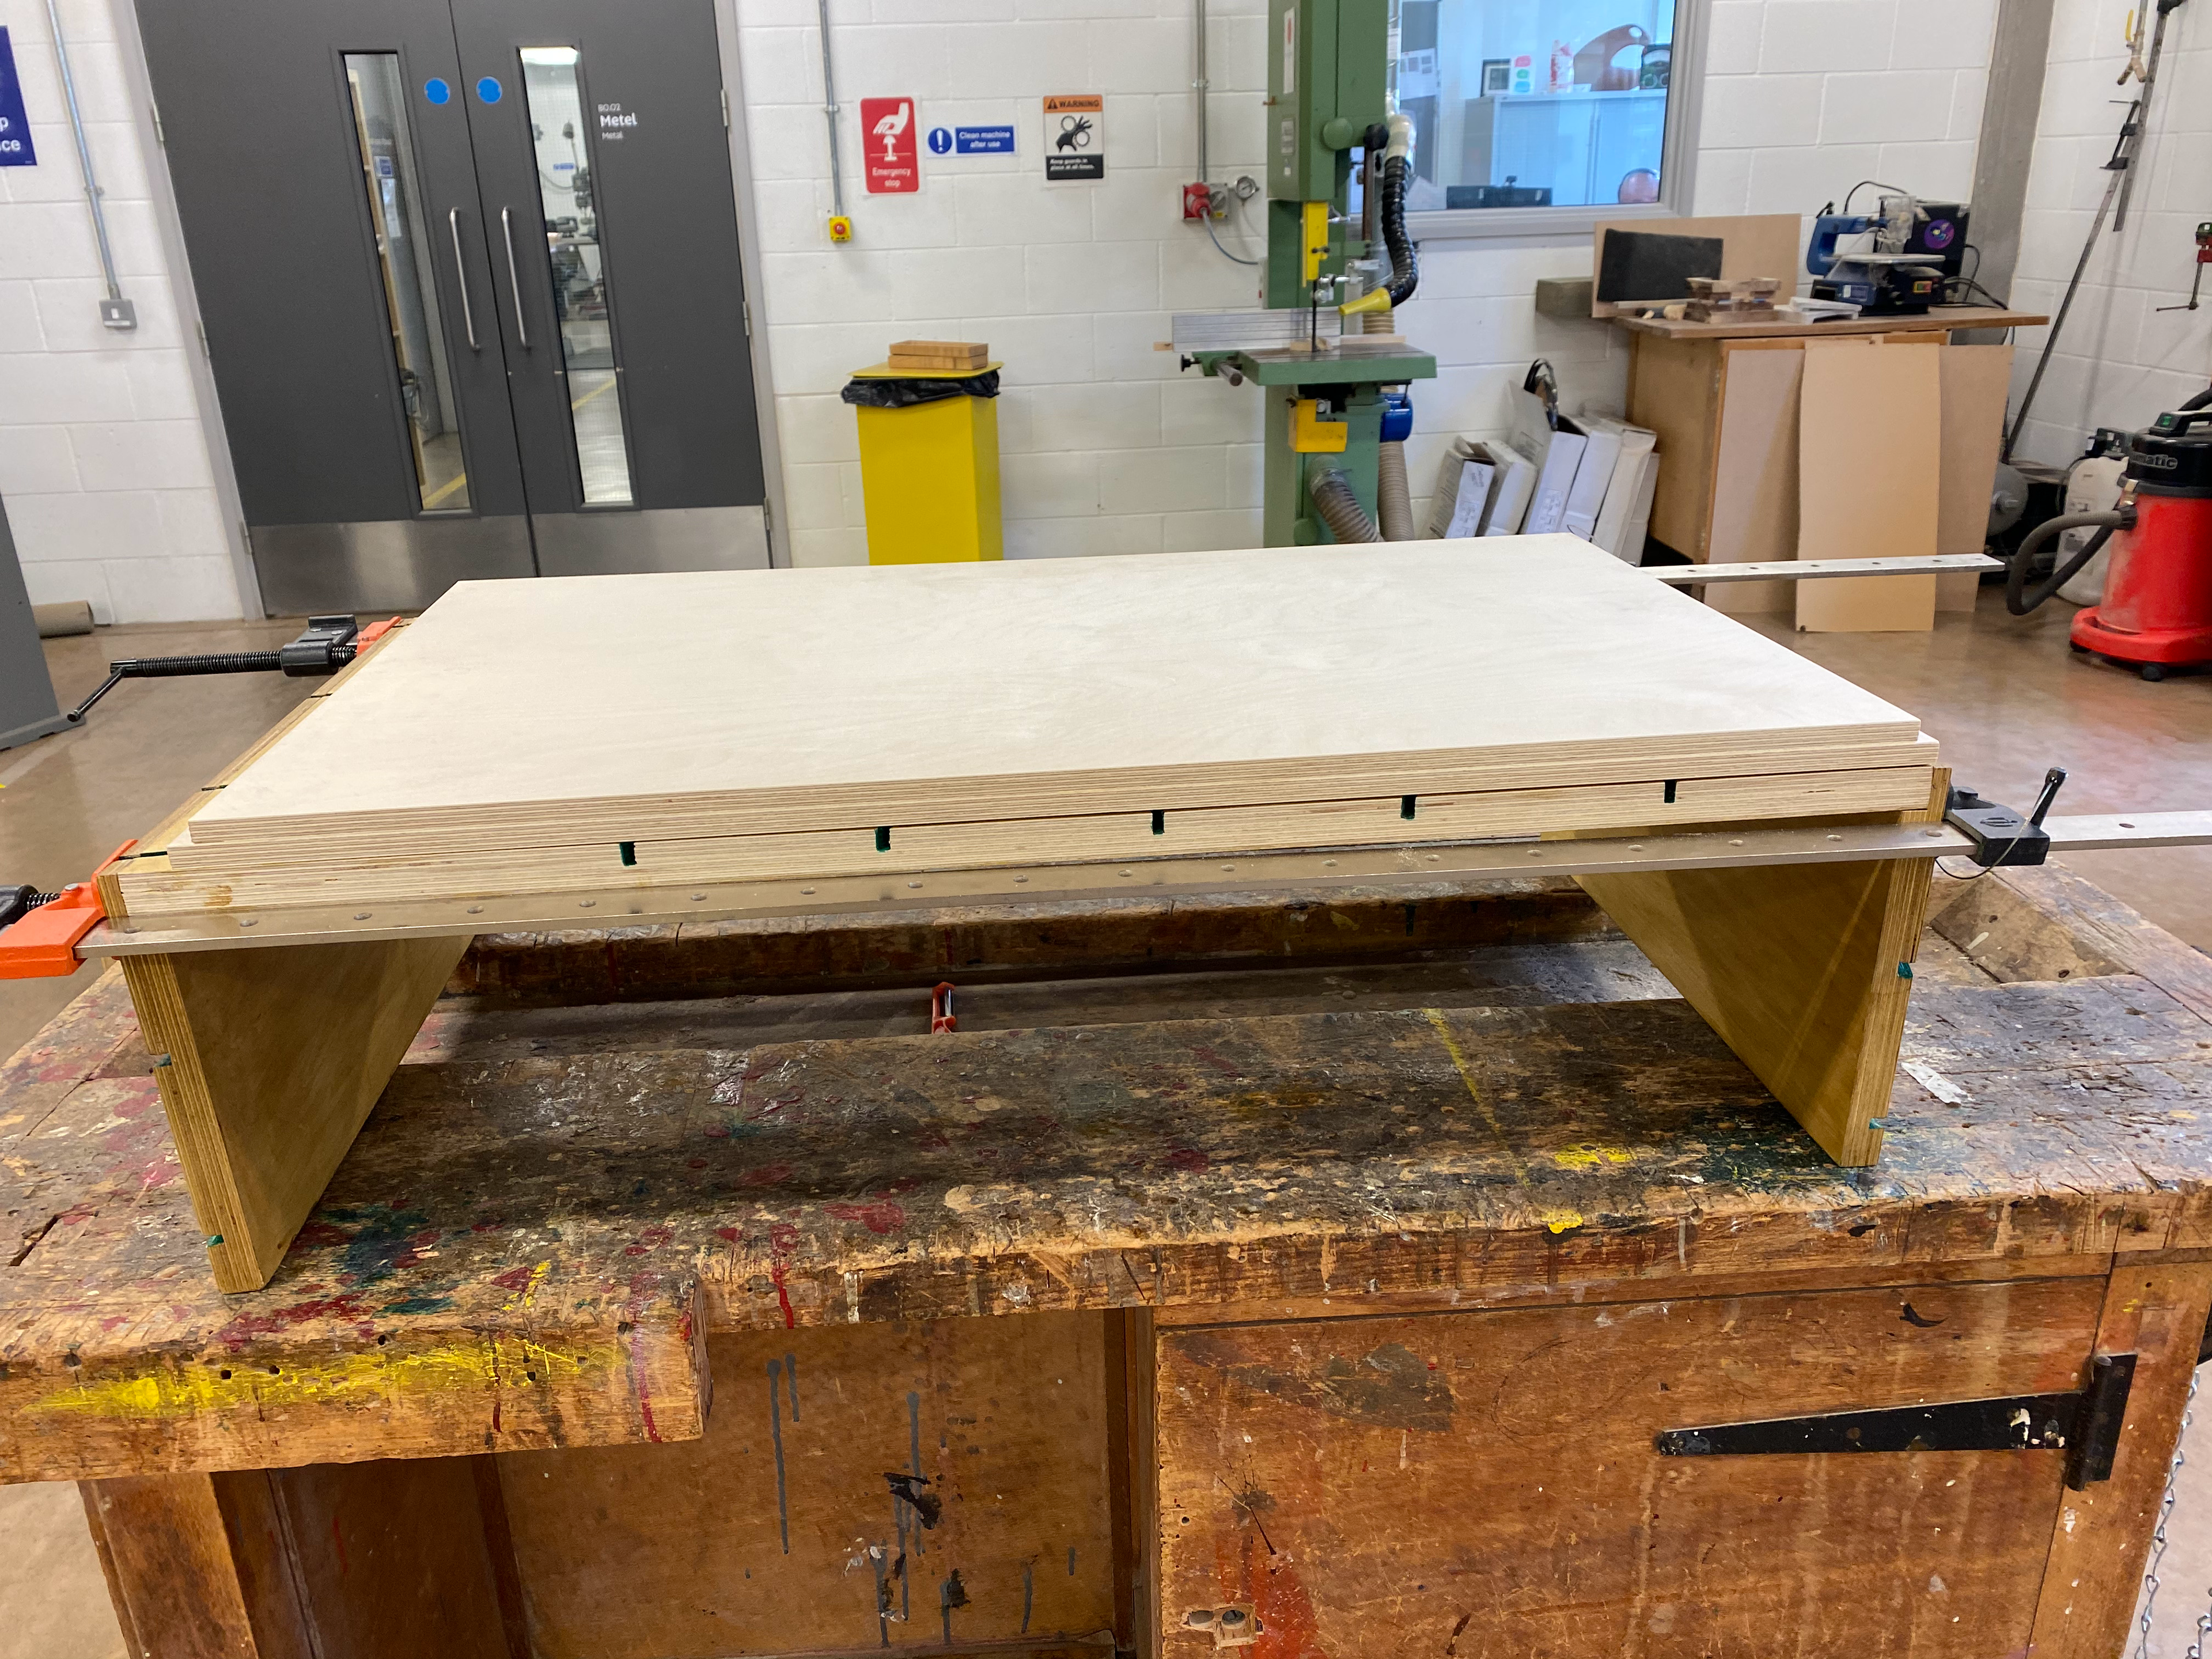
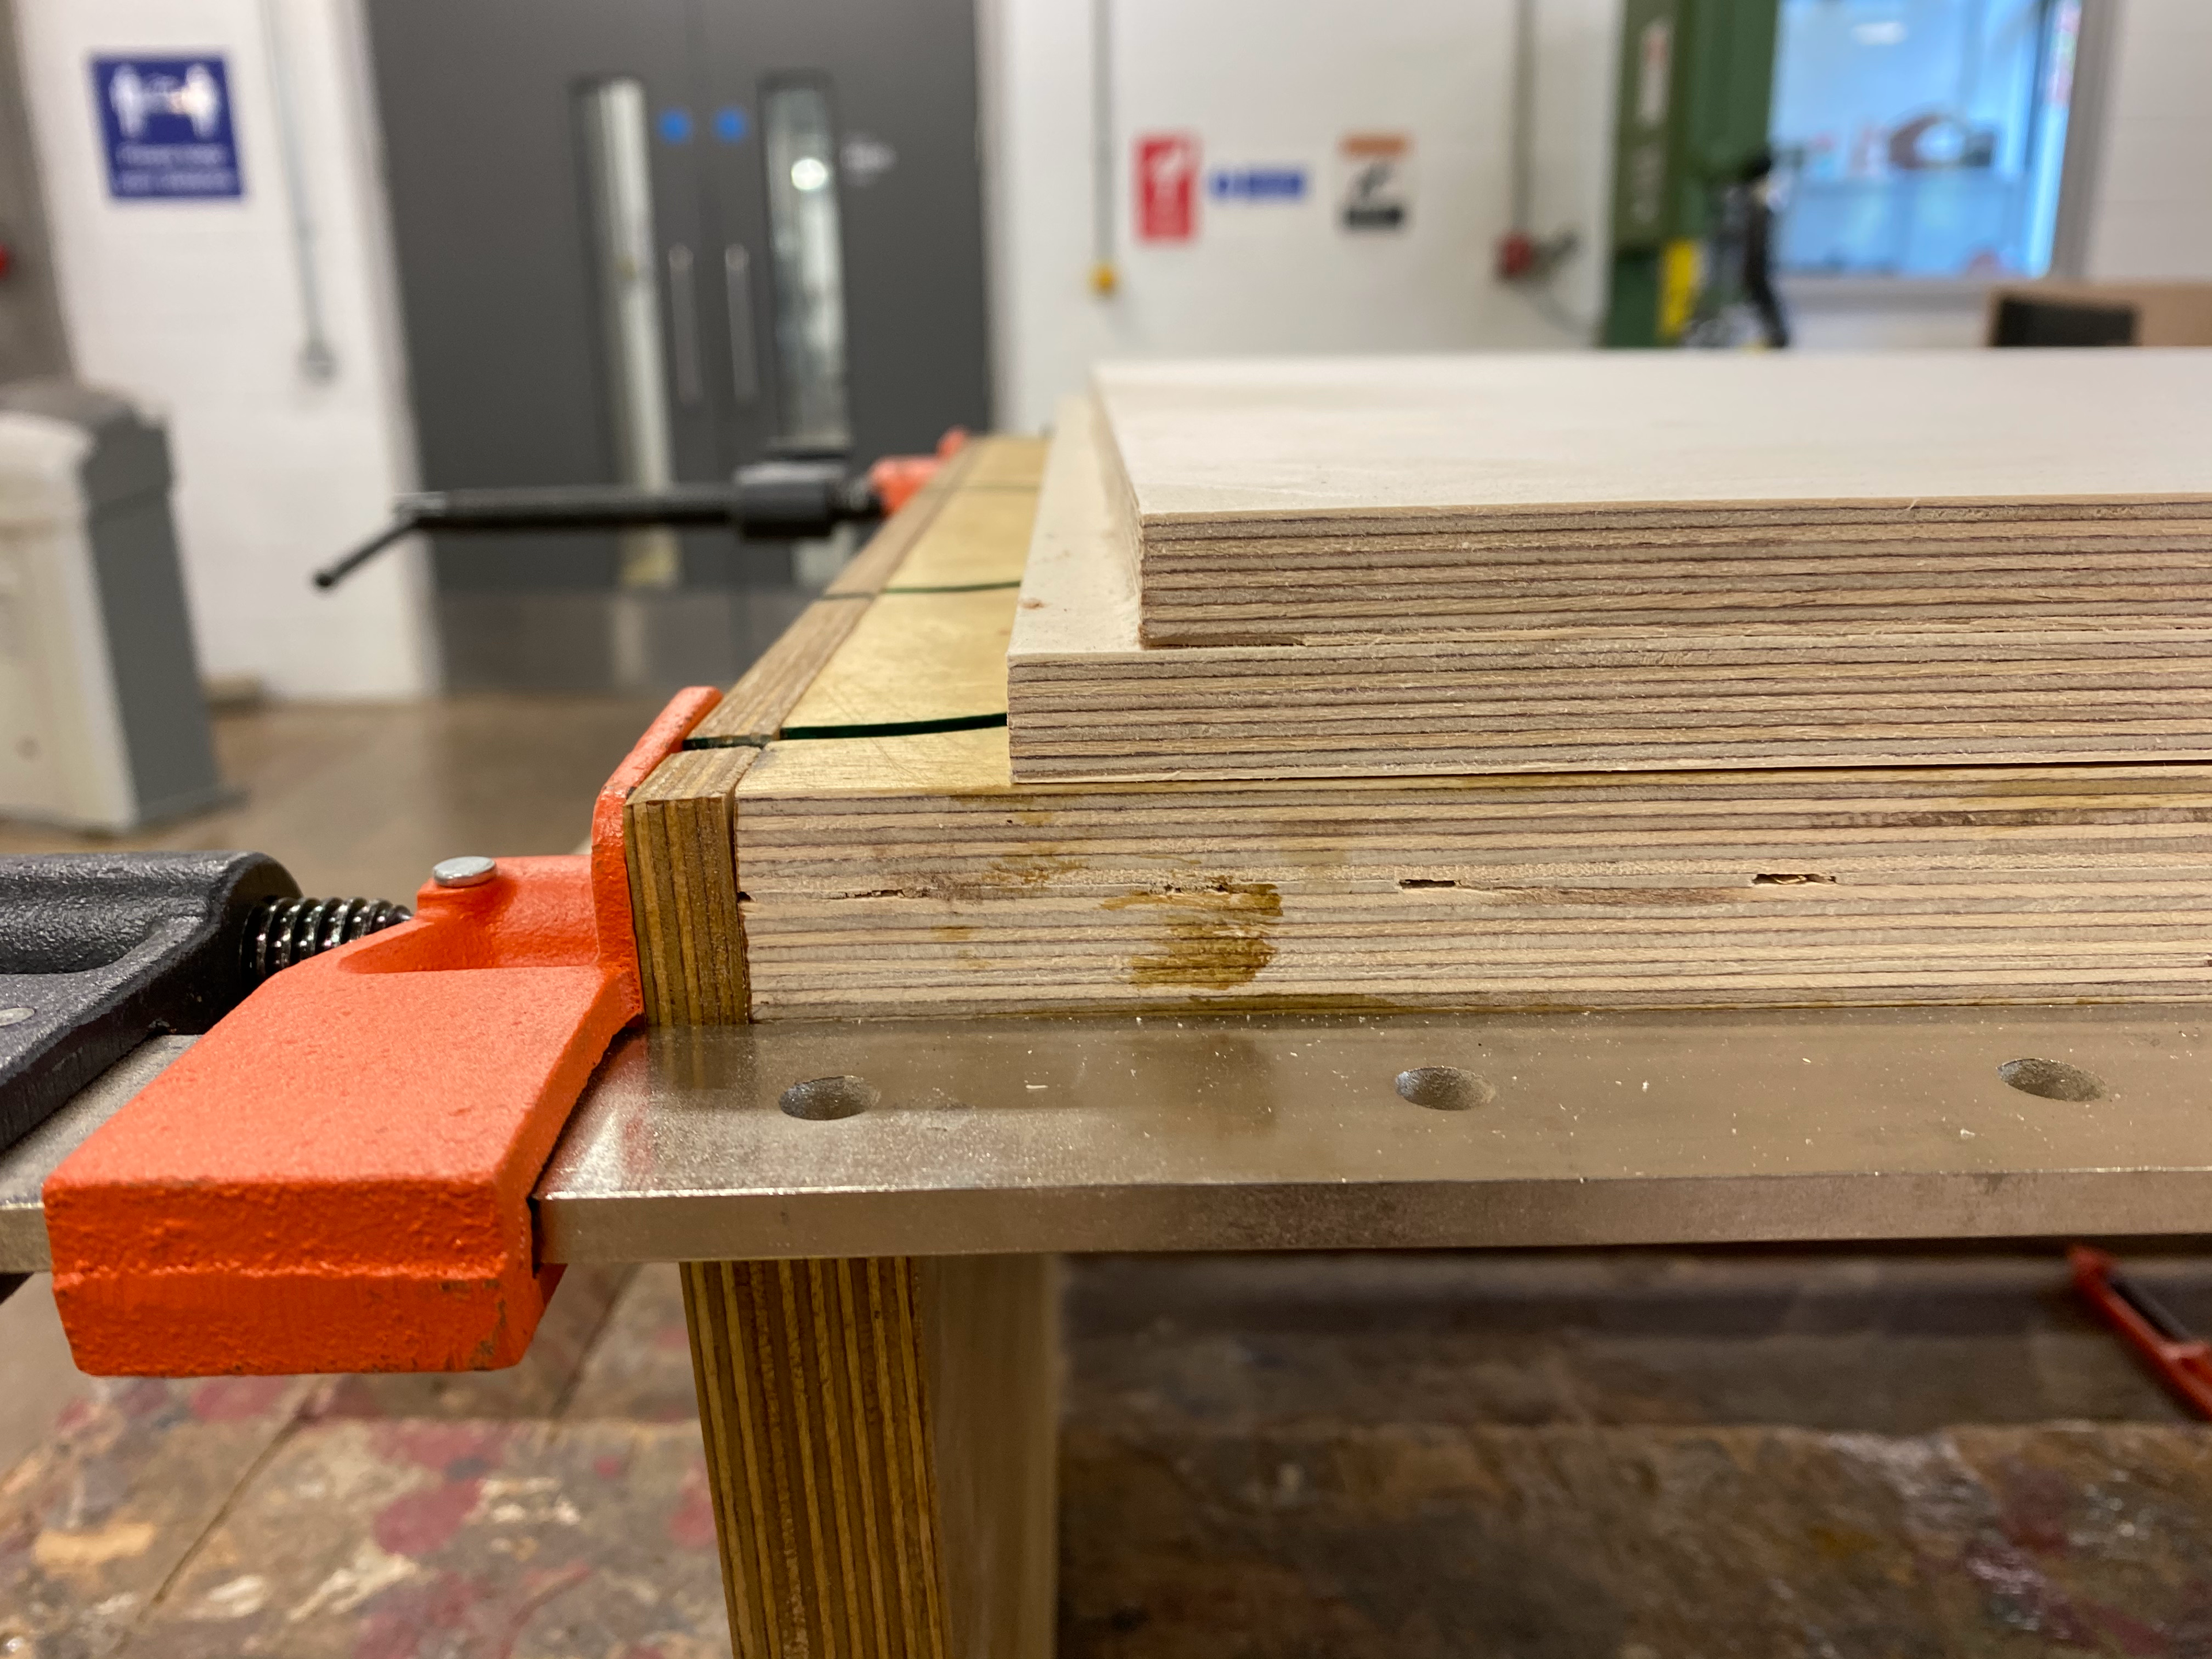
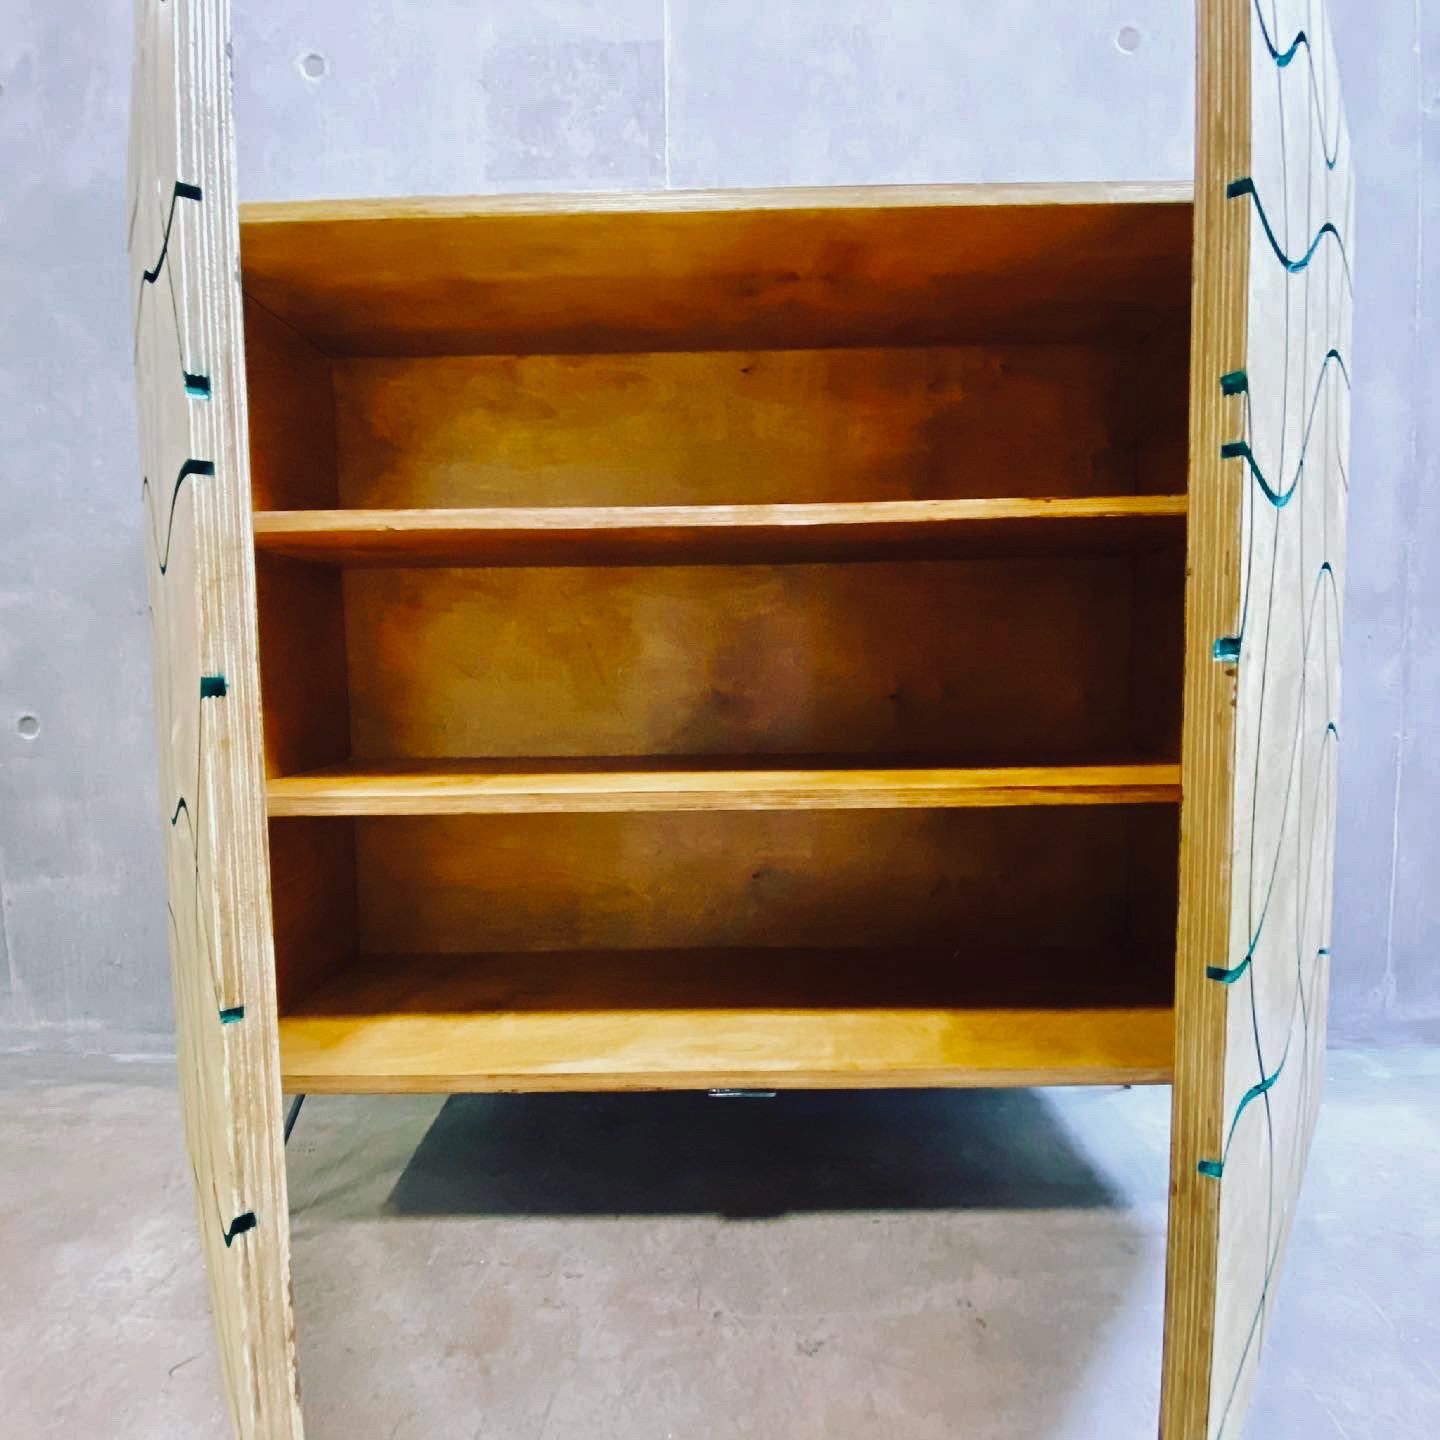
CABINET ASSEMBLY
Once I was finally able to go into the studios, I had room to lay out the cabinet and see where I may have any issues in regard to fit and assembly order. It was at this point that I realised the sheer size of the piece. At this point I am unable to truly appreciate how this piece will stand and if it will create the effect I want, however, I believe that it could be possible.
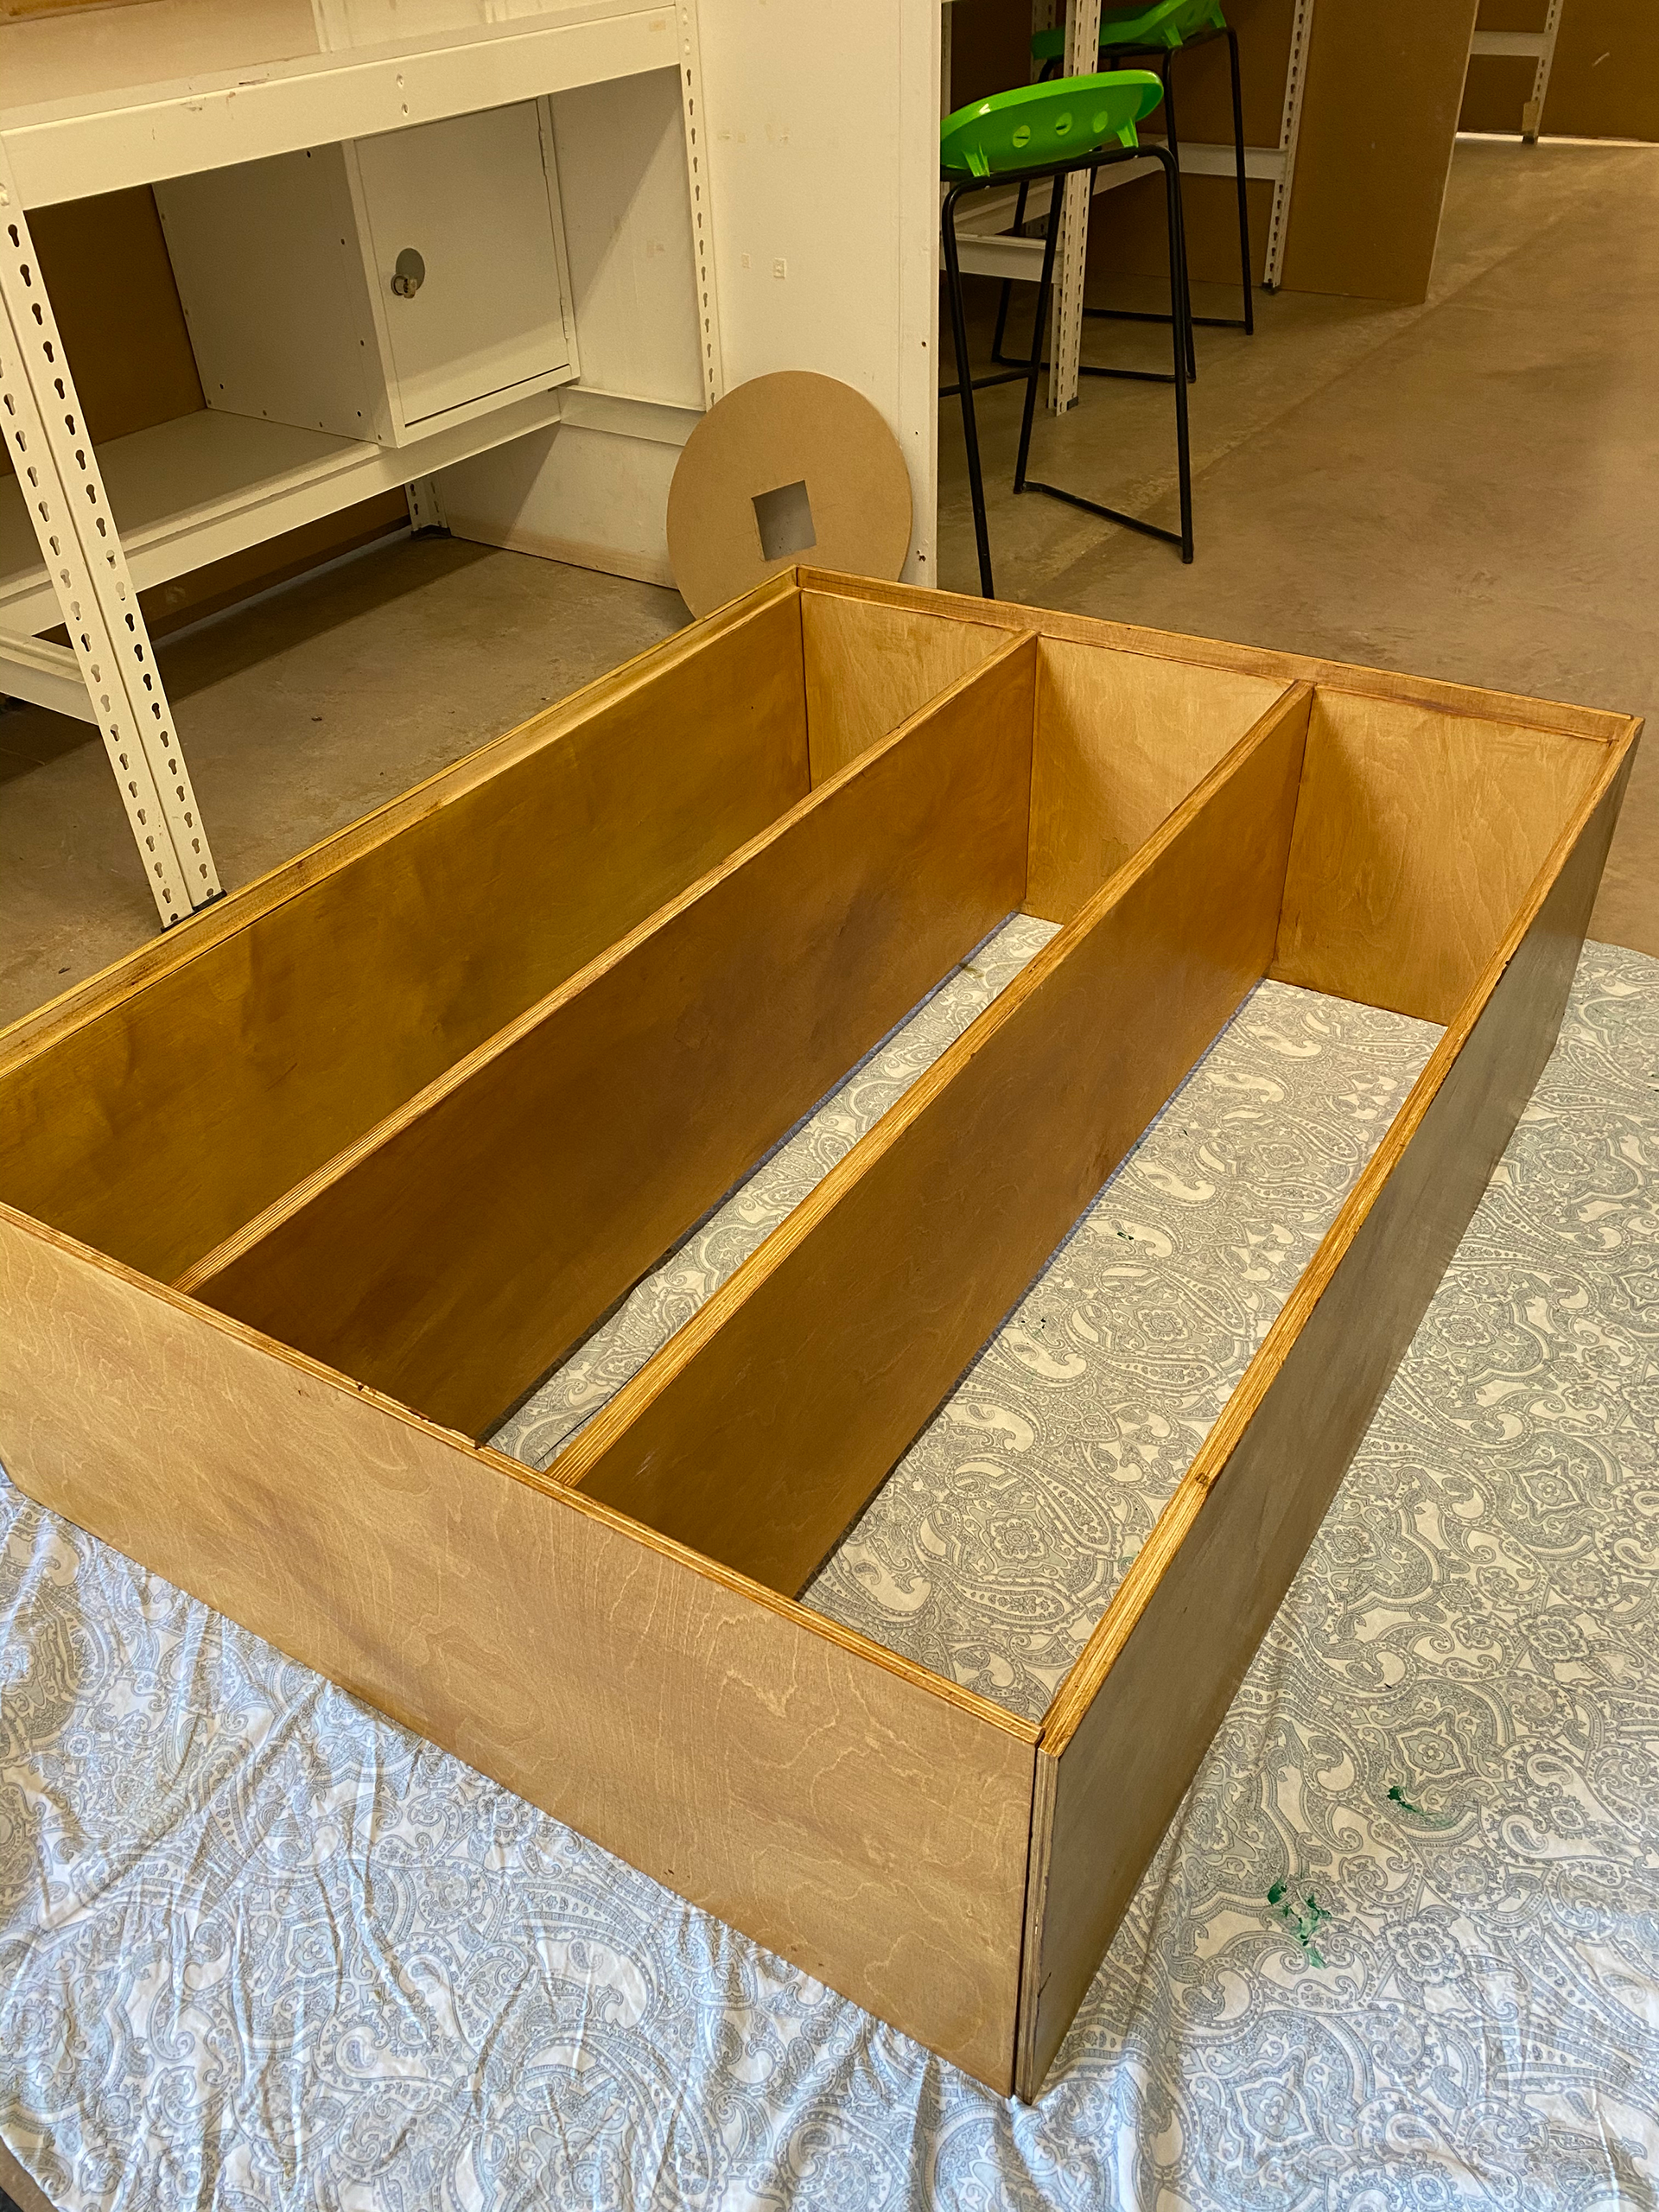
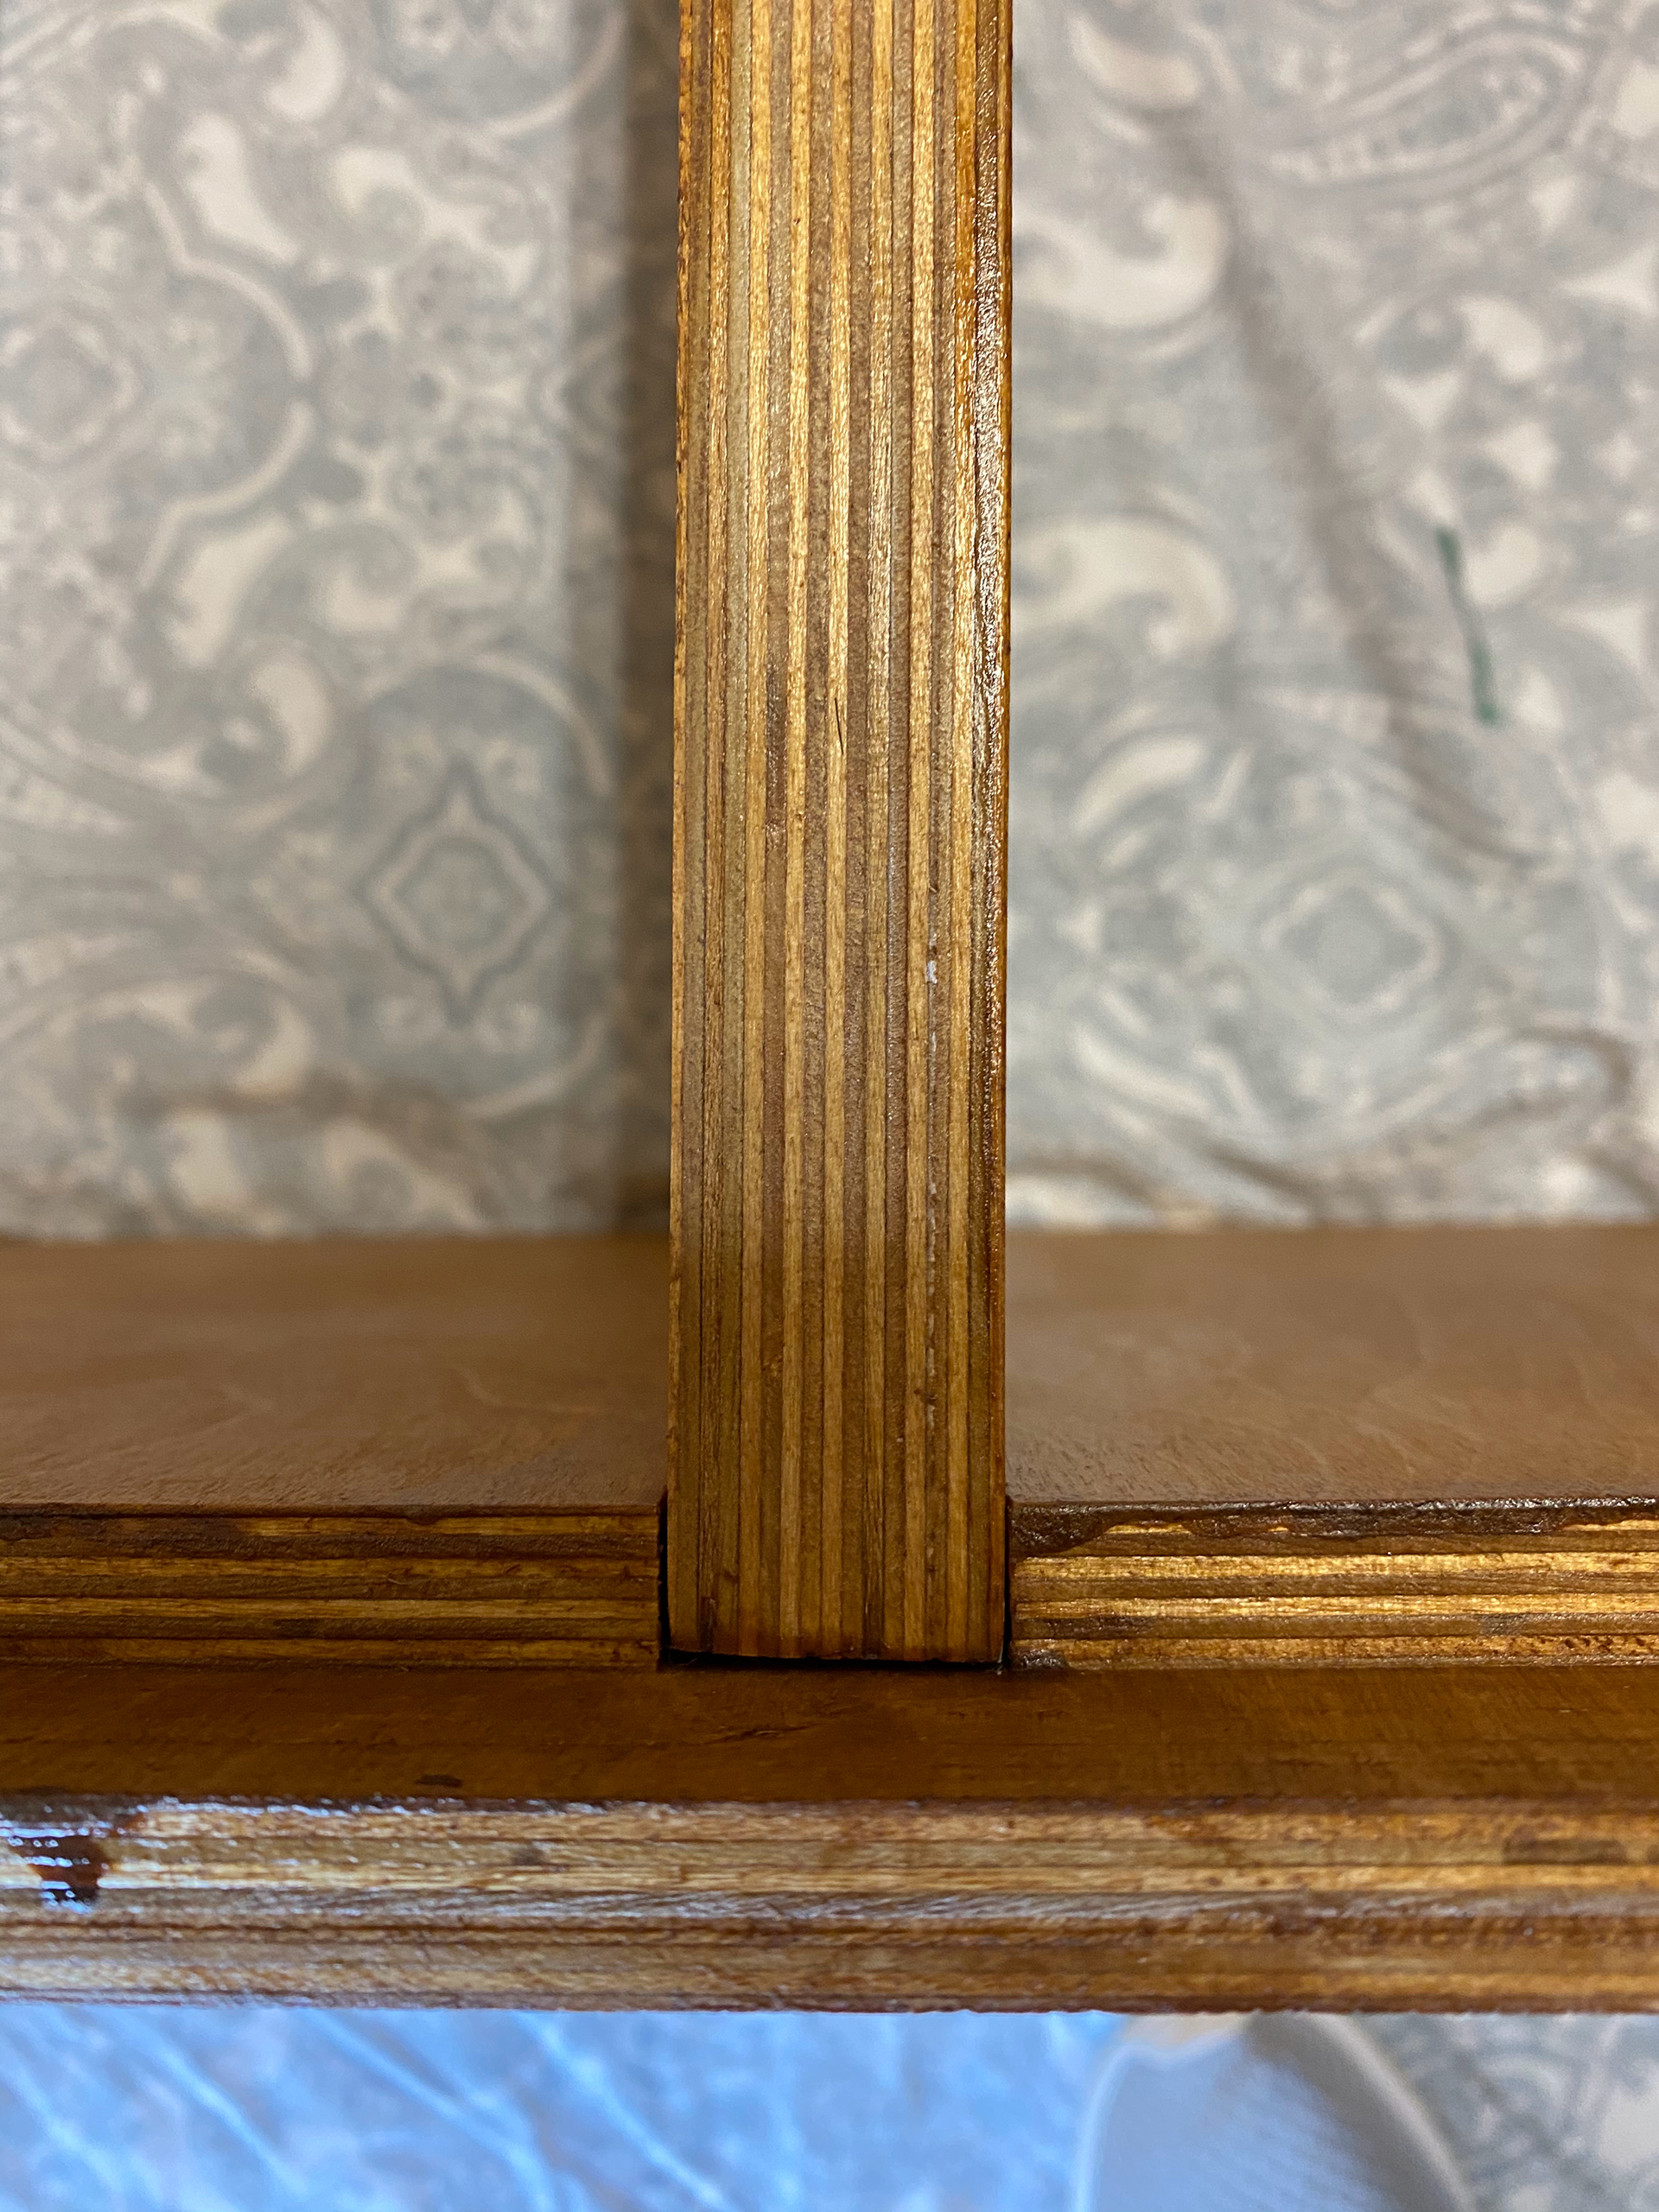
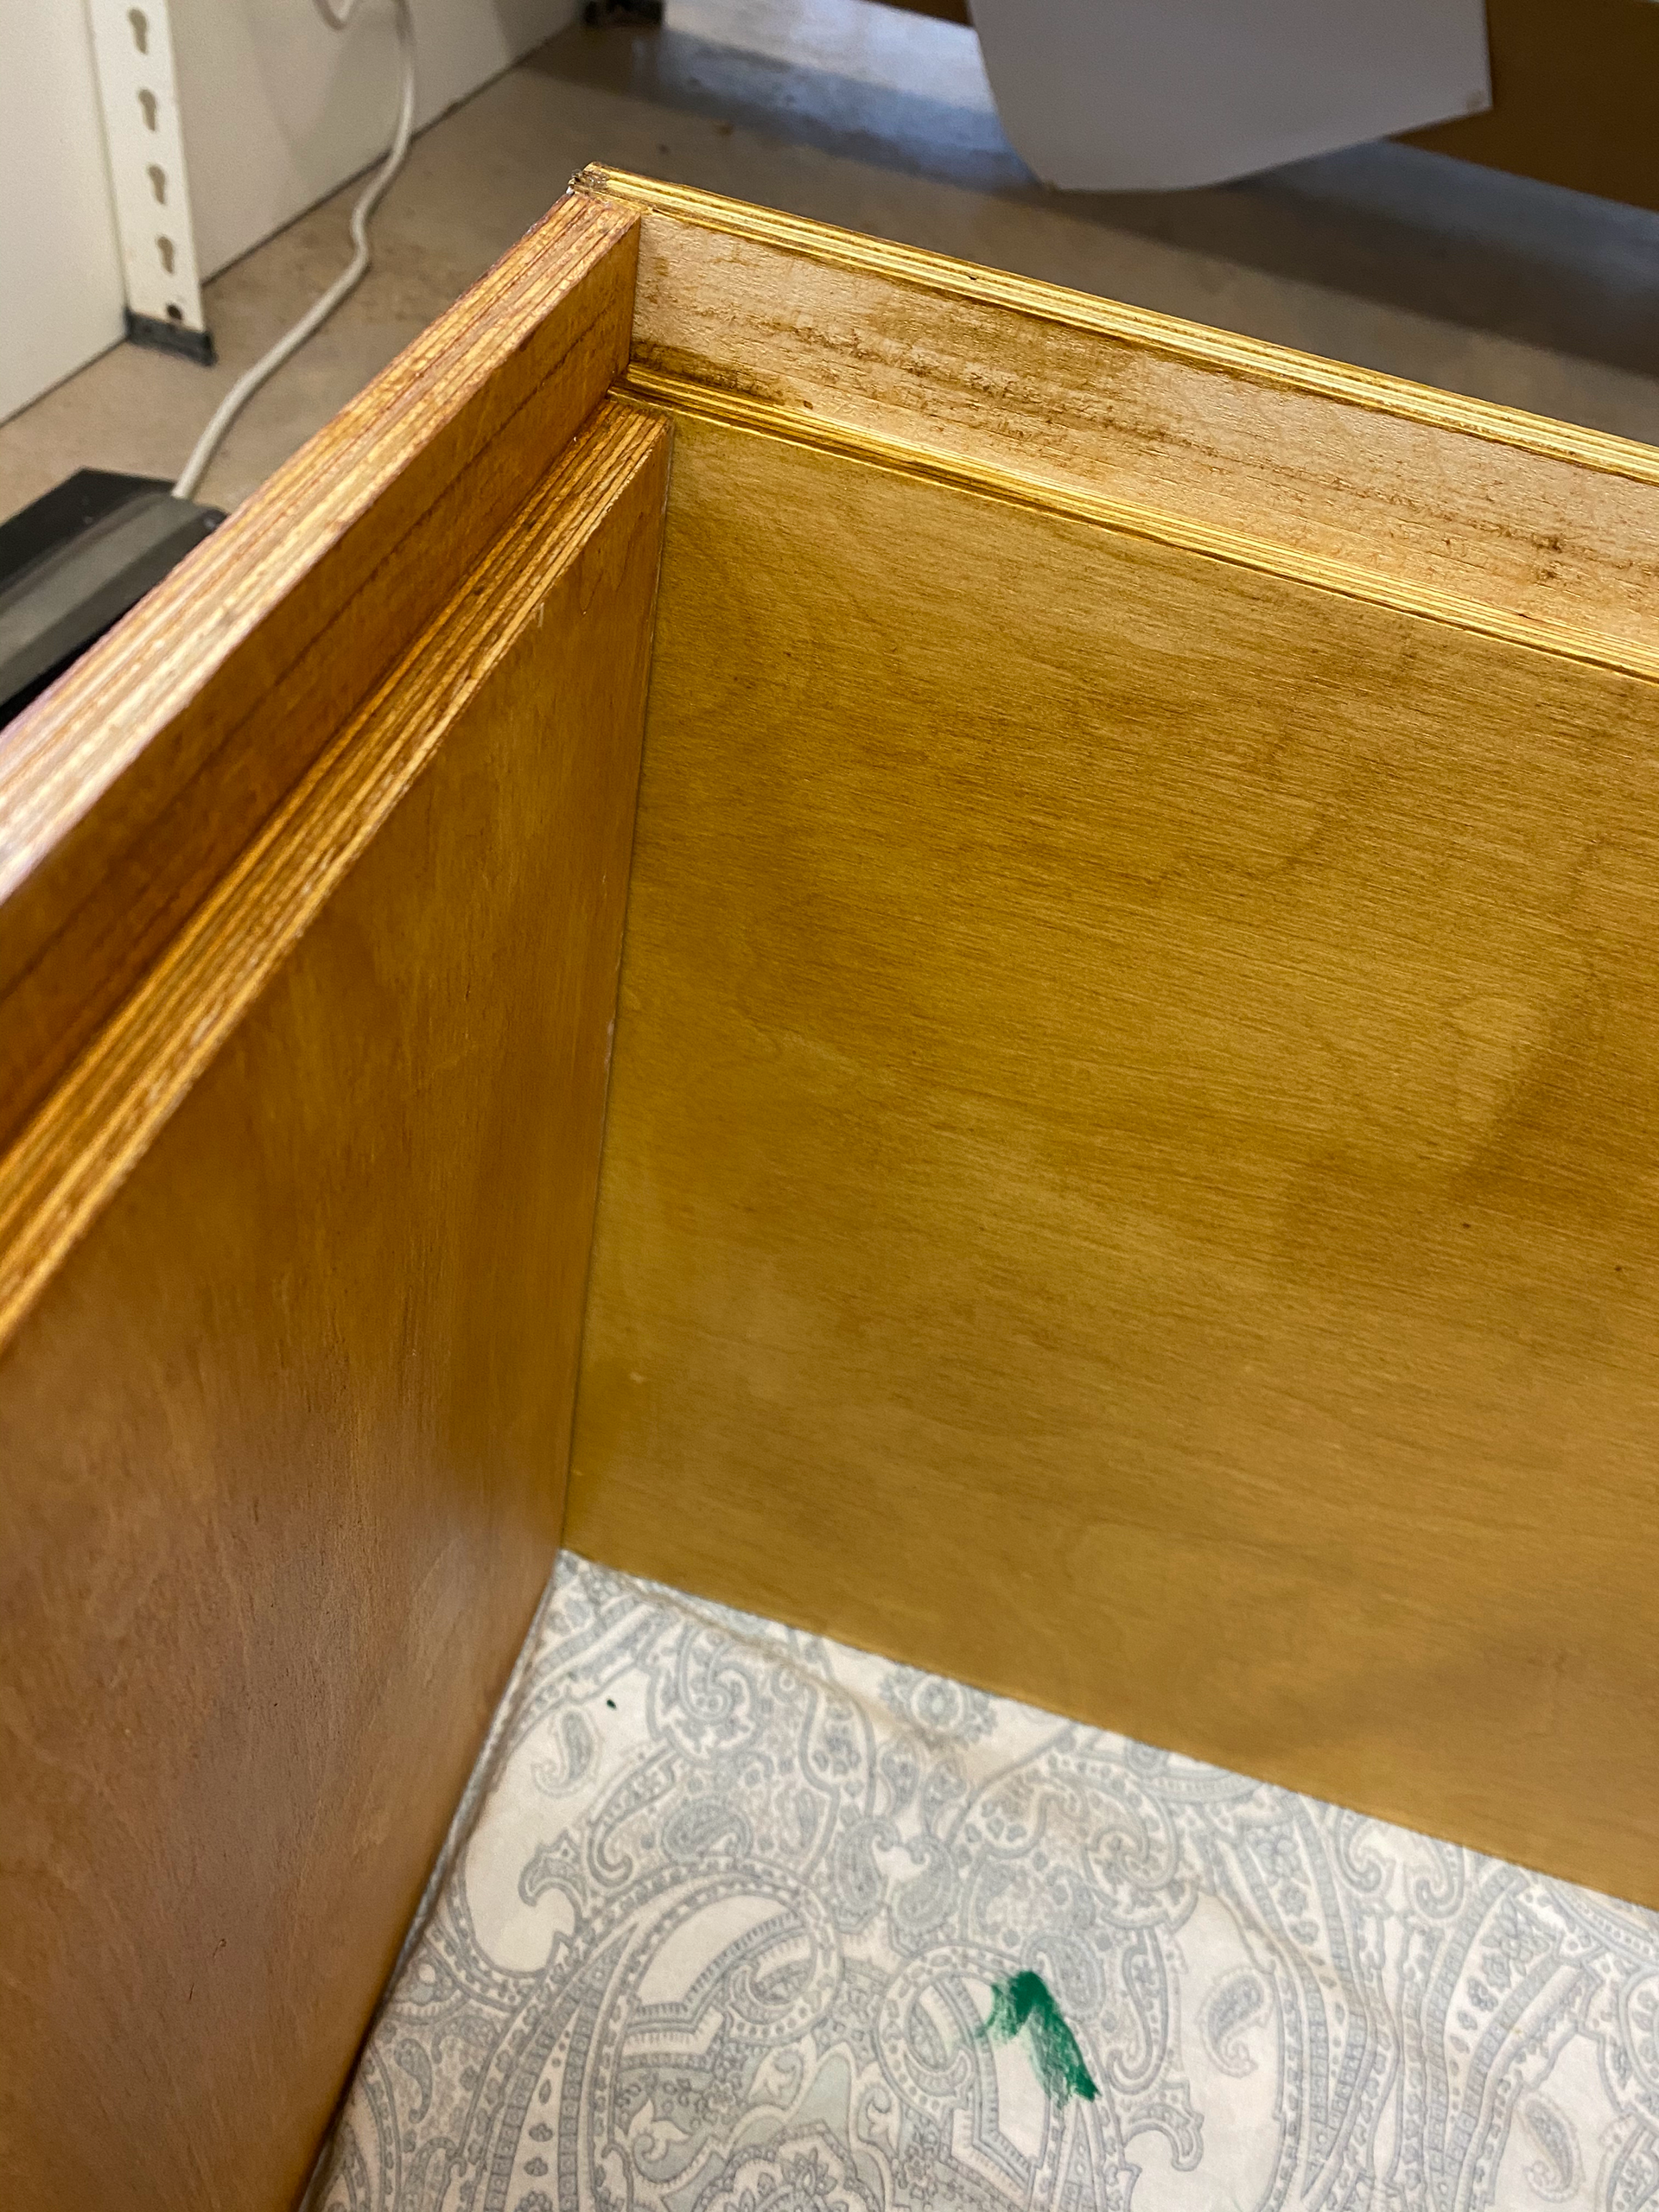
I don’t want to distract or ruin the shape and so the piece is being assembled using glue and having as many contact points as possible as opposed to using any brackets or fixings. However, one thing that came up at this point was that the piece is very heavy. I didn’t consider the weight of the piece when I was creating the files and choosing the materials. It was pointed out to me that the thickness of material that I am using is unnecessary for each piece, for example the back of the cabinet has the same thickness of material as the sides and doors. The back doesn’t need to be the same thickness as it isn’t viewed by the consumer/ will generally be placed against a wall. As this is the largest individual part, reducing the thickness would go a long way to making the piece lighter and in turn easier to move and relocate. This is a consideration that I can take forward with me for any similar future projects. Another thing I realised was that when doing a piece this big I will need another pair of hands to put it all together!!

The next hurdle for me was the hinges. Last year I had a lot of issues with hinges and their placement, I wanted to avoid the same issues this year. I bought two different types of concealed hinges (recessed and lay on), I decided to go with concealed hinges as these allow the lines of the piece to be undisturbed and sleek. The one concern that I had for these hinges was that they may not hold the weight, to make sure that this wasn’t an issue I used three sets of hinges allowing for greater weight dispersion. After some slight adjustment it seemed that the hinges were holding the weight well.


Once I moved the piece from the workshop to the studio, I realised that the doors were drooping down wards. My fears that the doors would be too heavy for the hinges were realised. After talking to a few different people, it was decided that it was in fact the type of hinge that was the problem. Even though the hinges were sold as ‘heavy duty’ they had a lot of movement to them that that was being emphasised by the weight of the door. To help counteract this I attached a plate to the bottom of the cabinet to help support the closed doors. This seemed to do the trick. This was something that needed to be solved as it was making the lines on the doors not match up properly. The idea behind the cabinet was that the doors meet up perfectly to then open and expose the storage space inside. The doors needed to match up perfectly for this to work effectively. The supporting plate allows for the piece to be visually correct as well as striking.

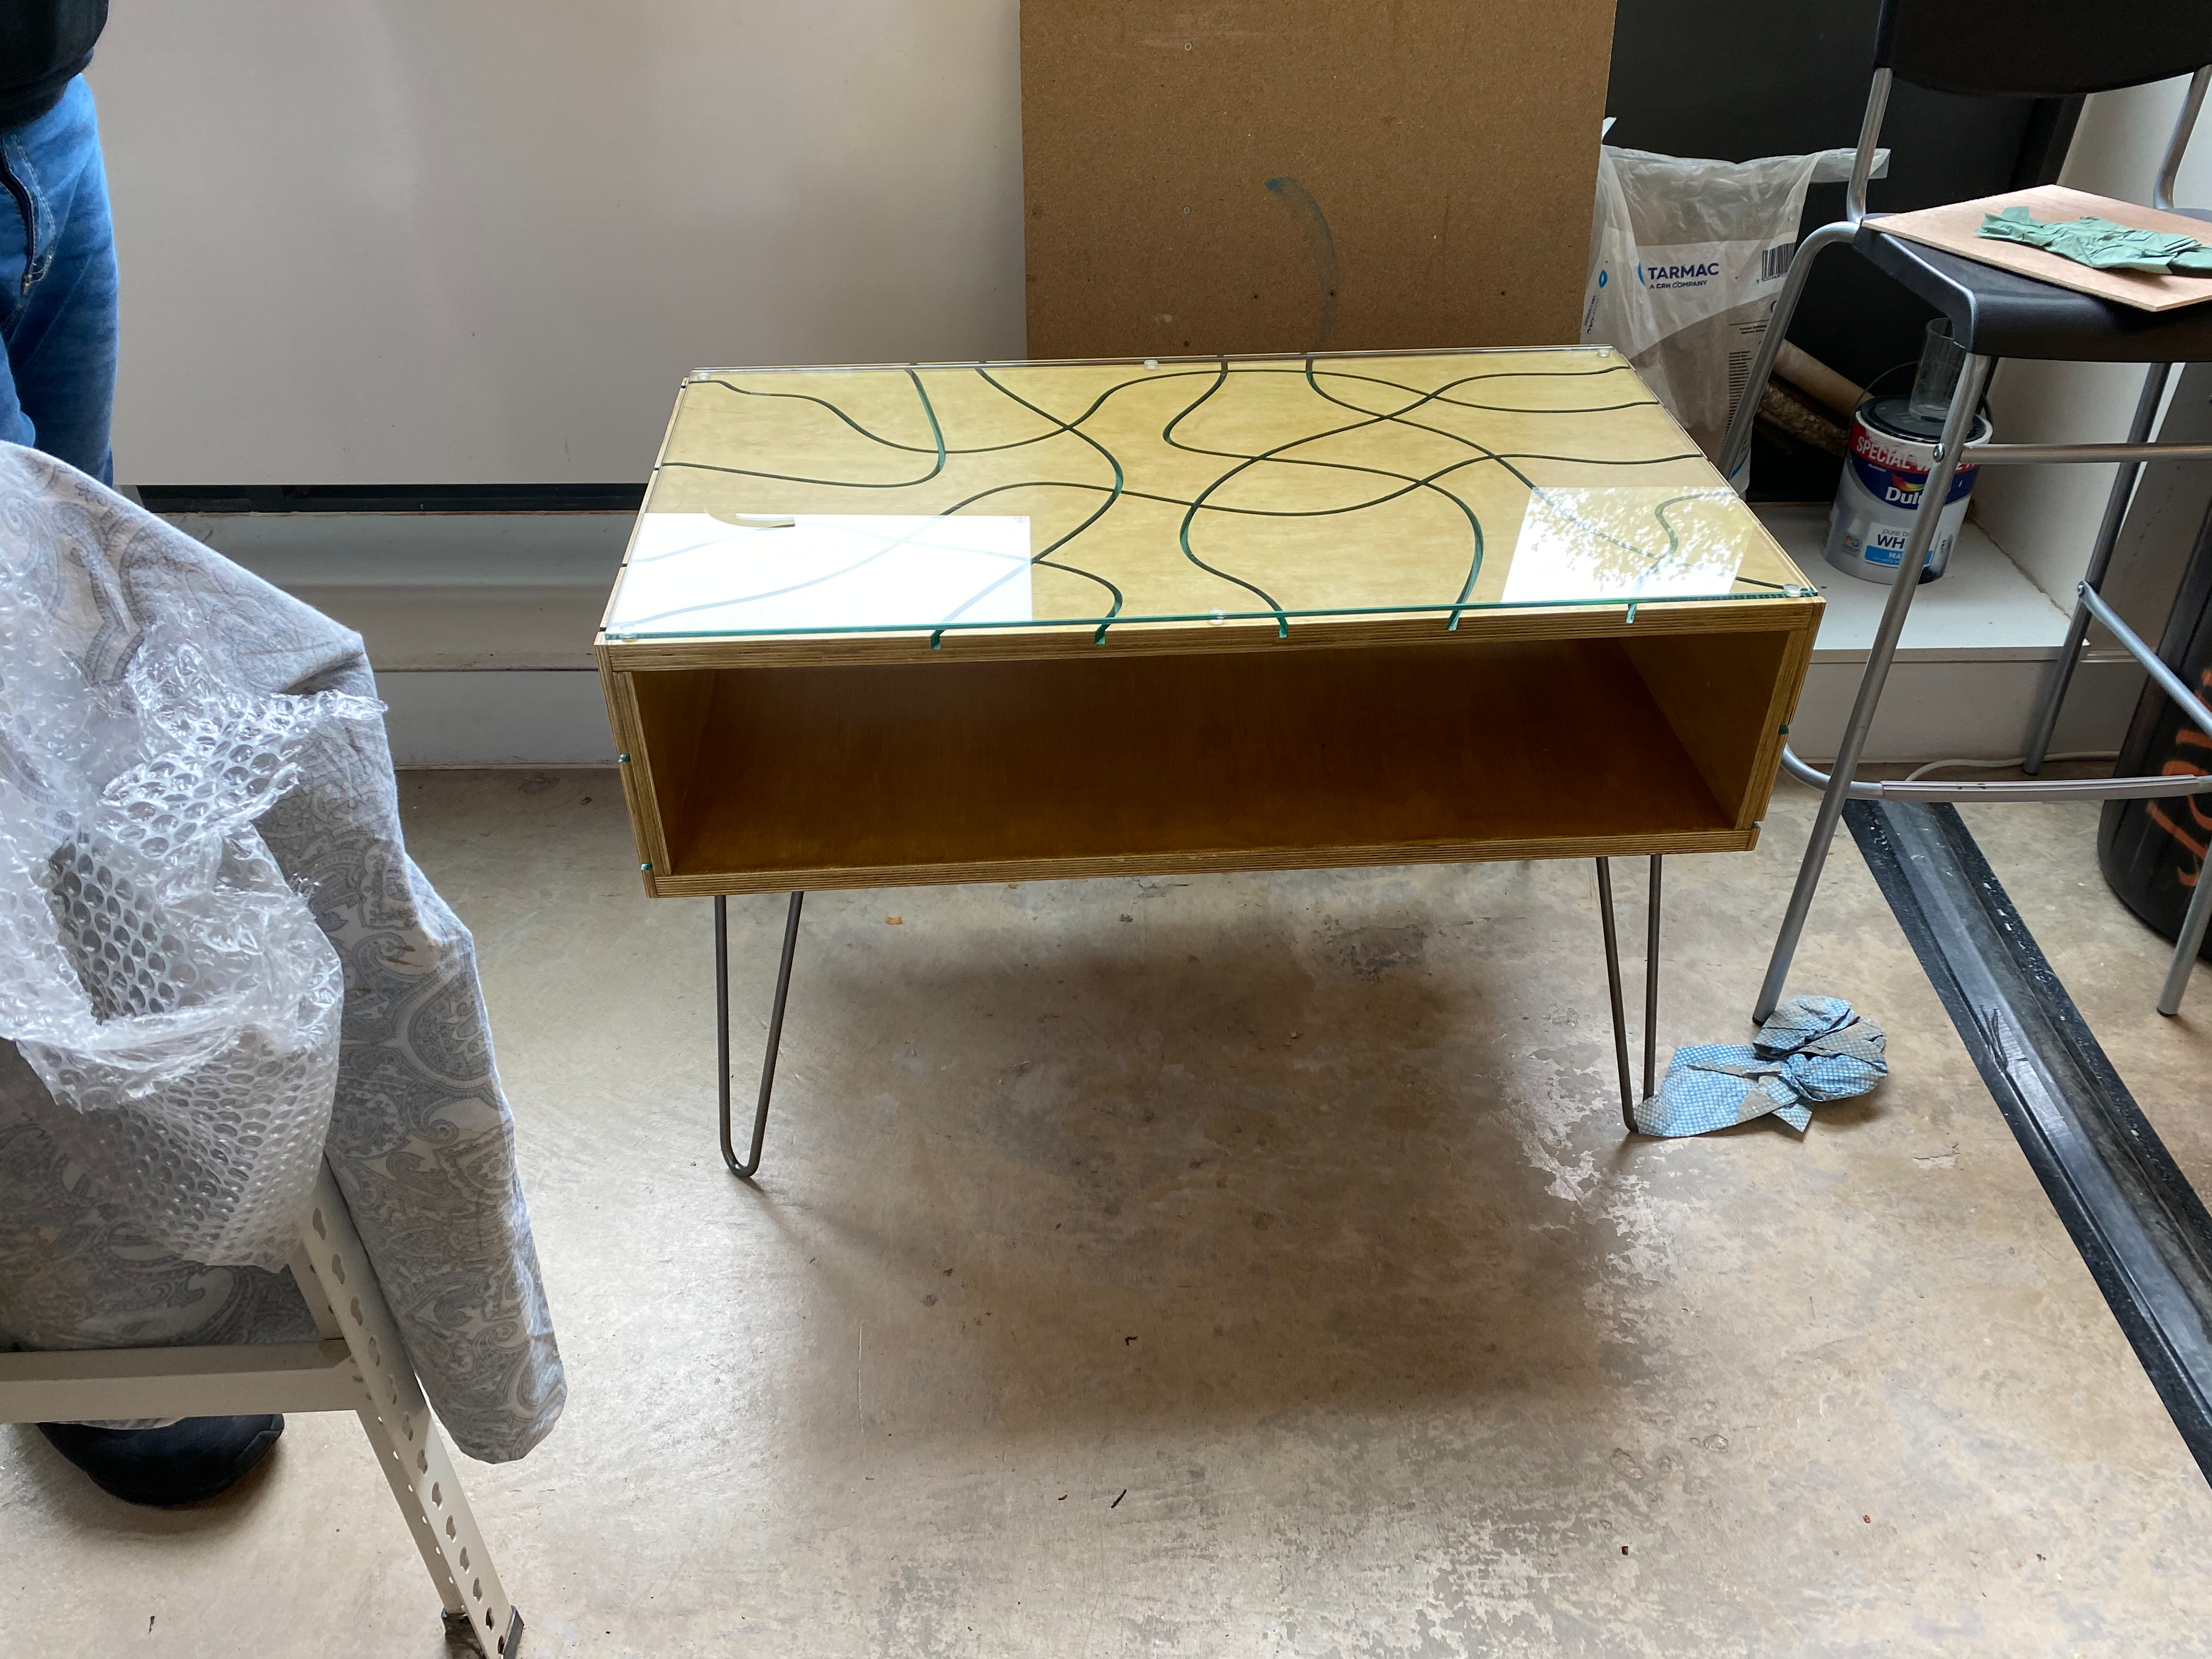
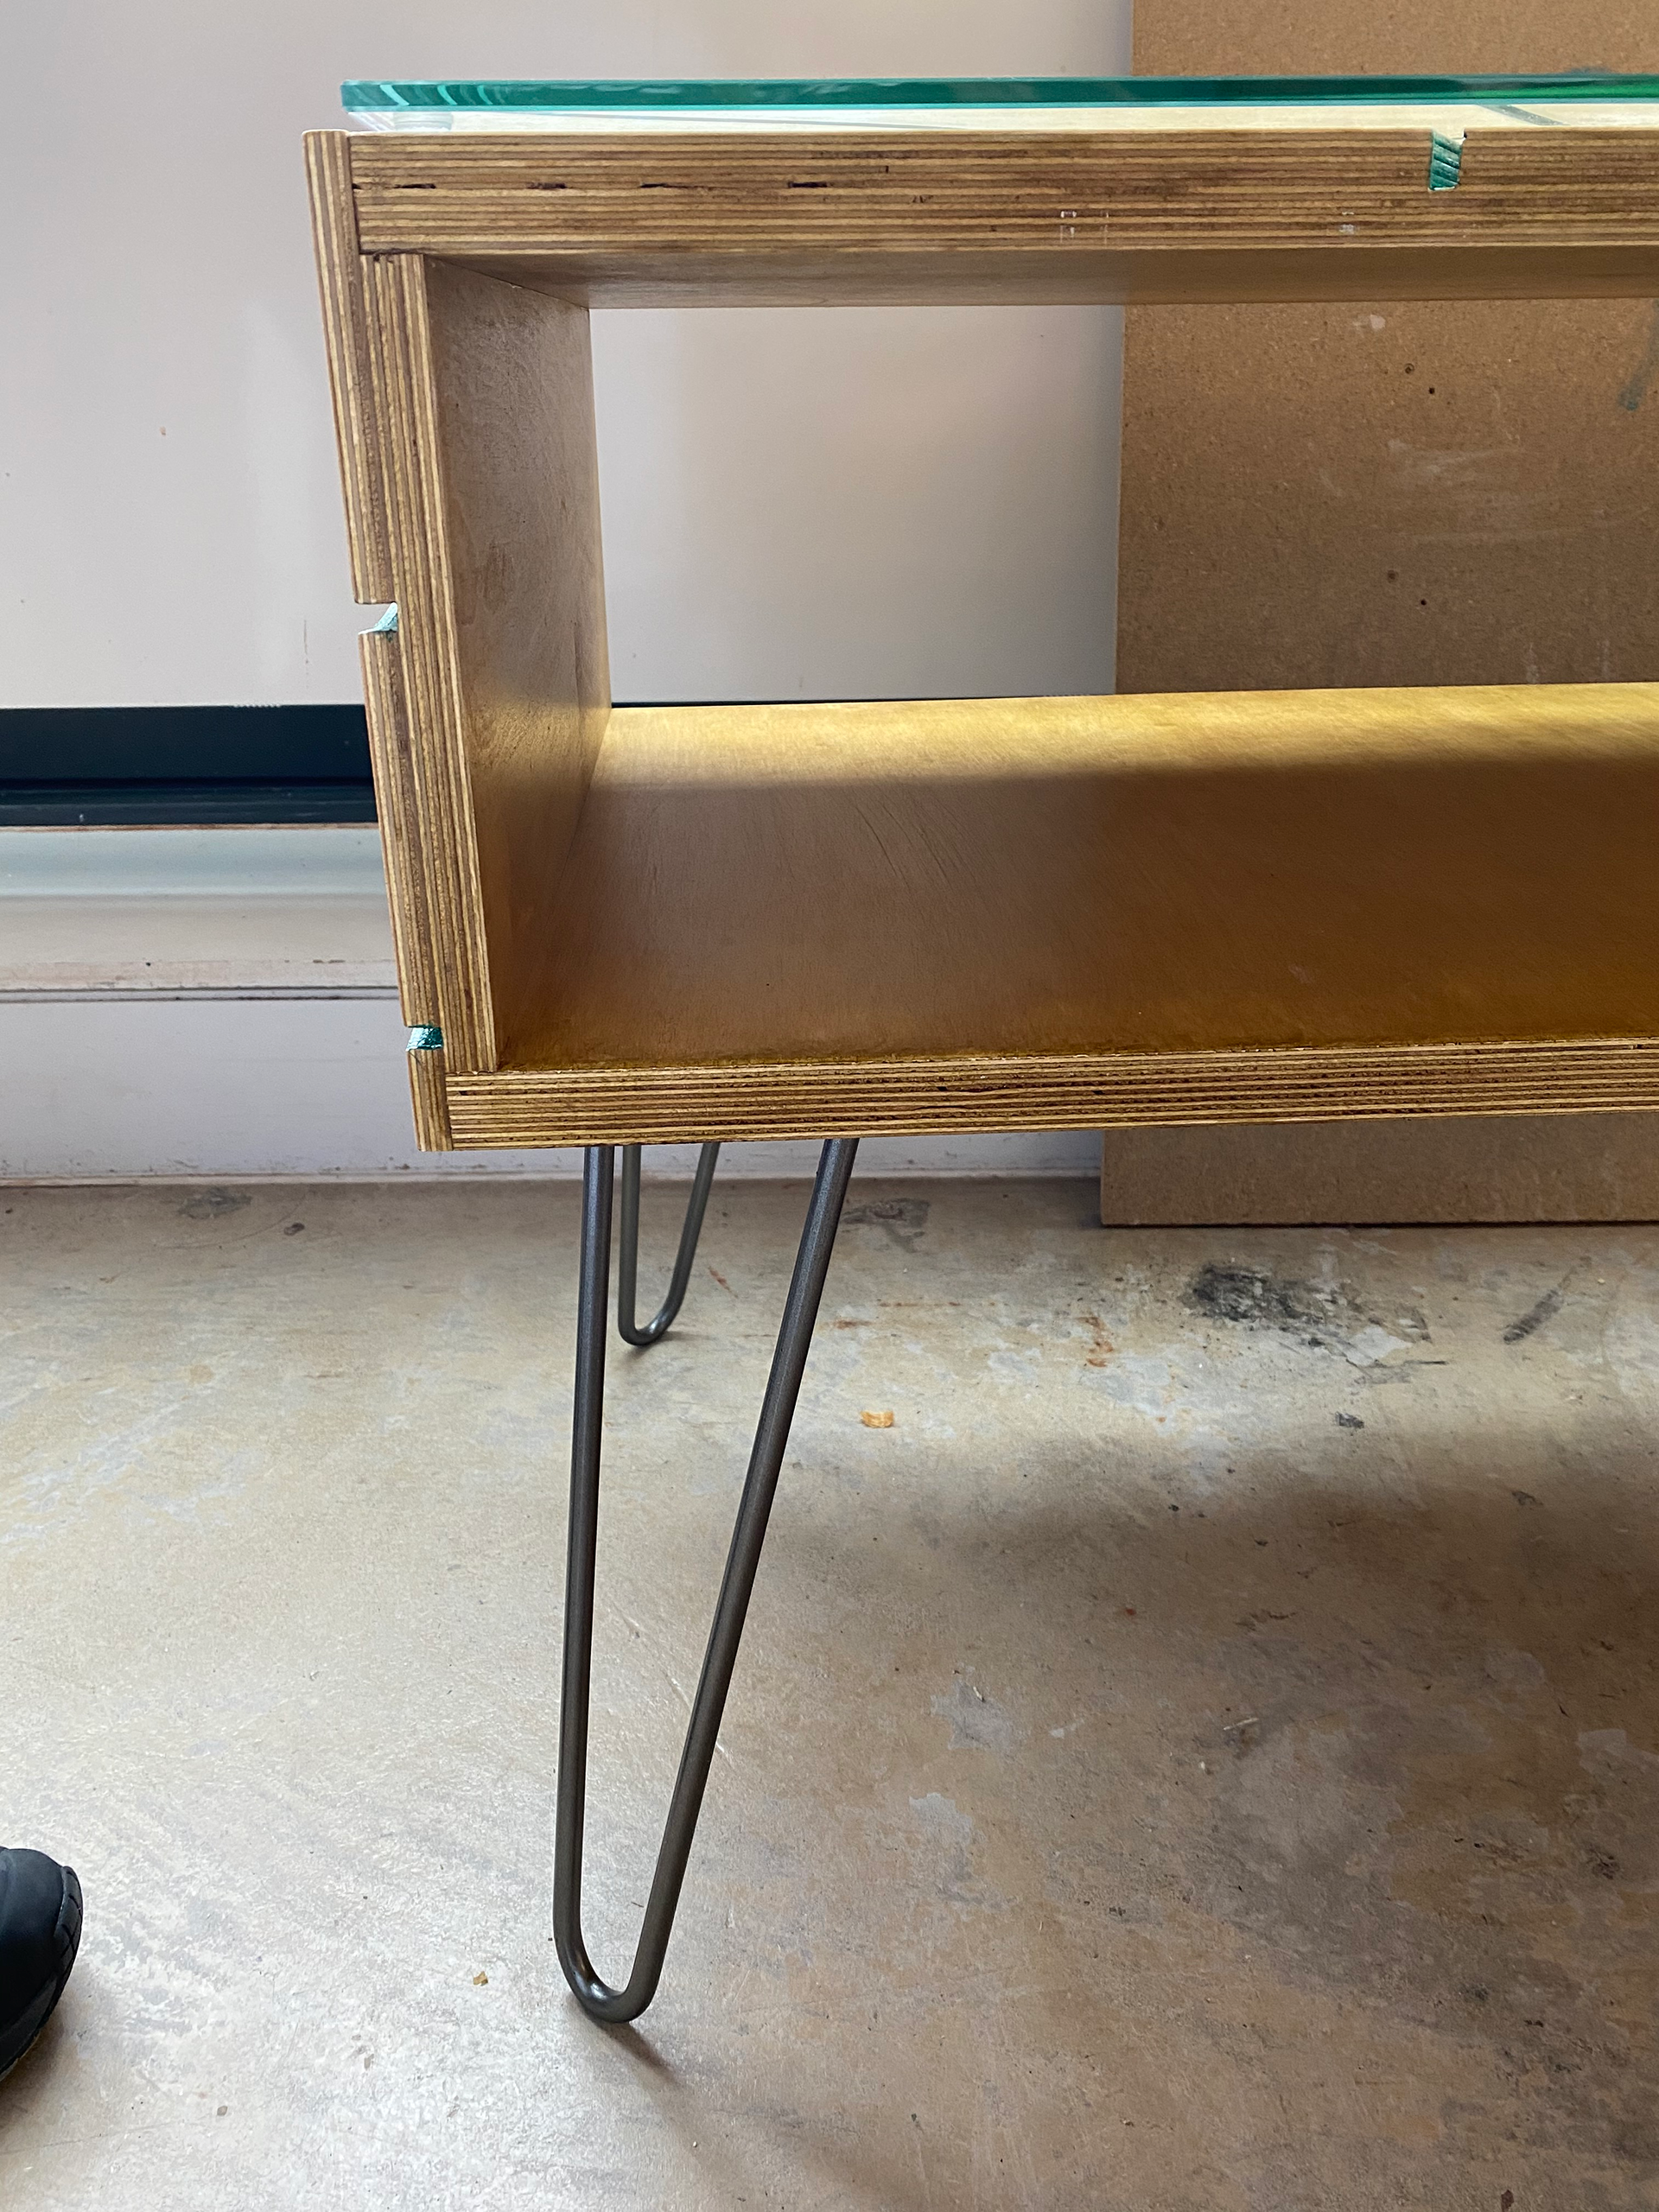
COFFEE TABLE ASSEMBLY
Out of the two pieces I am making the coffee table would be the most straightforward. The piece only had the four pieces that needed gluing and assembling. However, when it came to putting the four pieces together it was clear that one of the pieces was too short. The piece that was too short was missing from my initial load of fabrication. And so, this piece was cut from two pieces of 12mm ply that was then stuck together, whether this meant that there was an error in cutting I am not sure. Luckily, a replacement piece was sorted quickly, and the assembly was able to move forward the next day. The overall experience of outsourcing fabrication for this project has not been the best. The delay in cutting was only emphasised further by the missing piece that then took another 3 weeks to receive. I hope that this was just an isolated incident that was caused by them being very busy, but for now it has been rather off putting.
Issues continued to occur once the piece was glued. As the glass top was placed on the table it was clear that something had gone wrong somewhere. The glass was supposed to reach the ends of the table however it stopped before then. This further goes to show that some error was made during the cutting. As I was uninvolved during the initial stage of production it is unclear to me what had happened. This confirms for me that clearer communication needs to occur as well as requesting regular updates to ensure the projects are moving forward.
-FURTHER NOTES ON FABRICTAION-
My original designs featured bespoke metal work for the legs of the pieces. After trying for over a month to find a willing fabricator to produce the two pieces, I had managed to find a company to do it. Communication went back and forth for weeks, however, the work seemed to be going nowhere, as well as this, the quoted price seemed to be changing regularly. The lack of confirmation that the work was in production meant that I was worried that I was going to run out of time to finish and assemble the pieces. And so, I took the decision to buy some prefabricated legs online that would be delivered long before the bespoke work. This was very disappointing as I had worked very hard on the designing of this metal work for it to then not be used. I don’t know if the work kept being pushed back because I am a student, however, my has not be great. I went into outsourcing in the hopes that it would give me an insight into industry, and I walked away confused and disheartened. I hope that this hasn’t completely put me off working with fabricators and if I do decide to work with others again my work is respected more.
COSTING STRATEGY
To increase my understanding of how my work might have a presence in the market I decided to generate prices of my work. As I did this, I started to realise how my work might not be affordable for the larger market. And that my work may have a presence in the higher end market as opposed to the original mid-range I imagined. To calculate the costs I also used to fabrication material quotes I have been given.
Pricing 1st
Coffee table - £858.50
Cabinet - £899
Long draw unit - £907.50
Storage shelf - £727.50
Shelving - £690
Dining table - £1704.99
Breakfast table - £1293.98
Bed frame - £1612.50
Side table - £422.75
Standard draw unit - £825
Large draw unit - £899
Bedside table - £760.55
I felt these prices were very extreme considering I am going to be a graduate. I used the craft council pricing resource to establish my pricing, the first lot of prices is a general ideation of what I could expect it to be, however, I wanted a more accurate figure. To do this I calculated how much the wood would cost from a local supplier as well as how much the metal would cost. I also dropped the hourly rate to £10 from £20 as this would be more reflective of how I would be paid from the offset.
Coffee table - £609.48
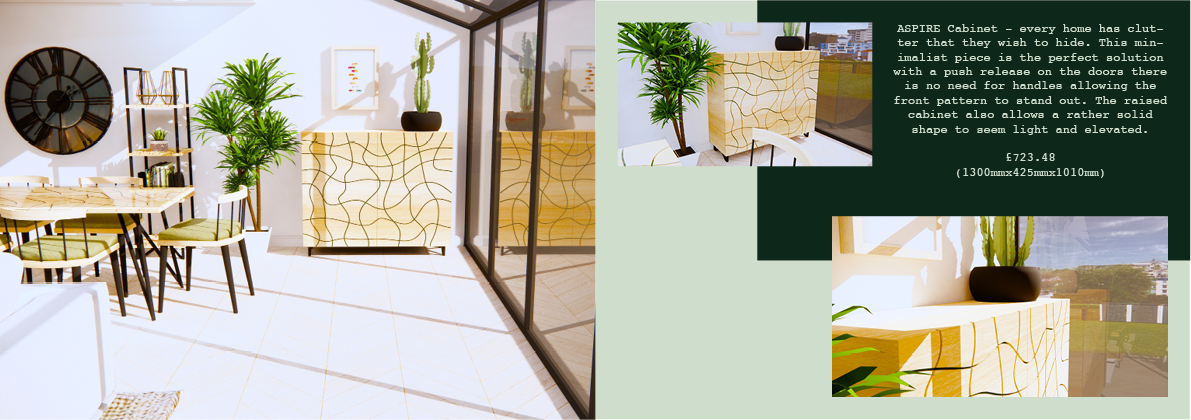
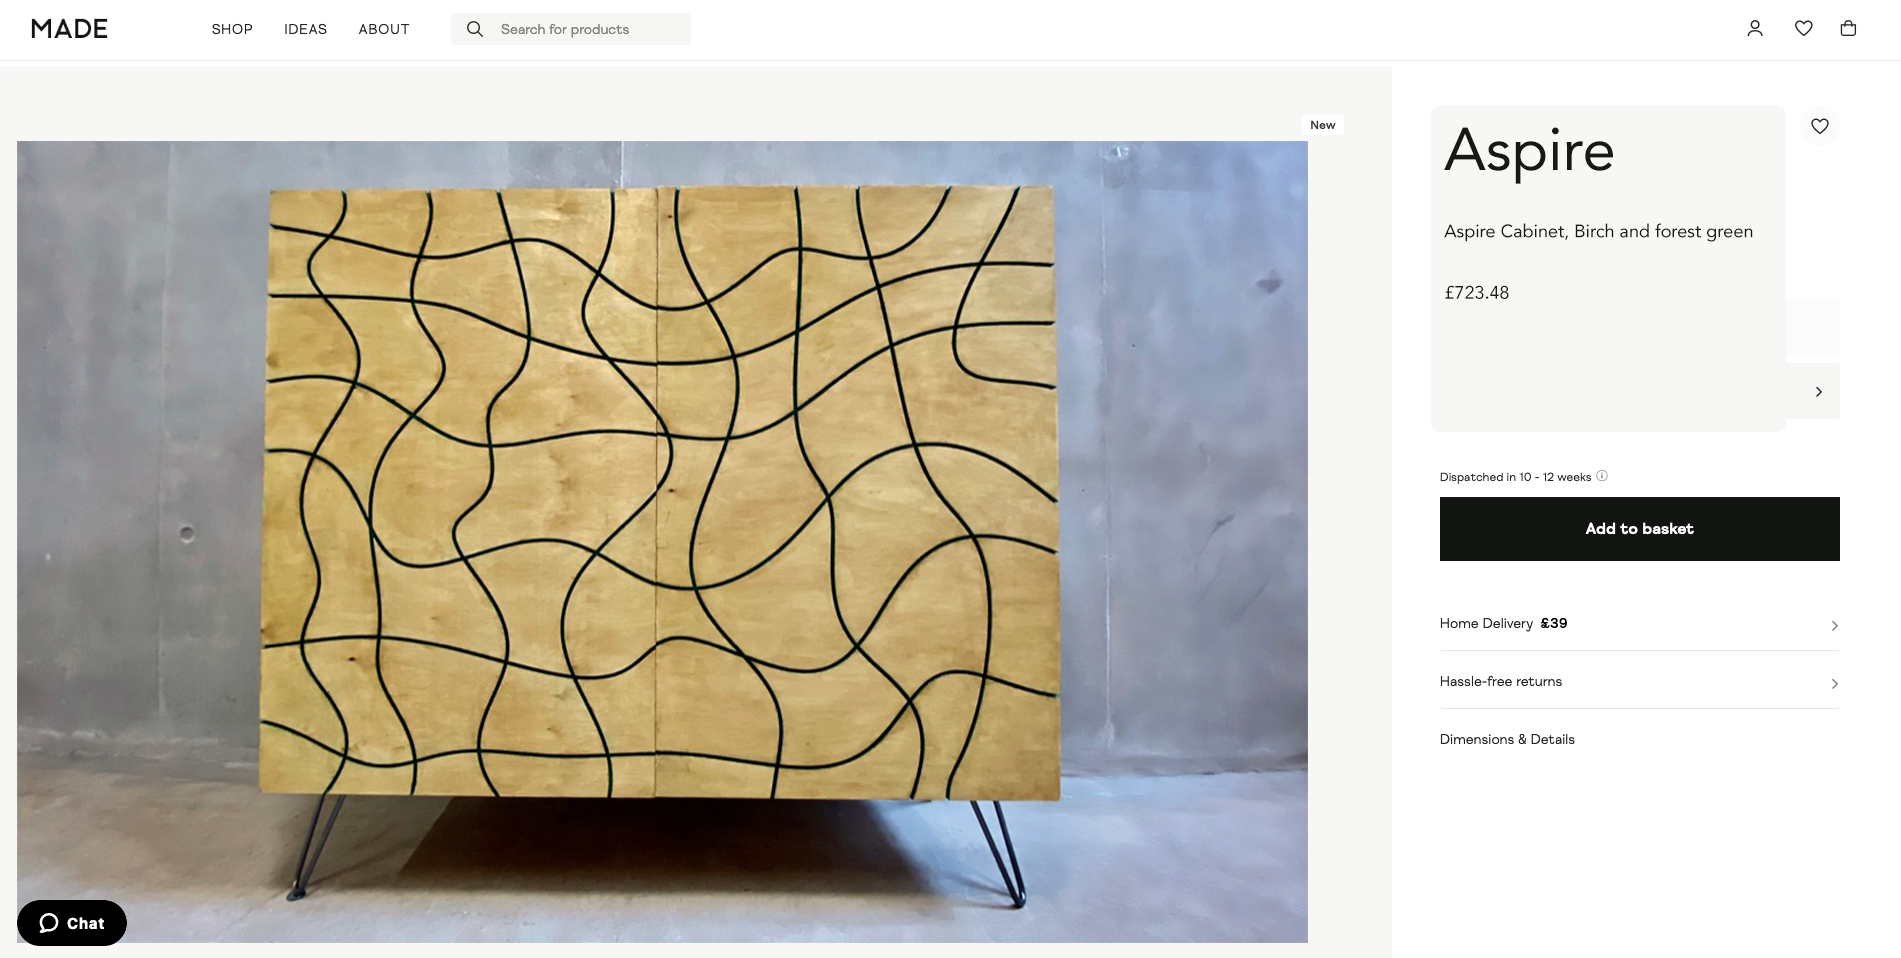
Cabinet - £723.48
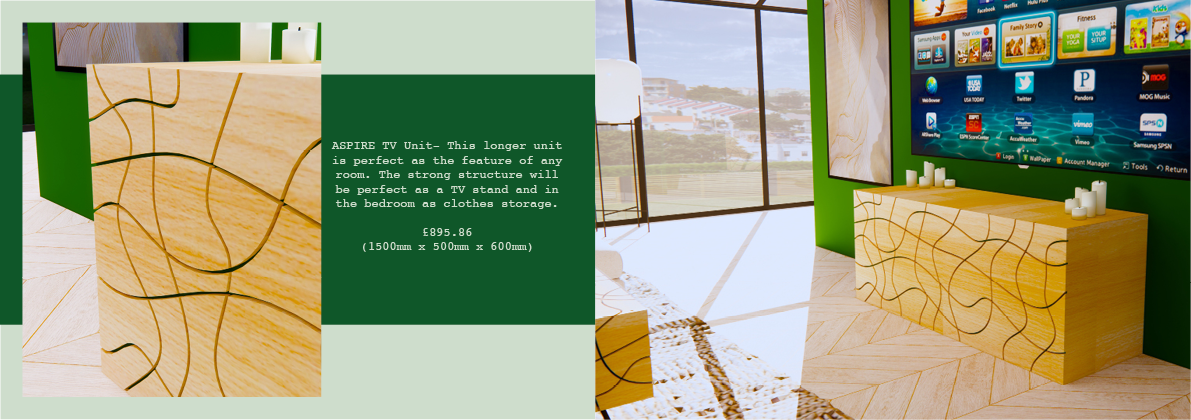
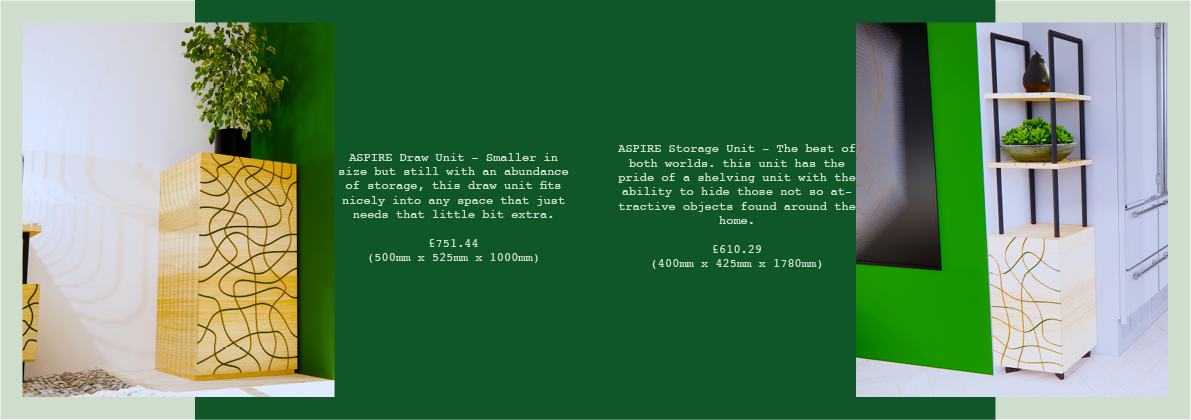
Long draw unit - £895.86
Storage shelf - £610.29
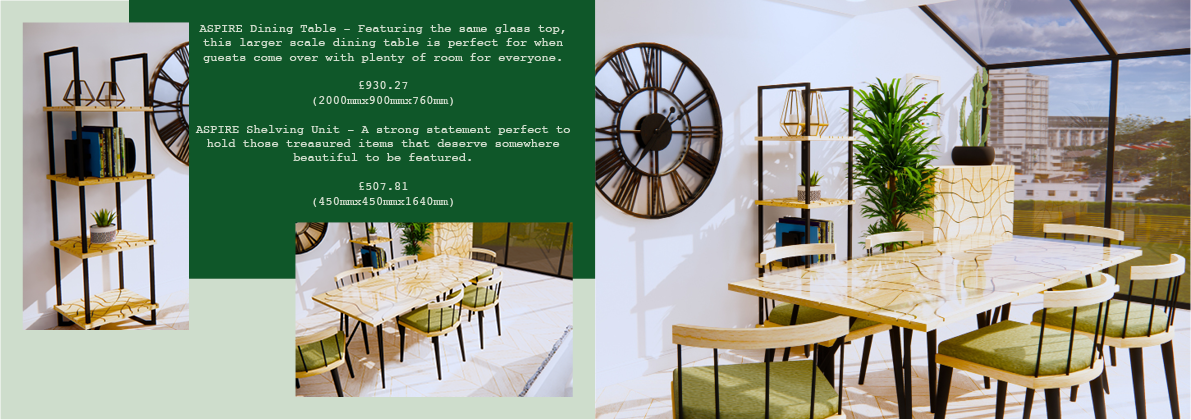
Shelving - £507.81
Dining table - £930.27
Breakfast table - £861.80
Bed frame - £766.26
Side table - £466.56
Standard draw unit - £751.44
Large draw unit - £757.35
Bedside table - £517.14
My final pricing strategy is finalised as:
Materials + labour (£10/hr x 25) = direct cost
Direct cost + 50% = retail cost
This seemed like the most realistic pricing strategy for a design graduate. As I develop and grow as a designer maker these prices may fluctuate depending on the market.
Craftscouncil.org.uk. n.d. Pricing your work. [online] Available at: <https://www.craftscouncil.org.uk/maker-support/craft-business-resources/pricing-your-work> [Accessed 1 April 2021].
BOOK/CATALOGUE
The next thing for me to produce was my artist book. For my artist book I wanted to produce a catalogue that explains the reasoning behind the collection as well as showing the pricing and product descriptions. I did something similar last year for my ‘VENTURE’ collection. For that catalogue I produced the images using Adobe Dimensions, however, I left that the images had an almost cartoonish finish that gave the collated result a washed-out effect. I now have a stronger digital skillset and so wanted to show case this more. I discarded the Dimensions software and went in a different direction.
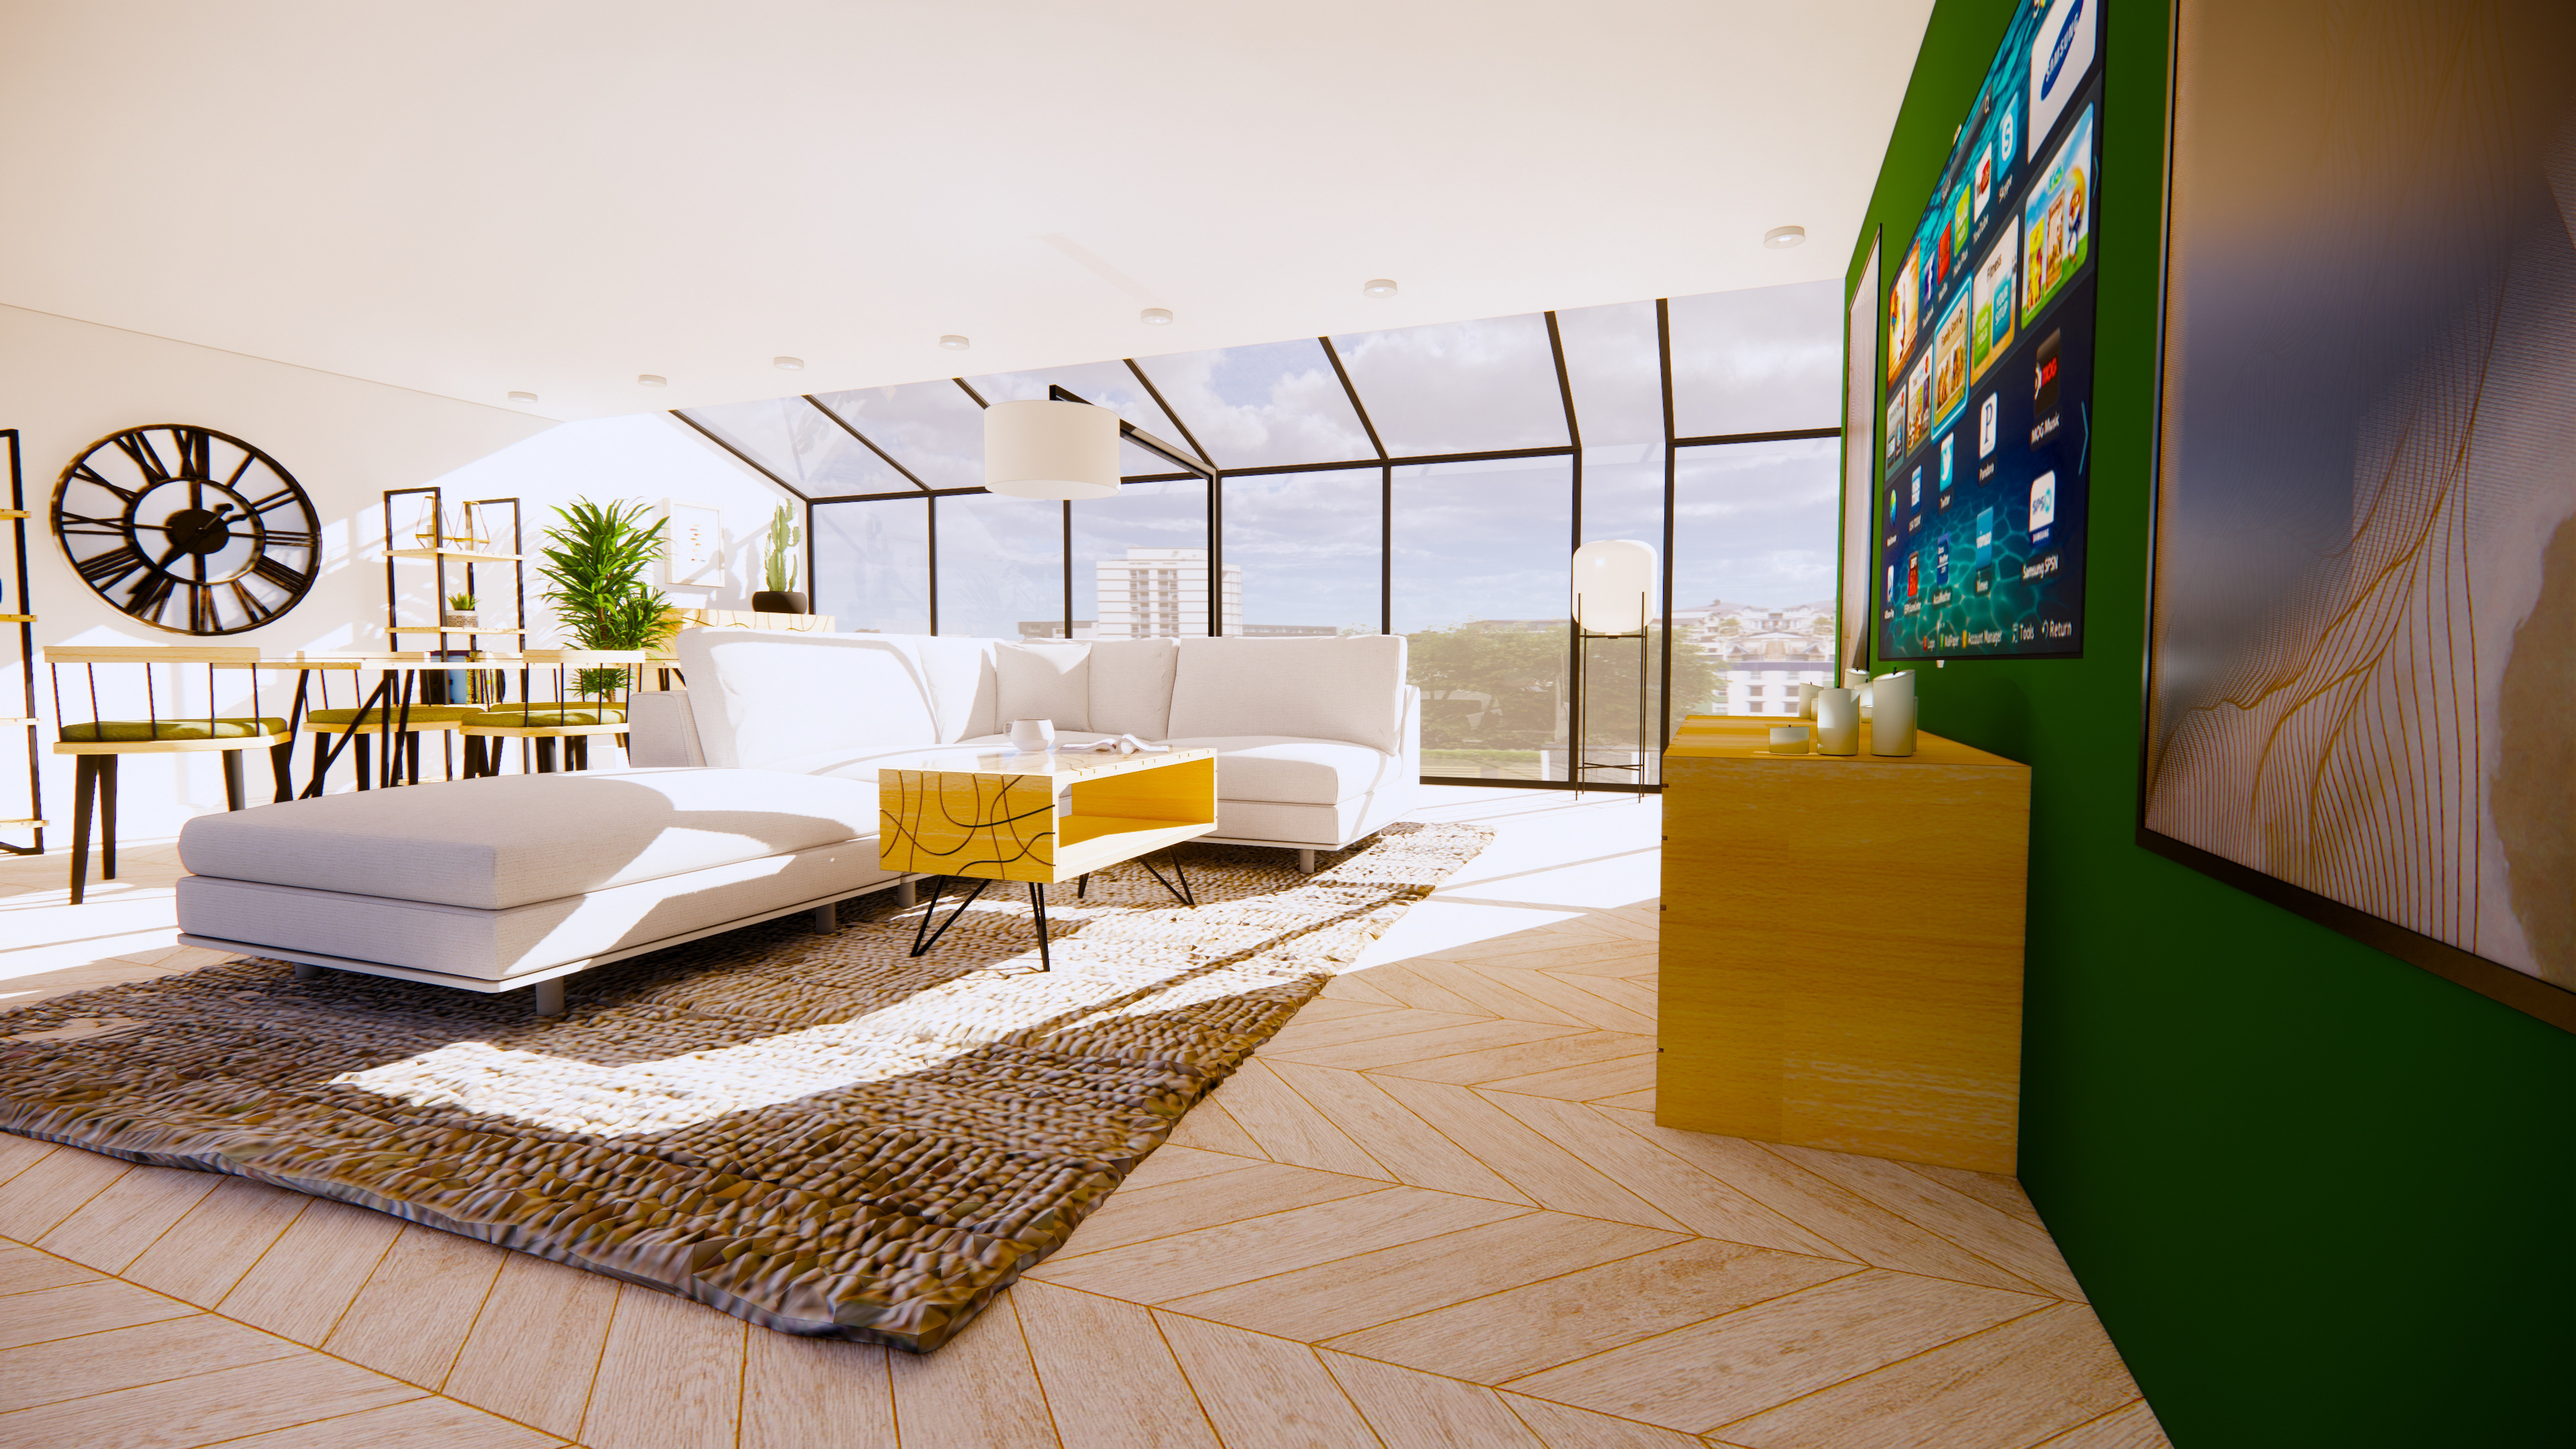
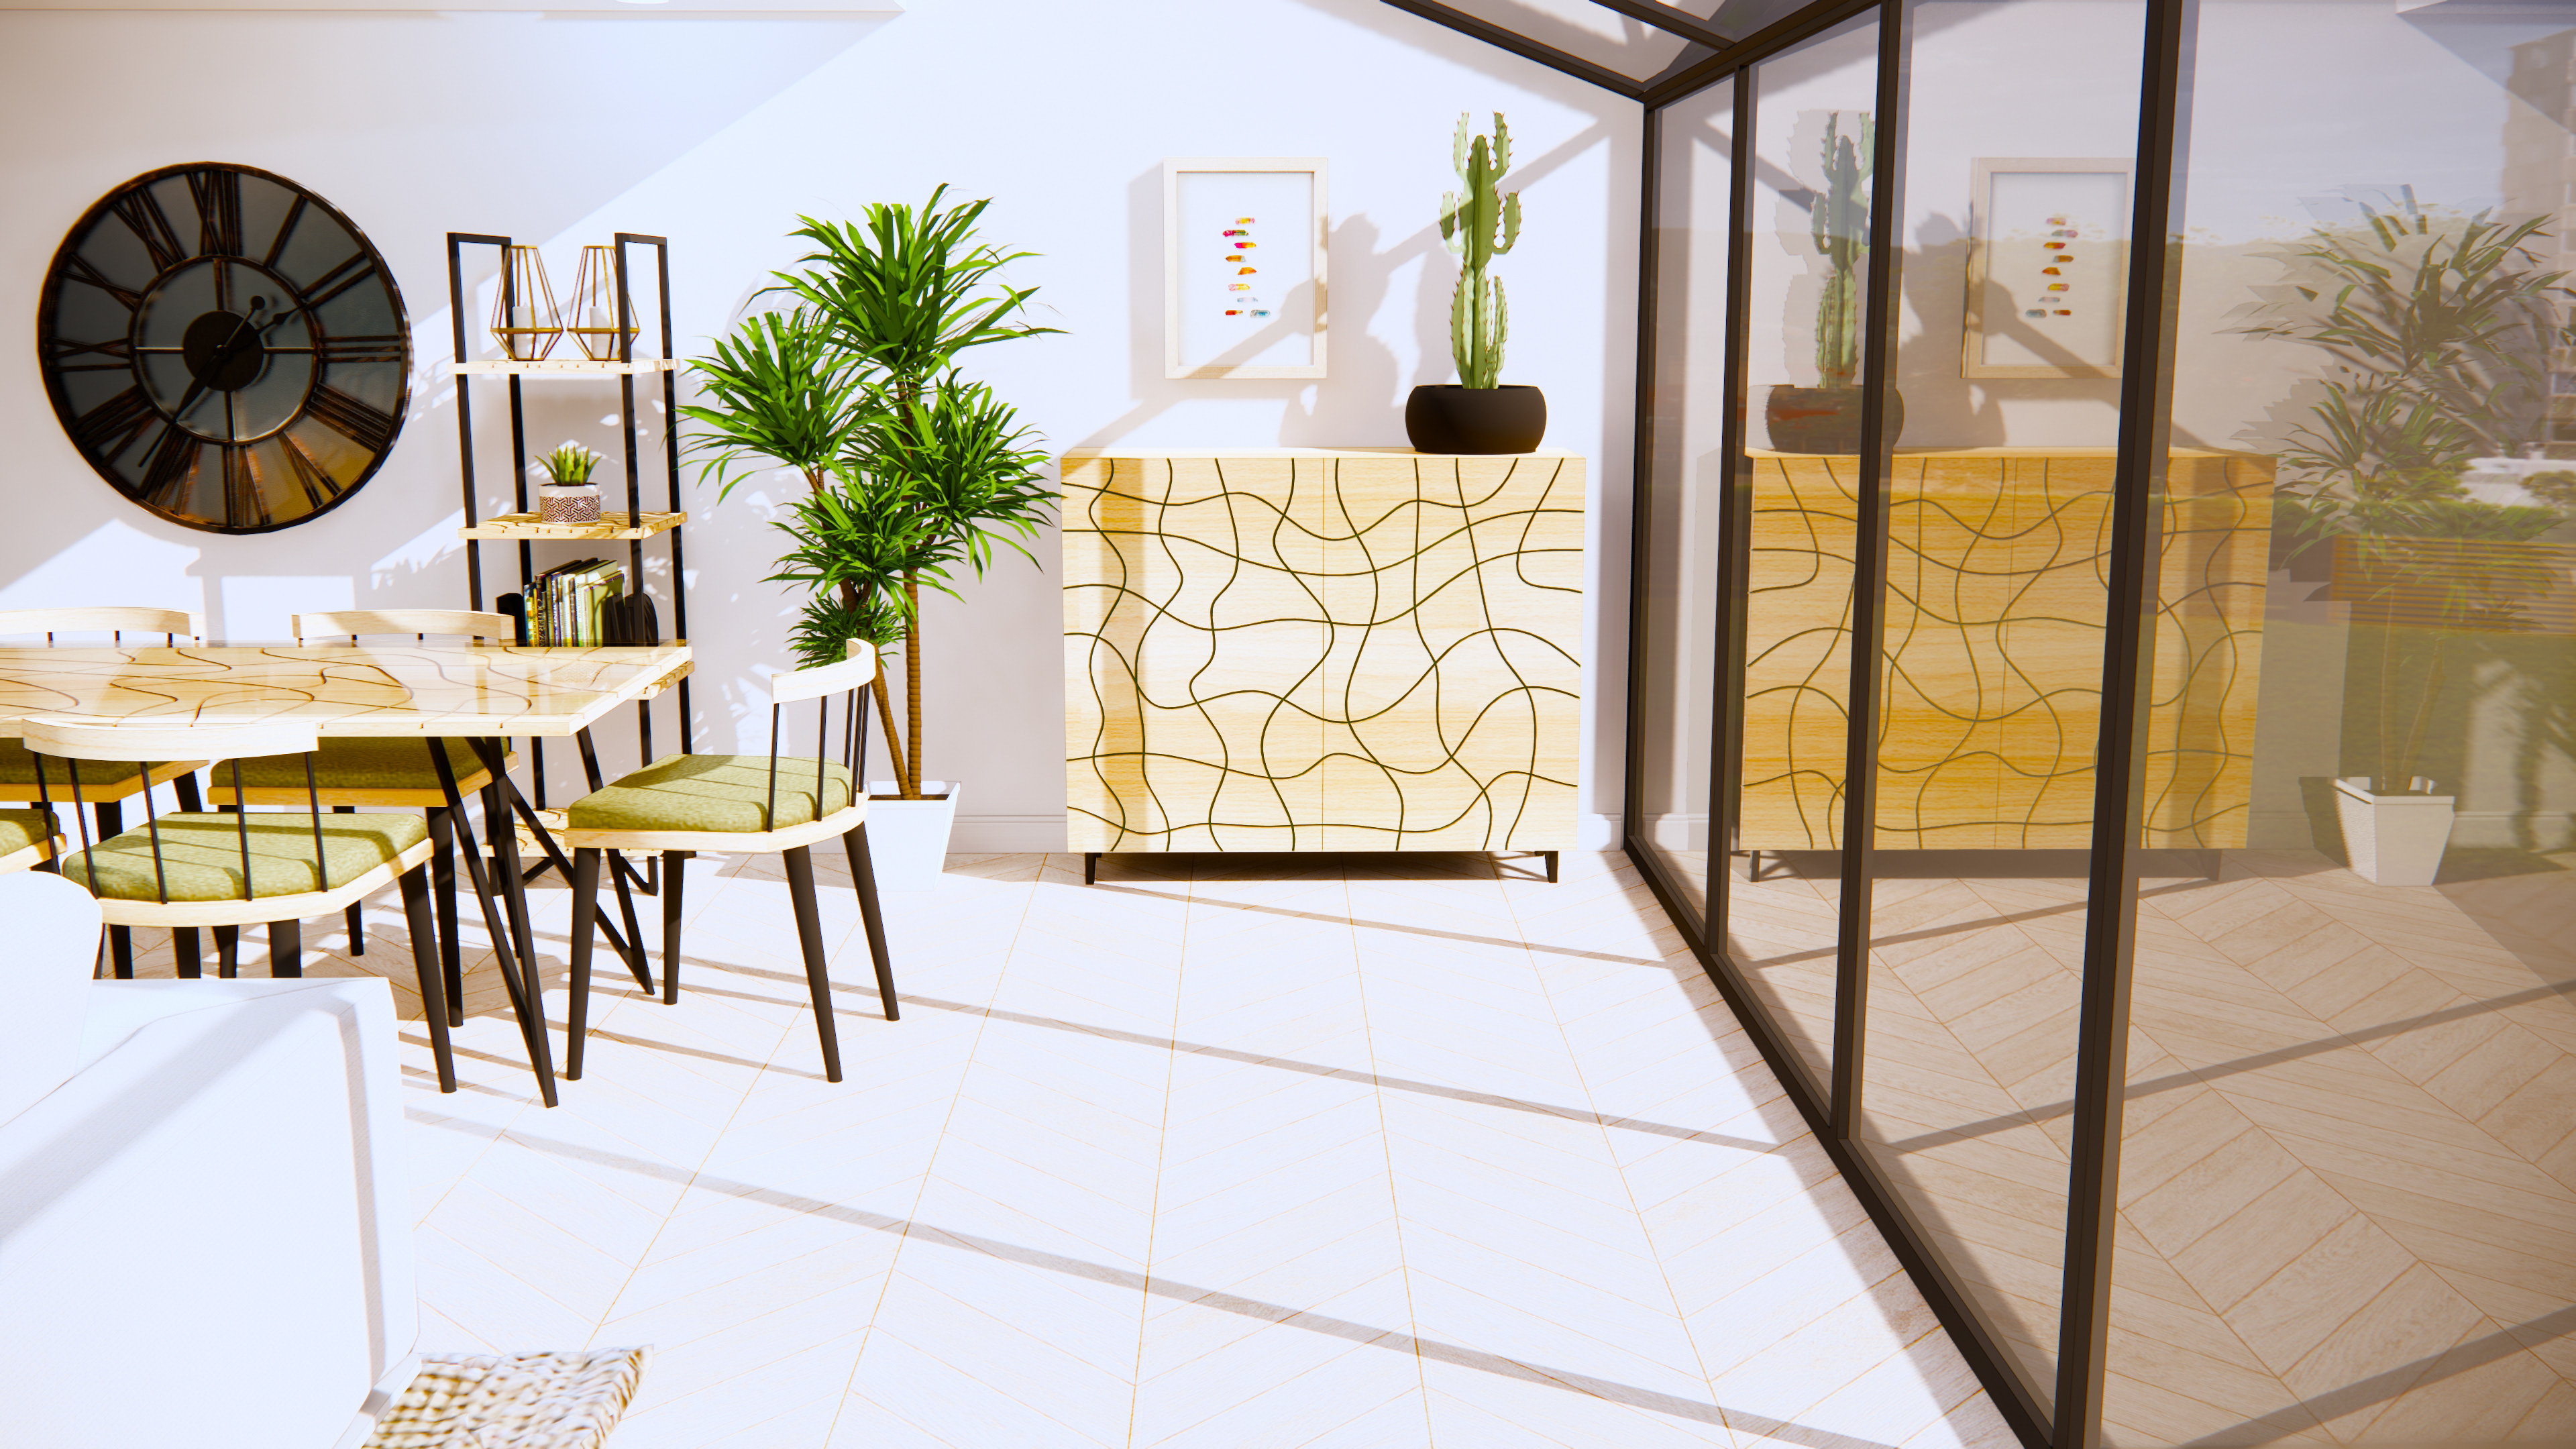
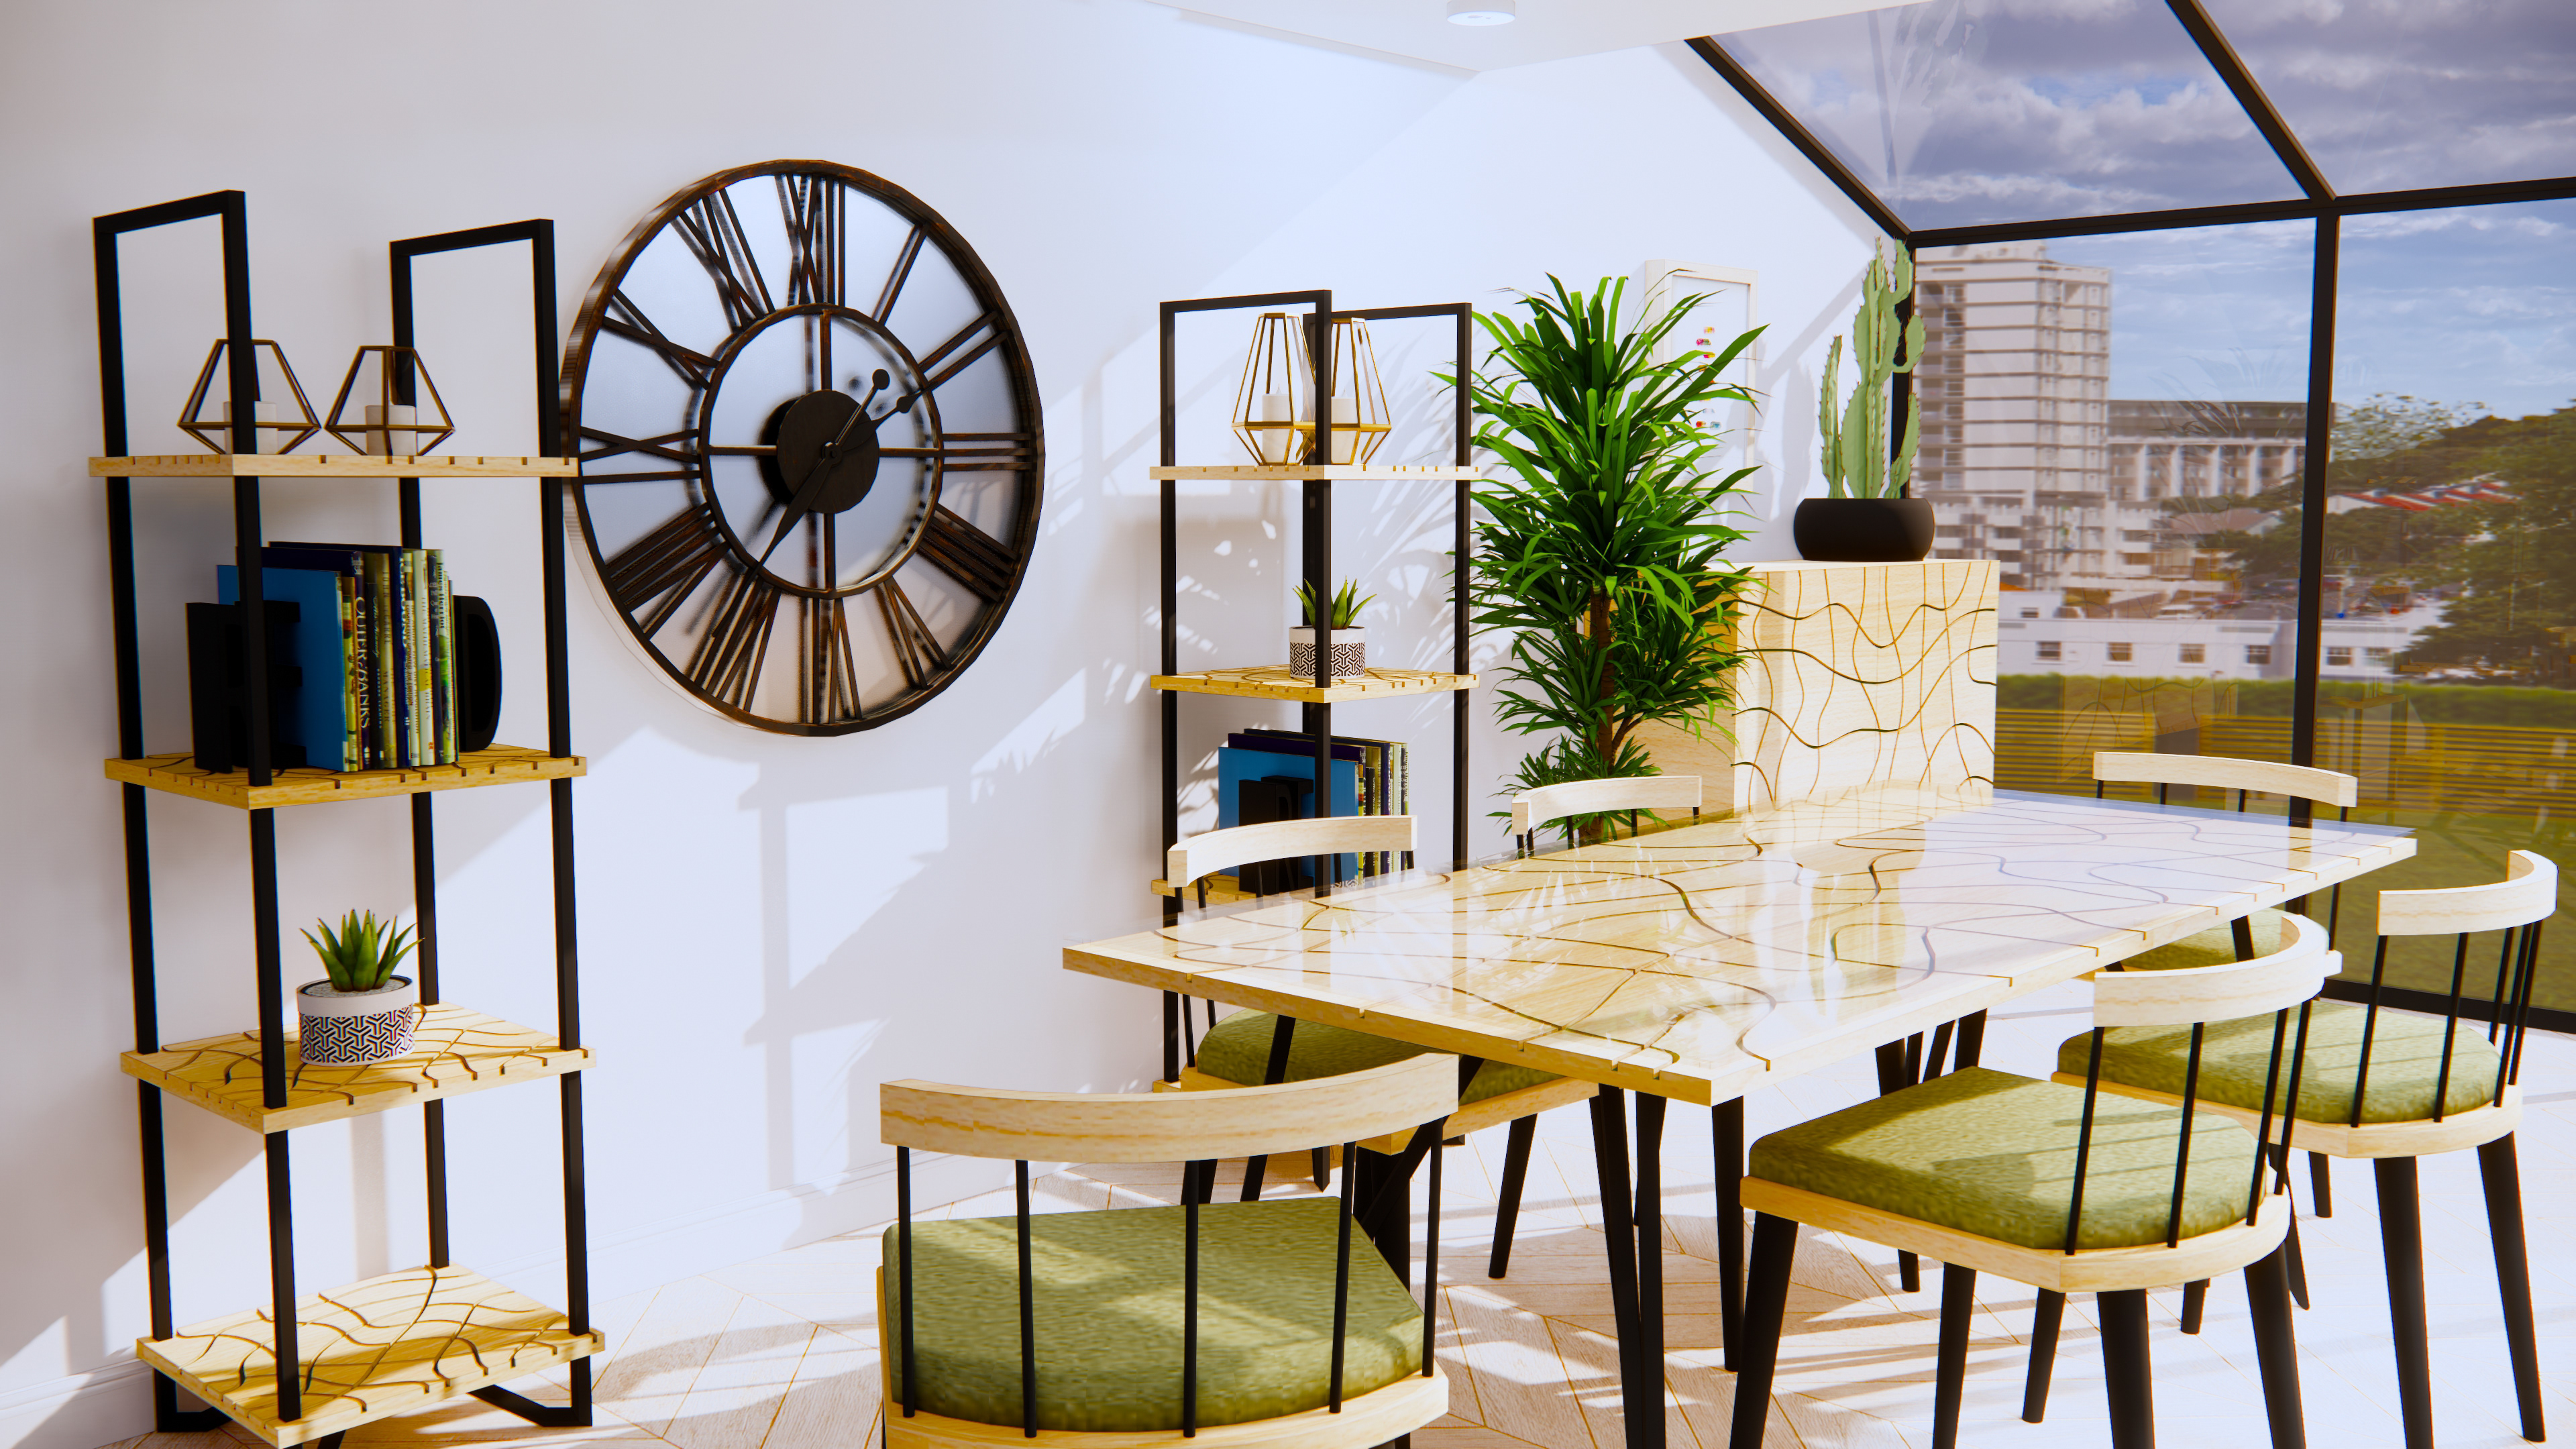
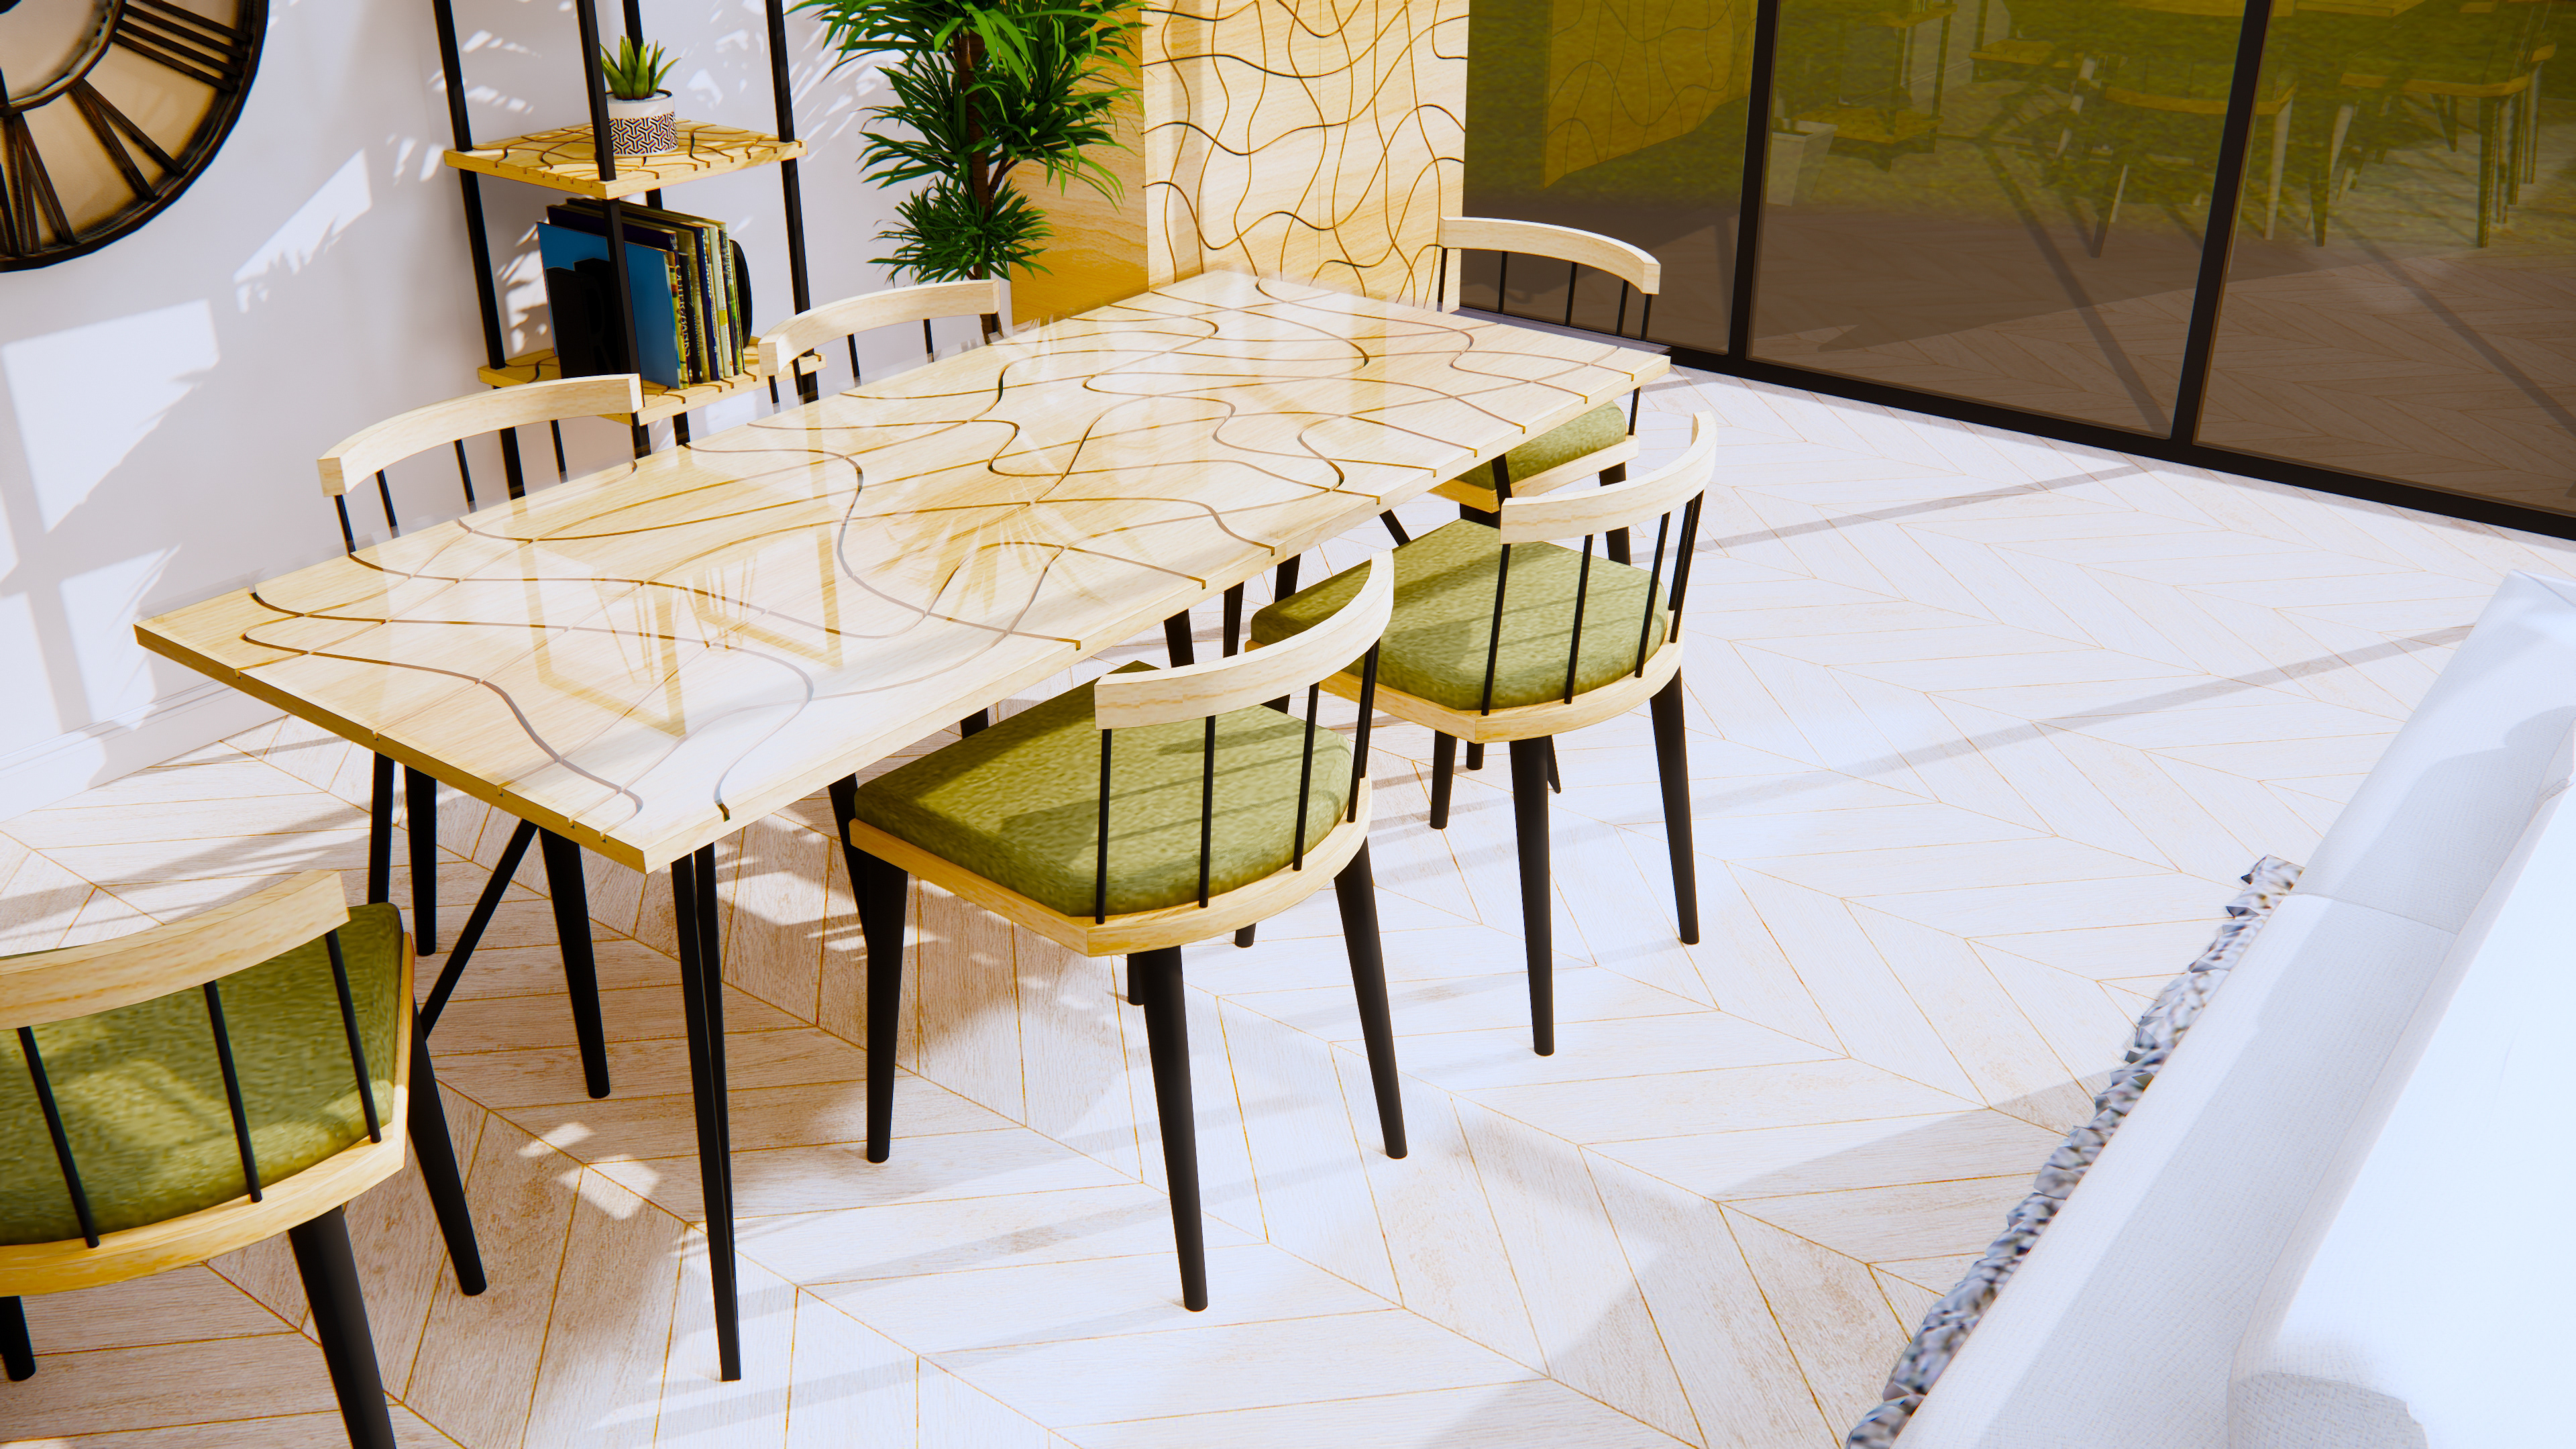
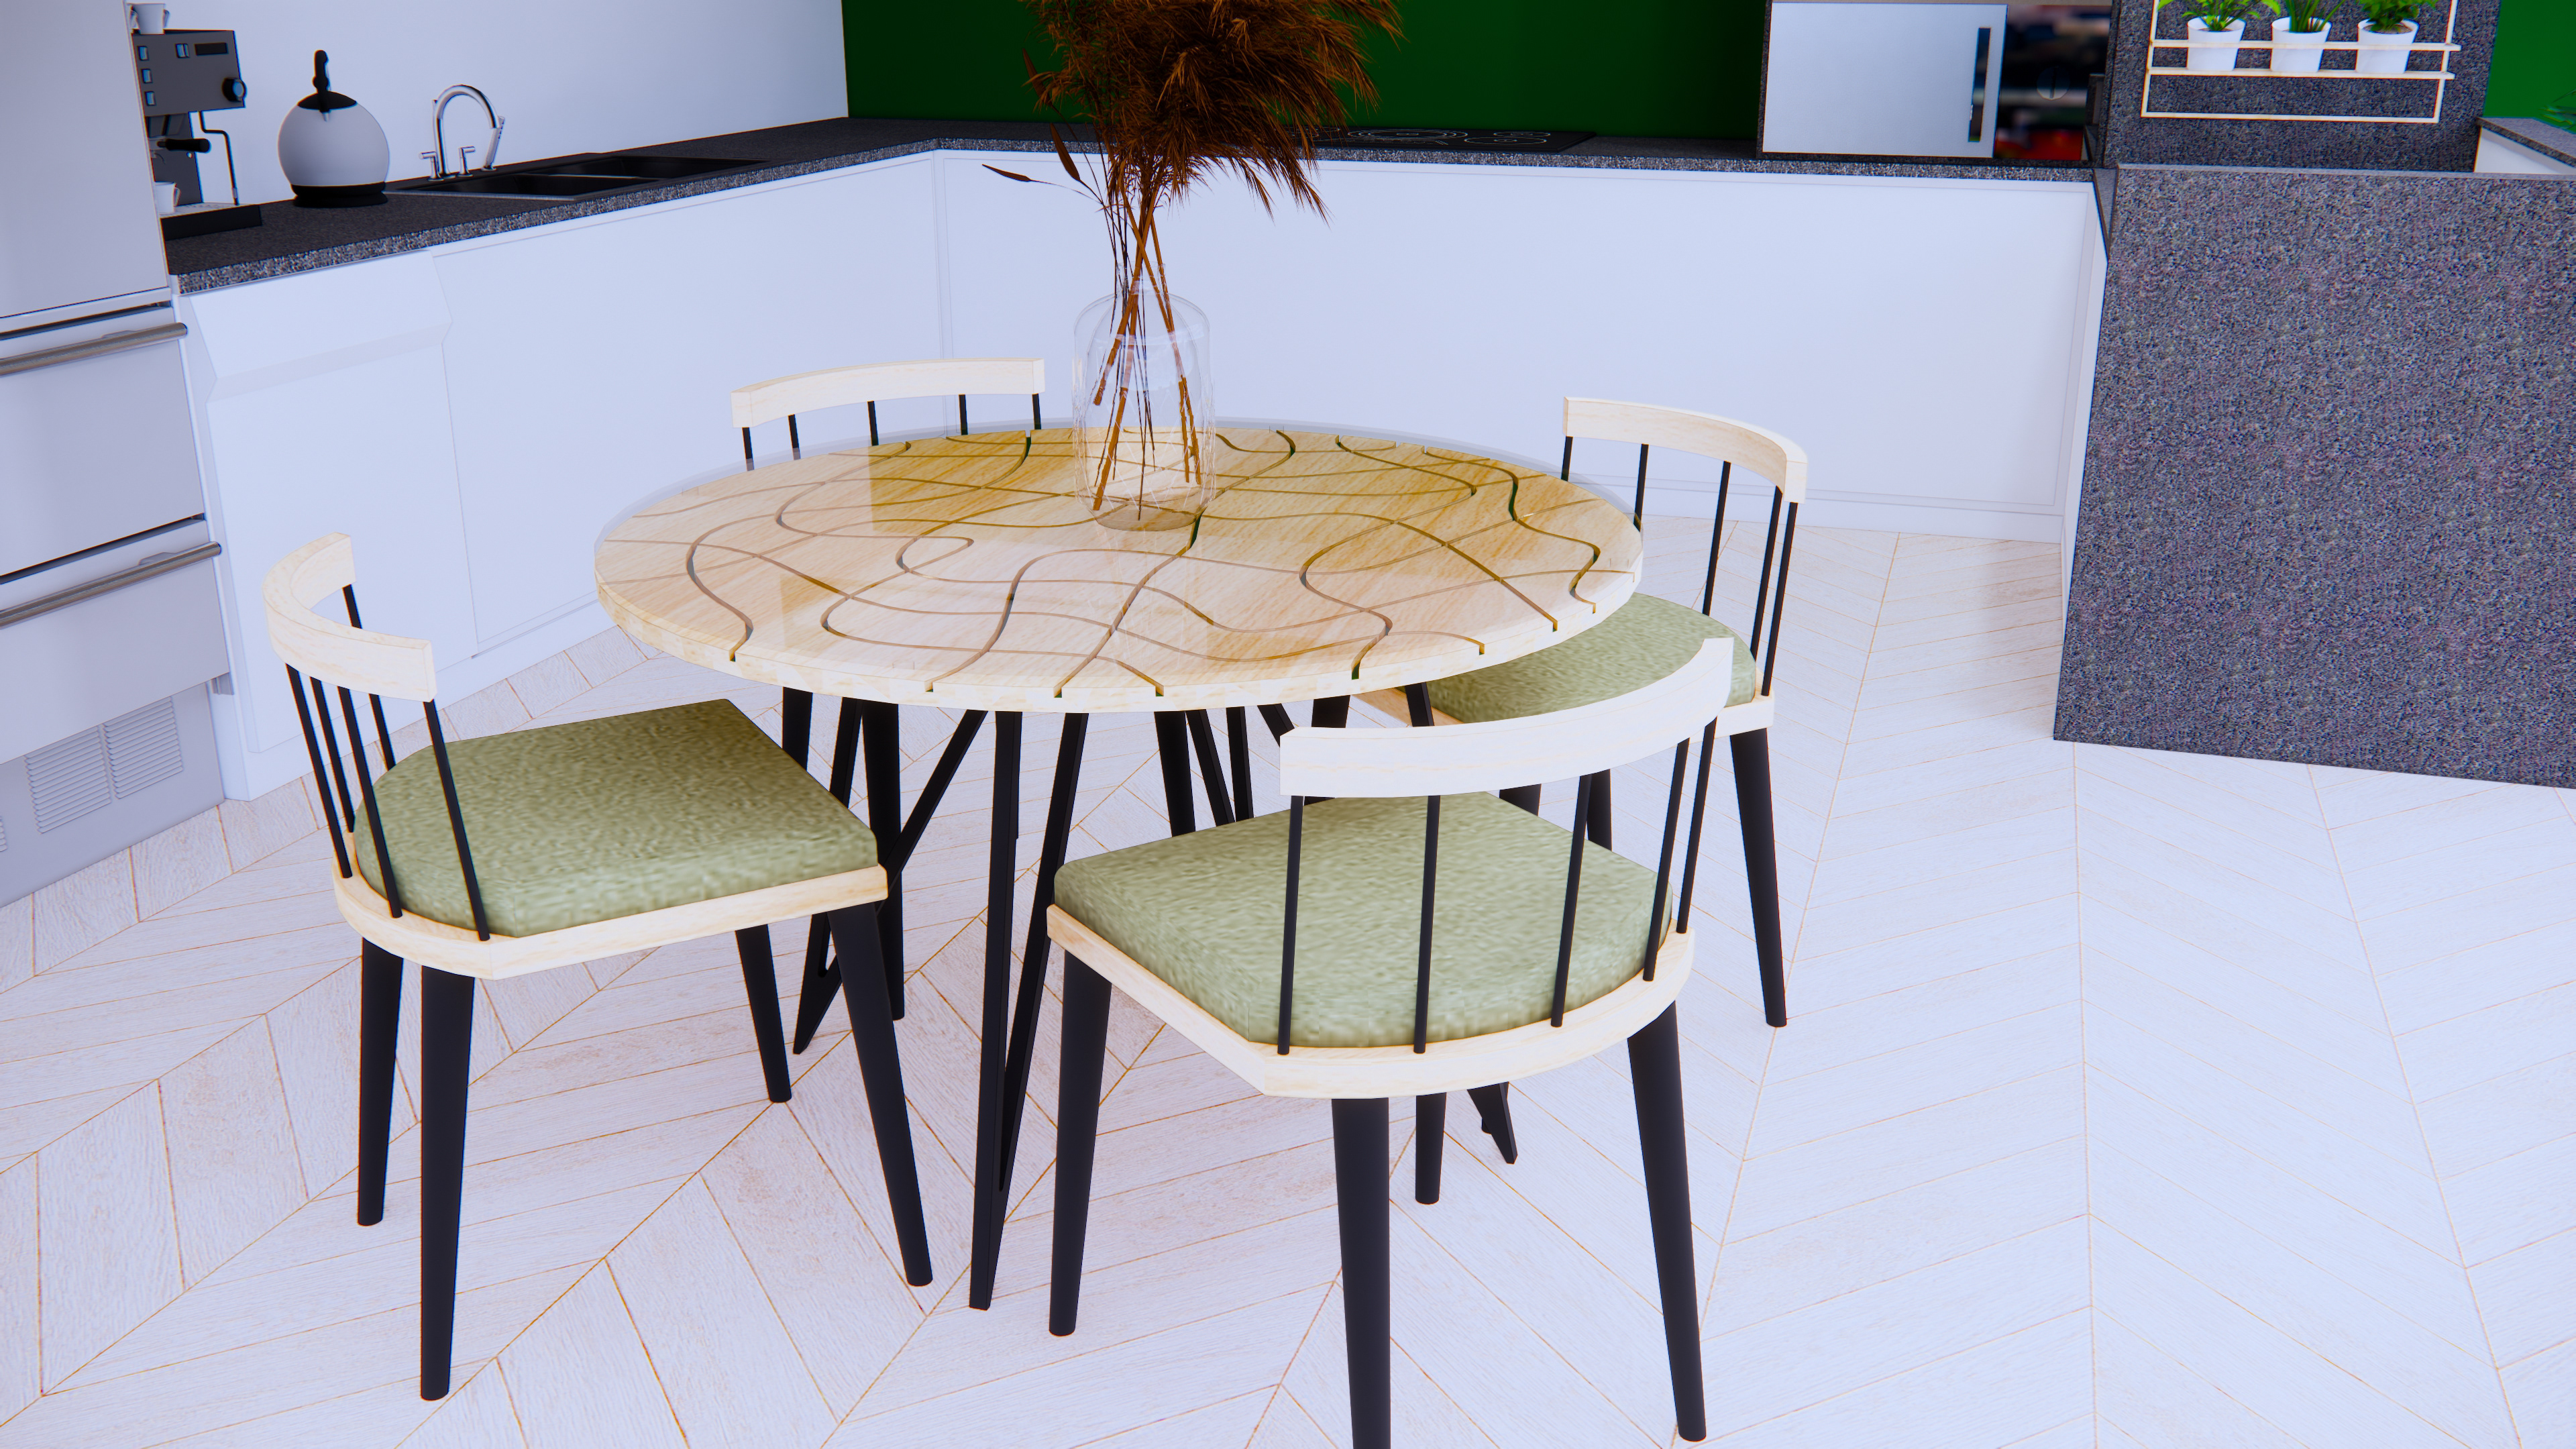
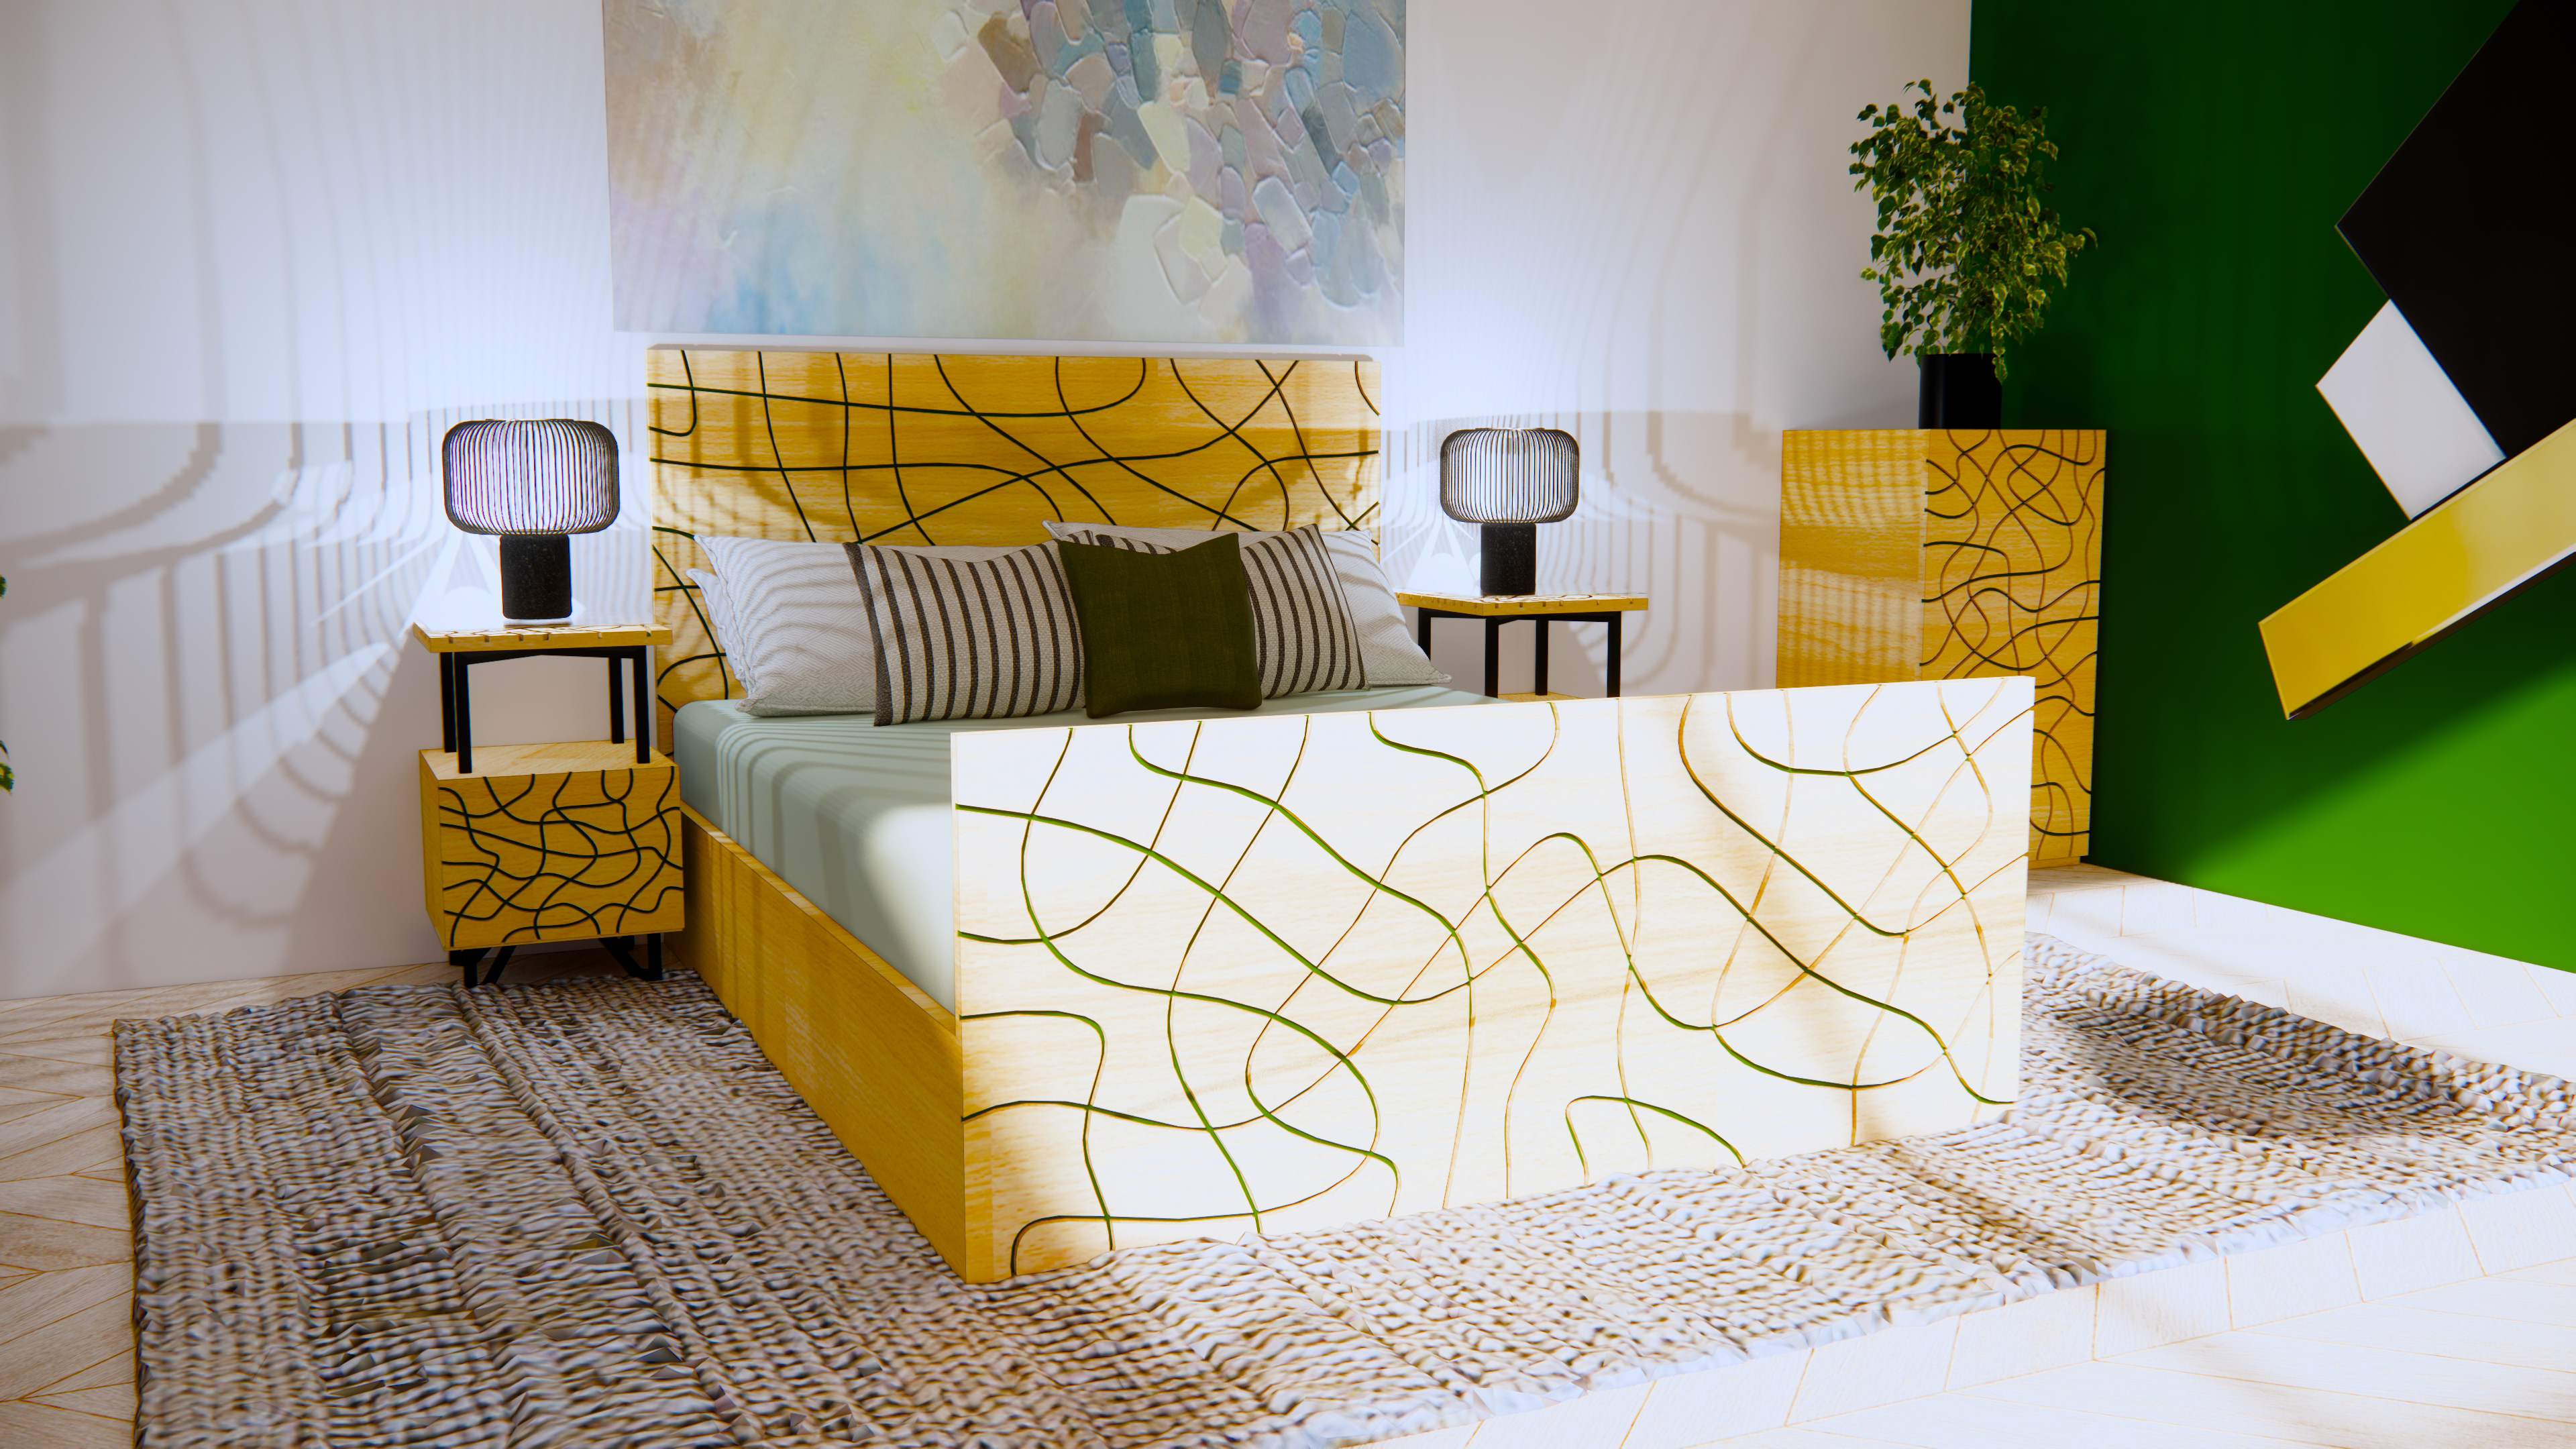
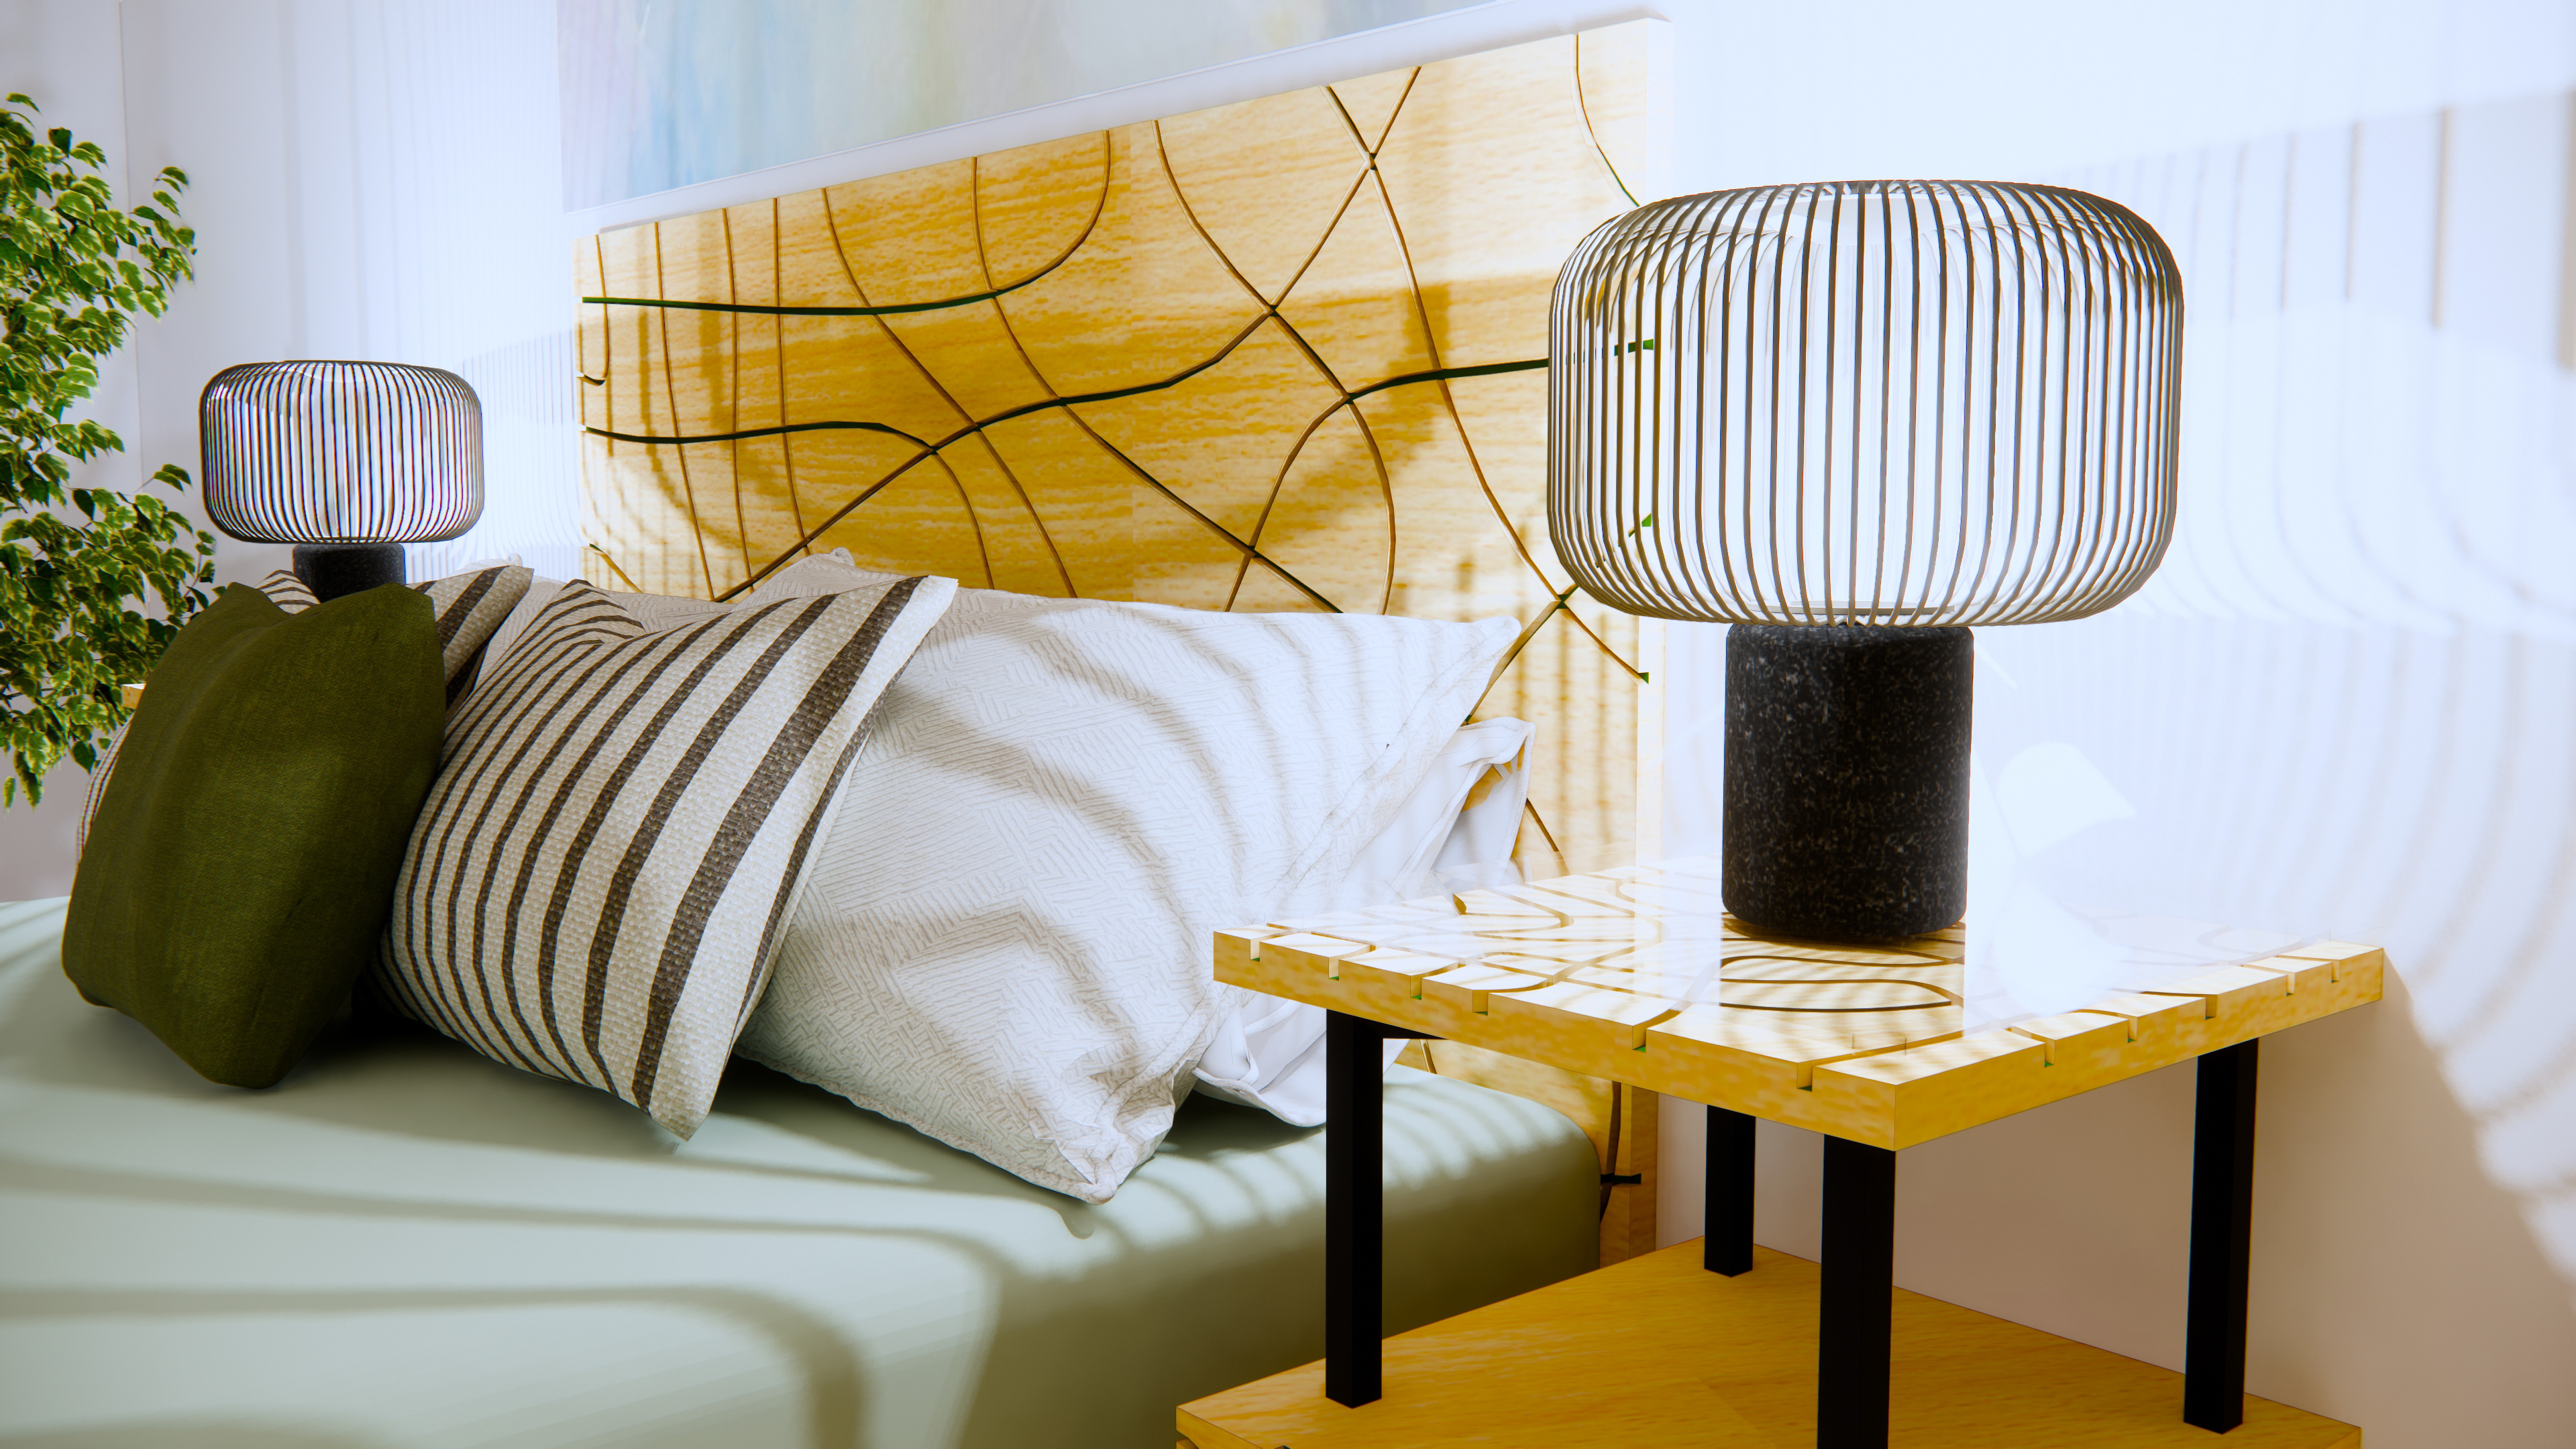
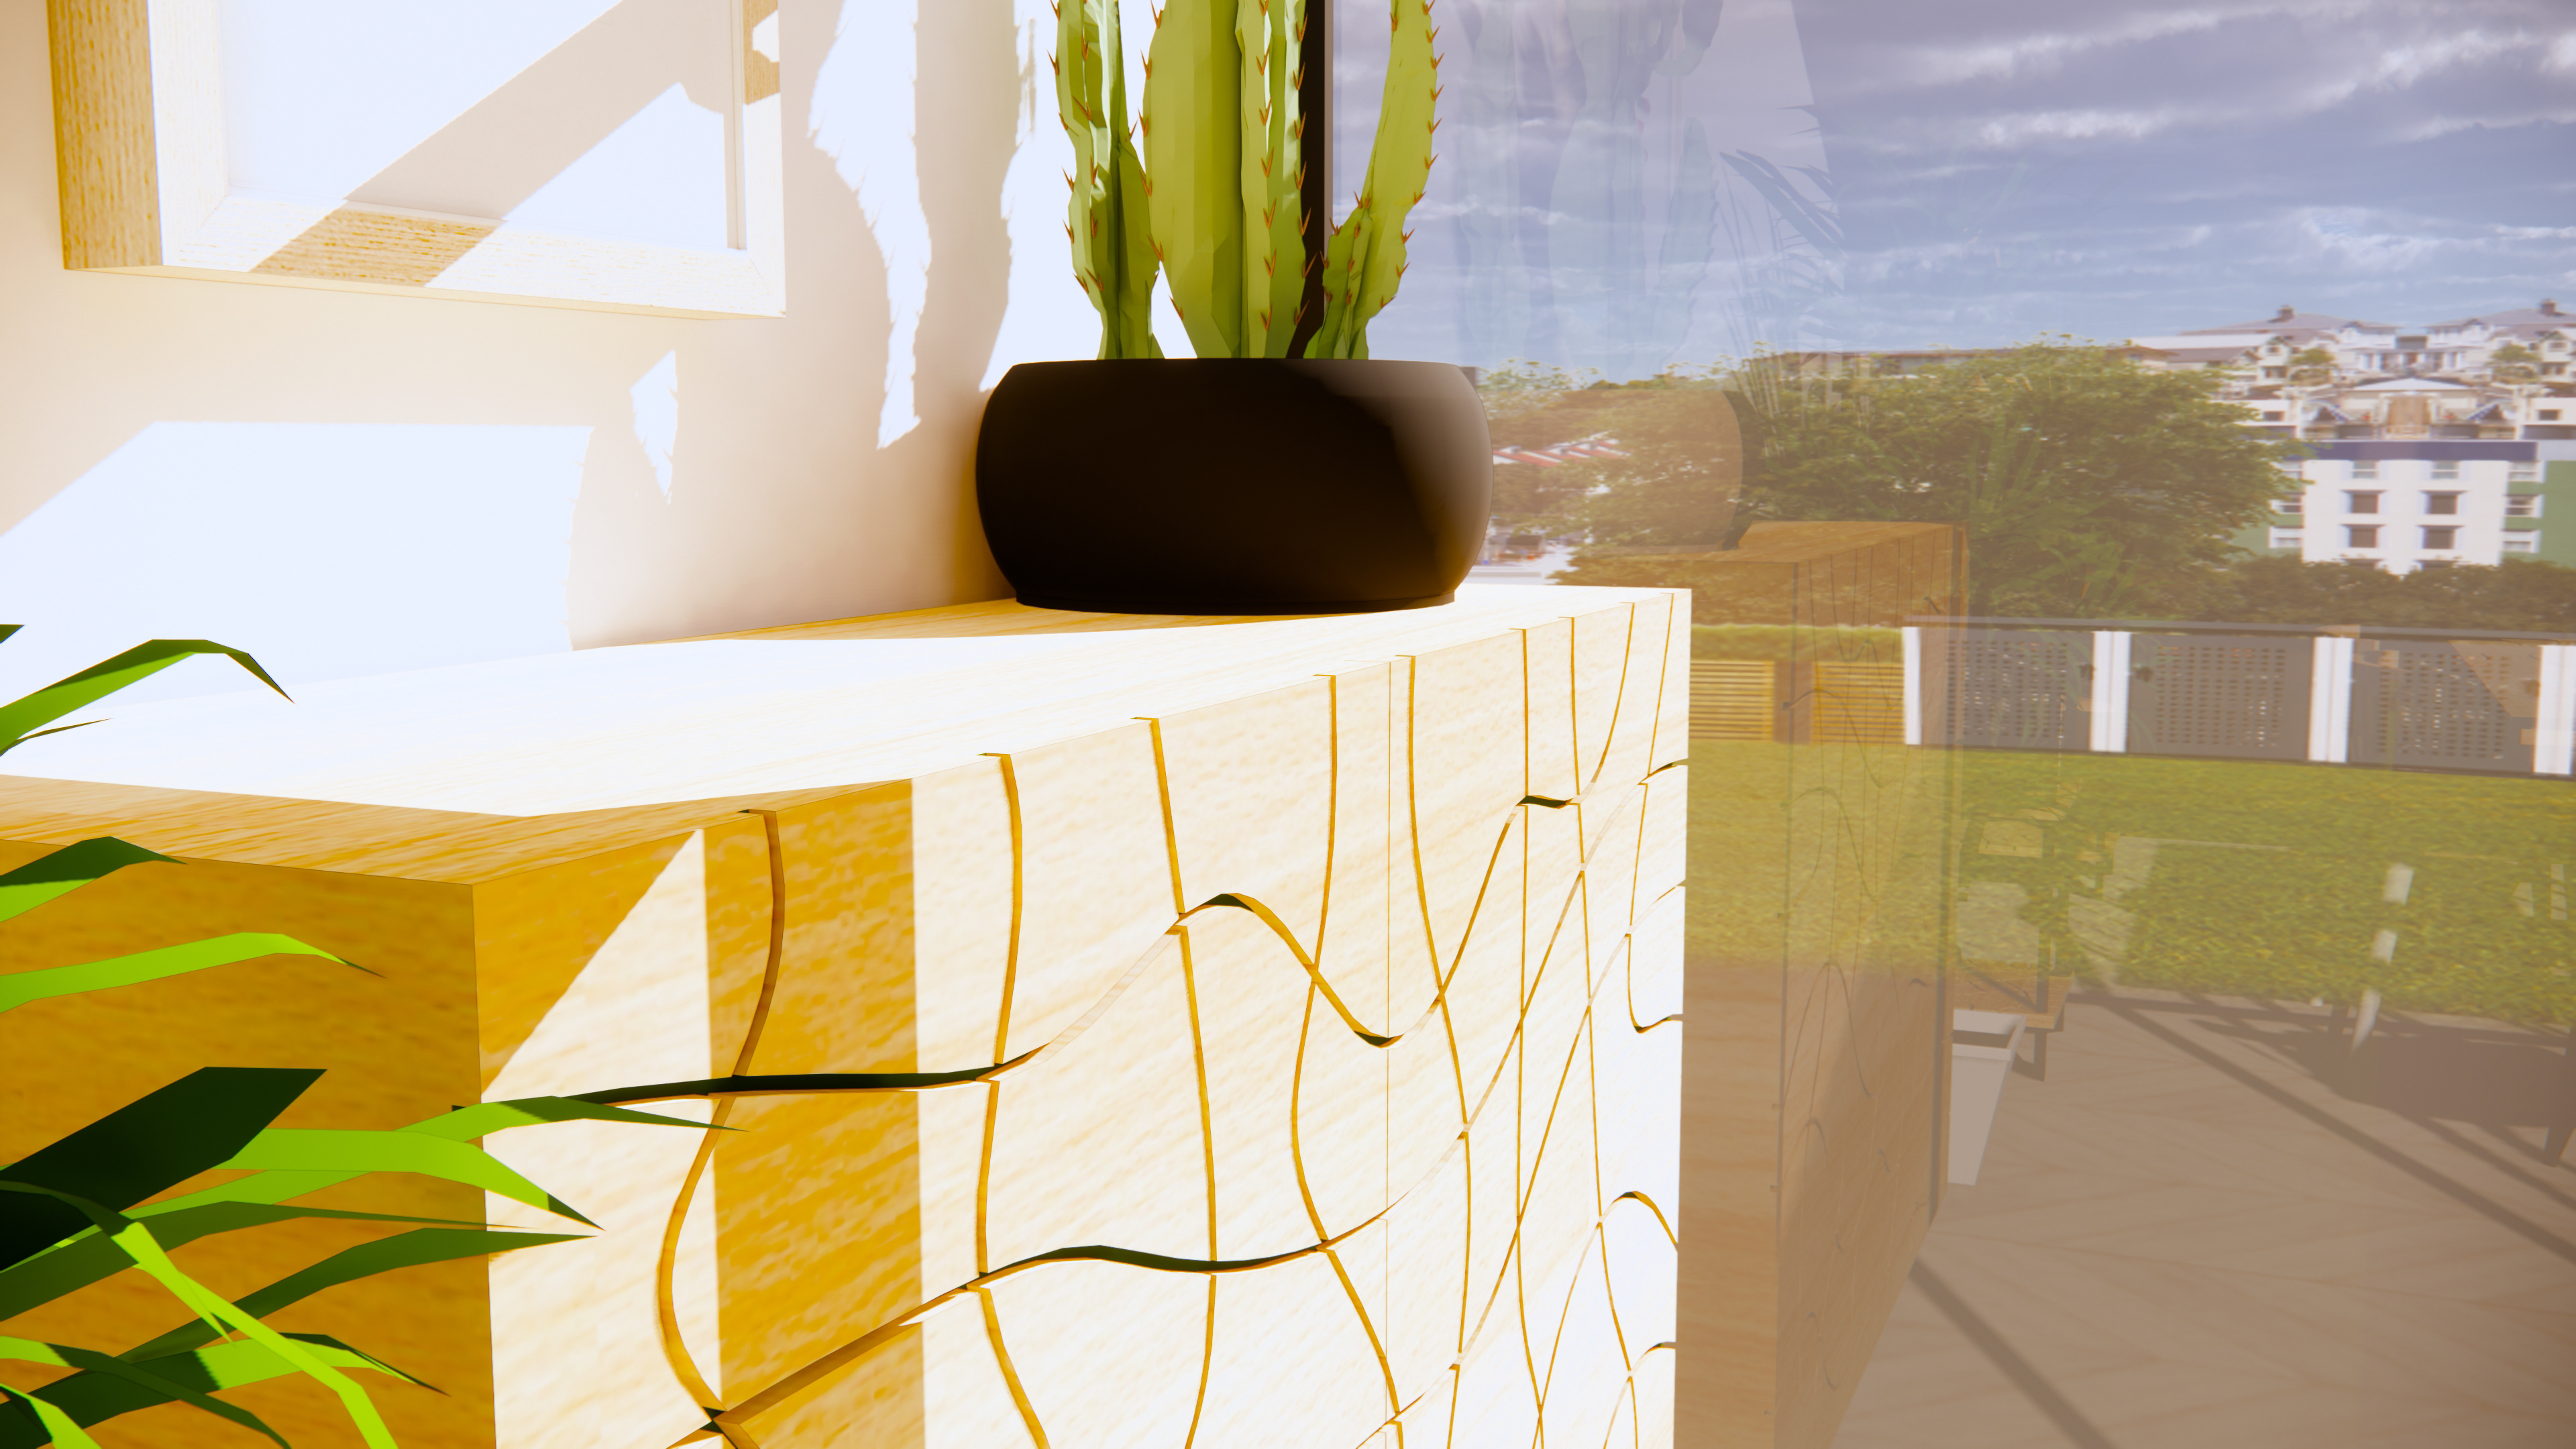
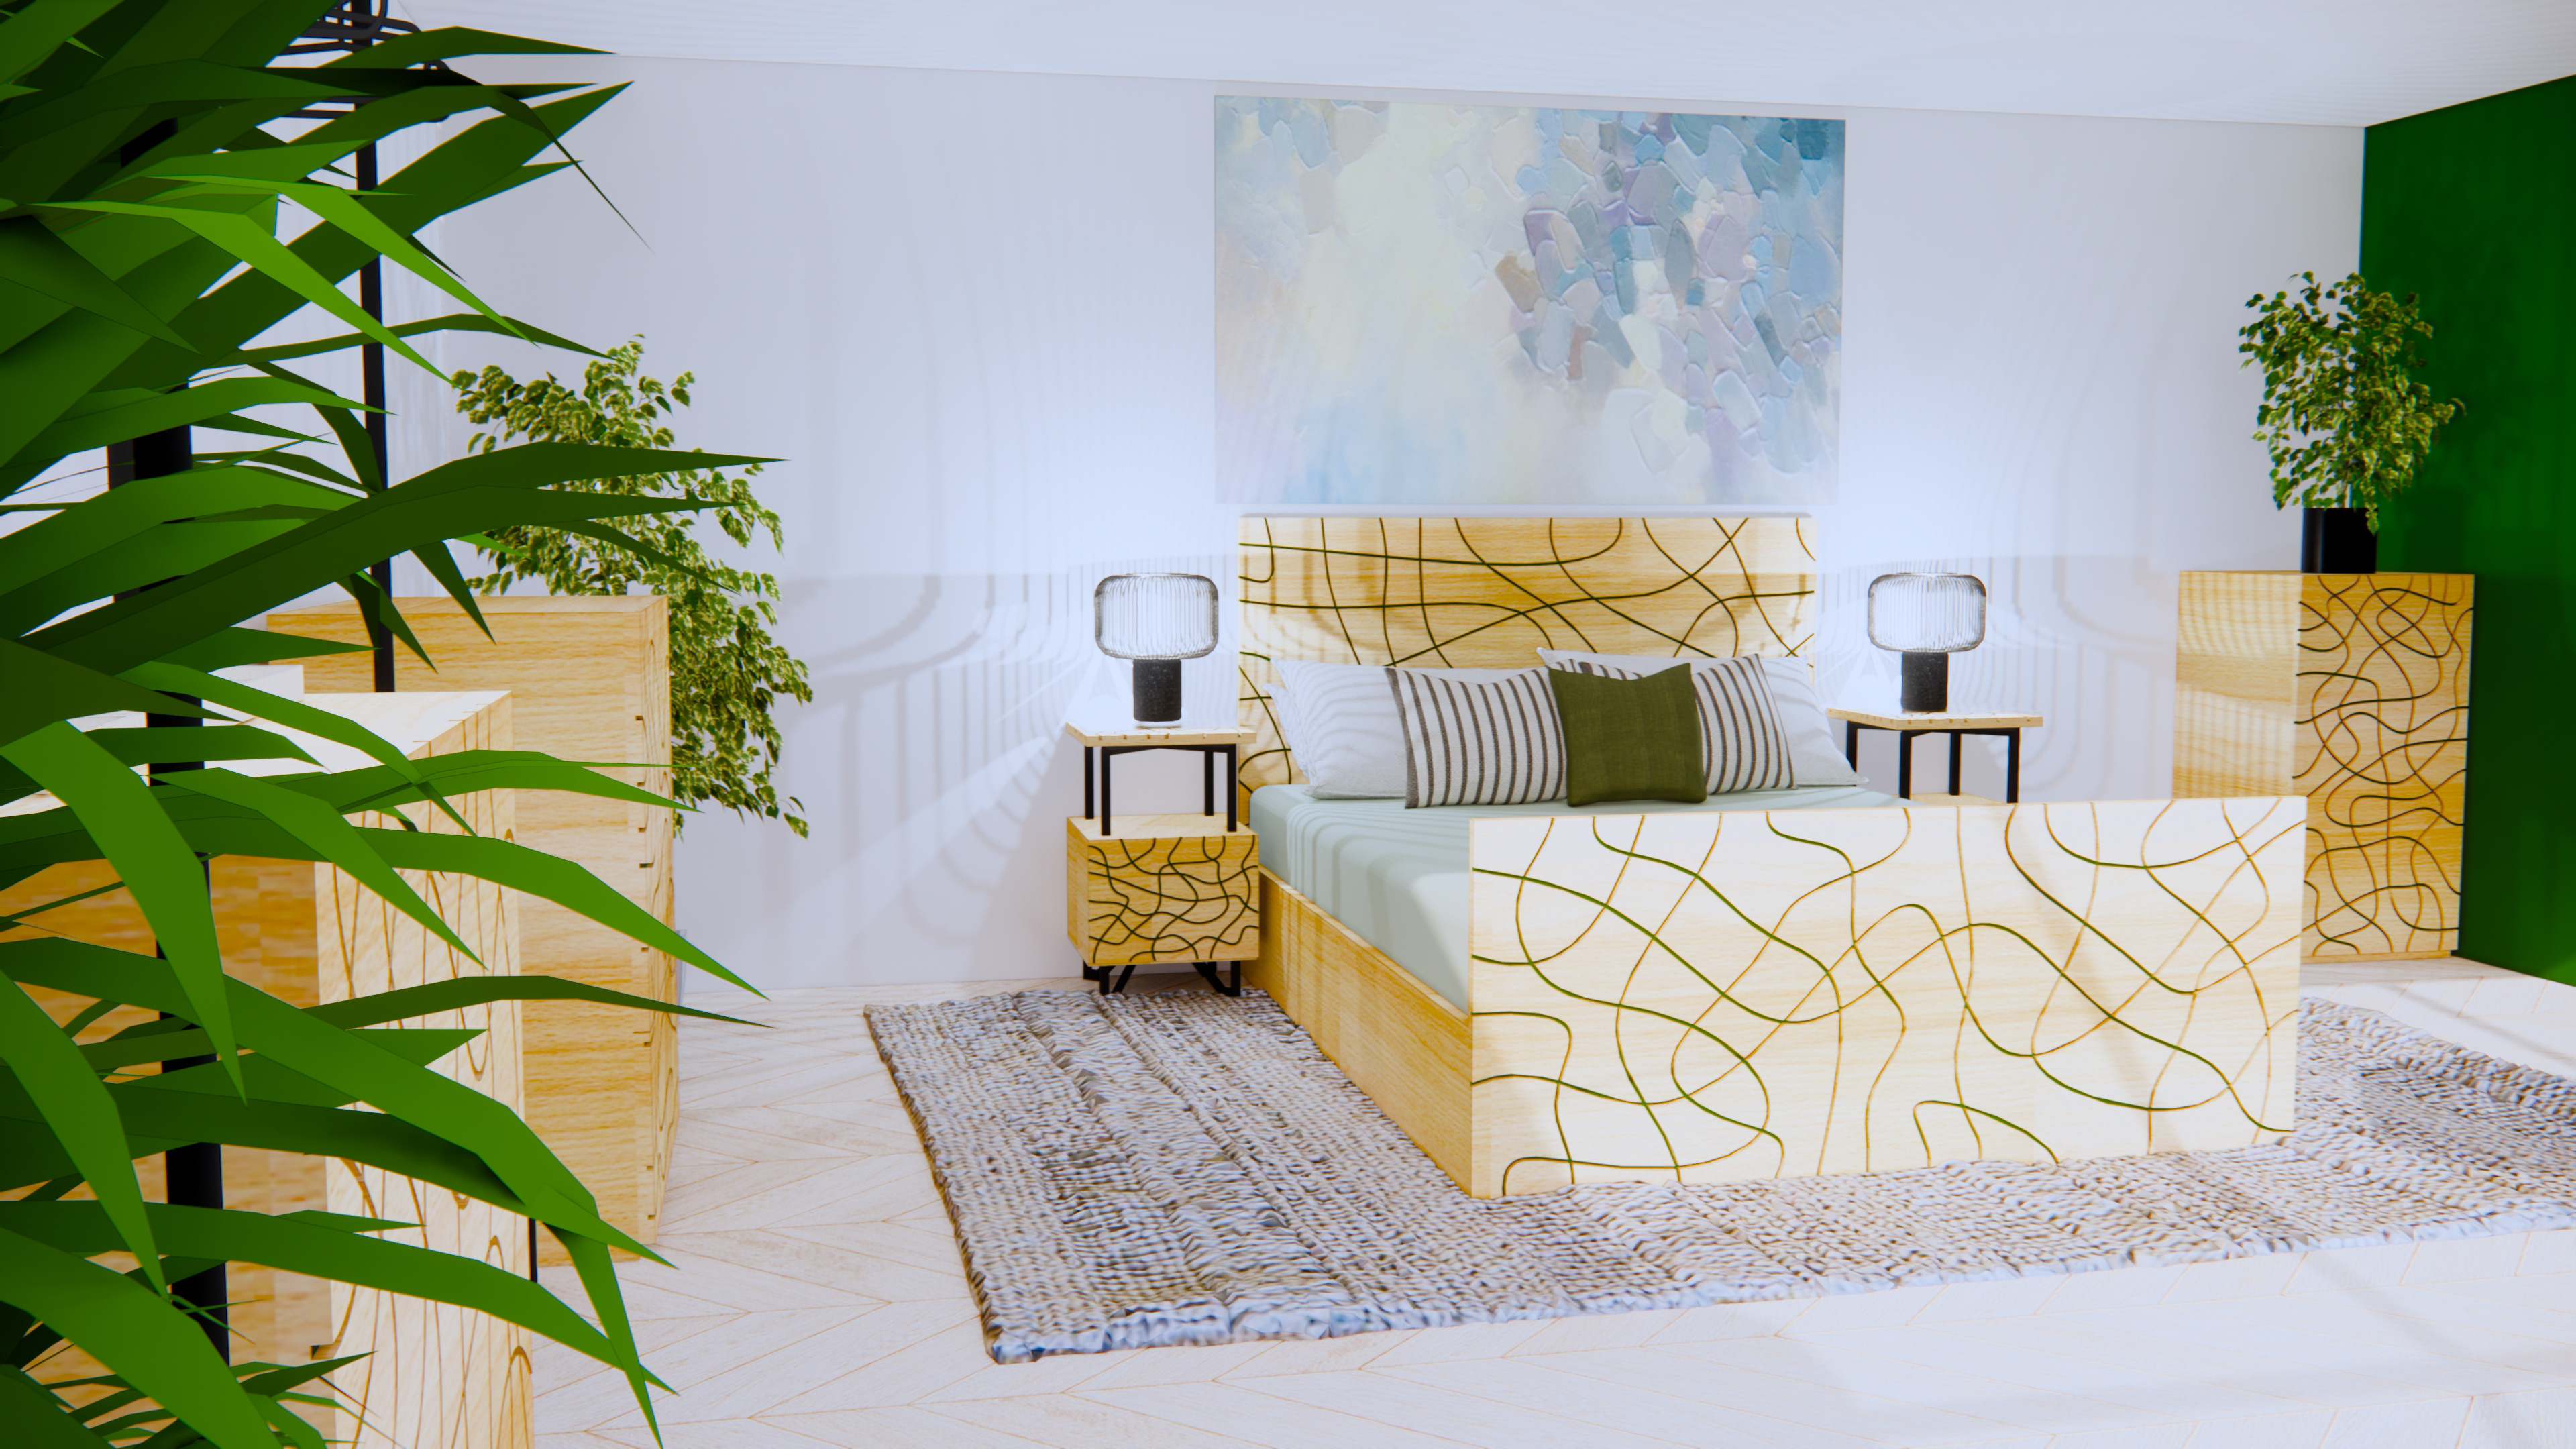
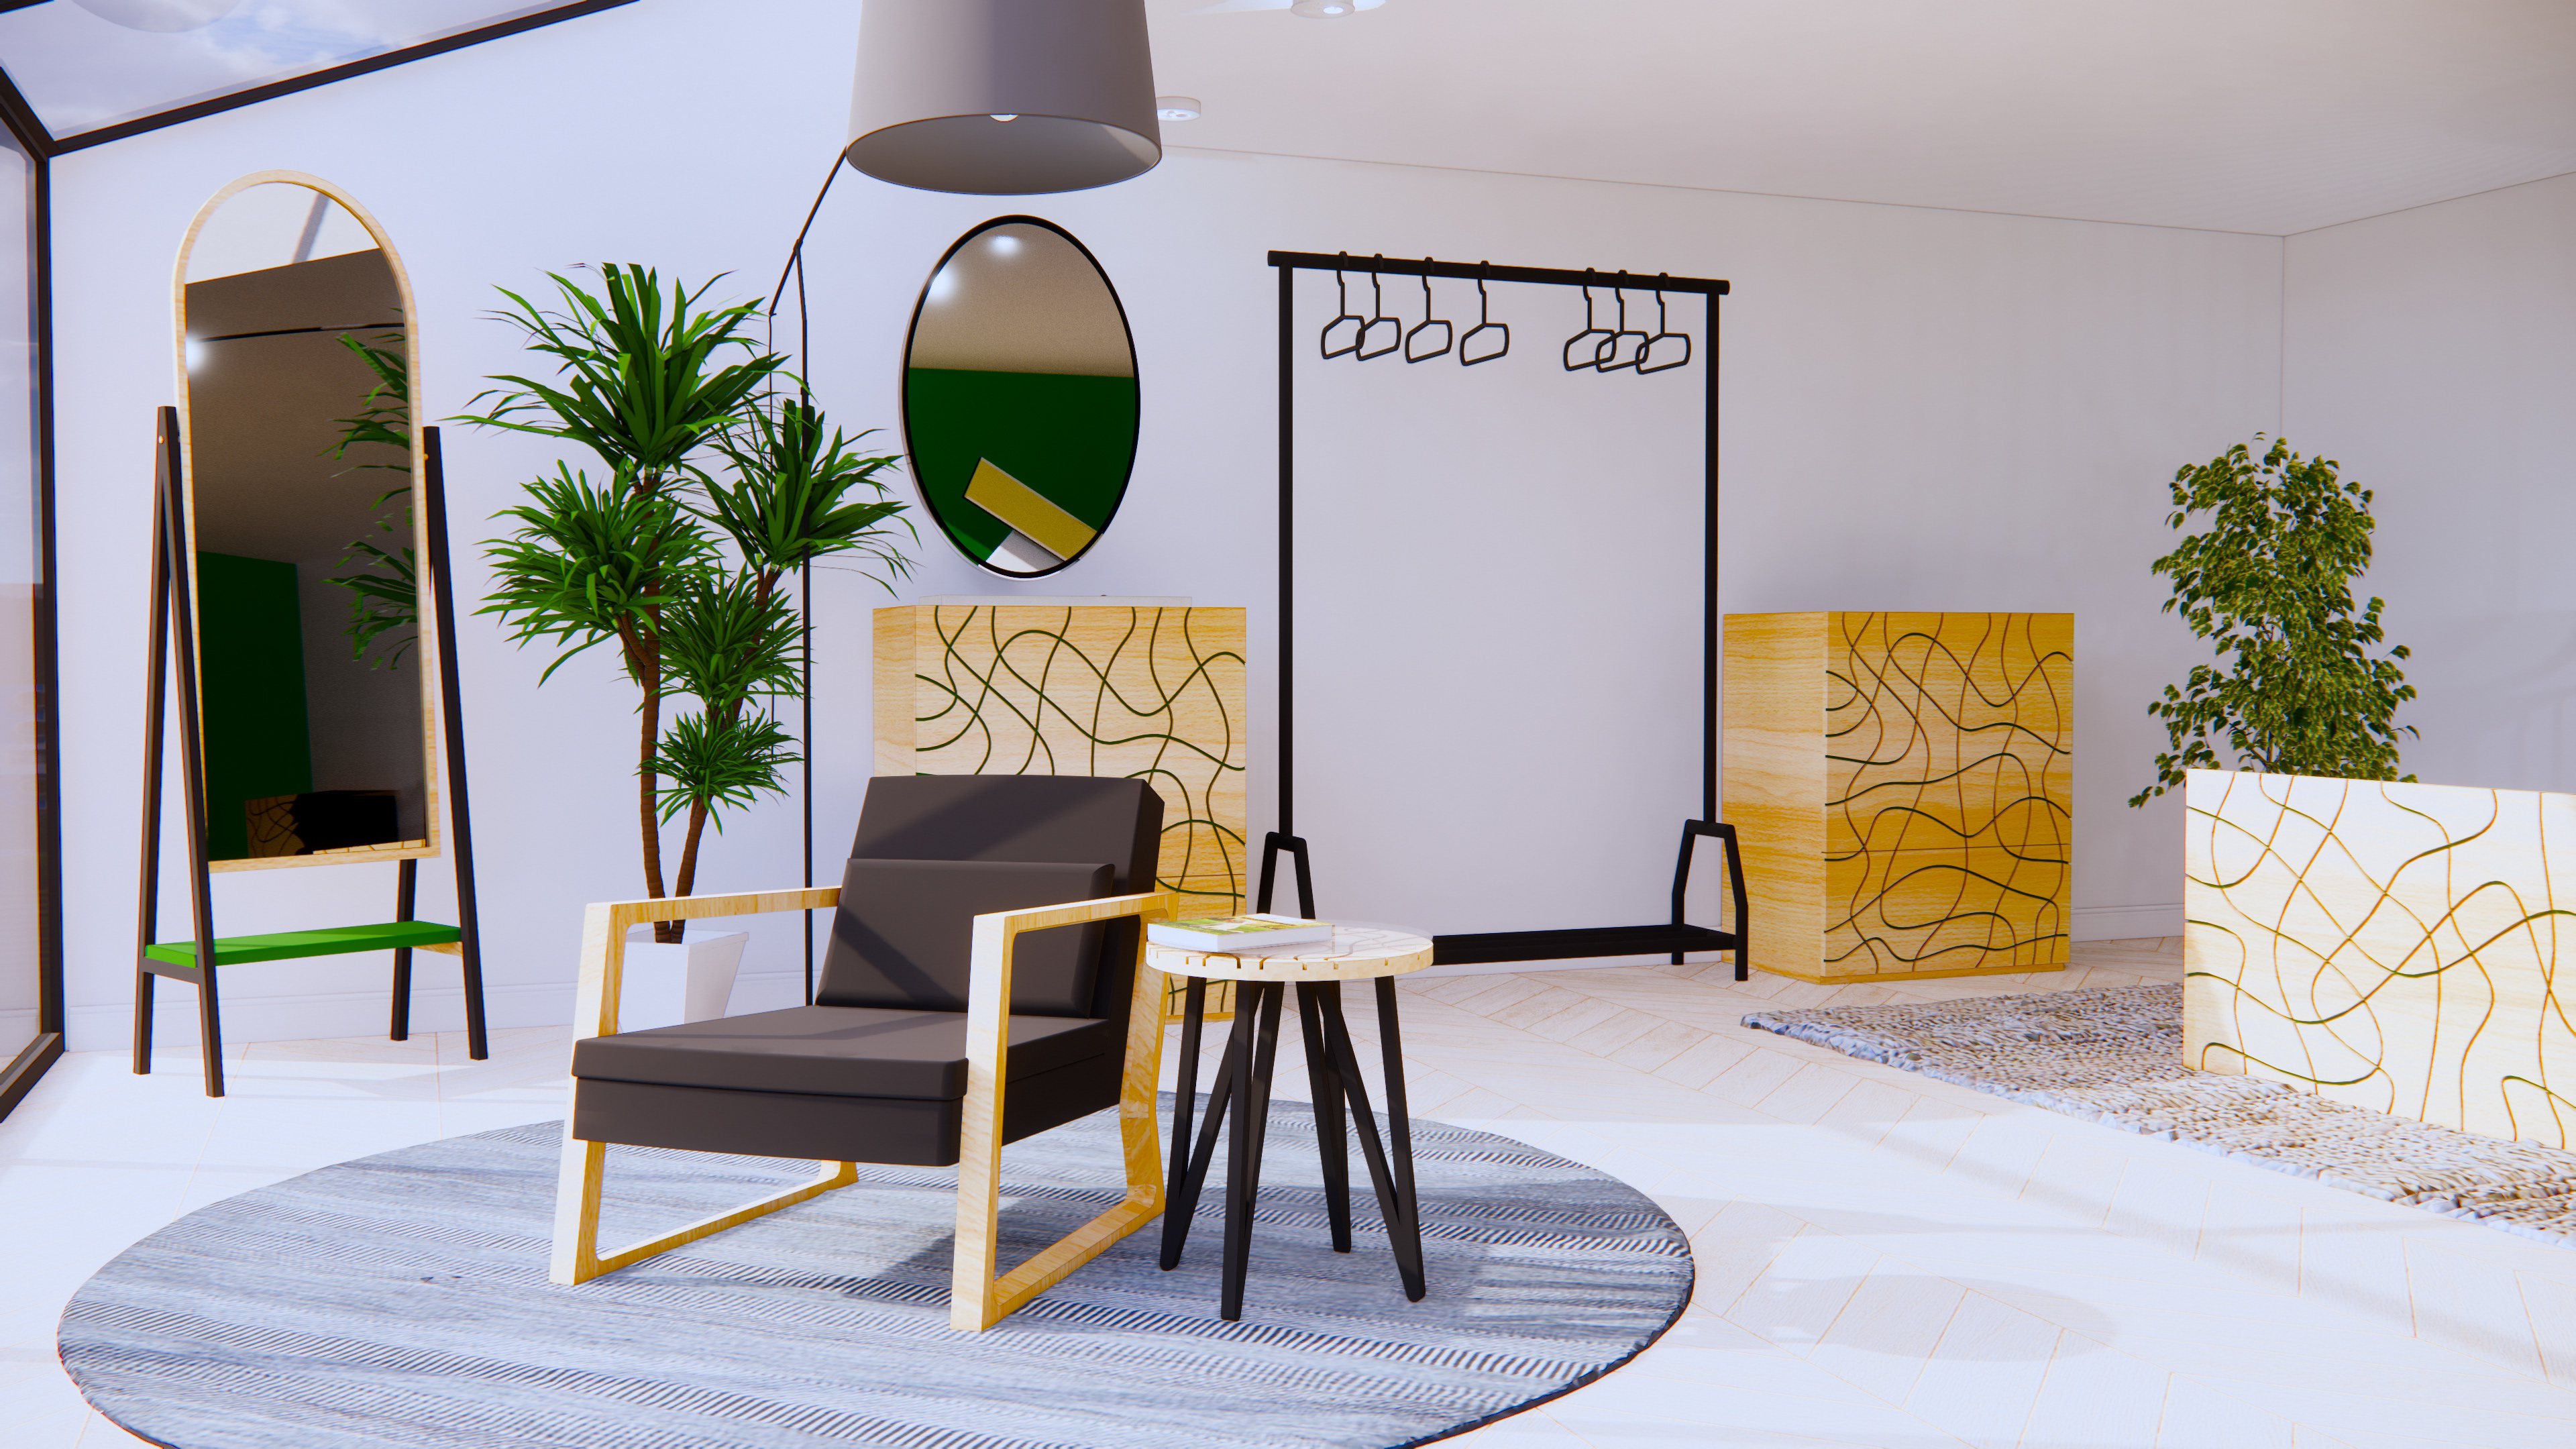
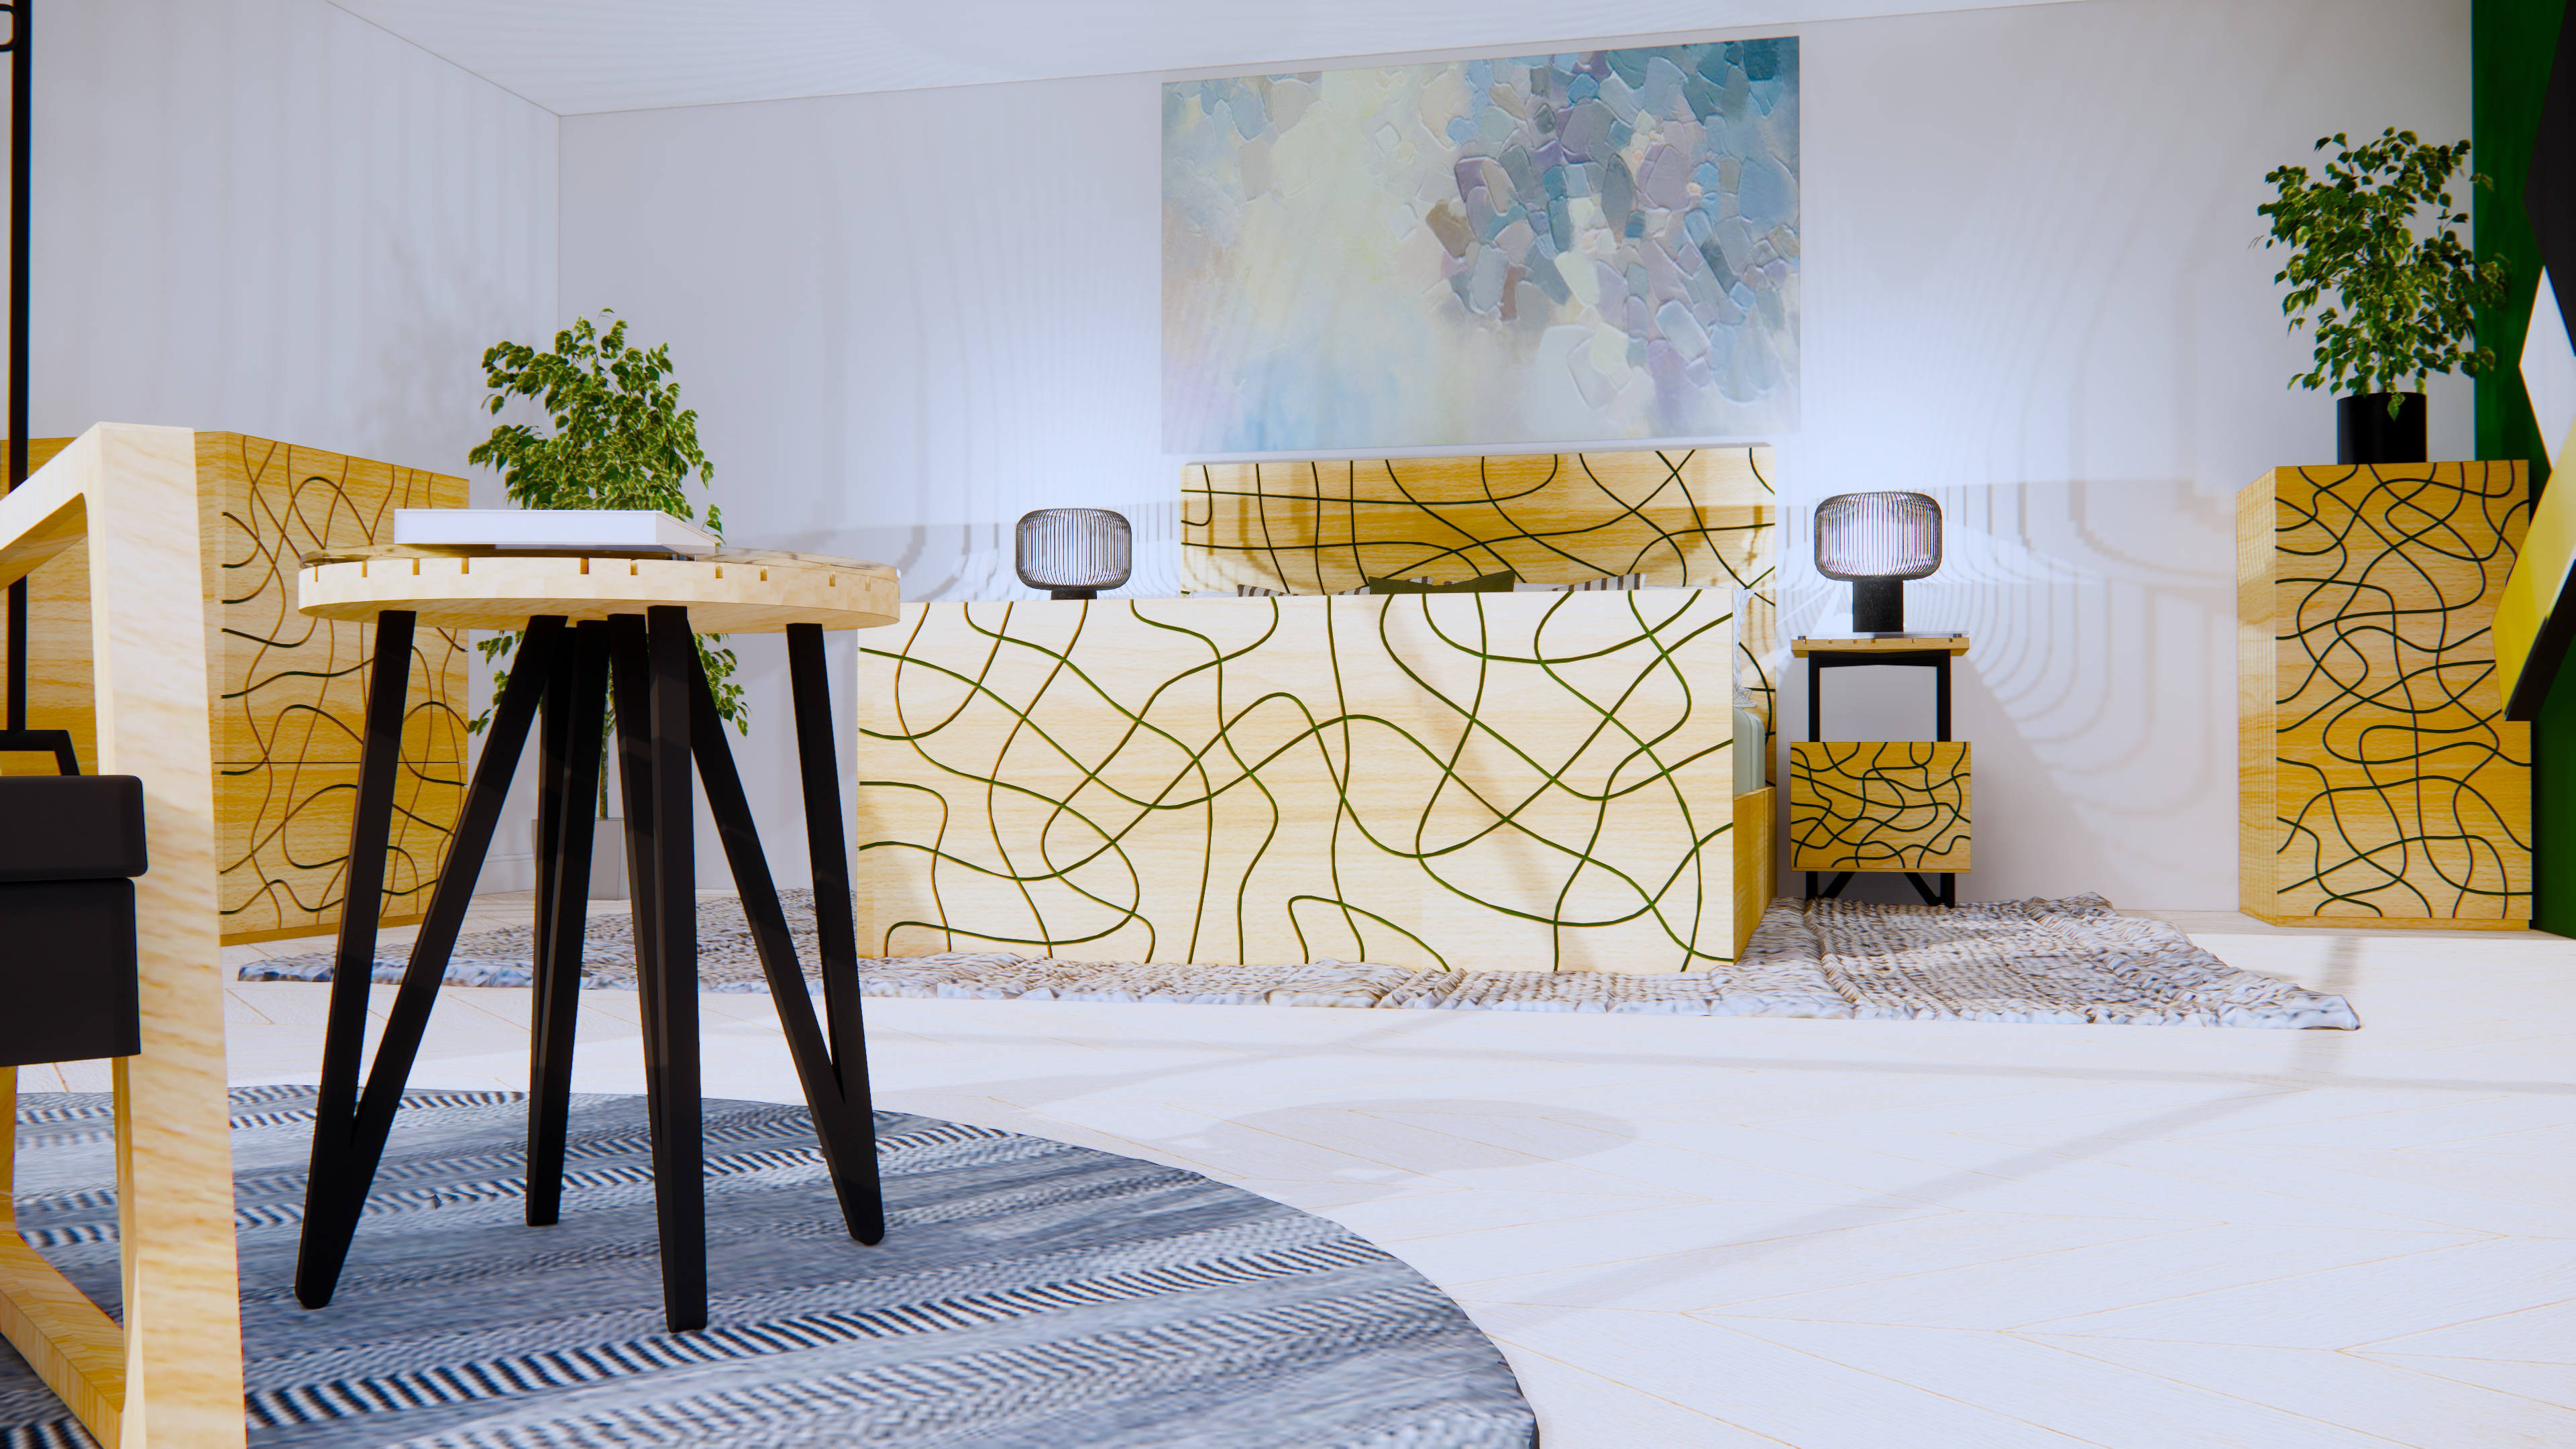
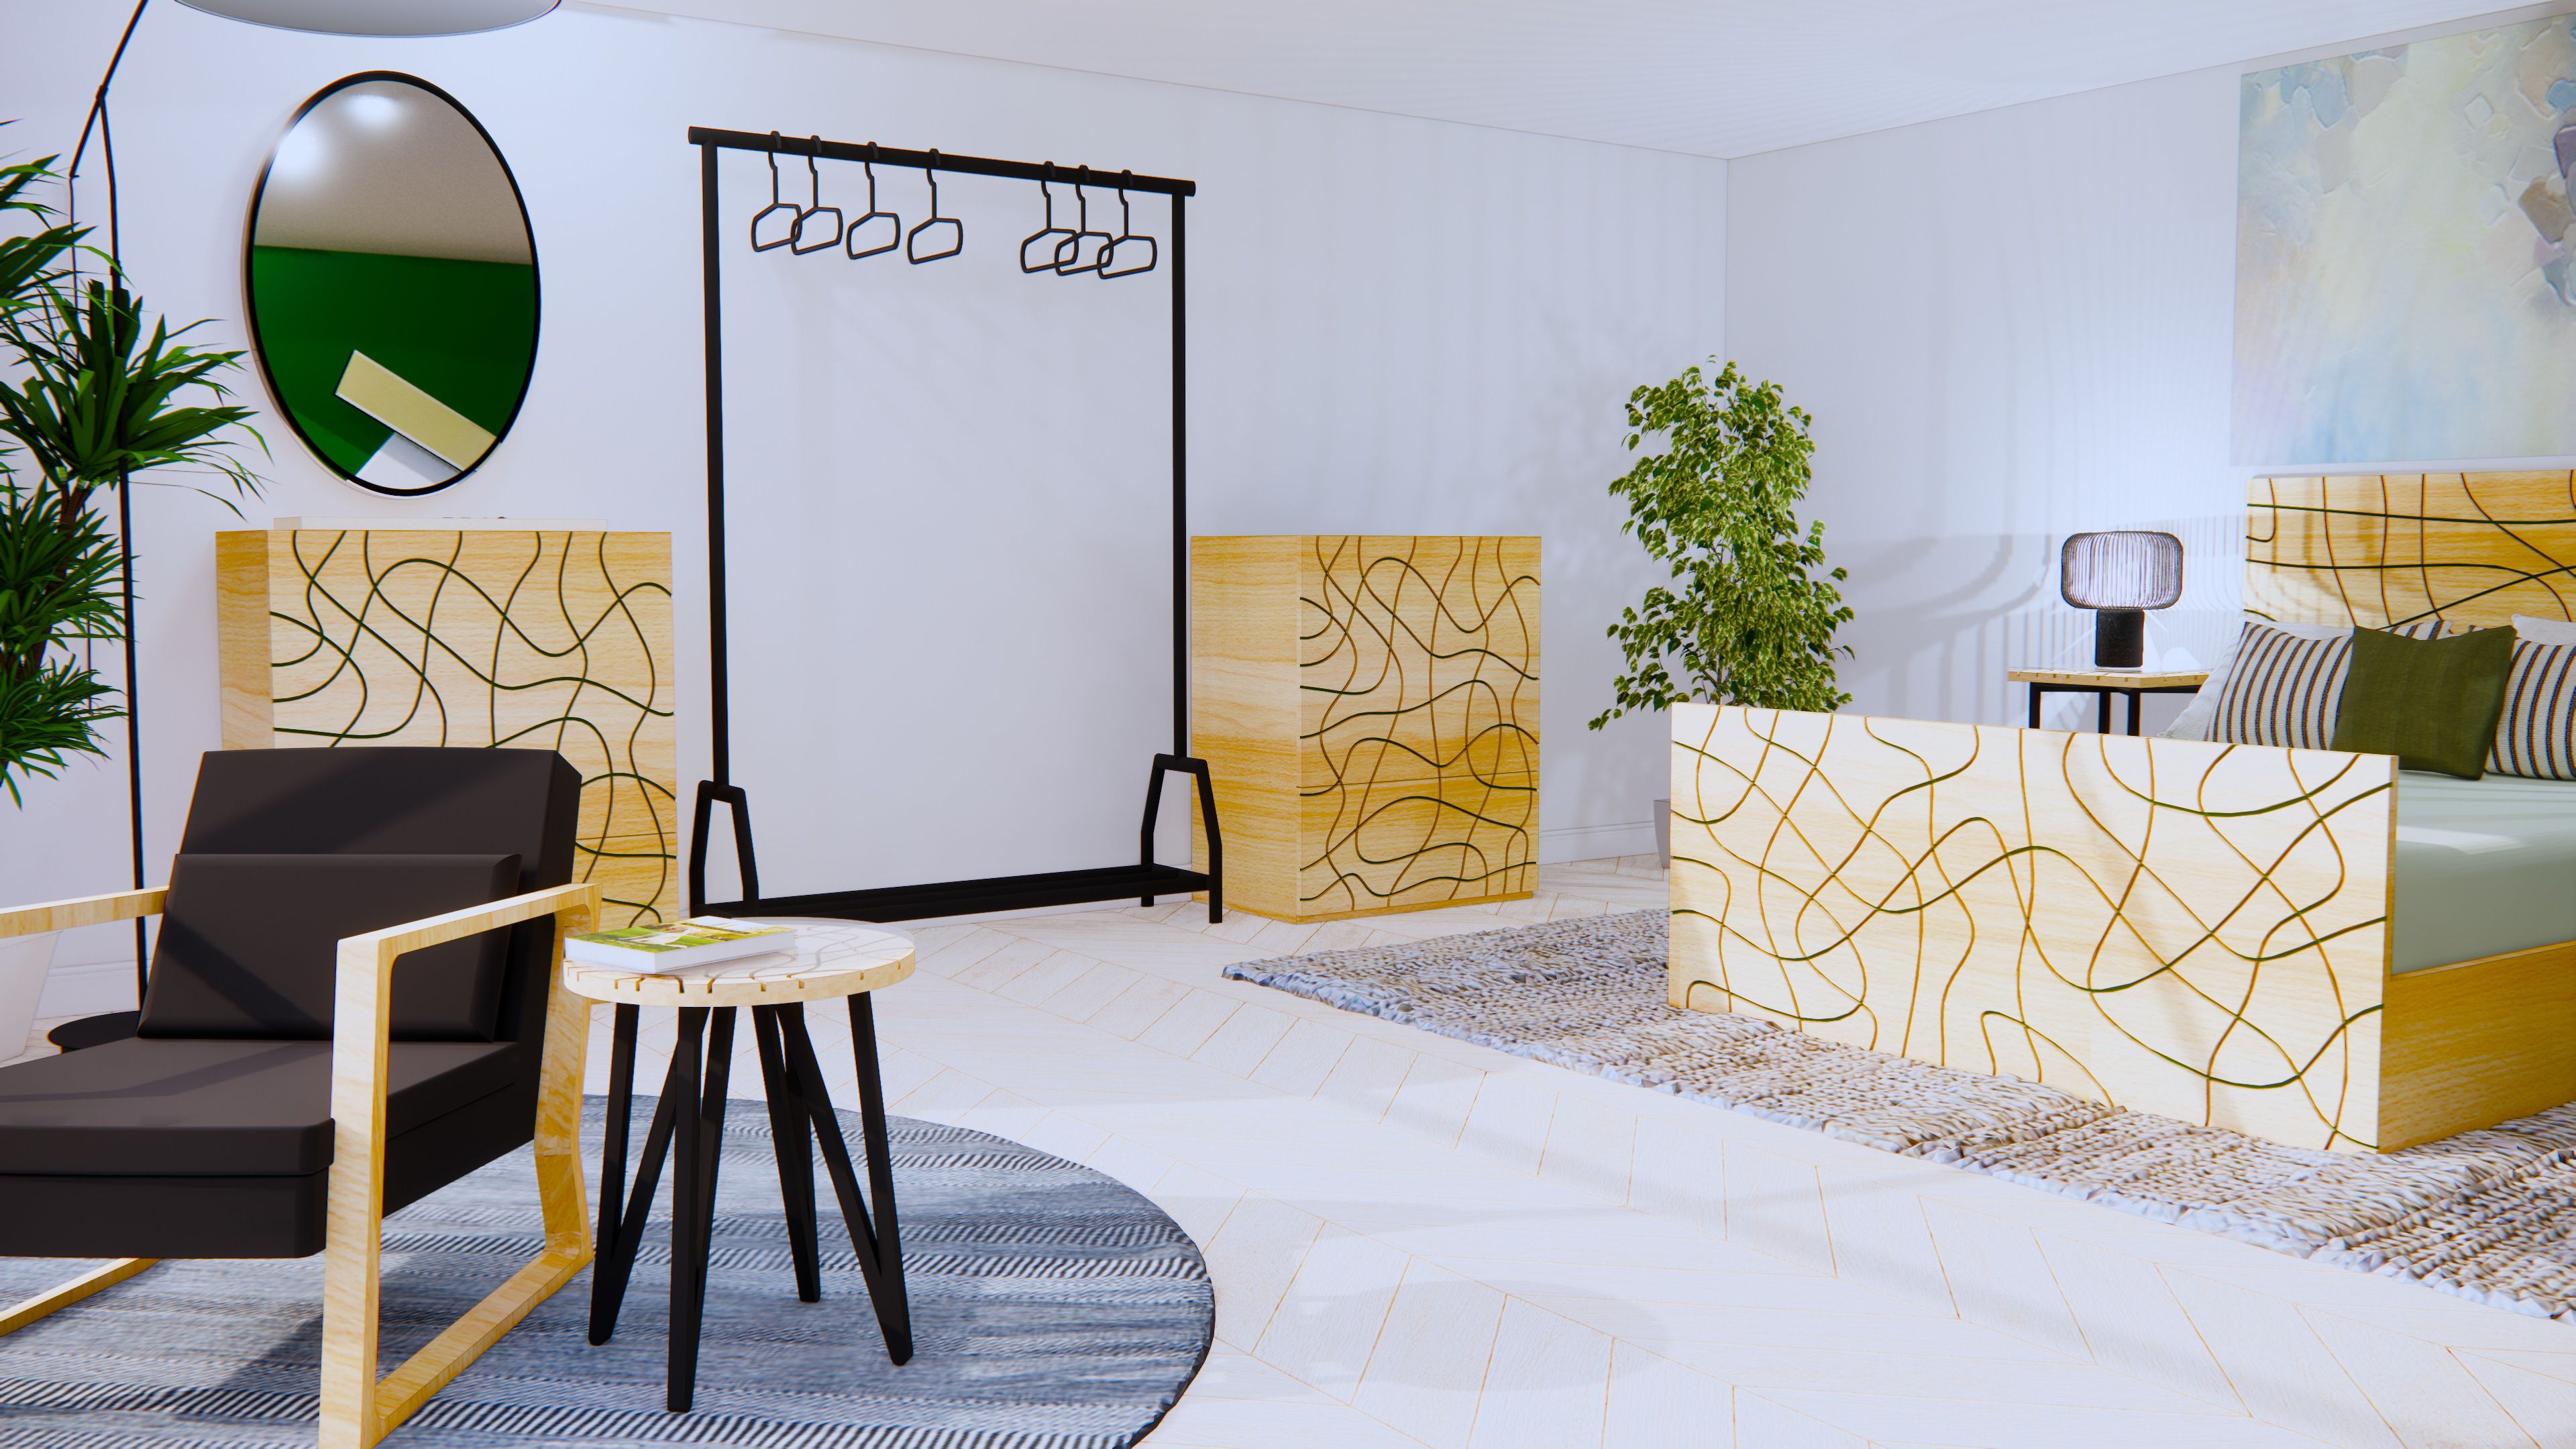
I wanted to create a more professional realistic environment the really helps to show case my pieces. I know that the interior design students use SketchUp to produce their incredible visualisations and models. And so, I decided to use this software to create some realistic renderings. The process of how I did this is in the video below:
Once I had finished making the model environment, I hit a slight snag as I couldn’t download the rendering software necessary due to my computer model. So, I had some help to produce the below scenes due to these technical issues. I think that these images are of a higher professional standard than any other method I have previously used. The images are ideal for the catalogue as they are more detailed and similar to what you would expect from a commercial catalogue that you can pick up from a show room.


To generate the book, I used the adobe software InDesign. This is a software that I have been using since college to make digital sheets and sketchbooks. It allows you to make books with double page spreads that allows you to see how things will layout once printed or exported. As part of the Adobe package, you can easy import images from photoshop or illustrator with no additional formatting necessary. As I know the Adobe system, I also find it easy to use. Below is a video showing the interface as well as my first layout for the book.
Once I had decided on the layout and colours, I then imported the text showing the descriptions and pricing. This is the one issue I find with the adobe software; there is no built-in grammar or spell-checking software. Overall, I found that the strong graphic effects I managed to produce will be easily to reproduce over any future catalogues, by having a strong visual identity now it will allow me to create a potential brand that is recognisable and stands apart from any competitors. I am not a graphic designer so to me this is a successful outcome.
To see a digital version of the book, look here:


WHERE DOES MY WORK BELONG AND HOW DO I GET IT THERE?
I have always thought that my work would have more of a mid-range market presence, however producing this collection with a wide range and prices for all of them shows that it would be pointing towards a higher end value. Yet I can't help but shake the feeling that I am not at this level. This may change with experience in industry, but I may need to reconsider details of how I produce my work.
I also believe that this collection and the ideas behind it is very niche. It is not something that appeals to all and wouldn’t necessarily work in every home. I believe that these pieces may have more of a presence amongst the artistic forms of furniture, a statement and idea driven piece that is almost functional art.
To move forward with this work, I could do a survey to see how the consumer market would respond to the designs and how they place it in the market. This I believe would give me a stronger understanding of where I am as a designer maker.
WHO DO I EXPECT MY CONSUMERS TO BE?
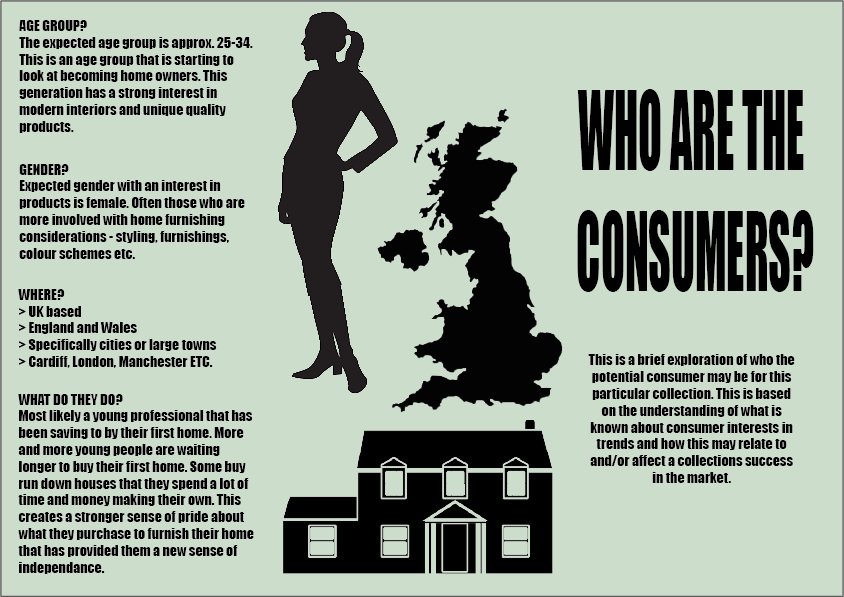
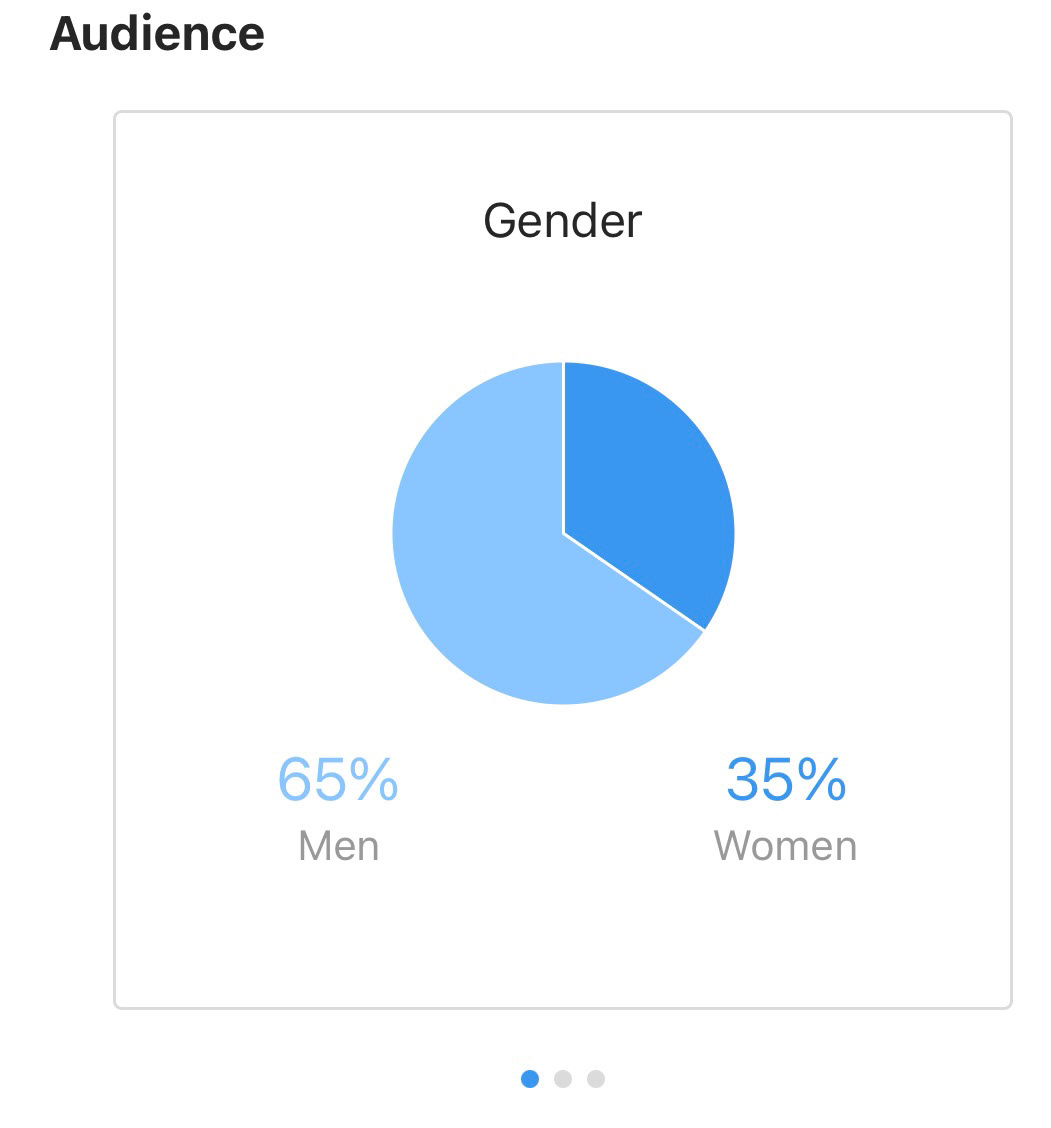
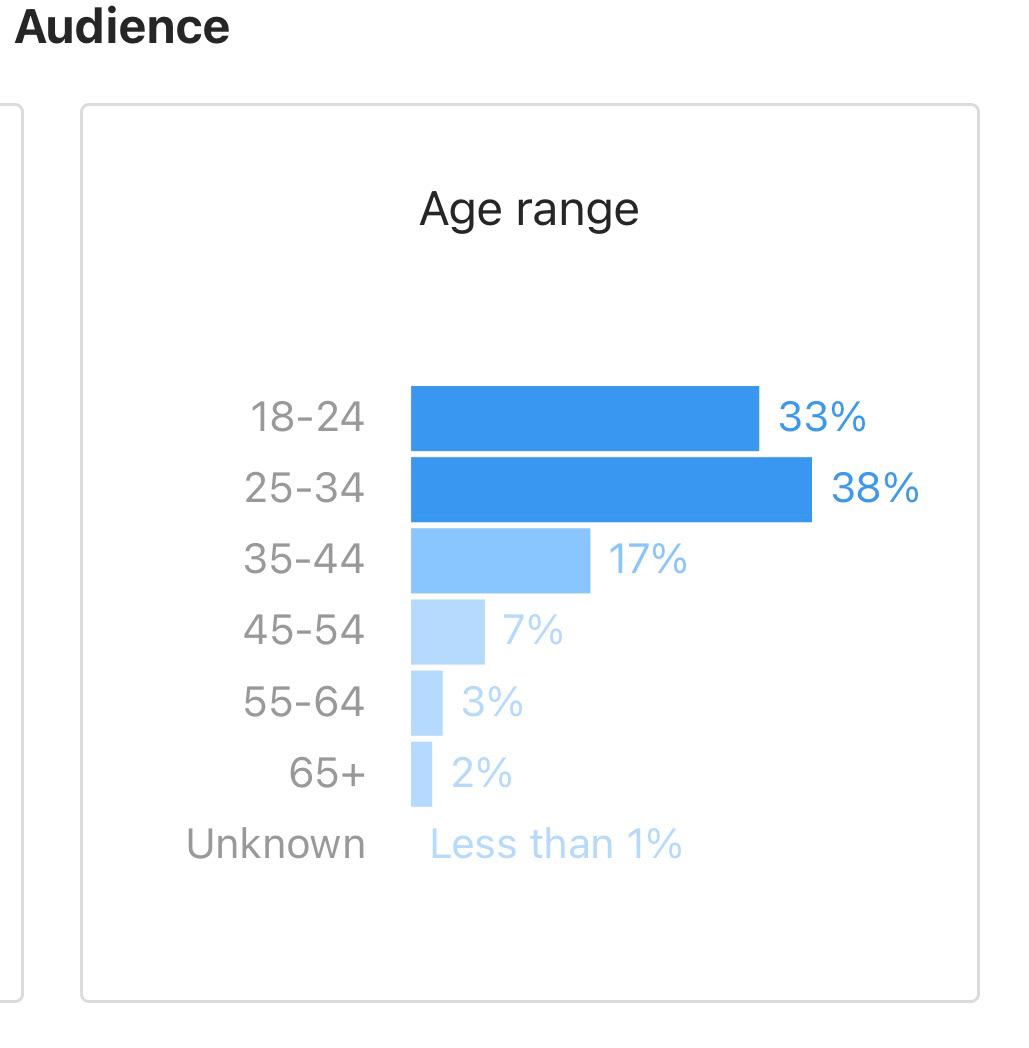
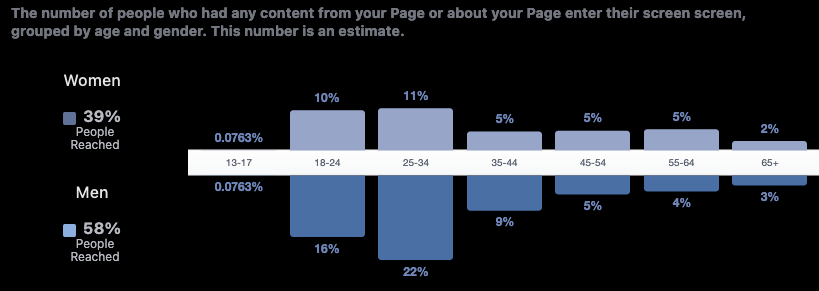
I always imagined that my work would be received by women between the ages of 20-30. This is for several reasons:
> Many people I have as followers I went to school with
> It seems that the main consistent users of social media seem to be female.
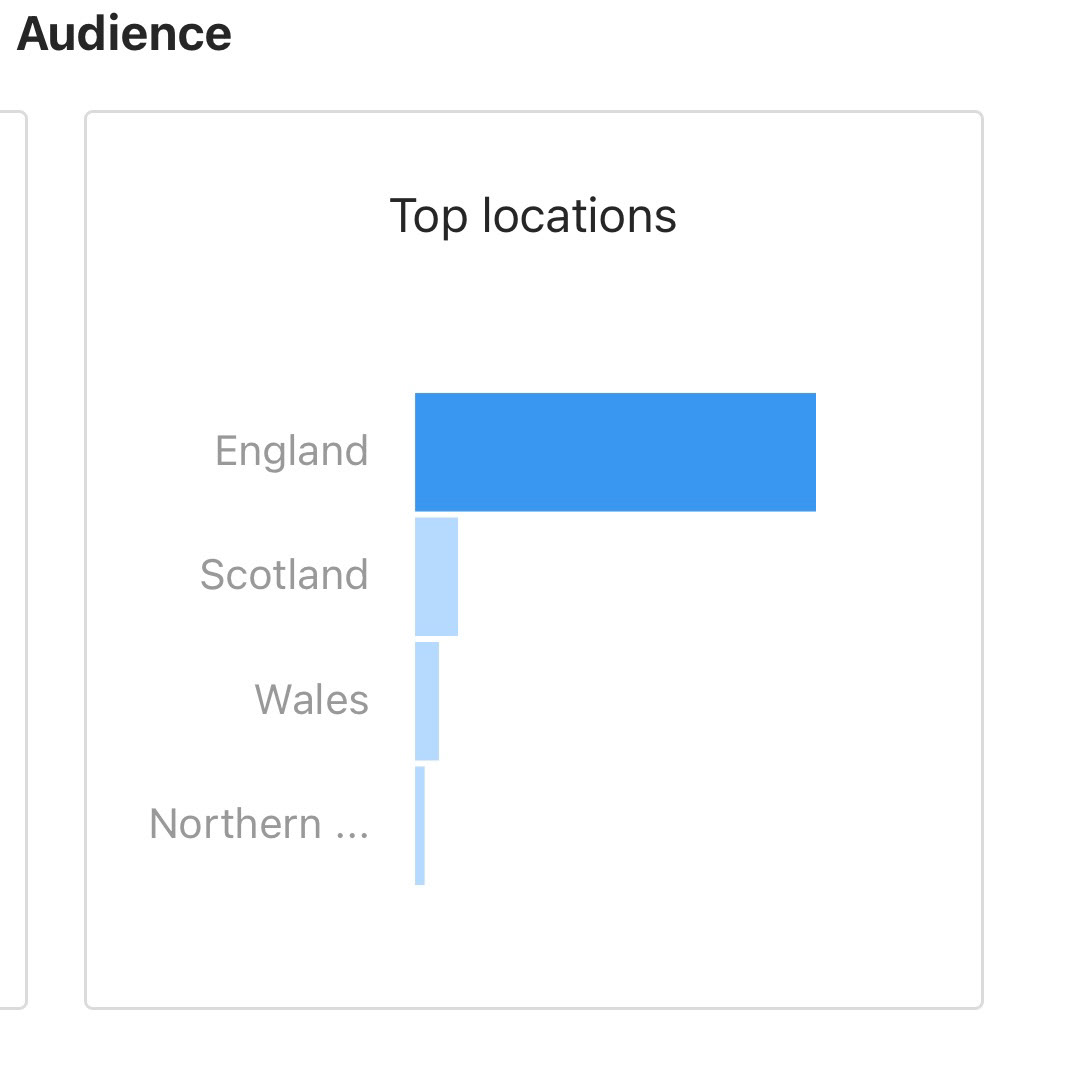
These snapshots, however, prove me wrong. They show that most of my audience are male aged between 25-34. This information will help me to redirect my posts in a way that will help to engage with potential customers.

WHERE COULD I SELL MY WORK?
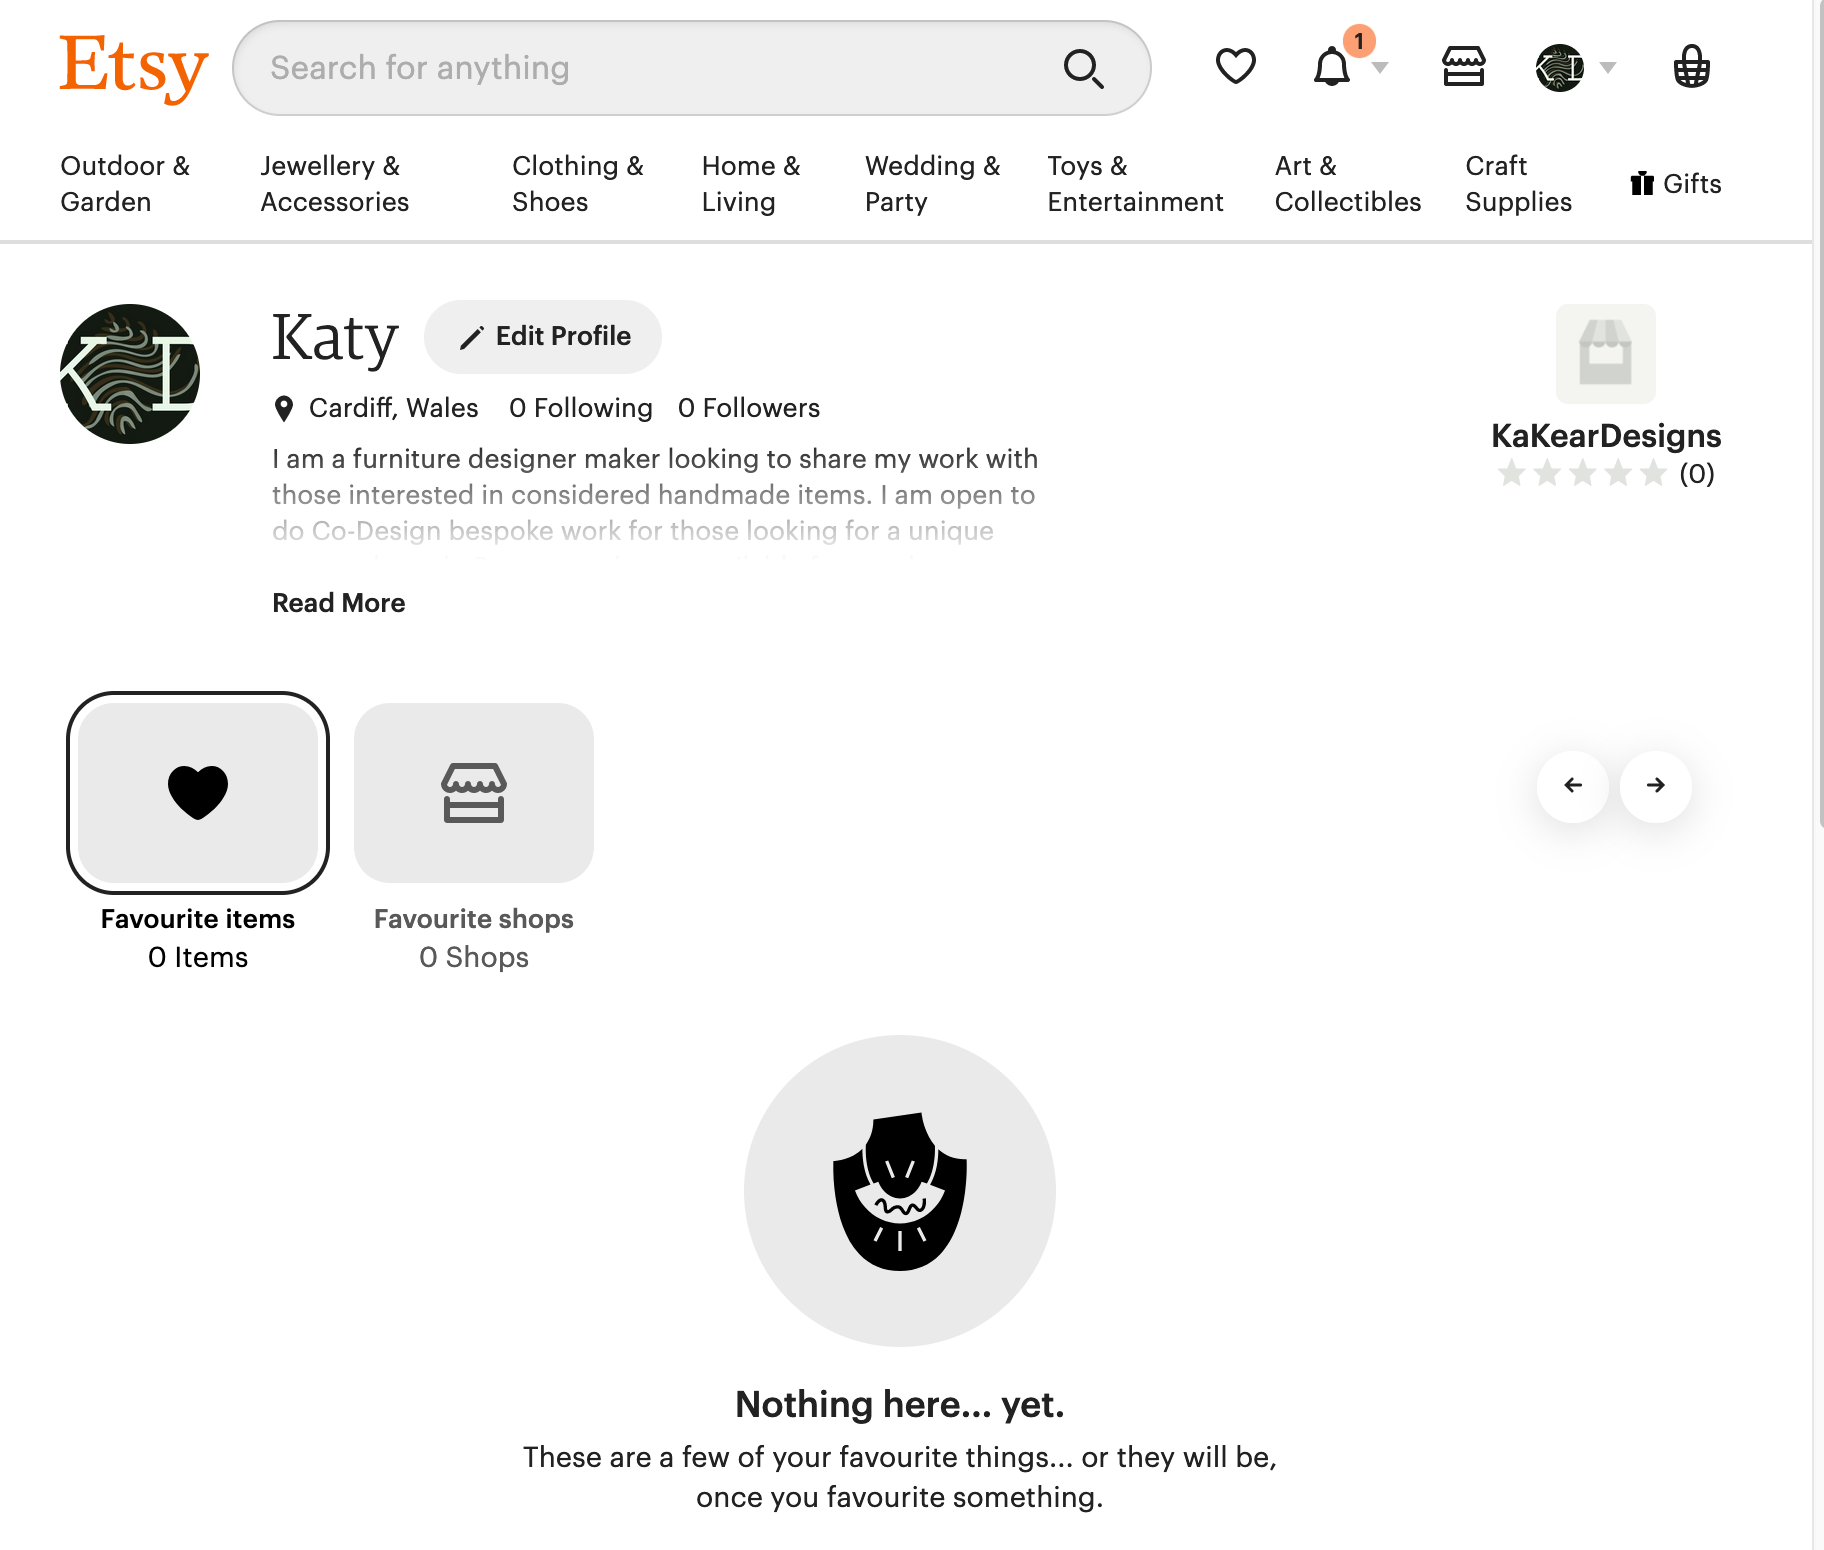
Now that I know my audience, I have started to think about selling my designs. Eventually I would like to set up my own online shop that may eventually become a physical showroom or design house. For now, however, I will start selling my work on sites such as Esty as a way of starting to generate income to eventually pay for an independent site.
Etsy seems like a good place to start selling my work due to its reputation. People go to the site to find those unique, one of a kind, handmade items that are not available on the Highstreet. I want my pieces to be sold in a place where those buying appreciate the passion and time put into each item. This site is only going to be my steppingstone to generate income. I may also start to attend design and craft fairs once covid allows and I have a sizeable number of stock / diverse designs.
Commercially, if my work was to be adopted by a retailor, I imagine it would be a company that looks at the unique style of a designer and allows them to make the work they want to produce. They would most likely be a mid to high-end retailors such as the Conran Shop and Lux Deco
For now, though I have created a model of how my pieces could look if it was picked up by the retailor Made.com. Historically this is a company that has supported emerging designers through their ‘talent lab’, unfortunately their talent lab is no longer running. This is an avenue that I had considered using to establish myself on the market. Therefore, I have chosen their site as one to model my pieces on.

ASPIRE 2021 - The Coffee Table


ASPIRE 2021 - The Cabinet


FINAL REFLECTIONS
This last year has been difficult. Covid meant that my level 6 experience was a fraction of what it should've been, do I regret not differing for a year? Maybe. I feel that not having availability to certain workshops has very much affected what I have done for my project and where I chose to take the work. Was it all a loss though? No. Circumstances have meant that I have focussed on certain skills that may have been pushed on to the back burner as well as starting to expose myself to industry practices. My digital skillset has taken a surge of development as well as how I need to use them for fabrication communication. In this regard the limited access may have prepared me more for life after university.
Though after searching into potential jobs, specifically those where I would be making, I need to know how to use workshop machinery that I haven't been able to get inducted on. This then further raises the question of do I want to rely on external fabrication to get my work realised. There may be opportunities in the future to learn these necessary skills, but for now I feel that I am not prepared to enter industry. I love making, this last year has extremely limited my opportunities to work with materials and learn new processes, which has been rather heart breaking. Luckily it hasn’t damaged my result for this project, but the issues I had with fabrication may have been avoided if I was more involved in production.
One thing that I have also taken away is that I need more design theory to understand the industry. As someone focussing on furniture, I am almost an anomaly on the course. This may just be my year, but it seems that there is a large weighting on more ceramic based practices. To me, this has meant that I have not had the necessary focus on more product-based theories and practices that will help me to assimilate into the design community. I hope that there could be a way to introduce more of this for those who need it. I understand that this isn't necessary or interesting for those who want to take more of an artistic approach to design, however, there may be an opportunity for more collaboration between course to bridge the gap between art and design so that graduates with a focus like myself feel better prepared and on par with my peers. I have never come across ergonomics, anthropometrics, persona boards or any of the more product design orientated areas of working before May, these are things that I feel could’ve helped me elevate my work from the start. Maybe I should've been searching for this sort of information myself, however, it would’ve been beneficial to have a brief understanding of these principles from the beginning of the course as well as a continued integration throughout. Maybe looking at this I have been on the wrong course. However, this course is Artist Designer: Maker, so why can’t it become a more involved part?
Overall, it has been an interesting experience, yet I can't help but wonder what this year could've been and what work I may have produced instead.